 The device to varnish solid parts: hand-bloc and top part ring (it is important that wet varnished edges do not touch the ground!)
 The device to varnish finger parts
Workspace
 workspace (wet) sanding
 workspace varnishing
End result
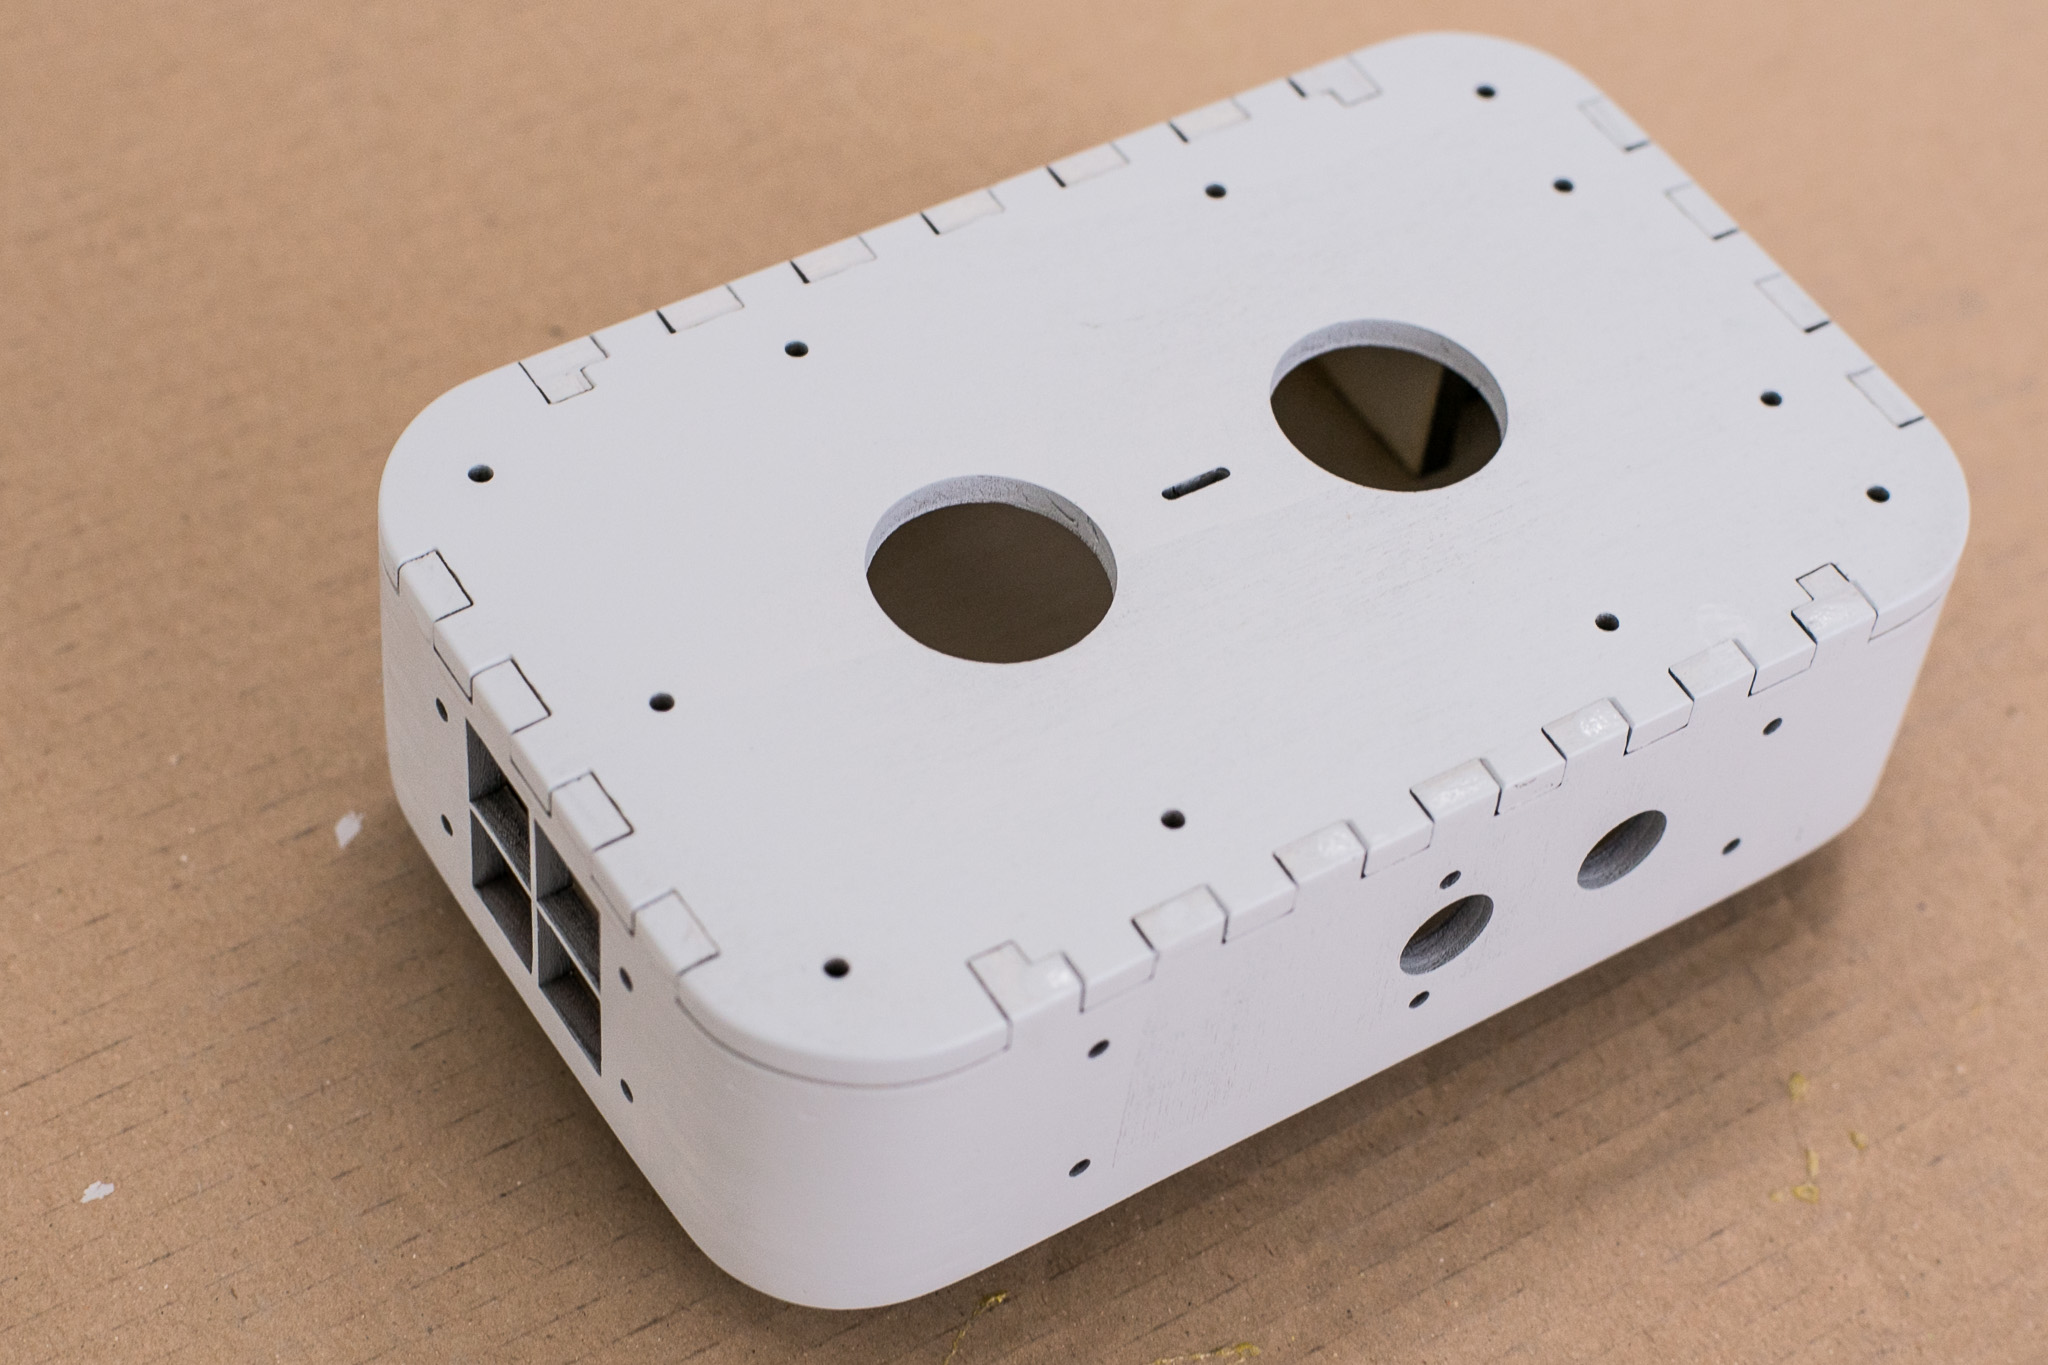
 varnished box
 varnished hand piece (part 1)
 varnished top parts (from left to right: hand piece (part 1), finger board (part 1), hand piece (part 2).
Filling
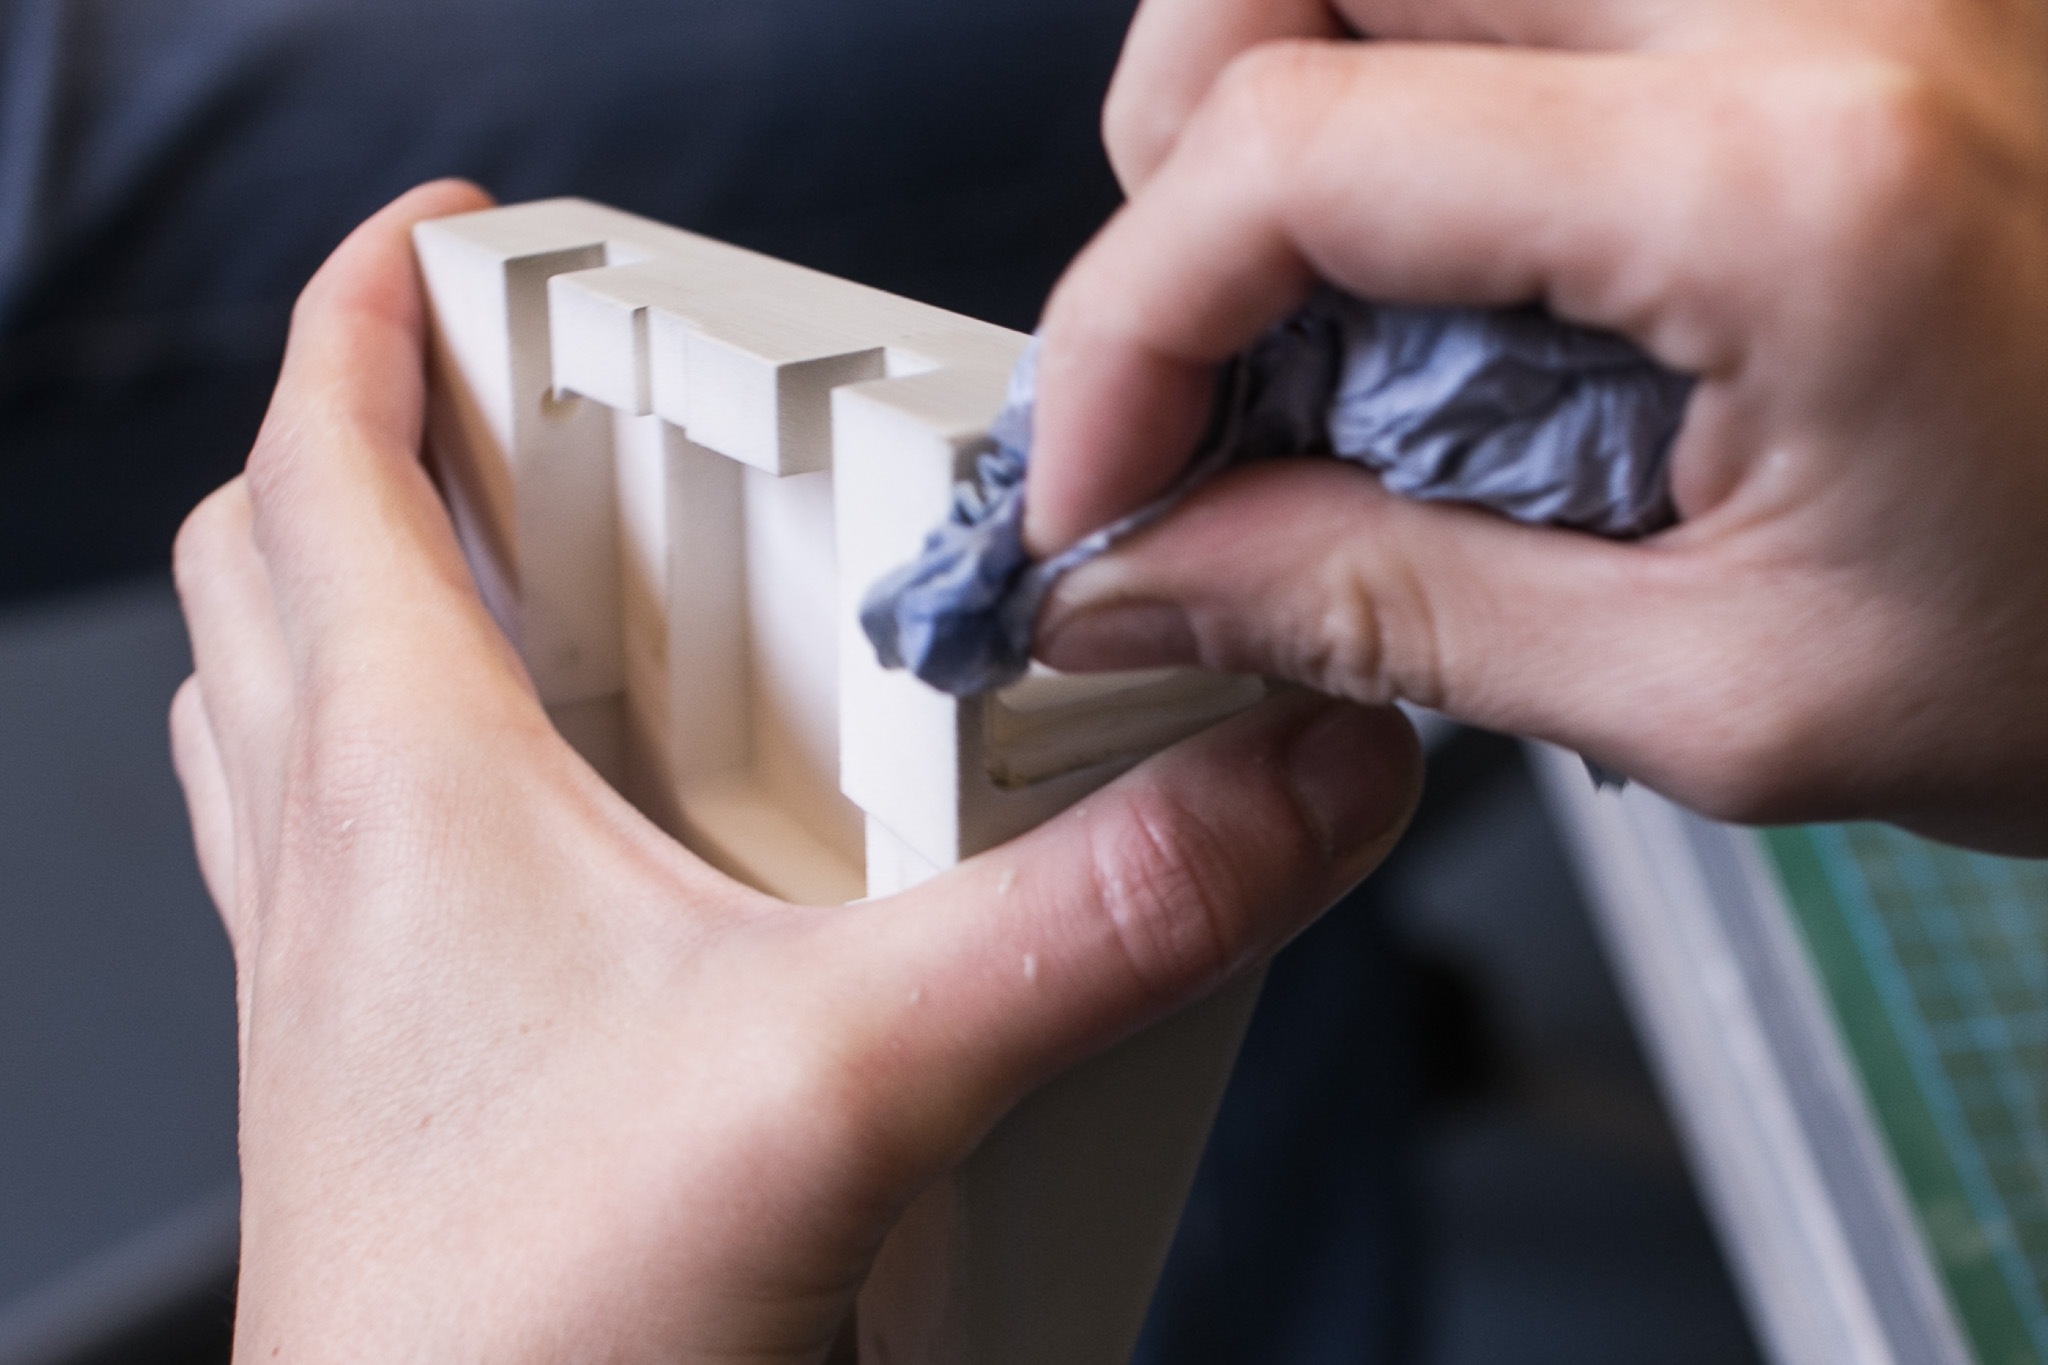
Use a 2K putty to fill gaps and dents in between parts or on surface.
To prepare the putty, follow the instructions on its package.
It is a good idea to apply putty in between layers of grounding coats, because most filling pastes need to be covered with a primer before applying the final paint.
For really big gaps you can apply putty even before the applying first layer of filler.
 Apply putty on sanded box where necessary. Have a look especially at the round edges where the box parts were glued together.
If necessary, repeat this procedure after applying the first layer of filler.
 Lower box after filling an sanding once with additional 2k fine putty just applied ready to dry
Sanding
The lower box needs to be sanded in between applying layers of primer.
The first layer of primer should be sanded with P240 to smooth out areas of redundant putty.
For the second layer, you should use P400 (i.e. much finer) sanding paper. Fold it in half and sand by hand.
Do not worry if you sand off fill material at certain areas. You have to apply a second layer anyway.
 It is most important to end up with an even surface after the first round of sanding. That way you will have less problems sanding the second layer of filler.
 For sanding the lower box, use a cork block to fold sanding paper around. Sand in a circular movement and round off the edges.
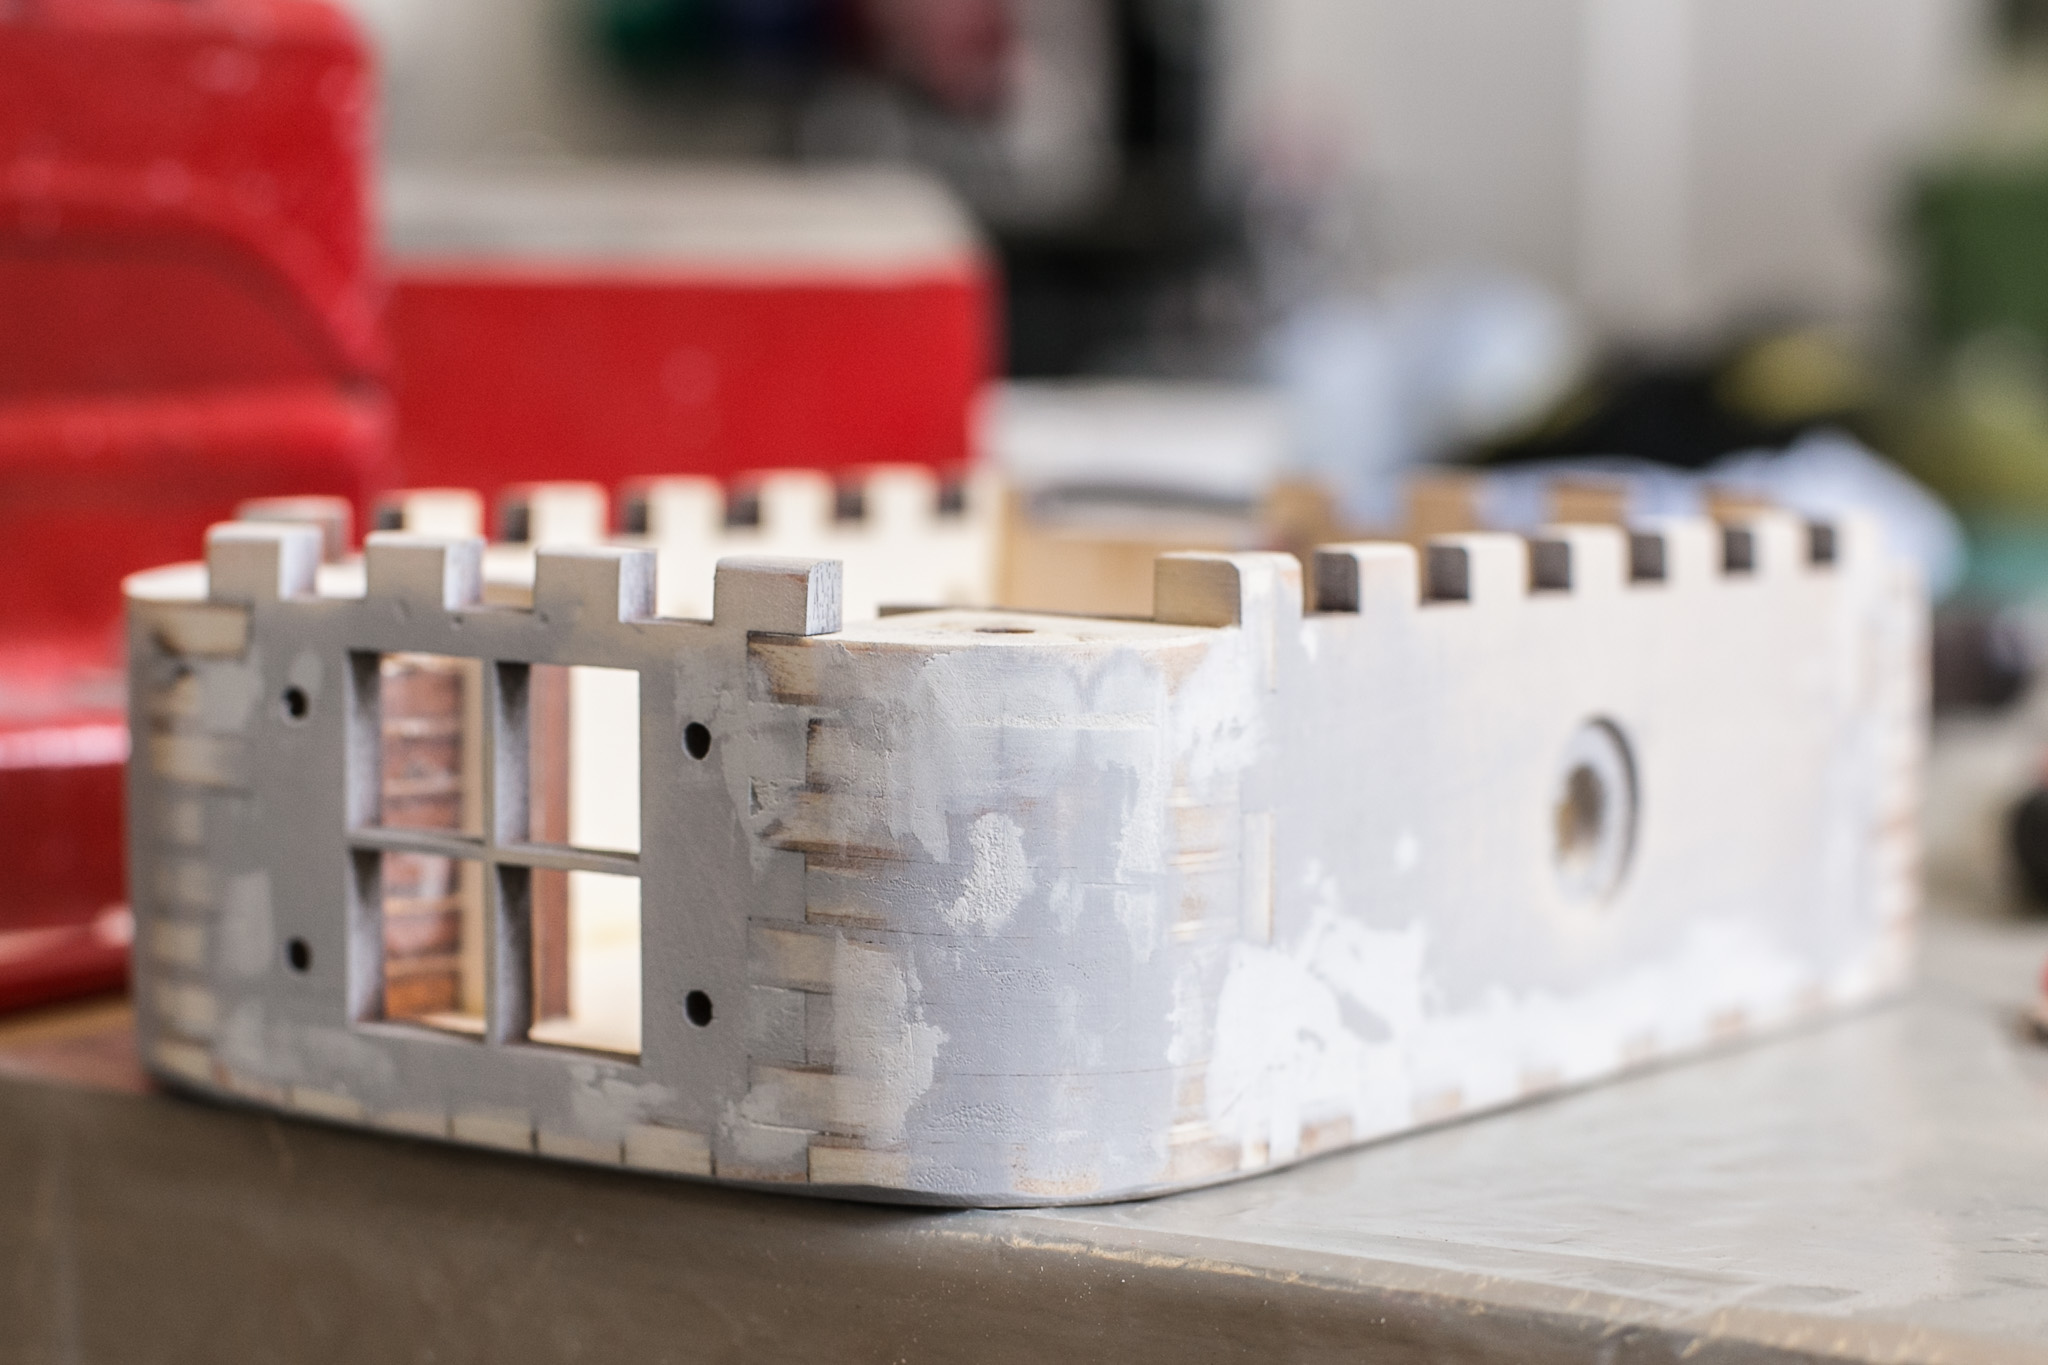
 The surfaces should be evenly matt (not shiny) after sanding.
Filing
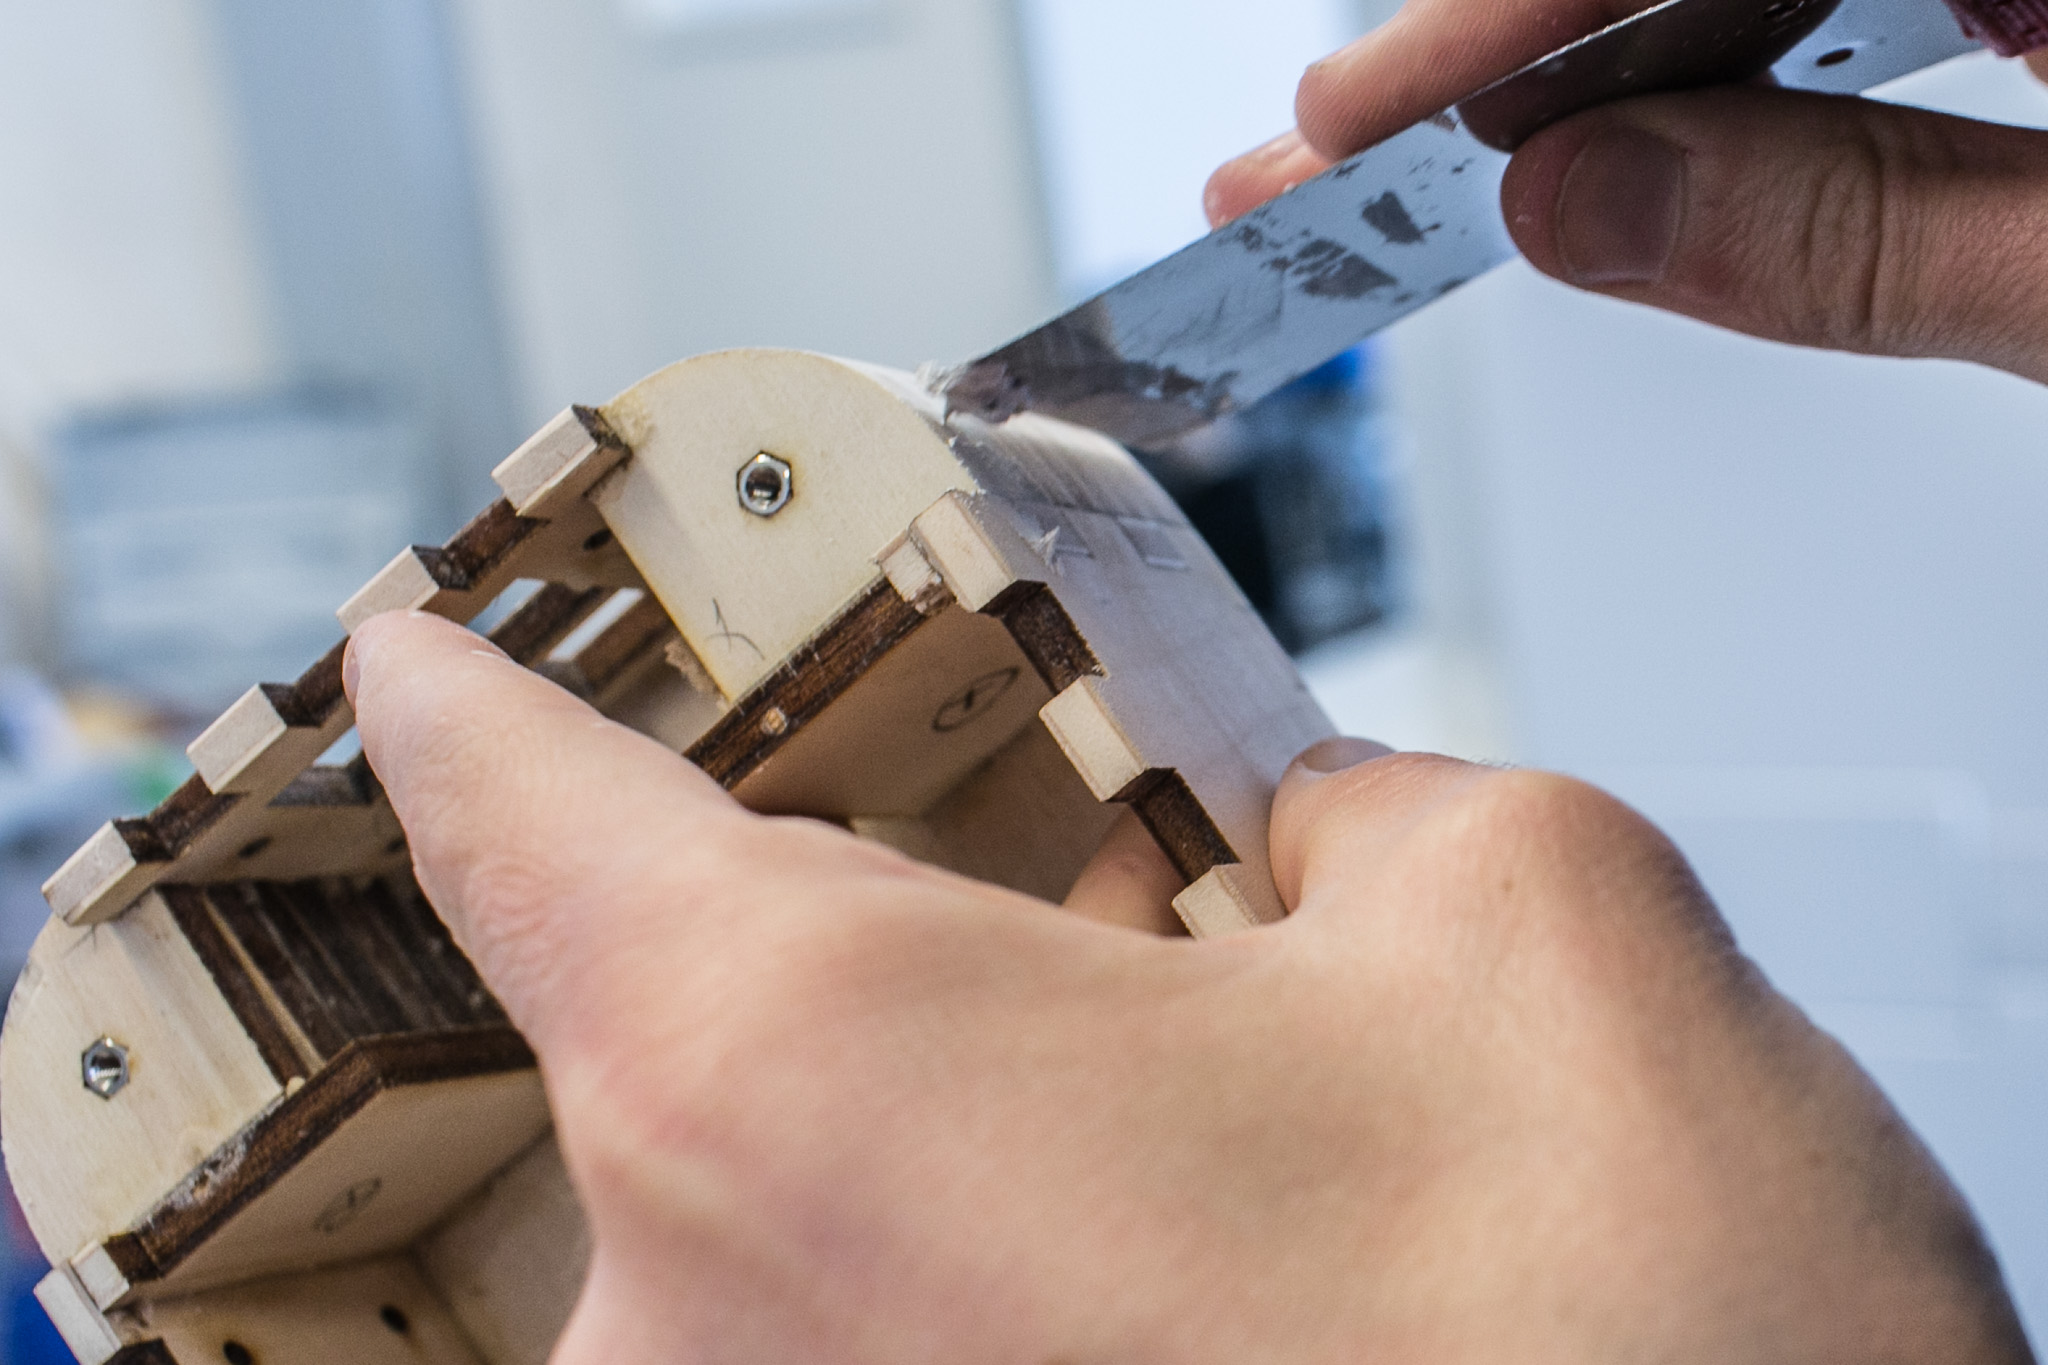
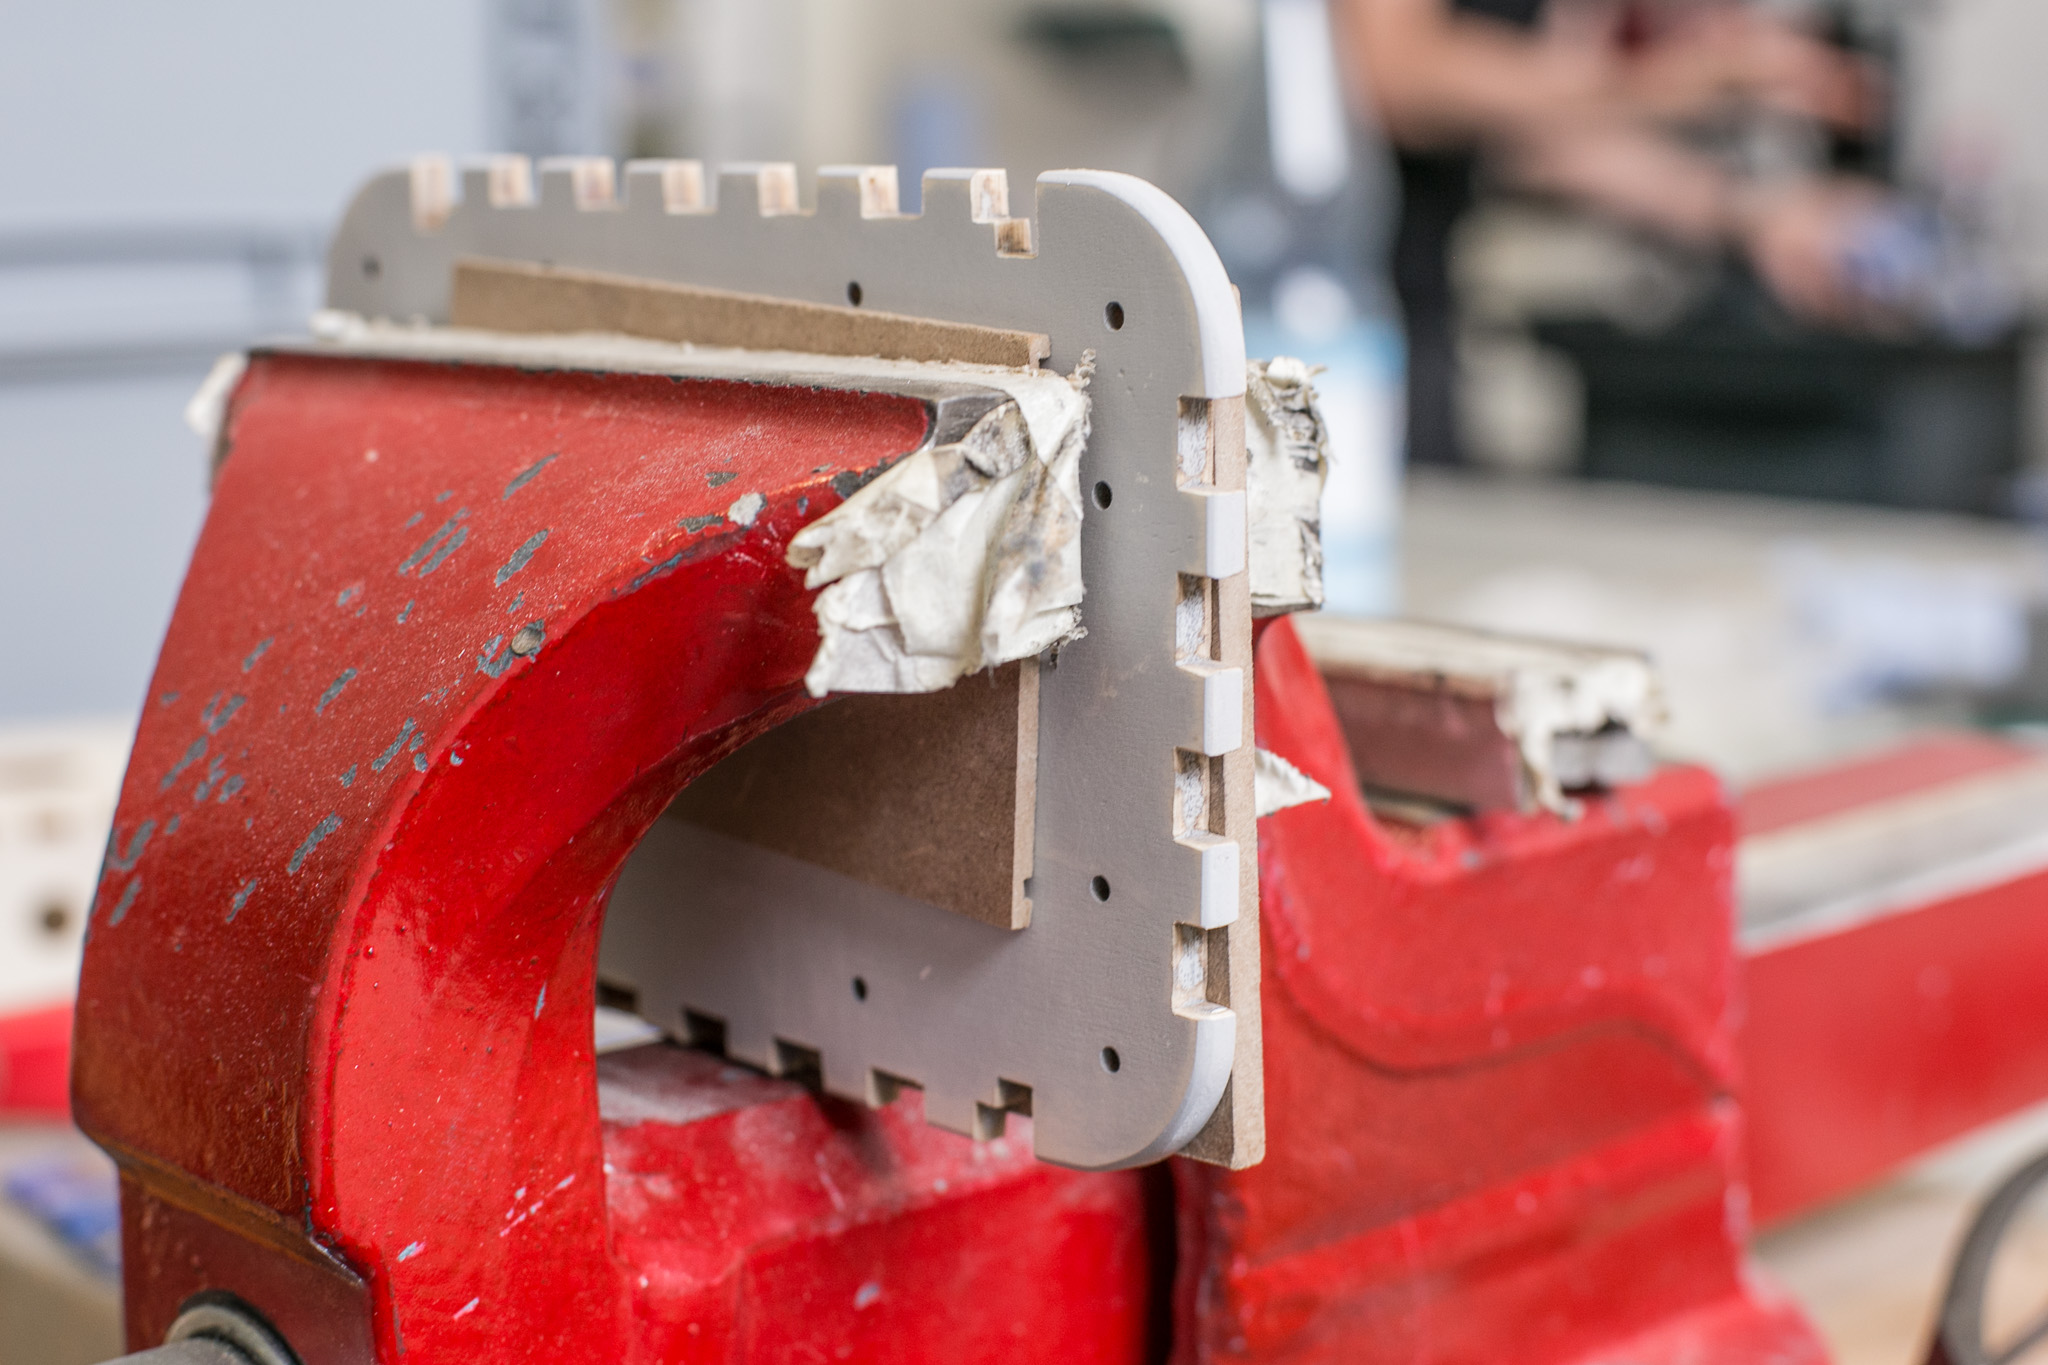
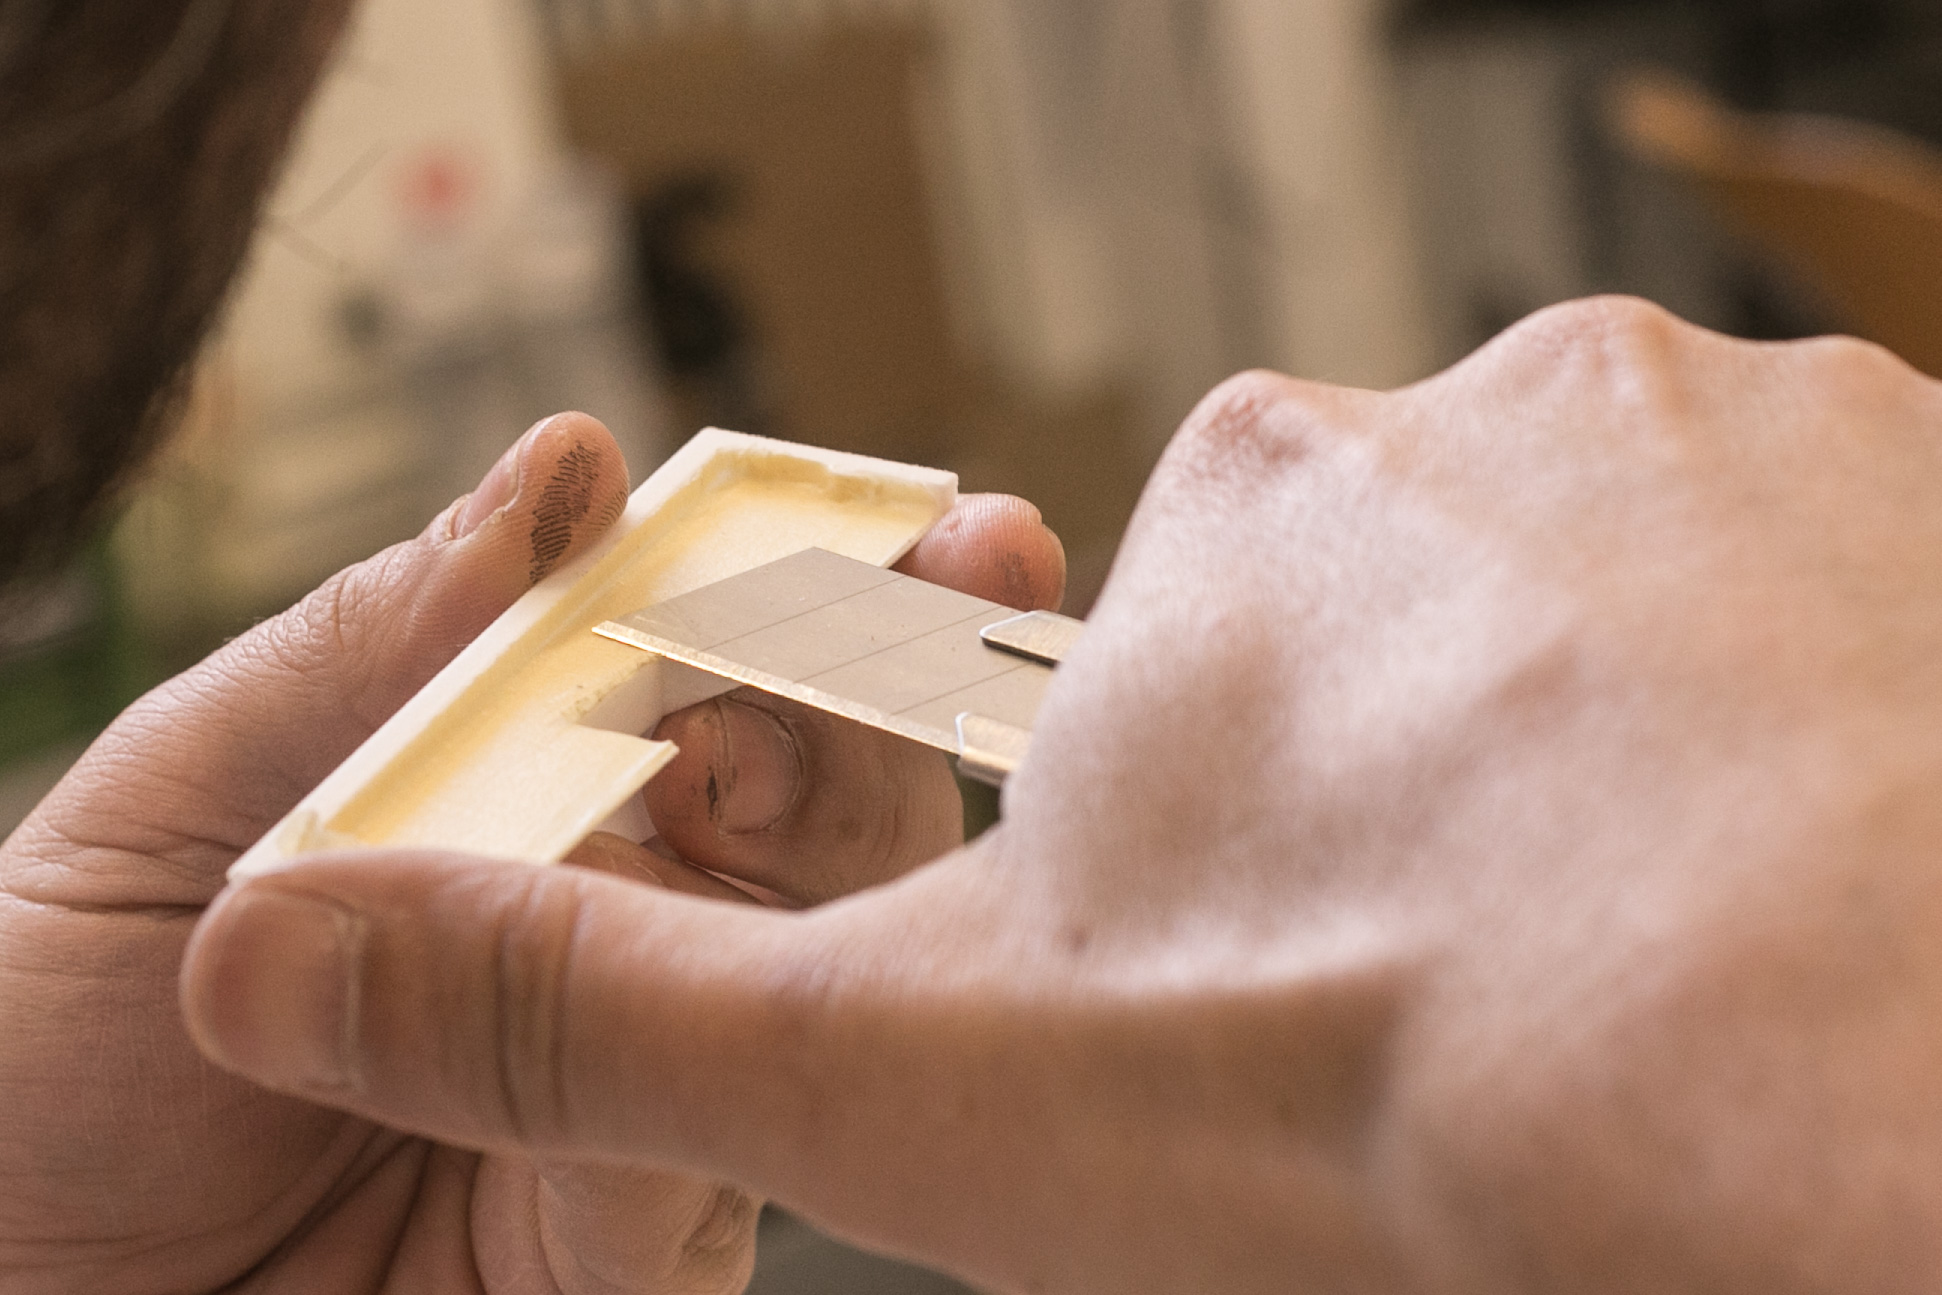
The lid of the box should get on and off easily. To ensure this, it is necessary to file away parts of its teeth.
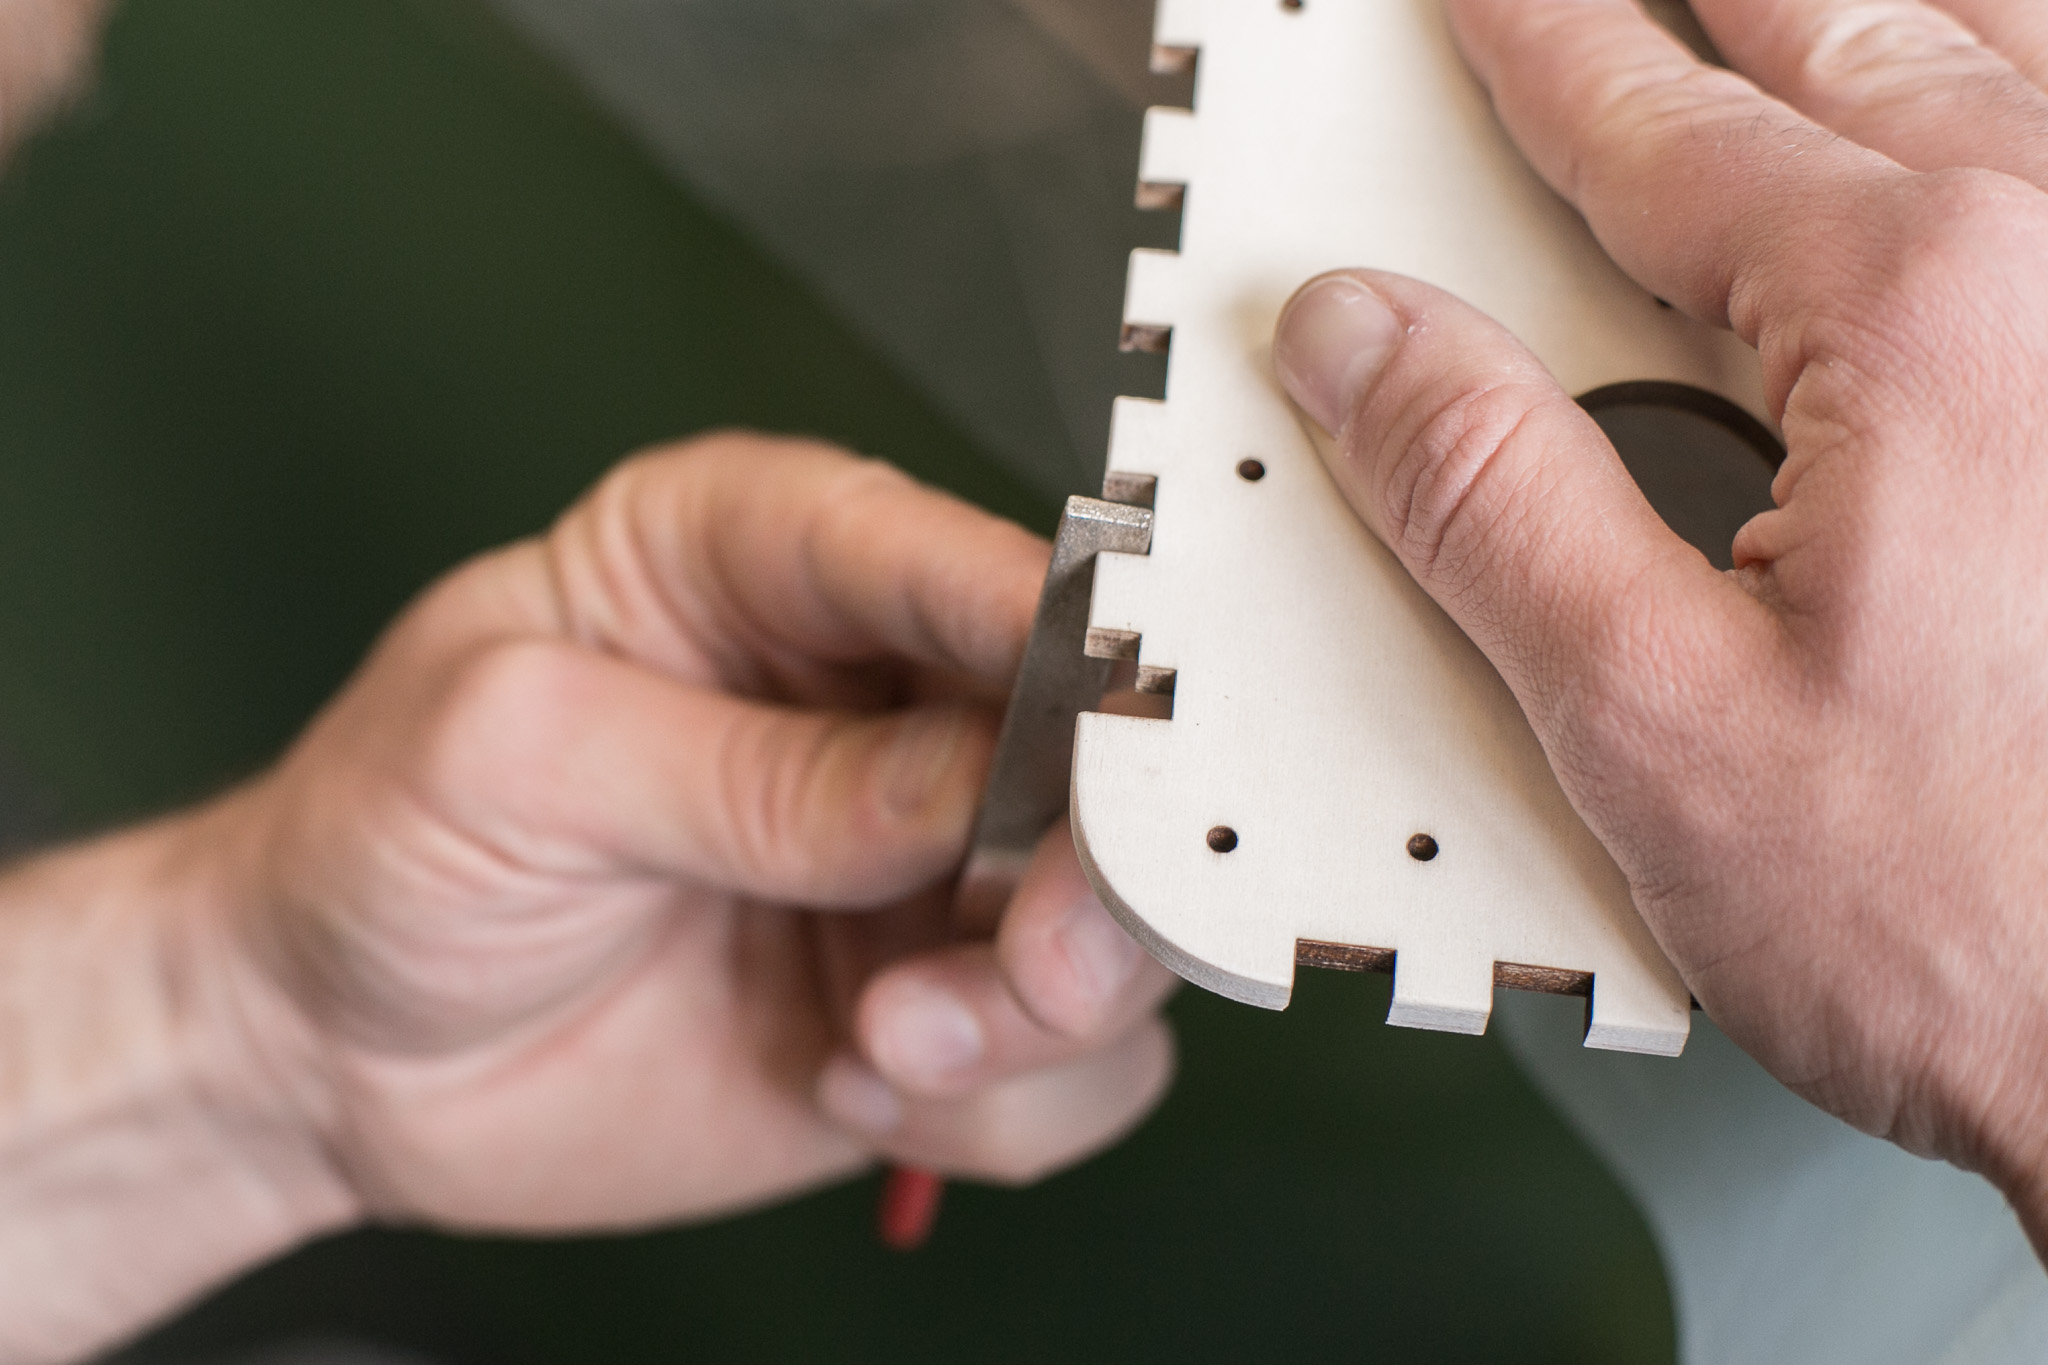
Fix the lid in a vise and carefully file away parts of the teeth with a flat file.
The use of a square file supports you to keep a right angle also in the corners.
Be careful when taking away the material and be prepared to try several times if the lid fits snug. It is not possible to re-apply filed-off material.
 Fix the lid in a vise.
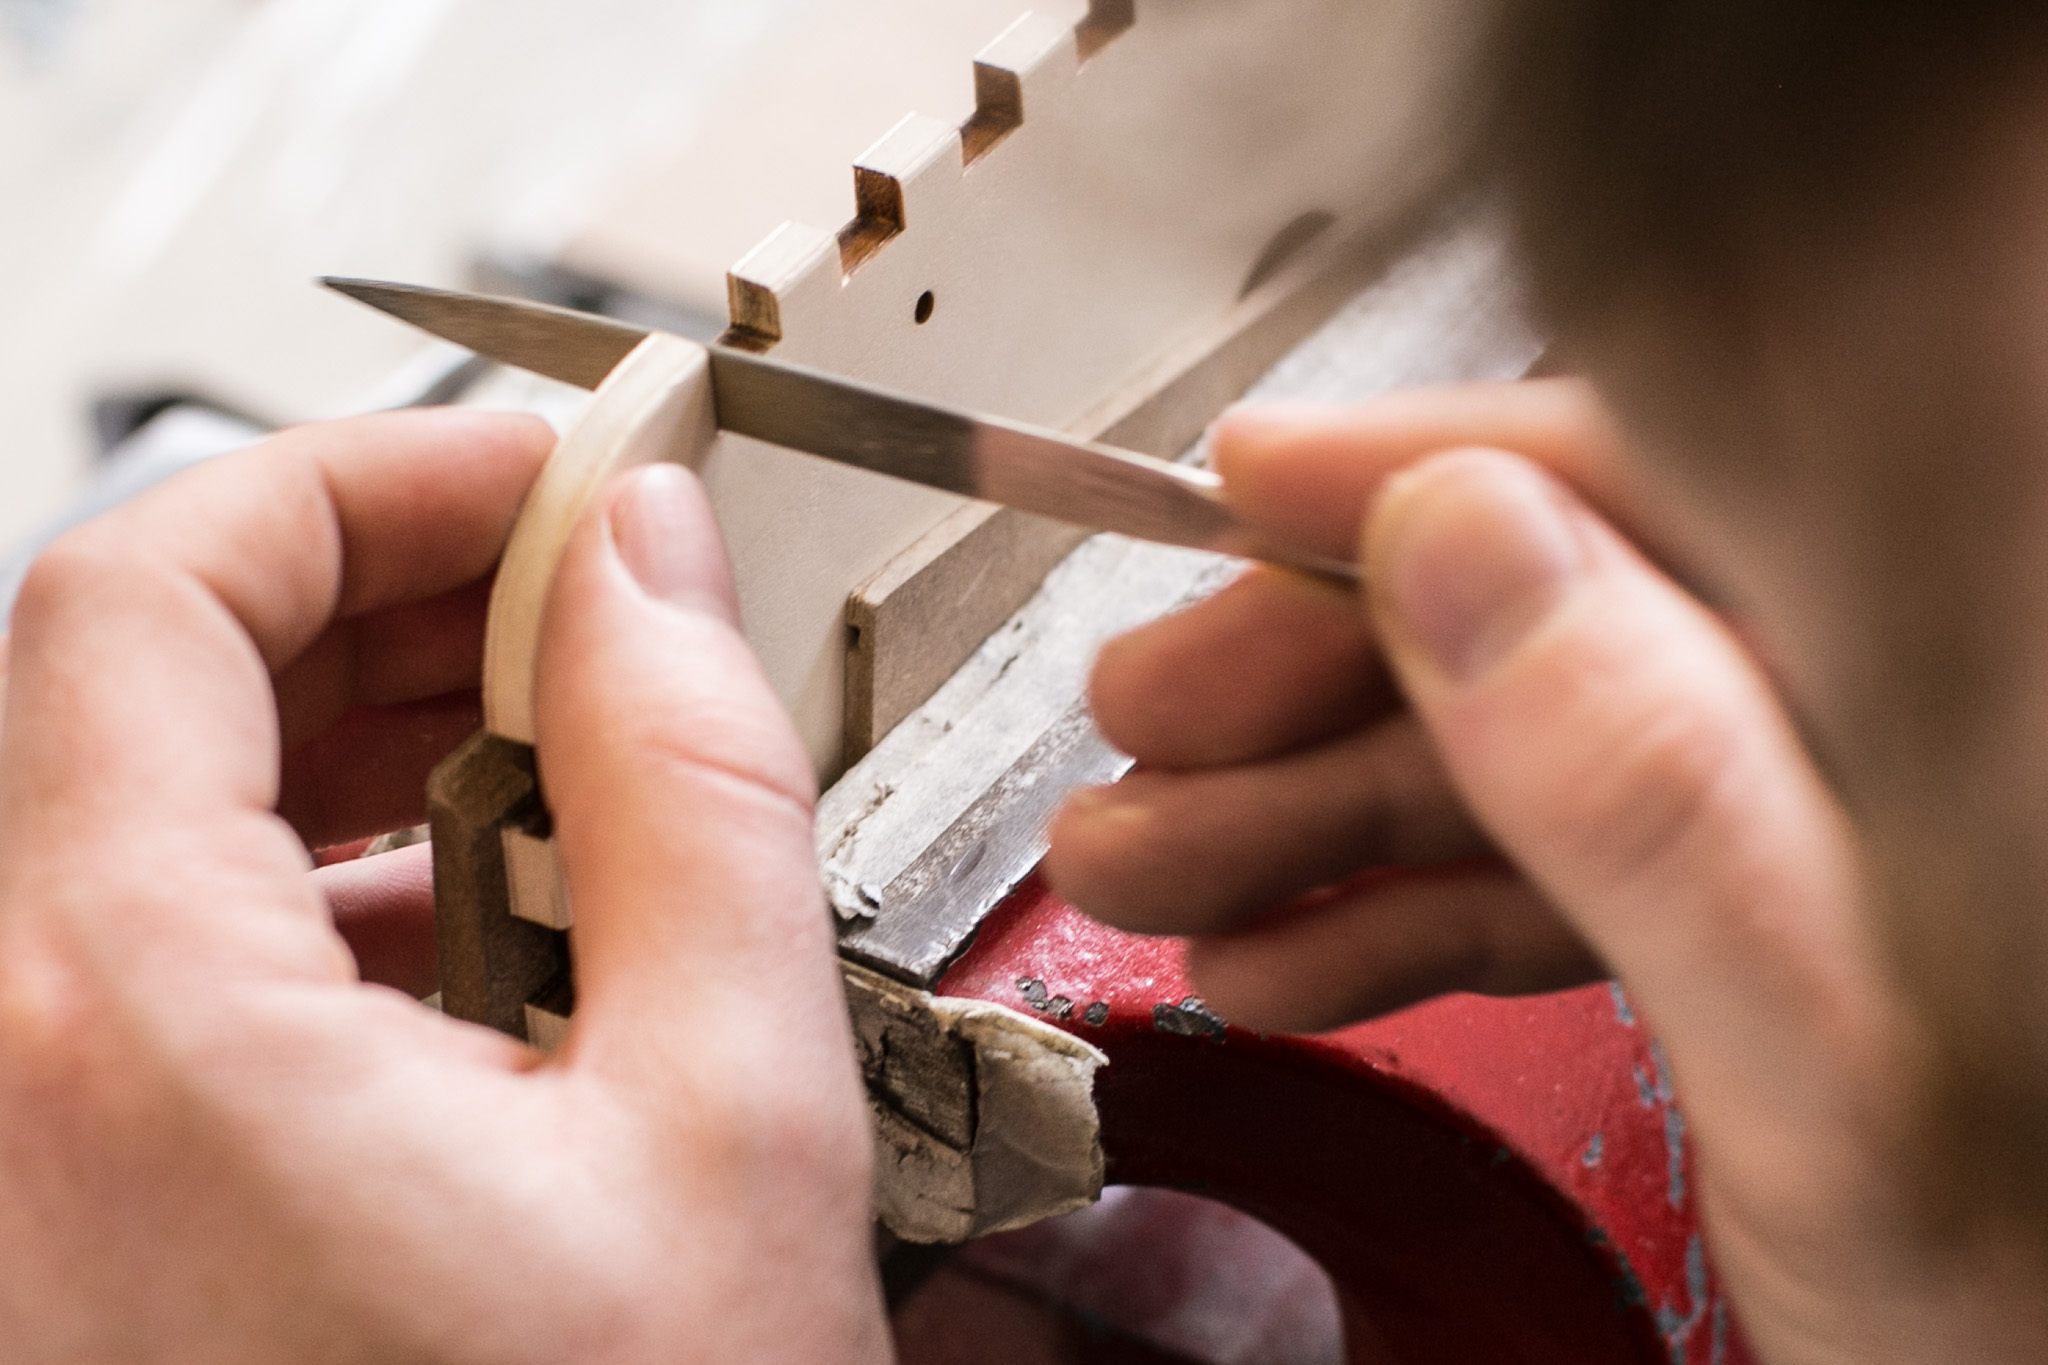 Carefully file away parts of the teeth with a flat file.
 A square file helps to keep the angle right.
Taping
Before varnishing, tape needs to be applied carefully to every area that is not supposed to be covered by varnish. This includes the surfaces where the capacitive sensors will be attached to, the screw holes (top part and lower box) and the area where the LiPo-charger will be glued to.
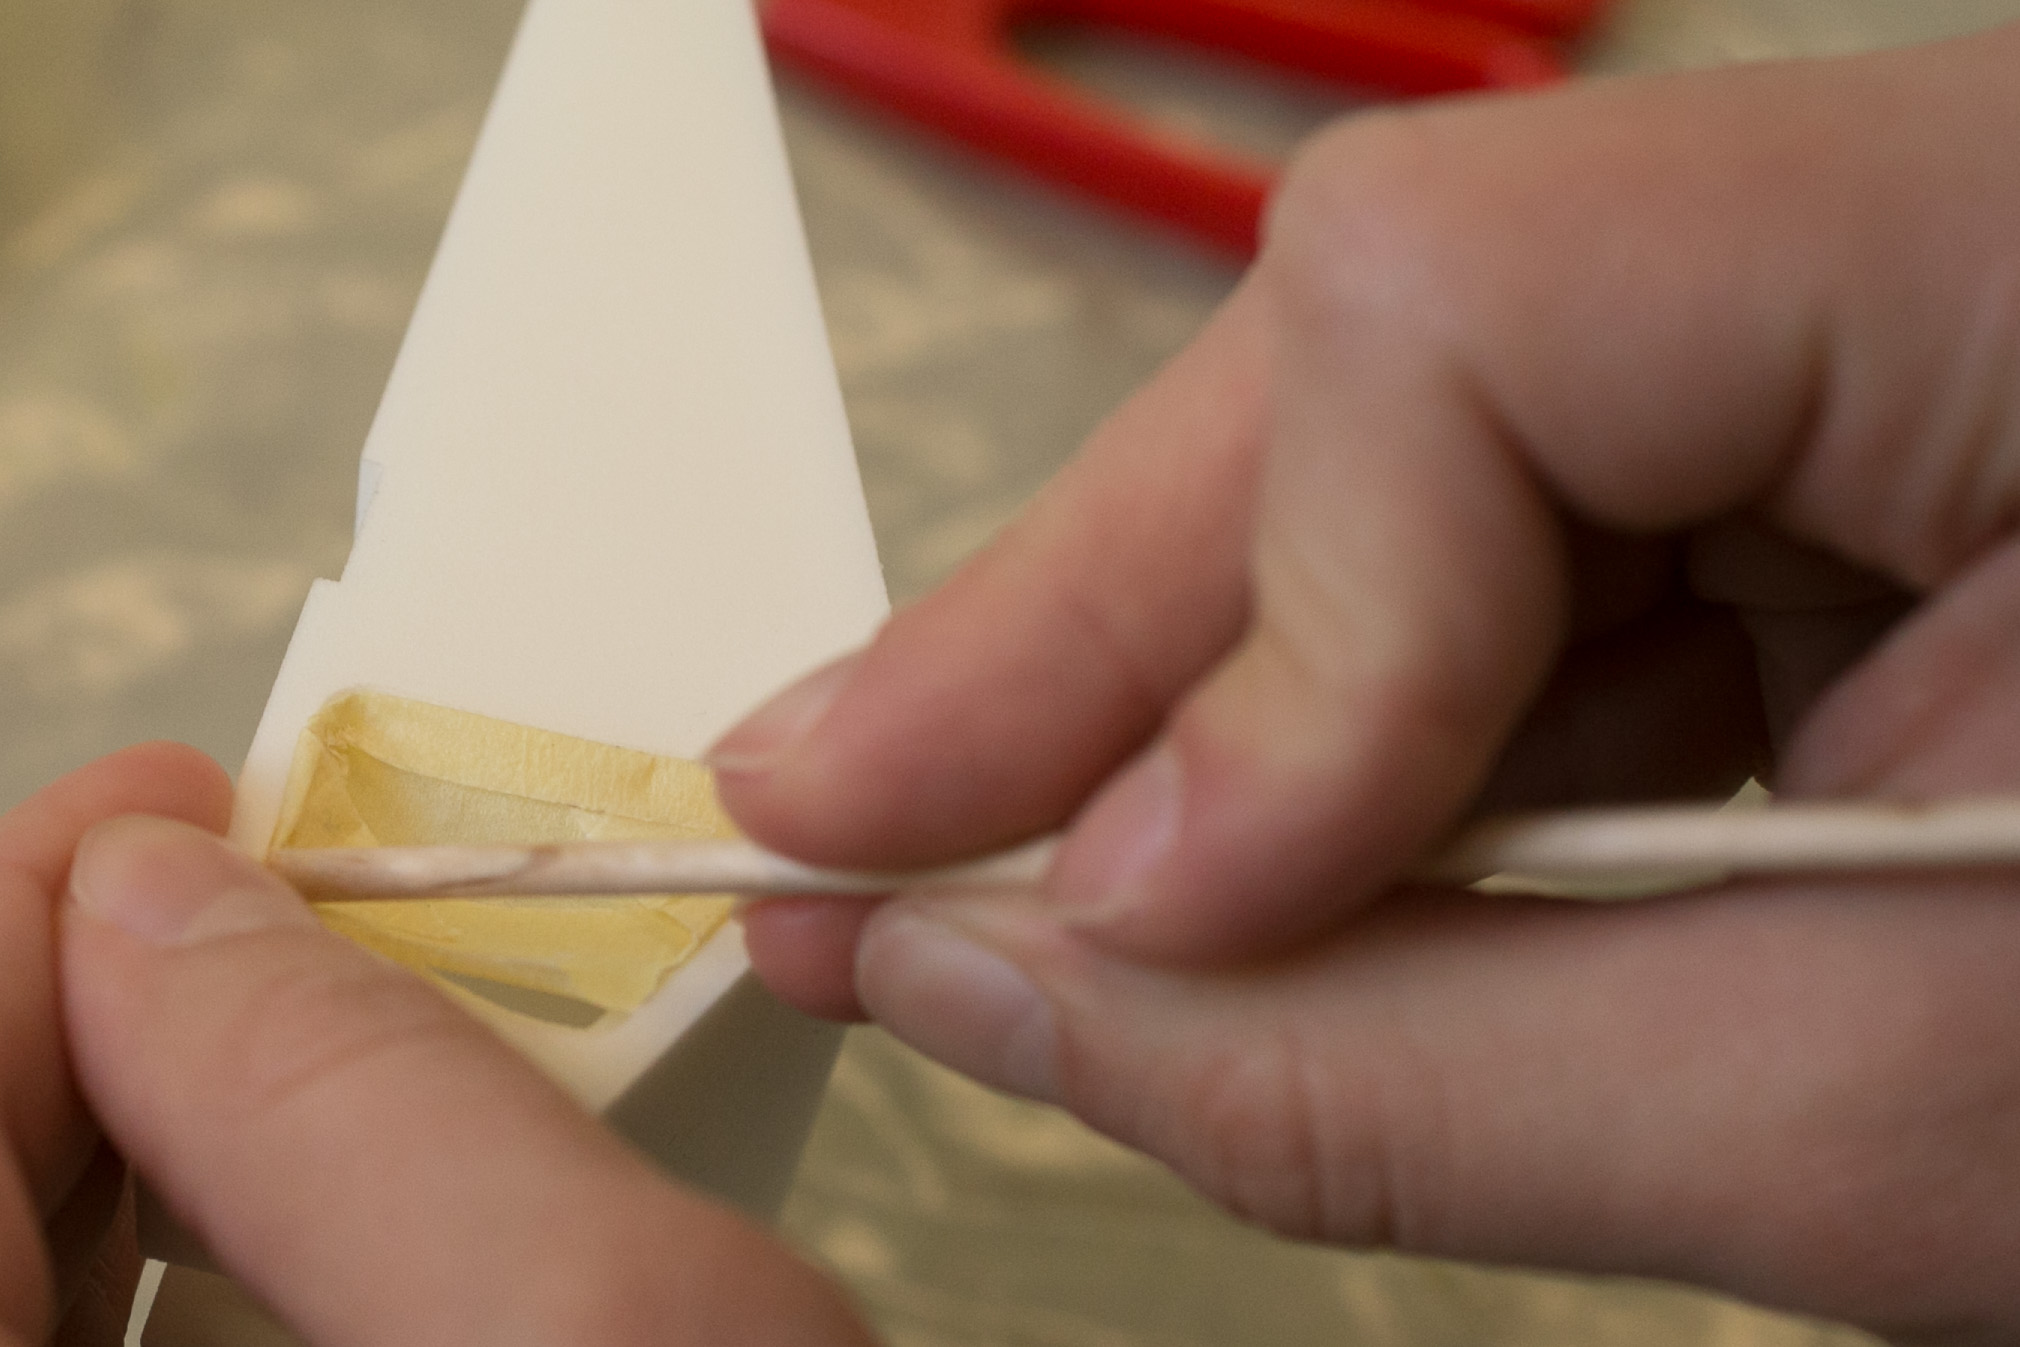 A pointy wooden stick helps when applying tape to tricky areas
 Using pointy toothpicks for apply tape on capacitive sensing area for the fingers
 Cutting of extra tape off close to edges of part
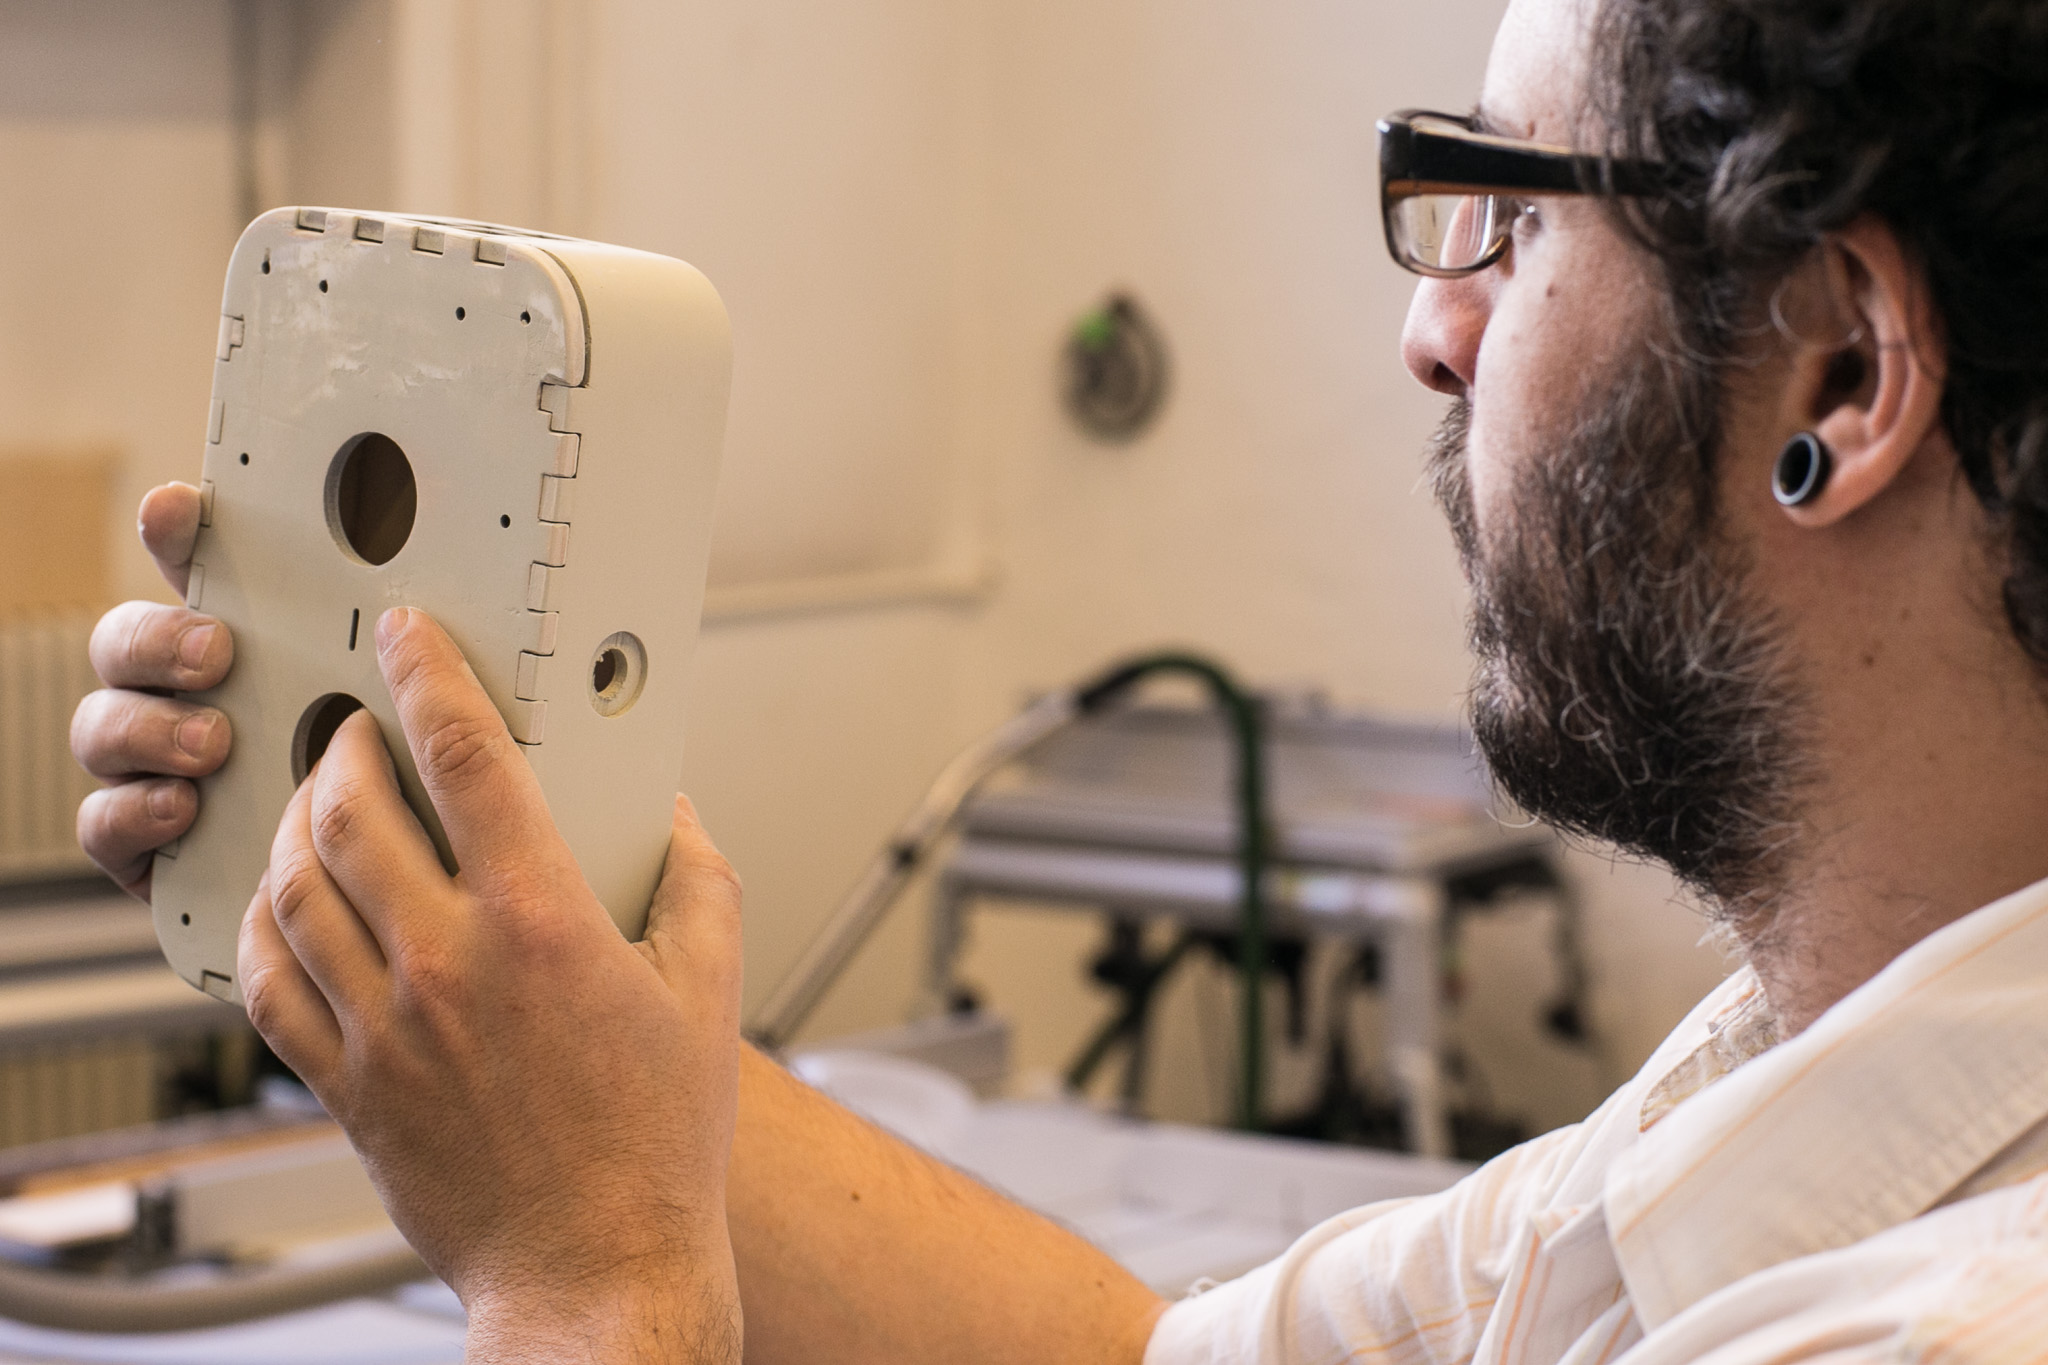
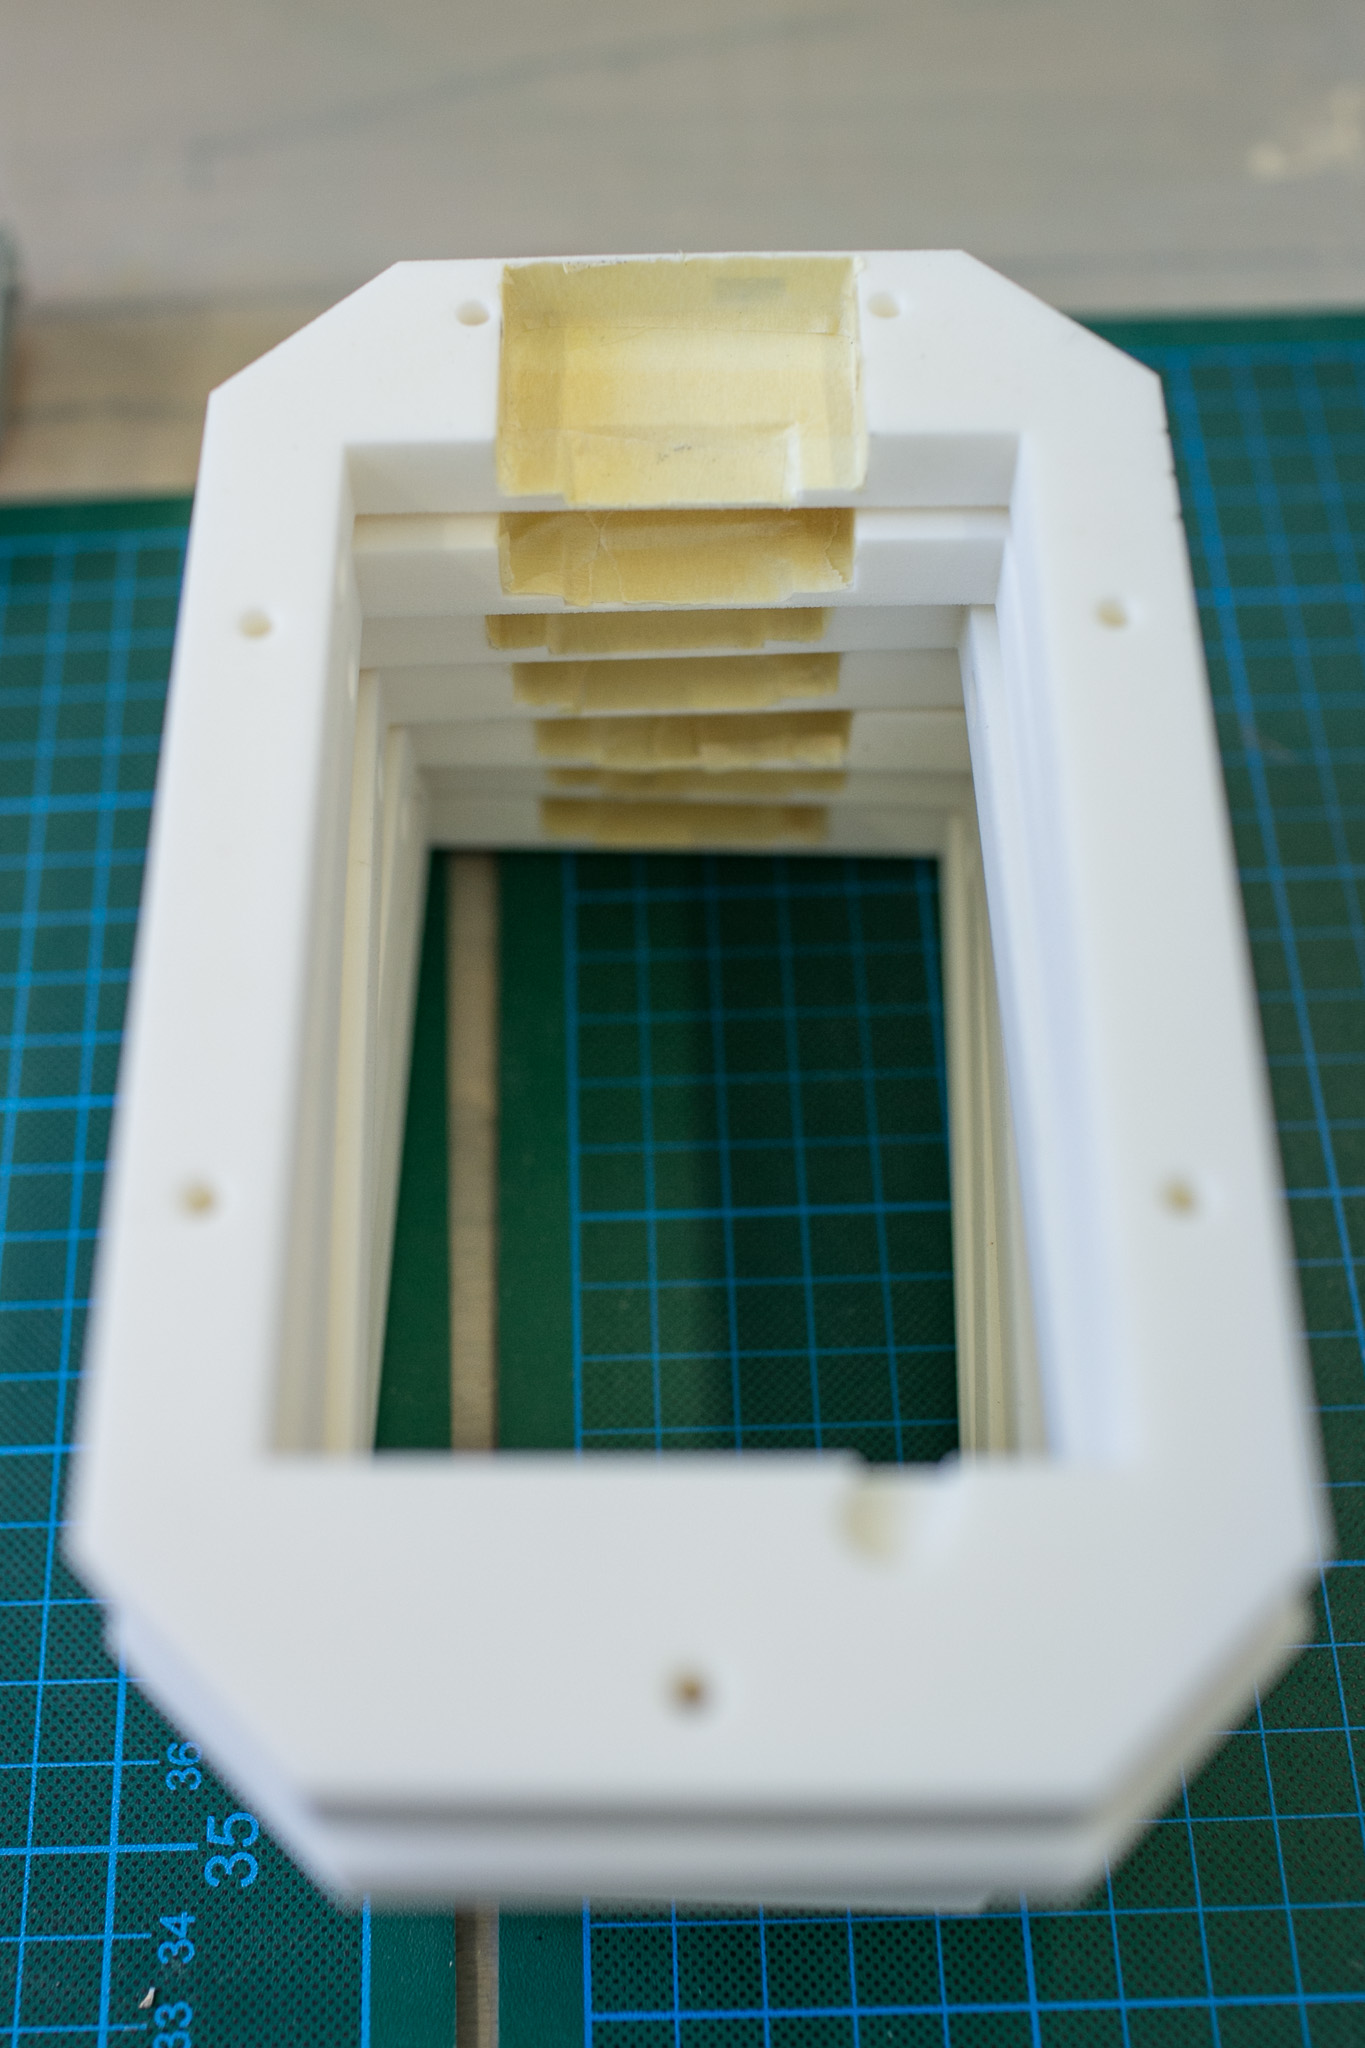 Area where tape needs to be applied on top part ring
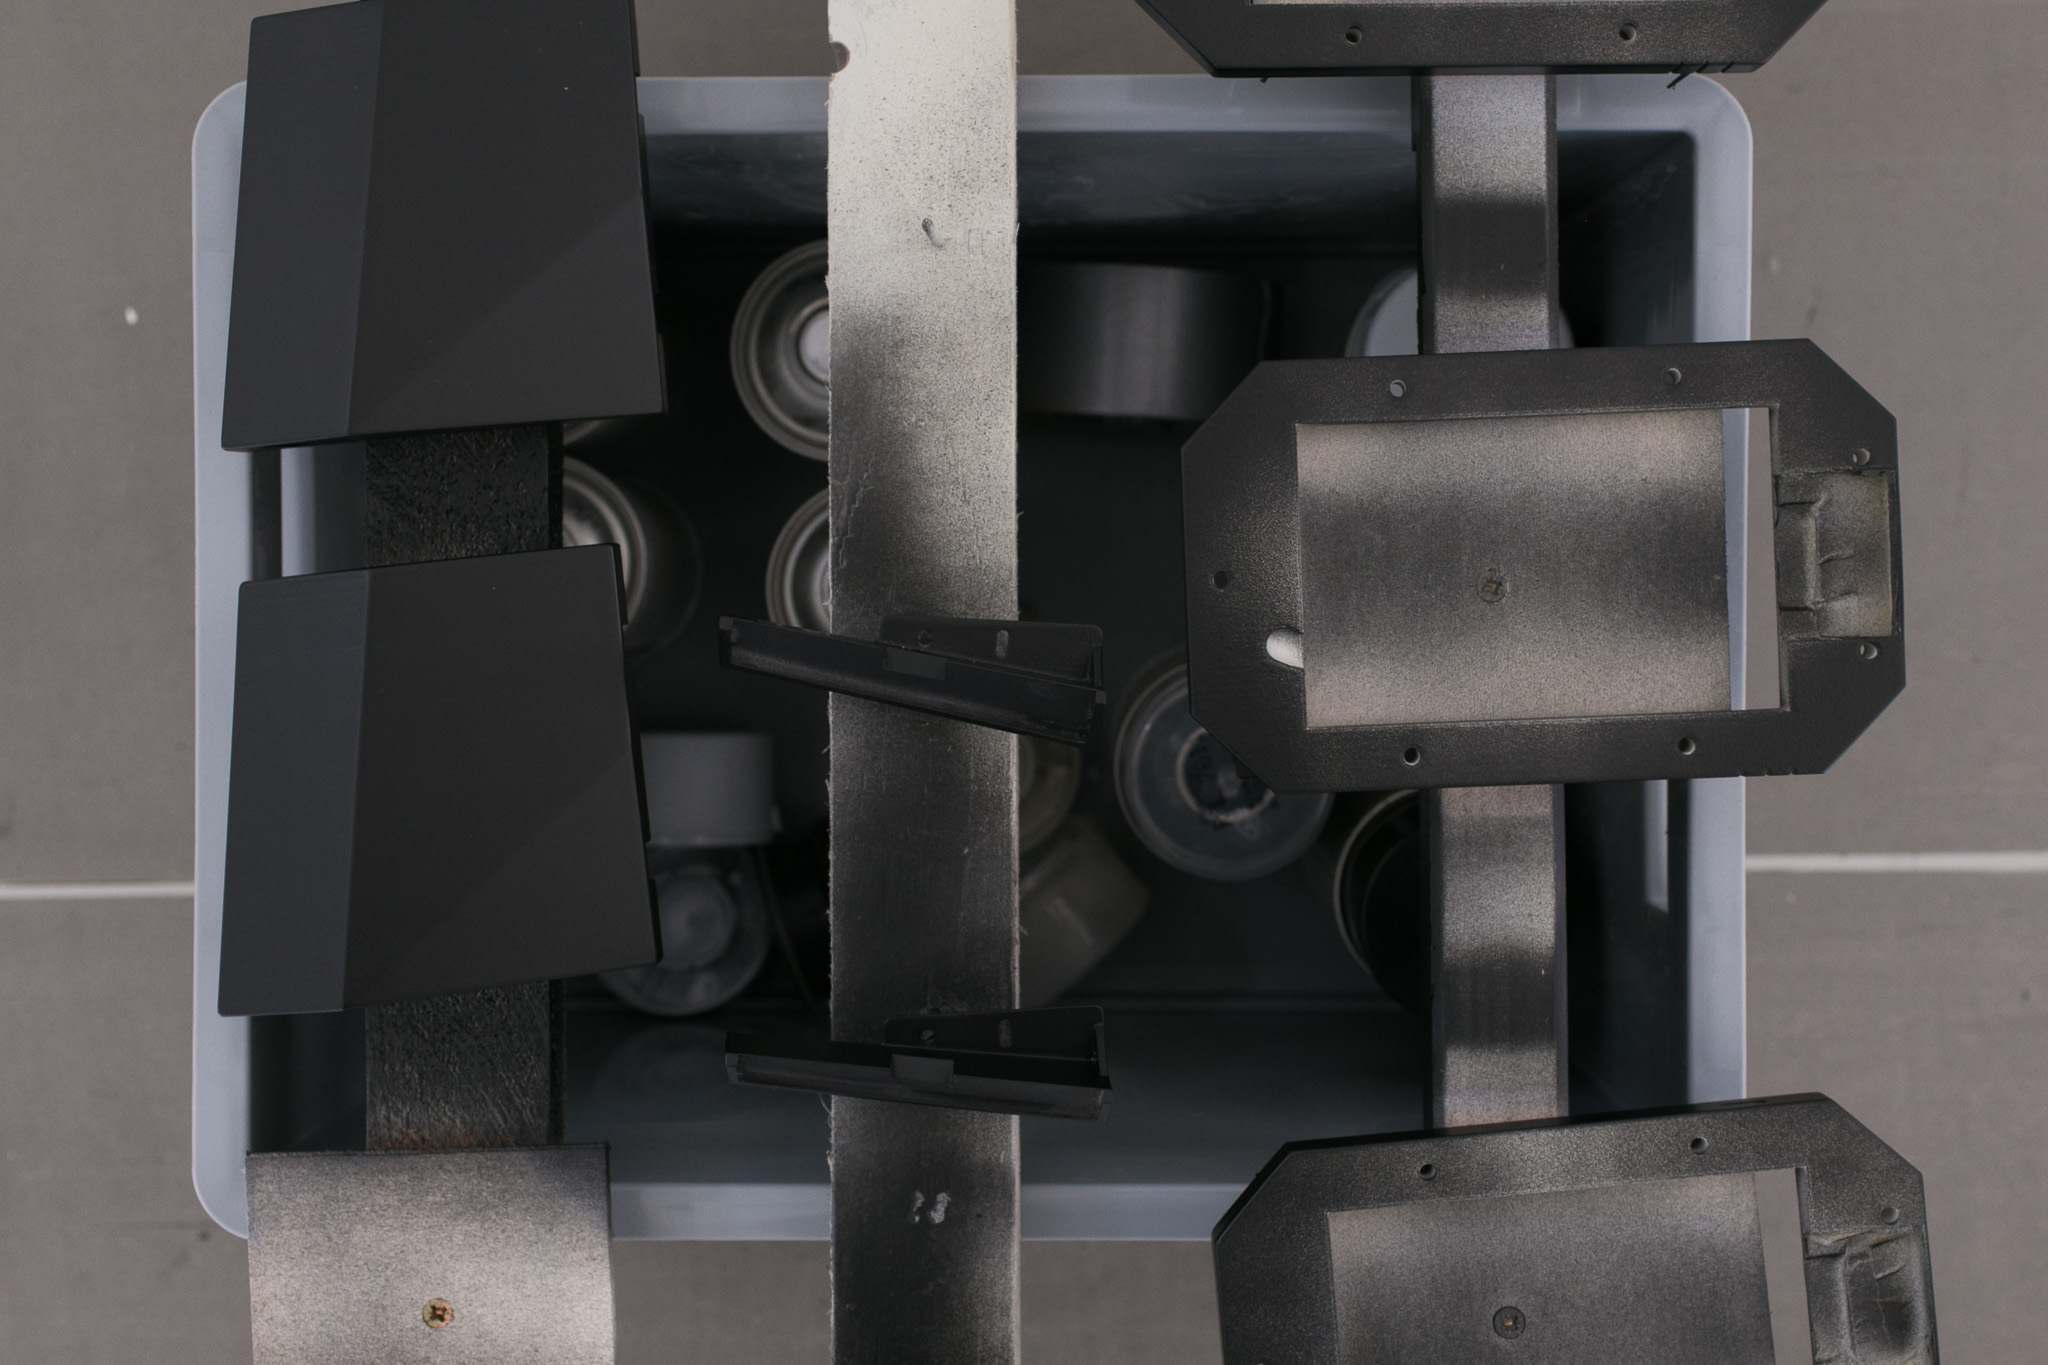
 Top- and finger-parts positioned on varnish allowance ready to be varnished, holes and capacitive sensing areas covered with tape
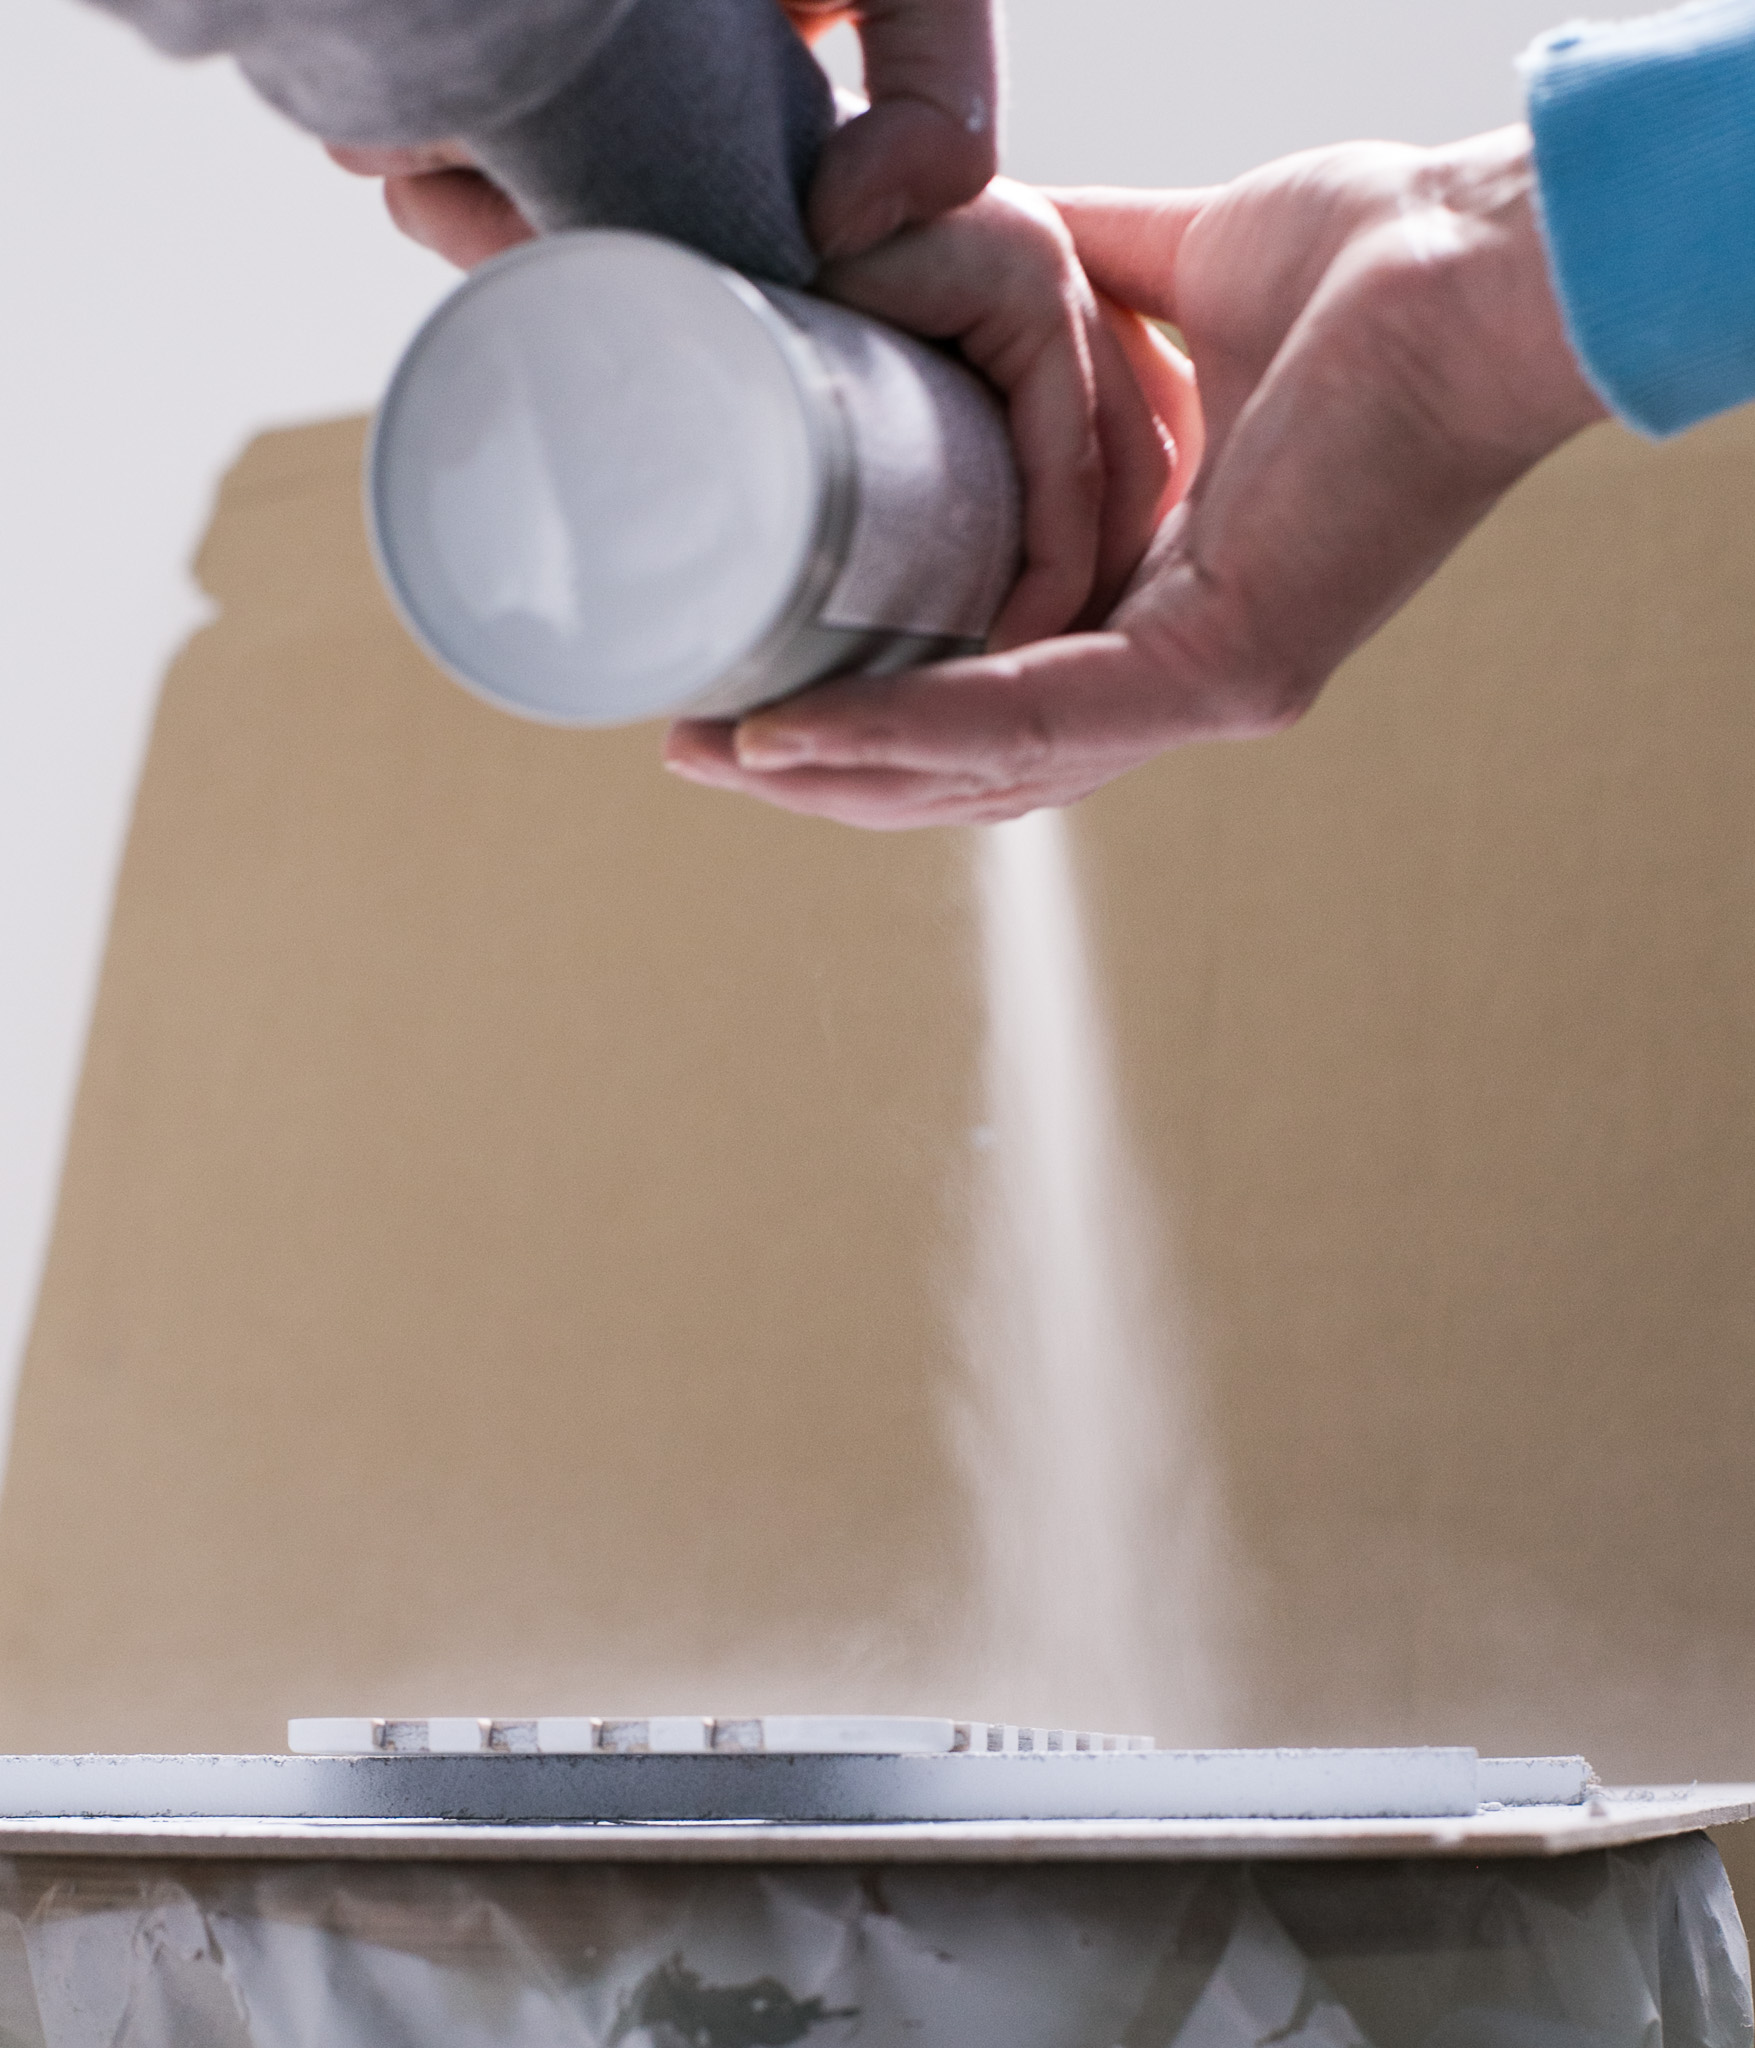
Wet Sanding
Wet sanding is necessary between applying layers of filler and varnish on all 3D printed plastic parts.
Do not sand after applying the plastic primer! Depending on which spray putty you use, you probably do not have to sand either.
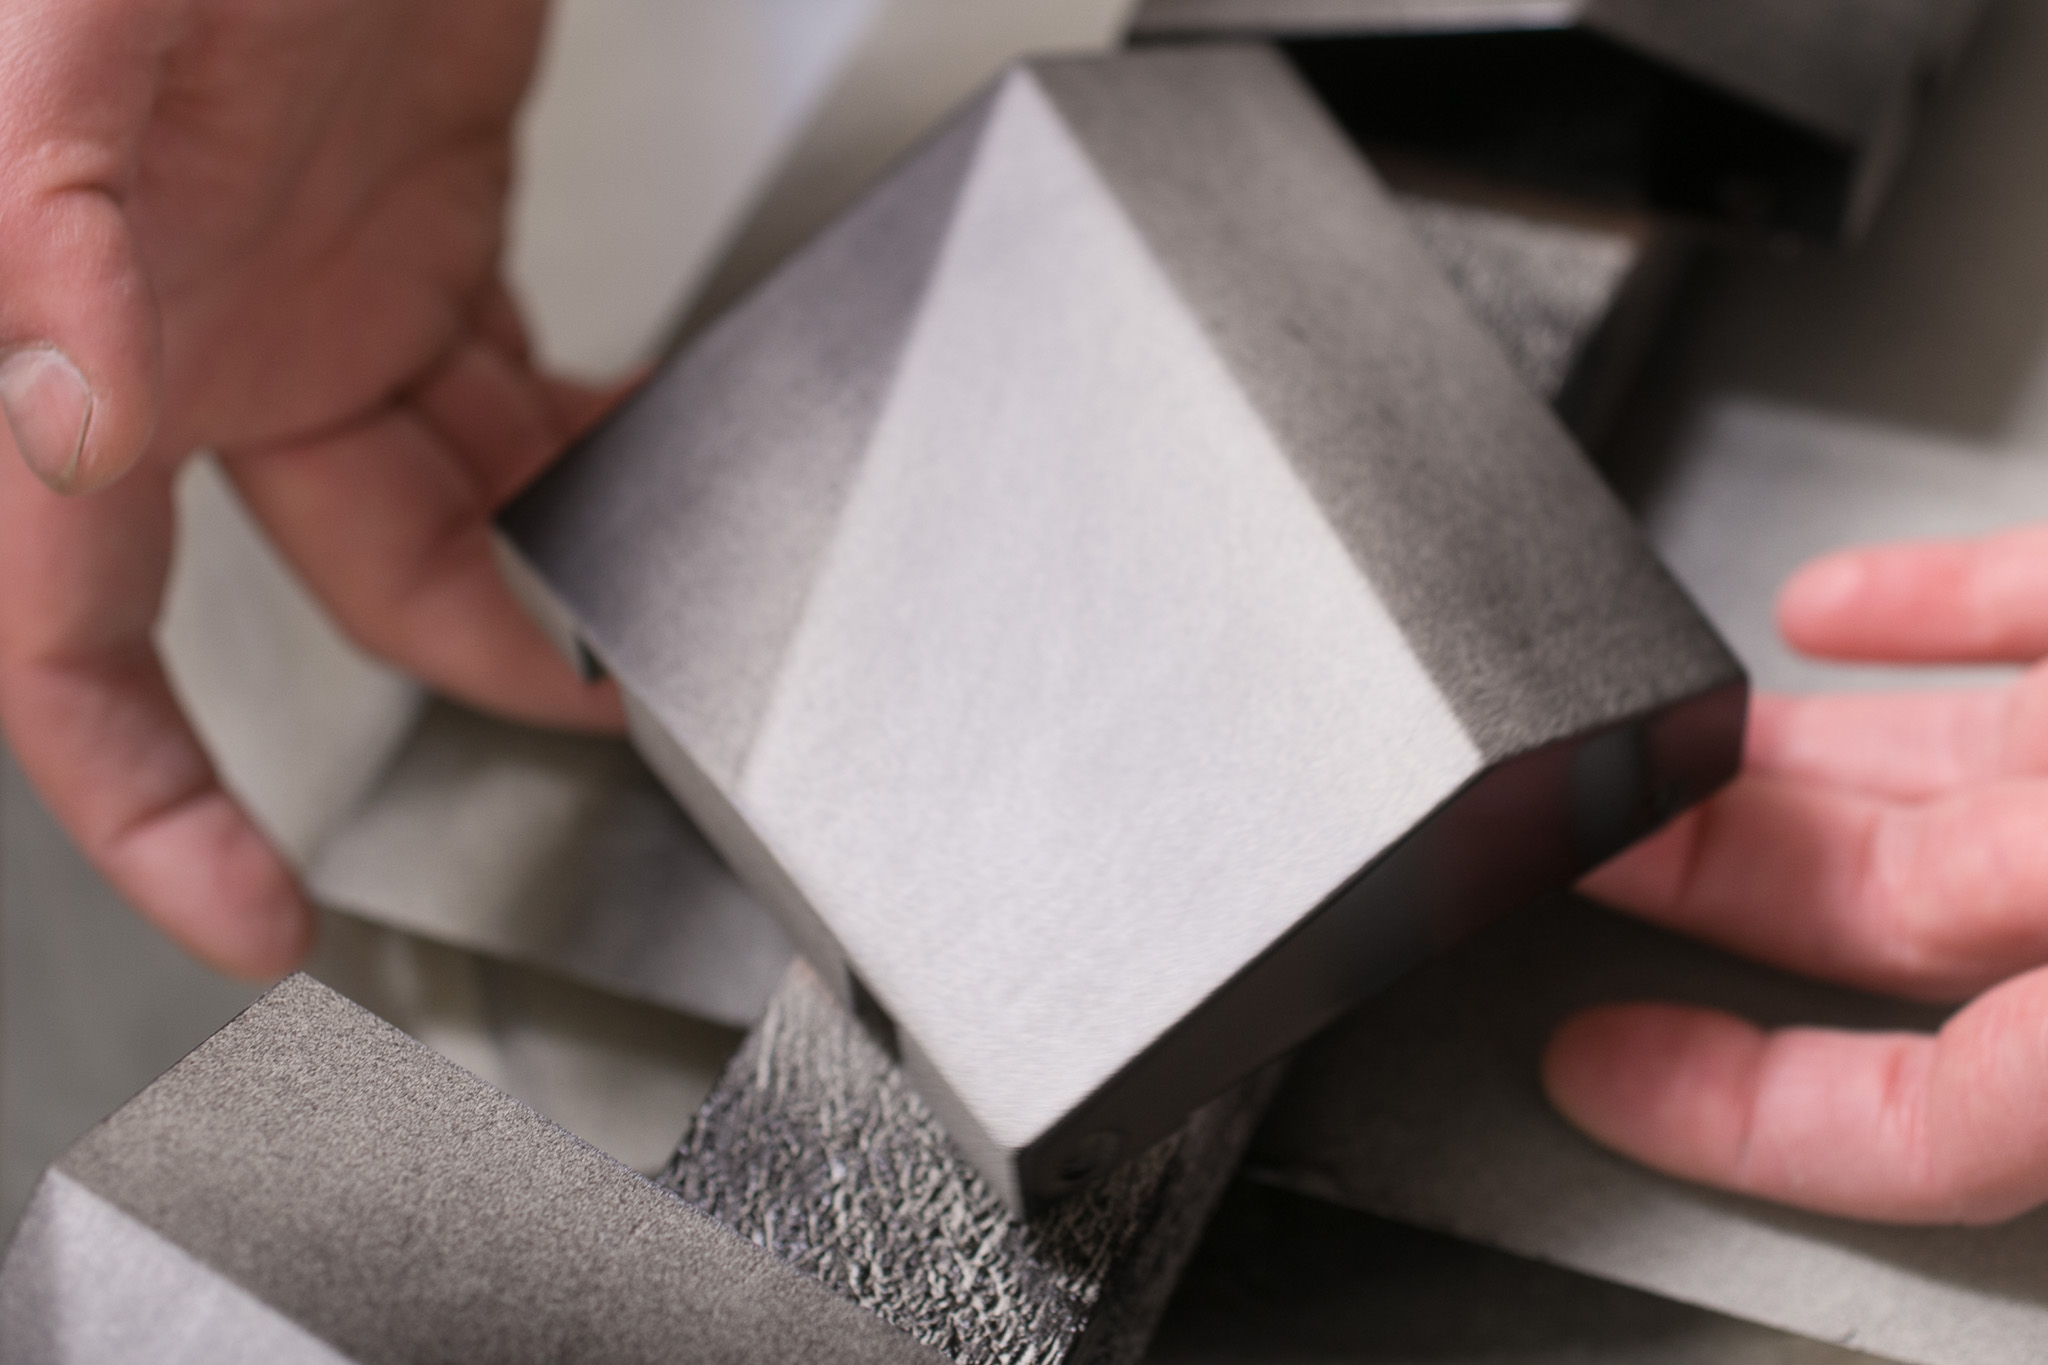
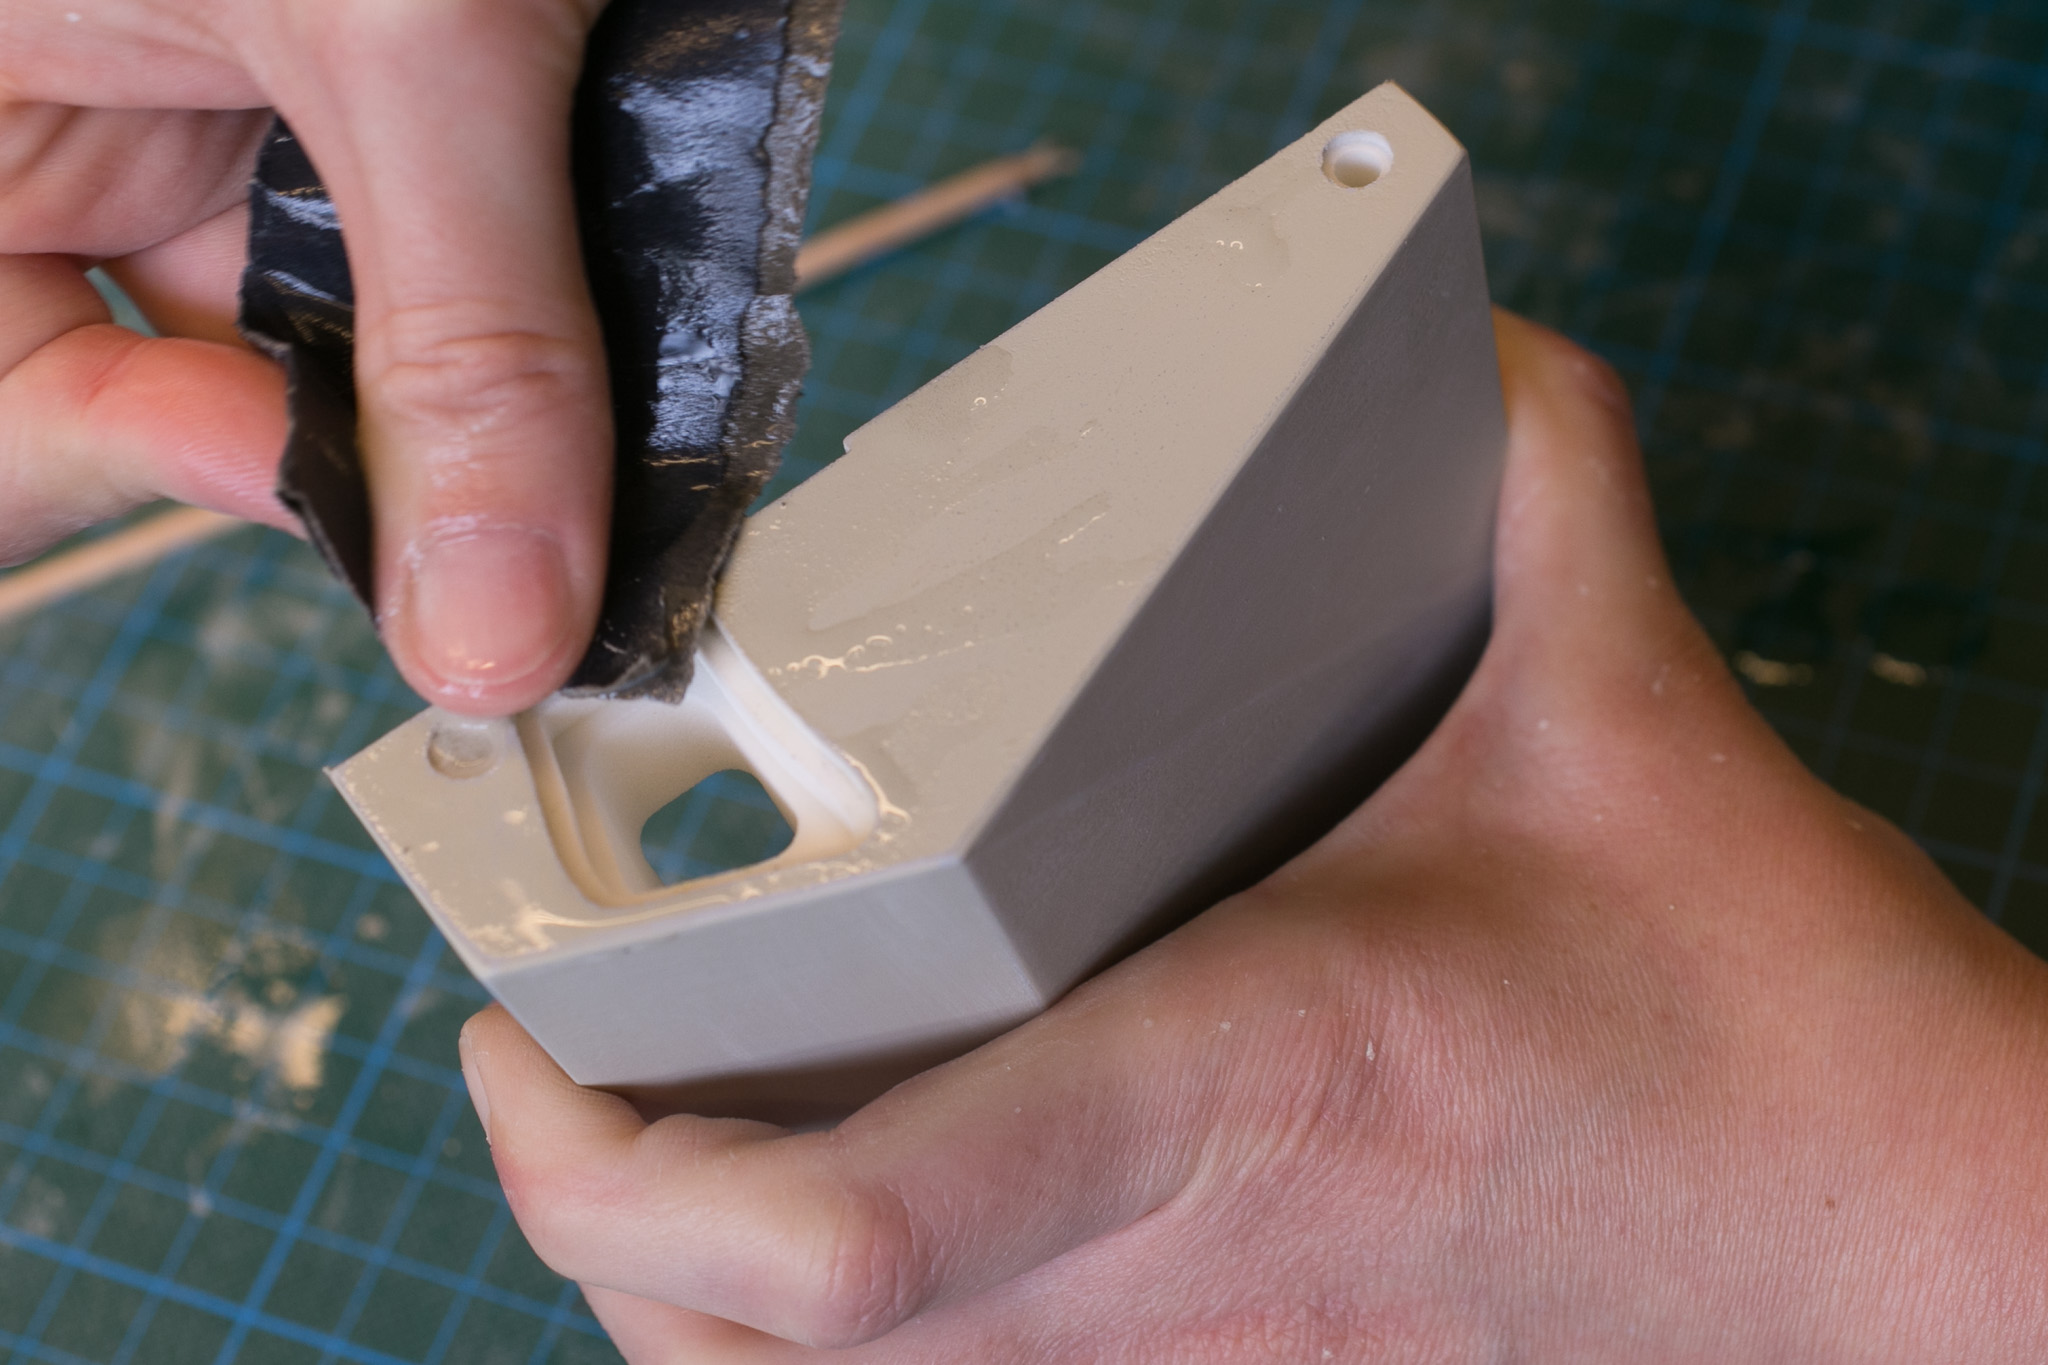 Start sanding the 3D printed parts with P400 after you have applied the plastic primer, spray putty and a first layer of filler. sand wet, meaning that you should stick the sanding paper into water every once in a while and use an acrylic glass bloc to fold sanding paper around. For small surfaces and edges fold sanding paper in half and use your fingers.
 After sanding dry each part with paper towel. make sure that surfaces are evenly wan.
Varnishing top parts
Before varnishing 3D printed parts plastic primer needs to be applied, otherwise the varnish wont stick to the surface. Wait approximately for 30min (see instructions on primer). Do not sand! Directly apply spray putty afterwards. In general: When you spray paint it is always a good idea to apply two thinner layers than on thicker layer. Paint tends to drip and leaves unpleasant noses on the surface. Same thing holds true for spray putty and filler, even they have less viscosity. Spray upright surfaces from bottom to top. Keep even distance and angle to surfaces and move from left to right with an approximate even speed. It is all about even layer thickness especially when it comes to sanding later on!
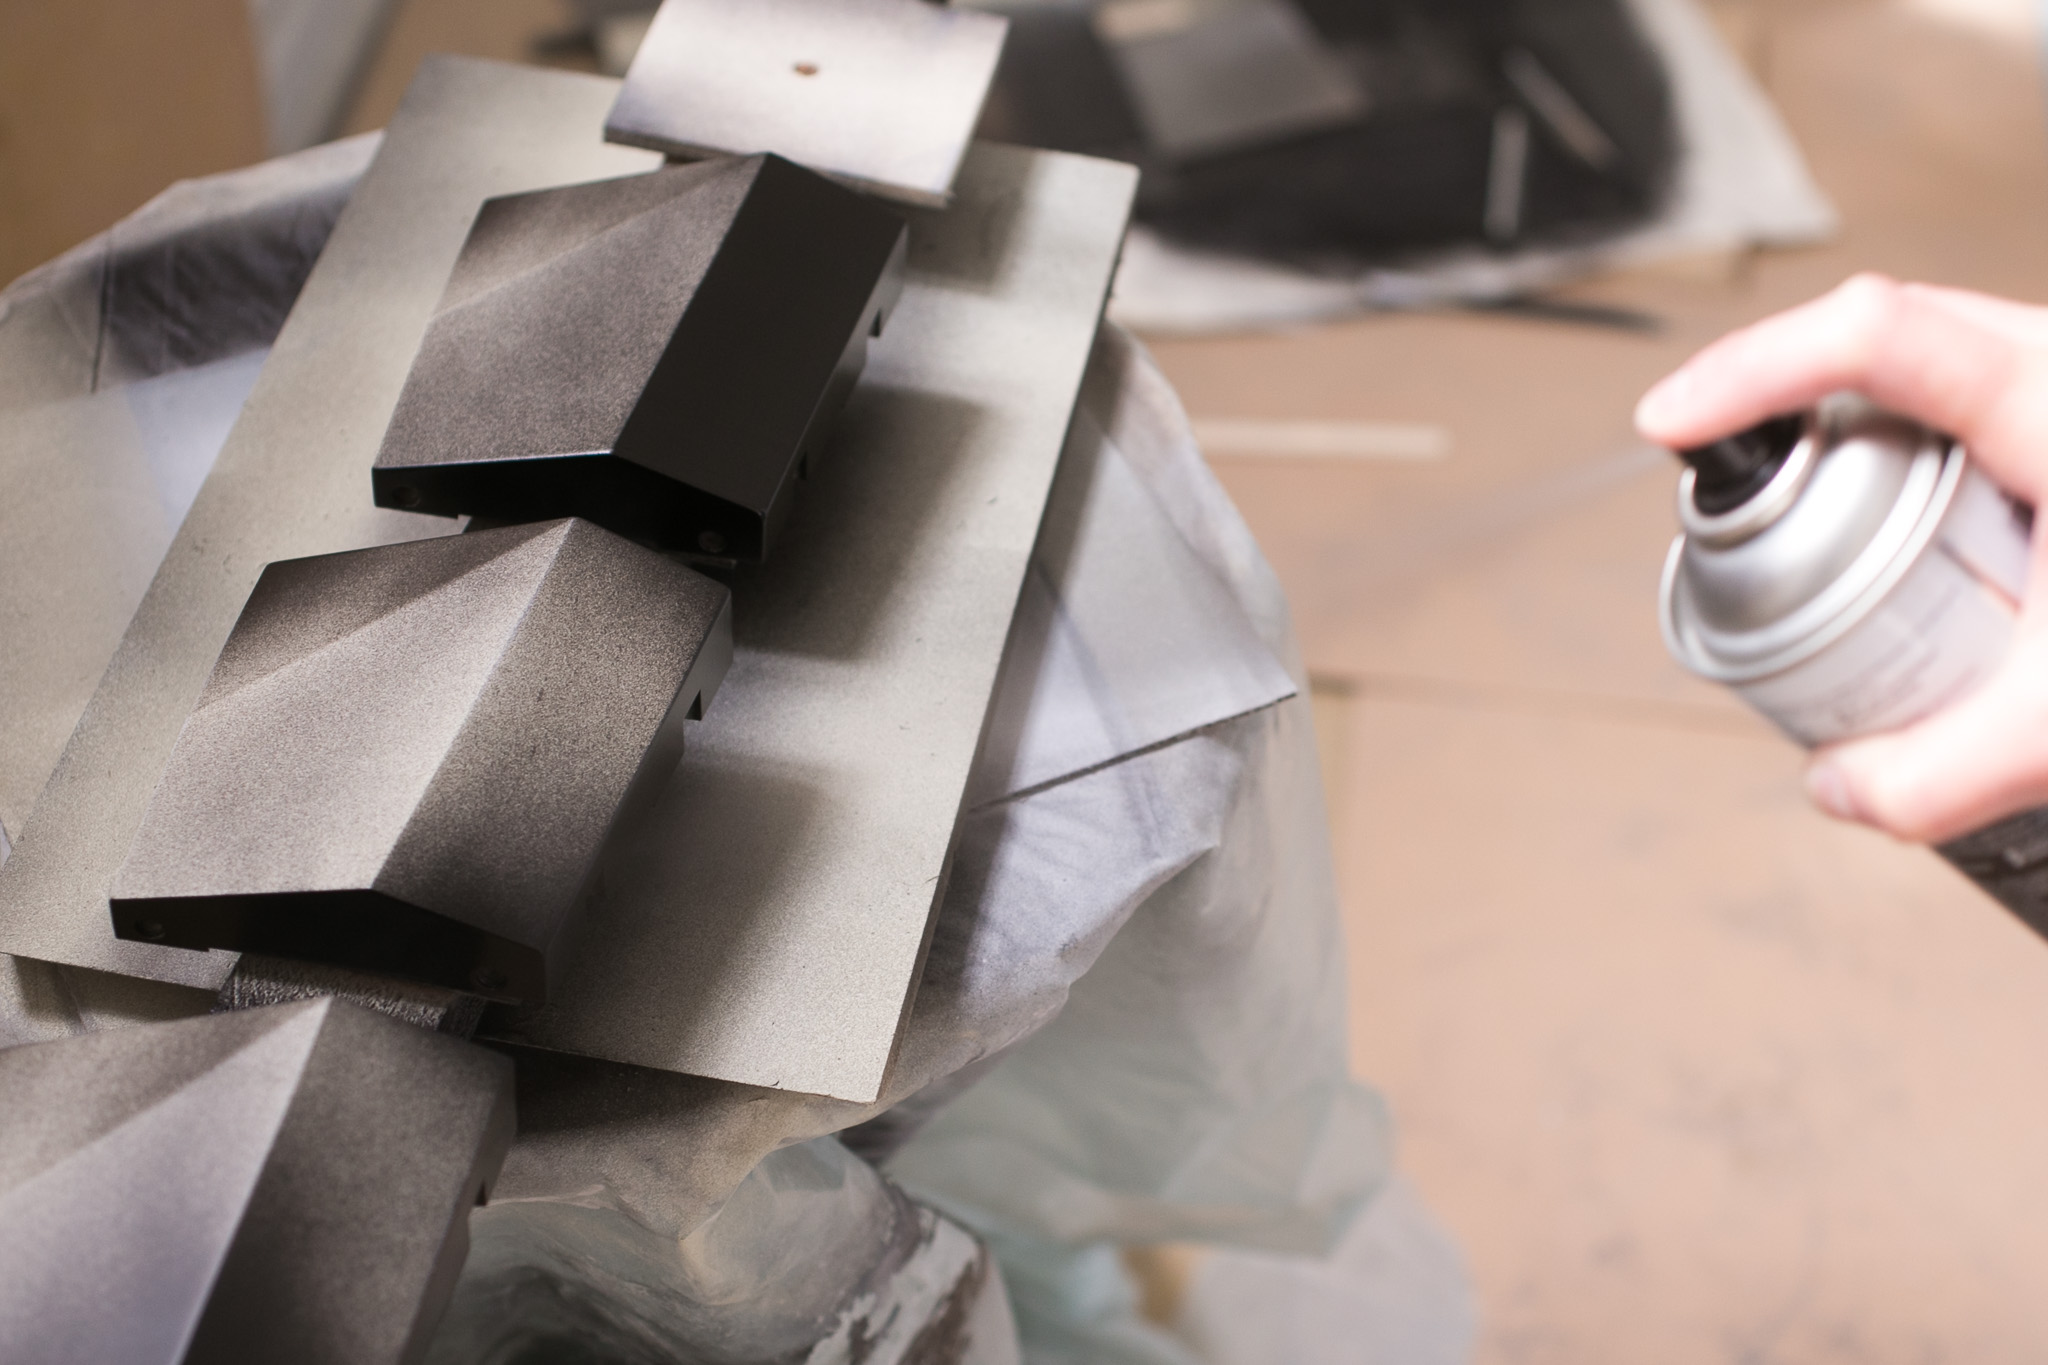
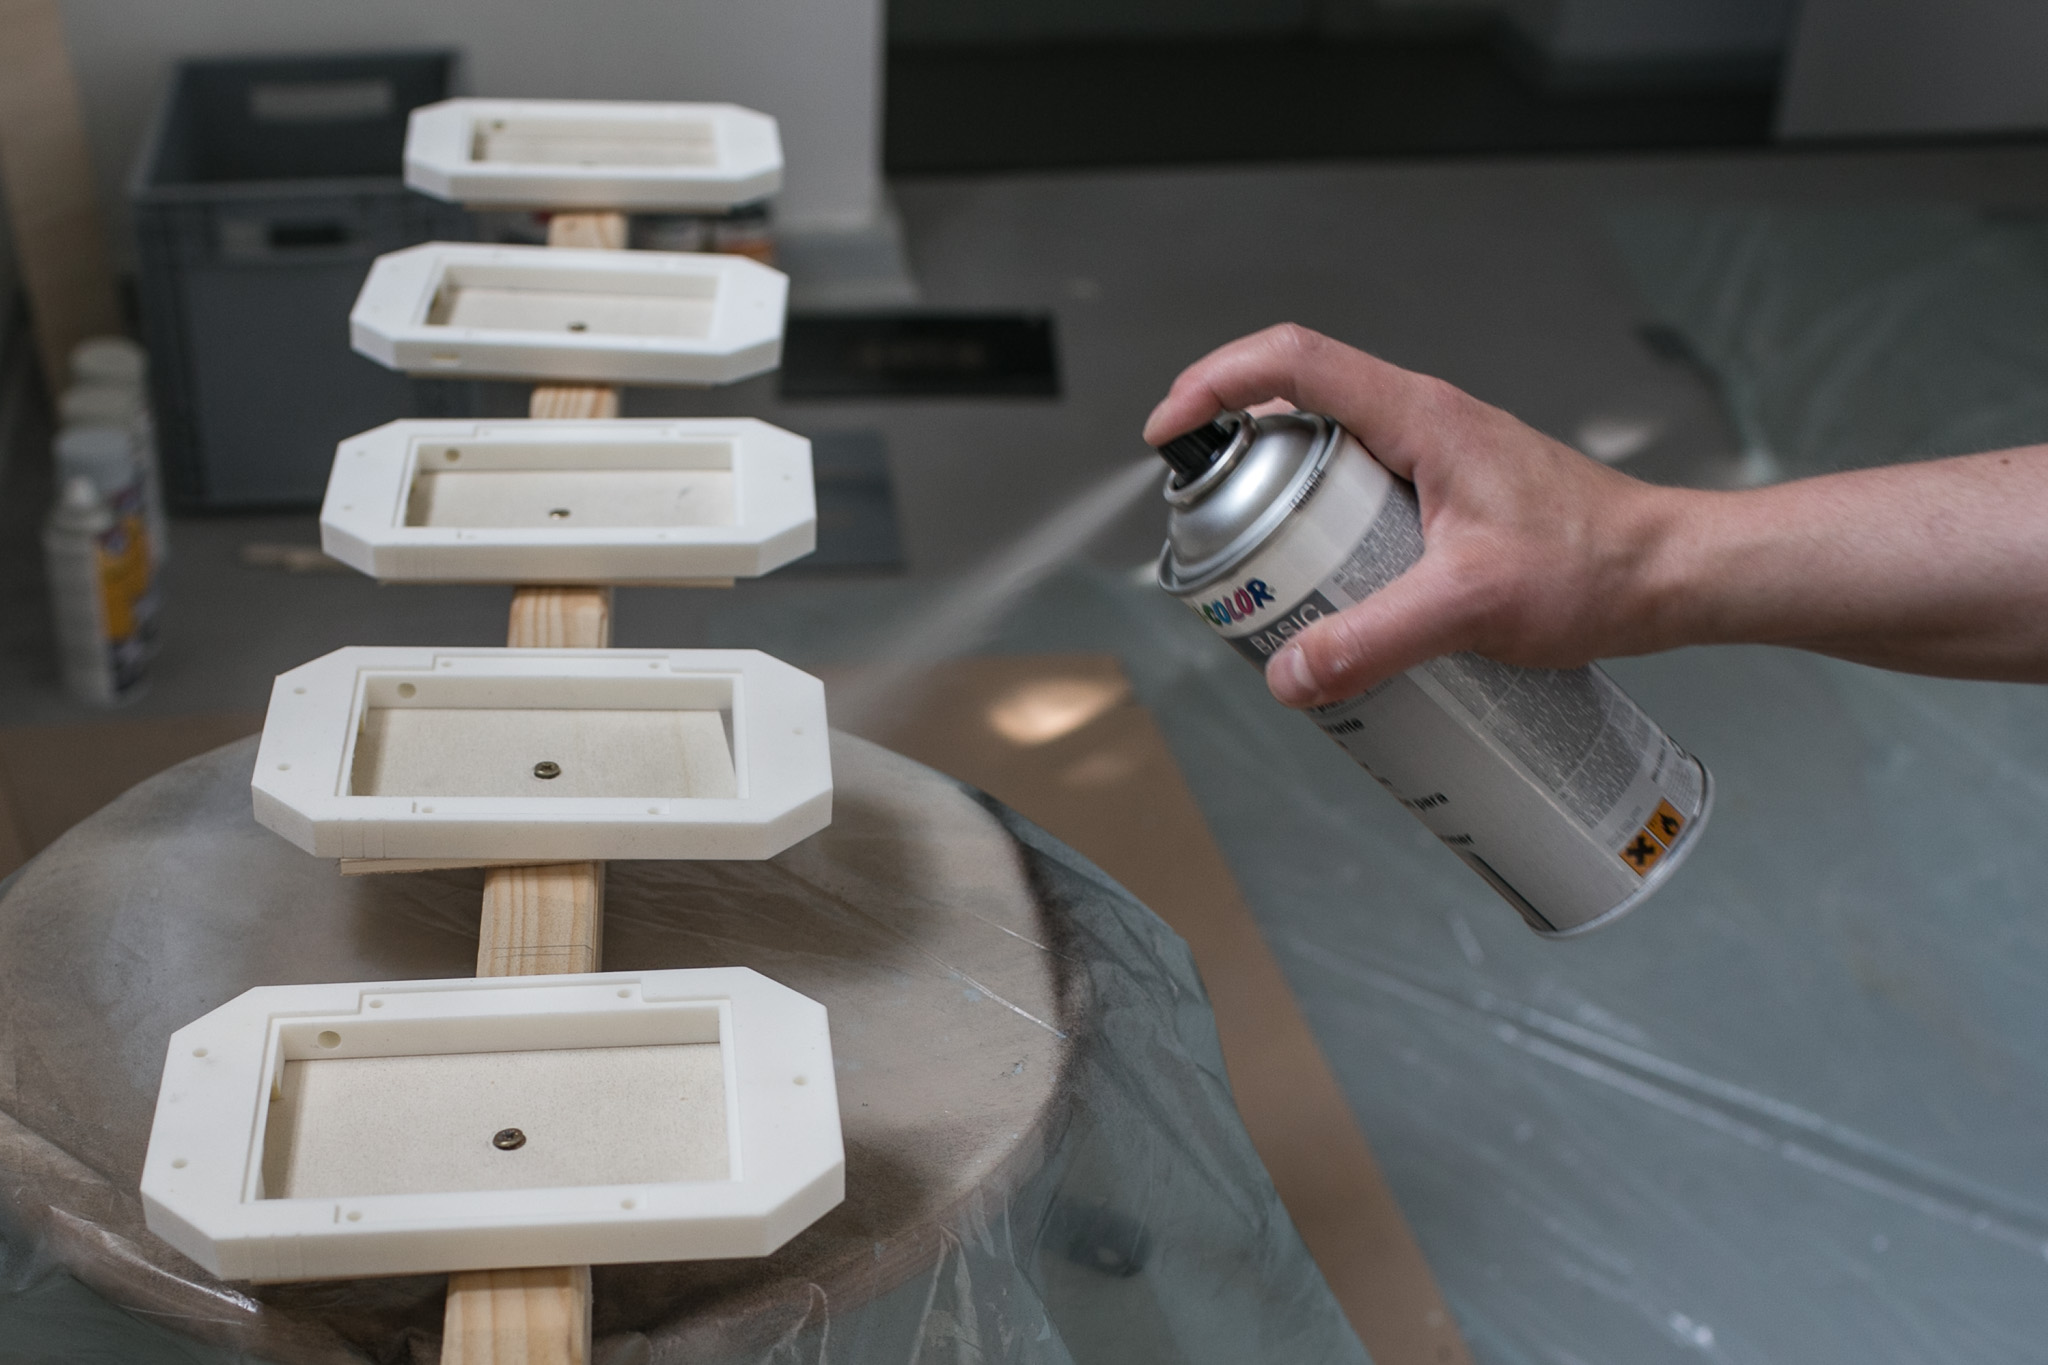 Applying plastic primer on top part ring. Edges should be sprayed in 45 degree angle, surfaces rectangular.
 make sure to cover bottom edges as well, when applying spray putty, filler and varnish!
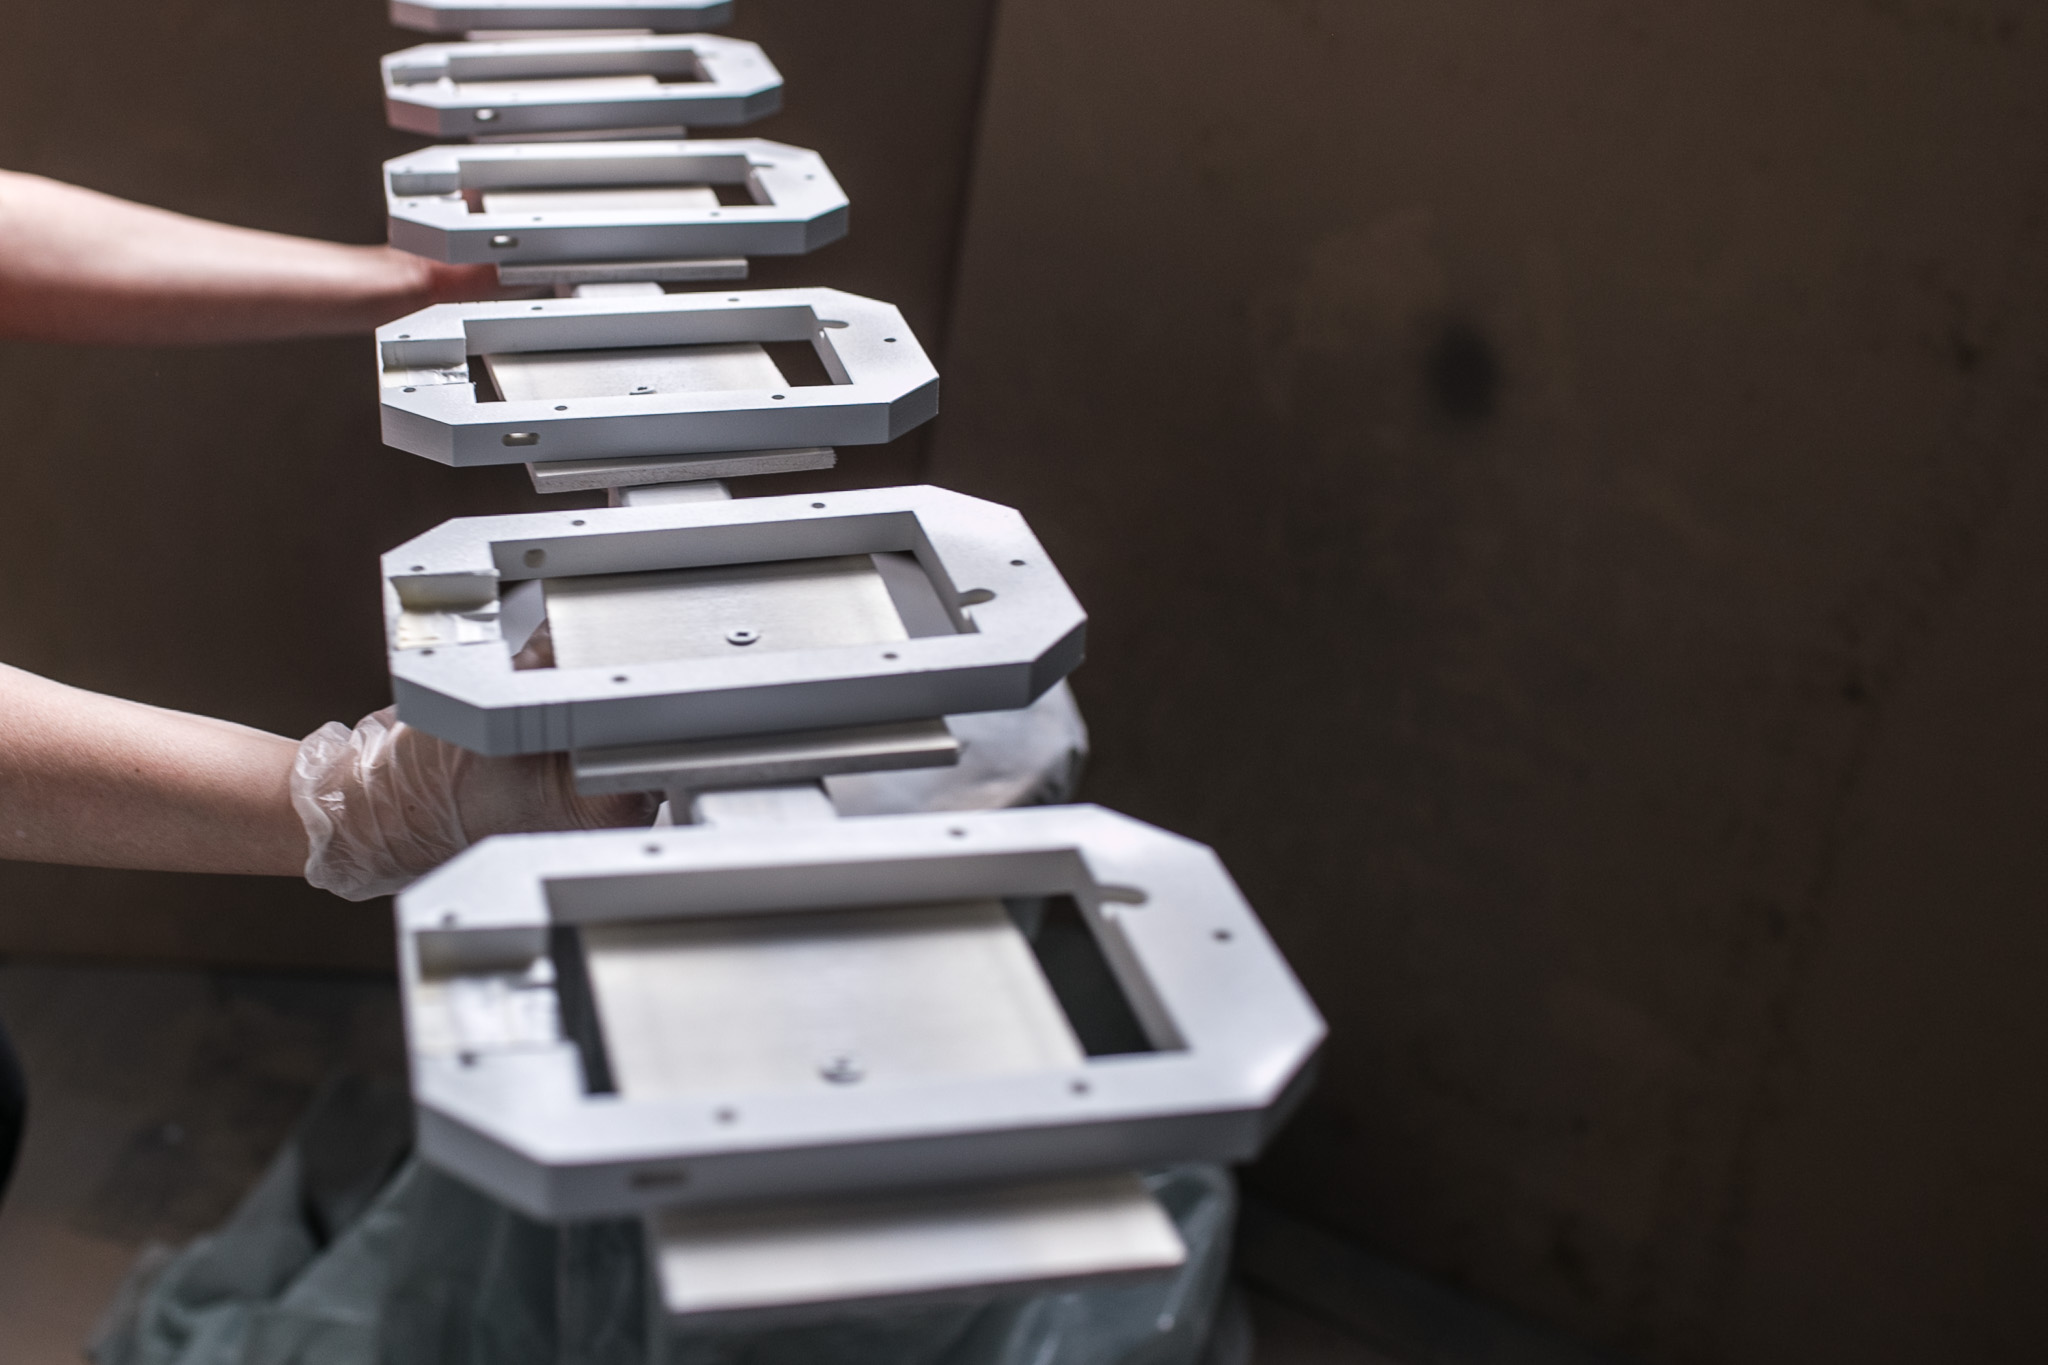
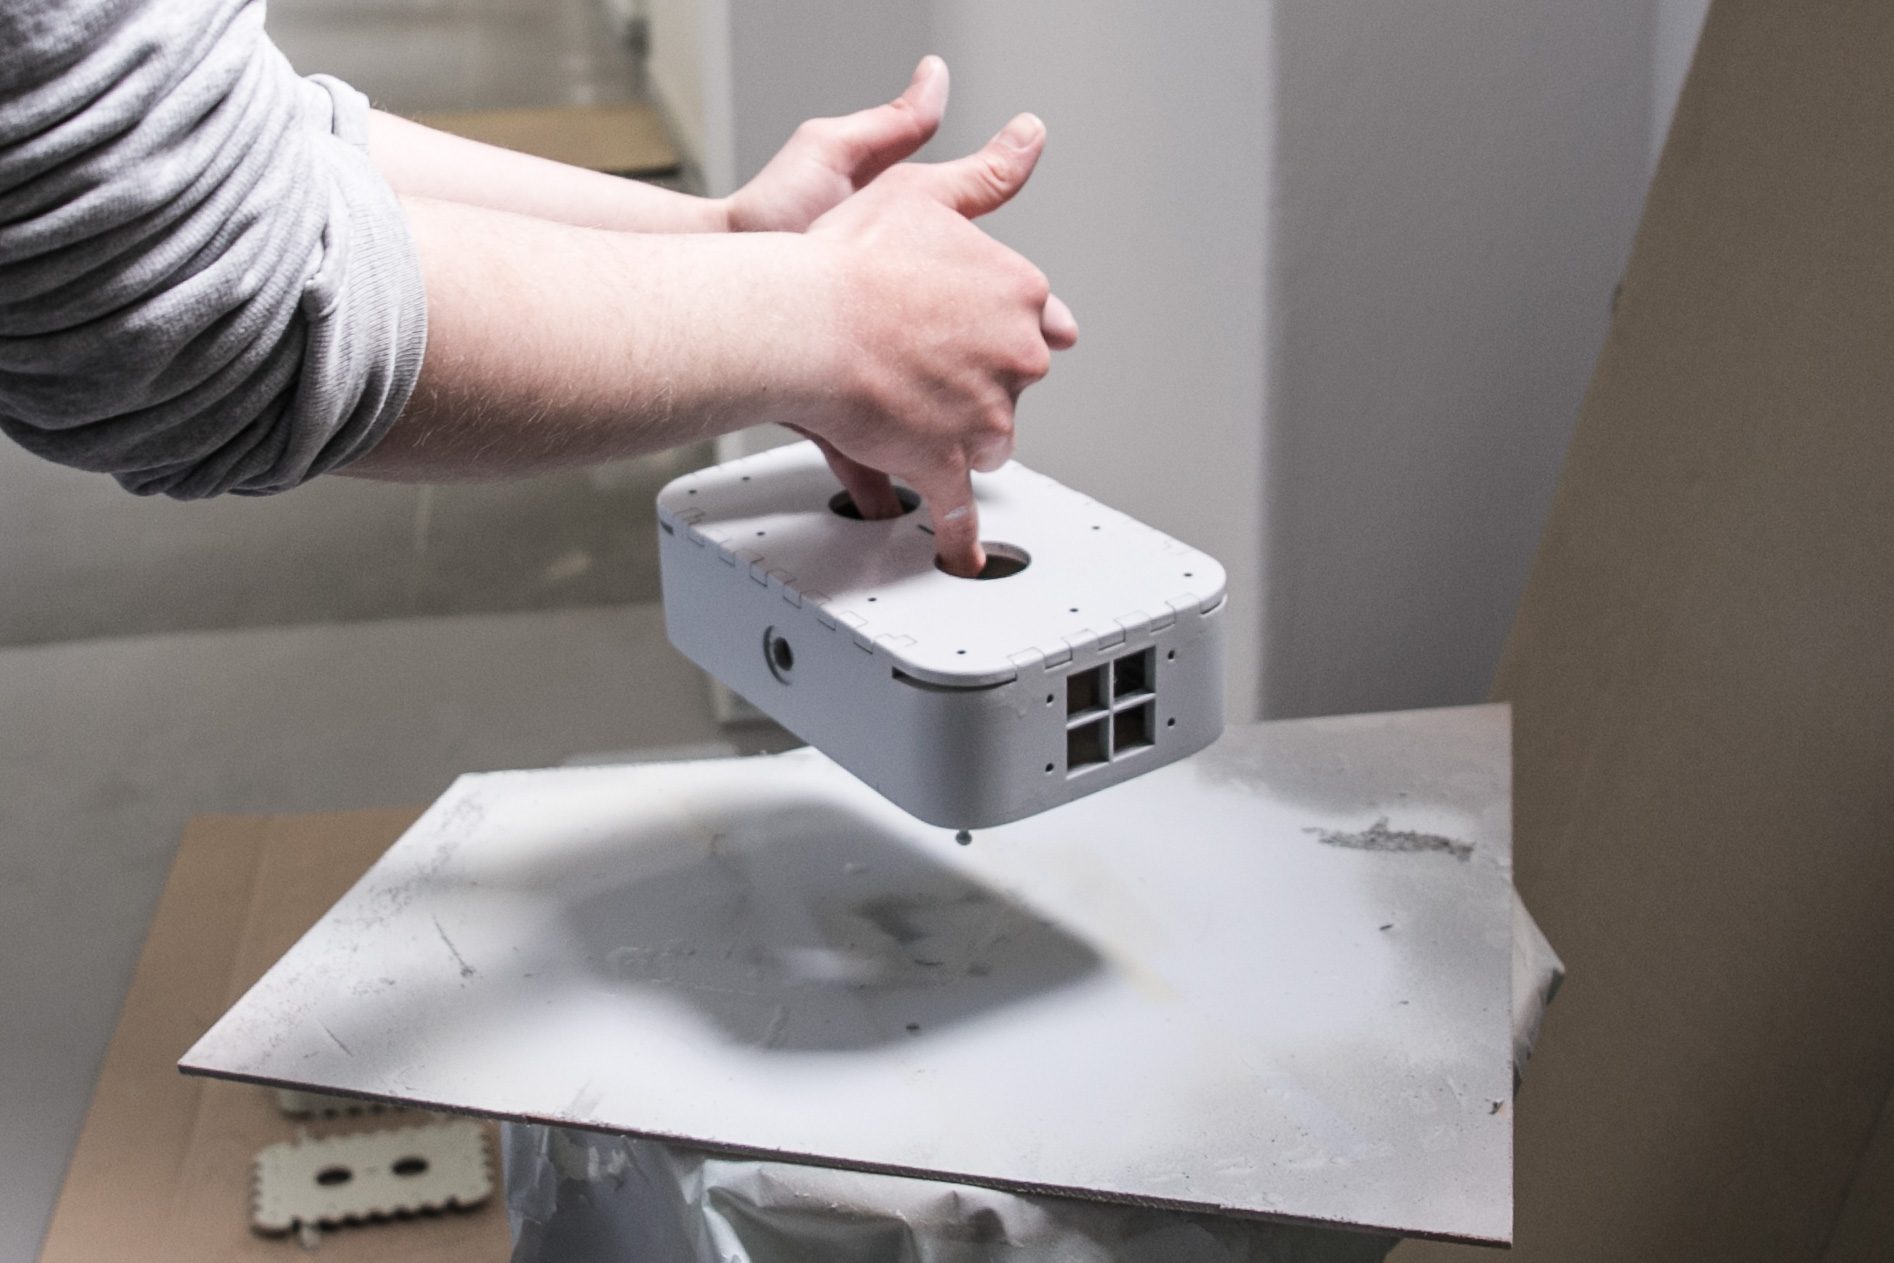
 turn top part rings by grabbing them from the inside. note that the wooden plates are smaller in the rings footprint! that way wet edges wont stick to the ground while drying.
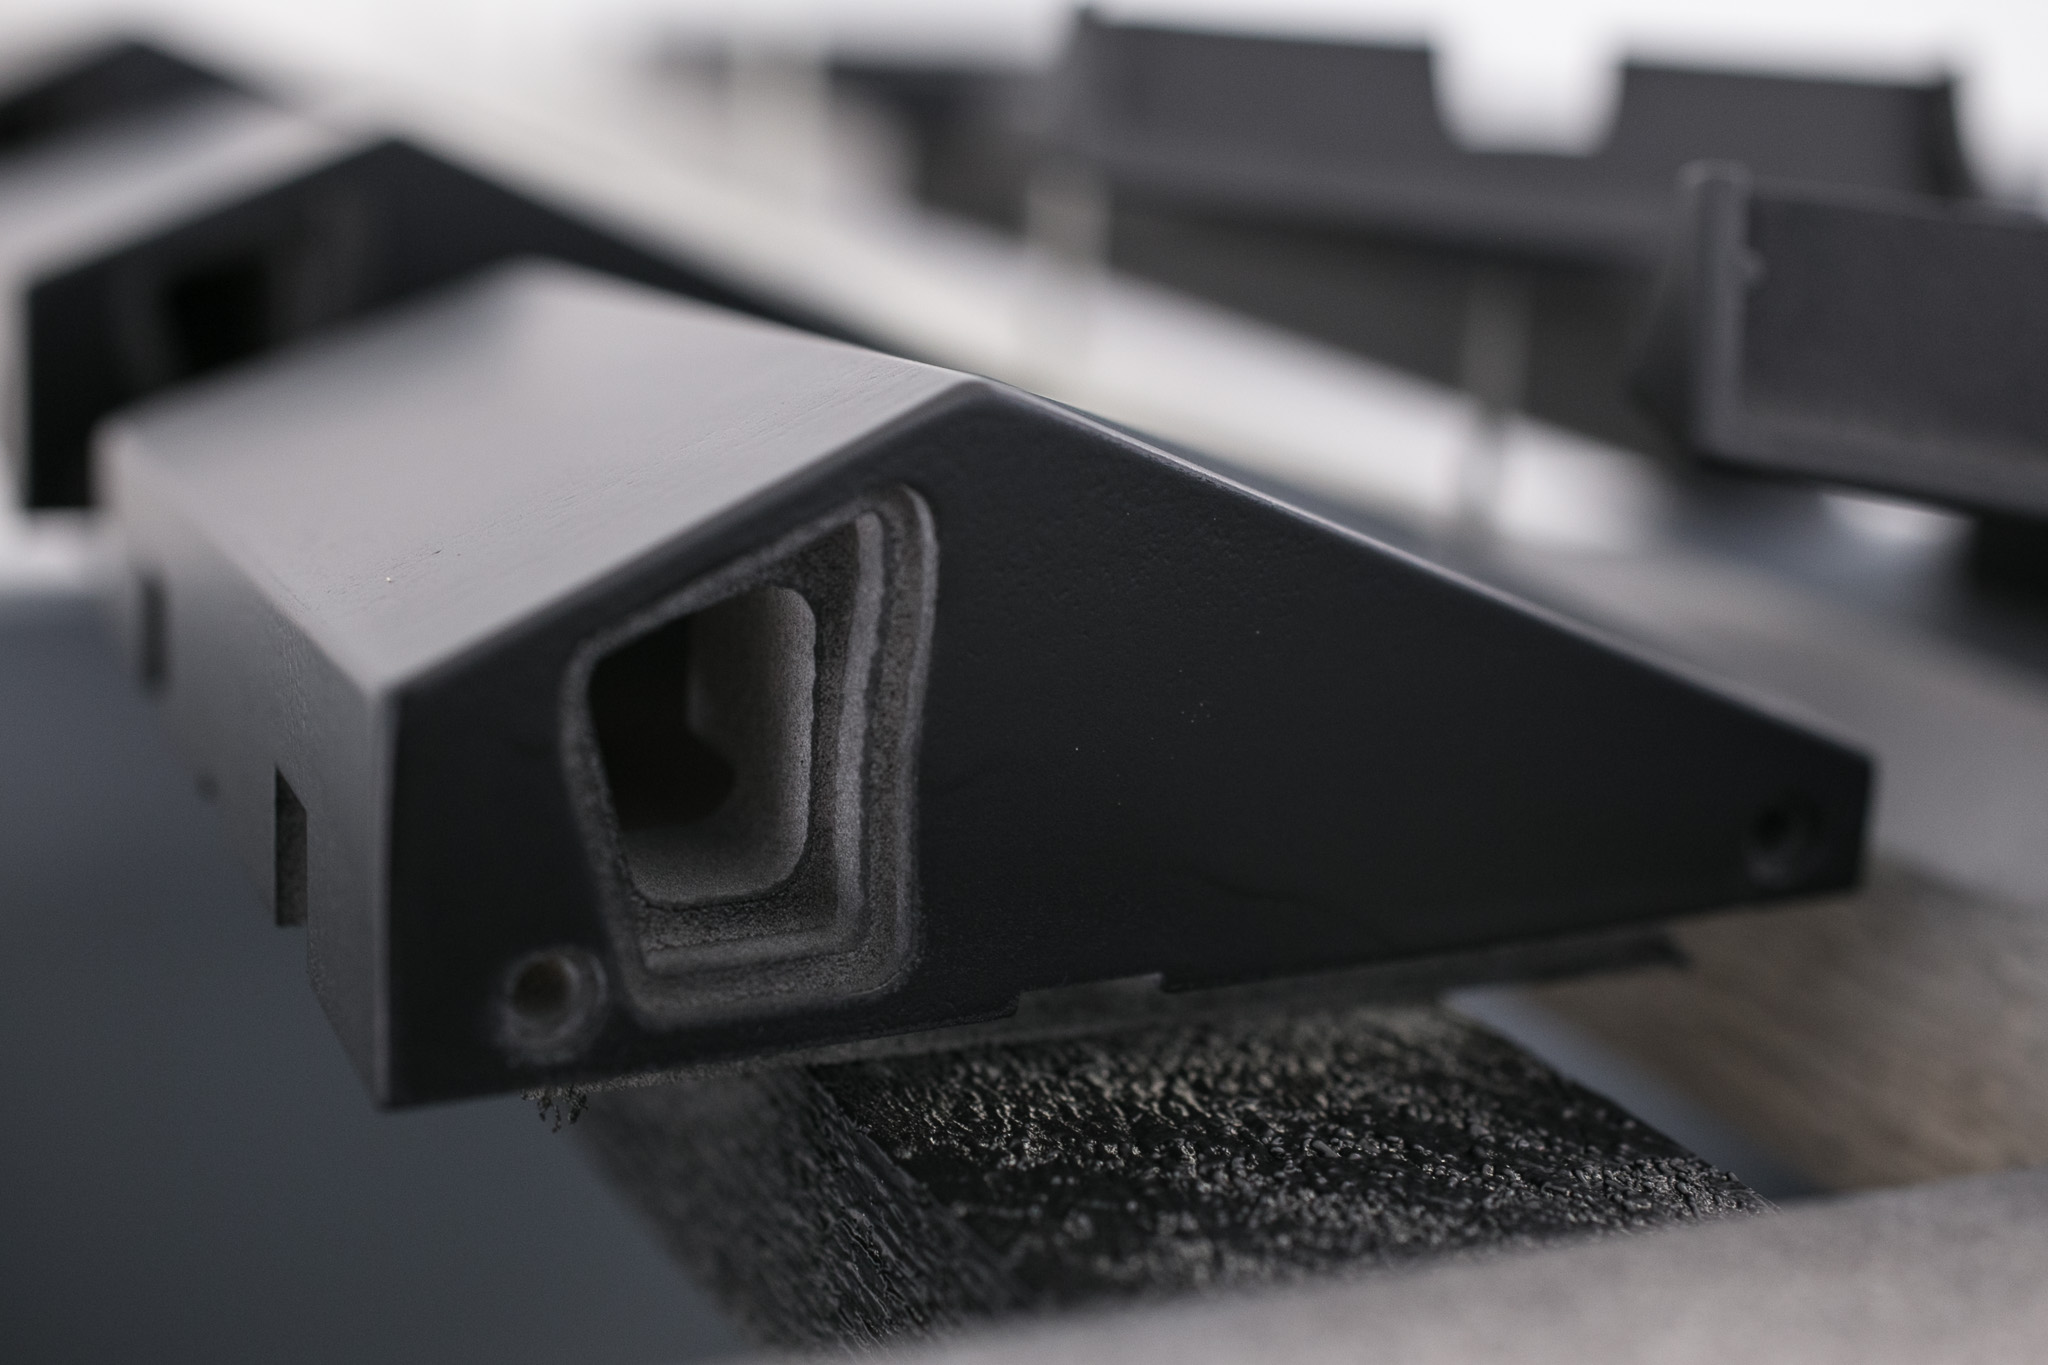
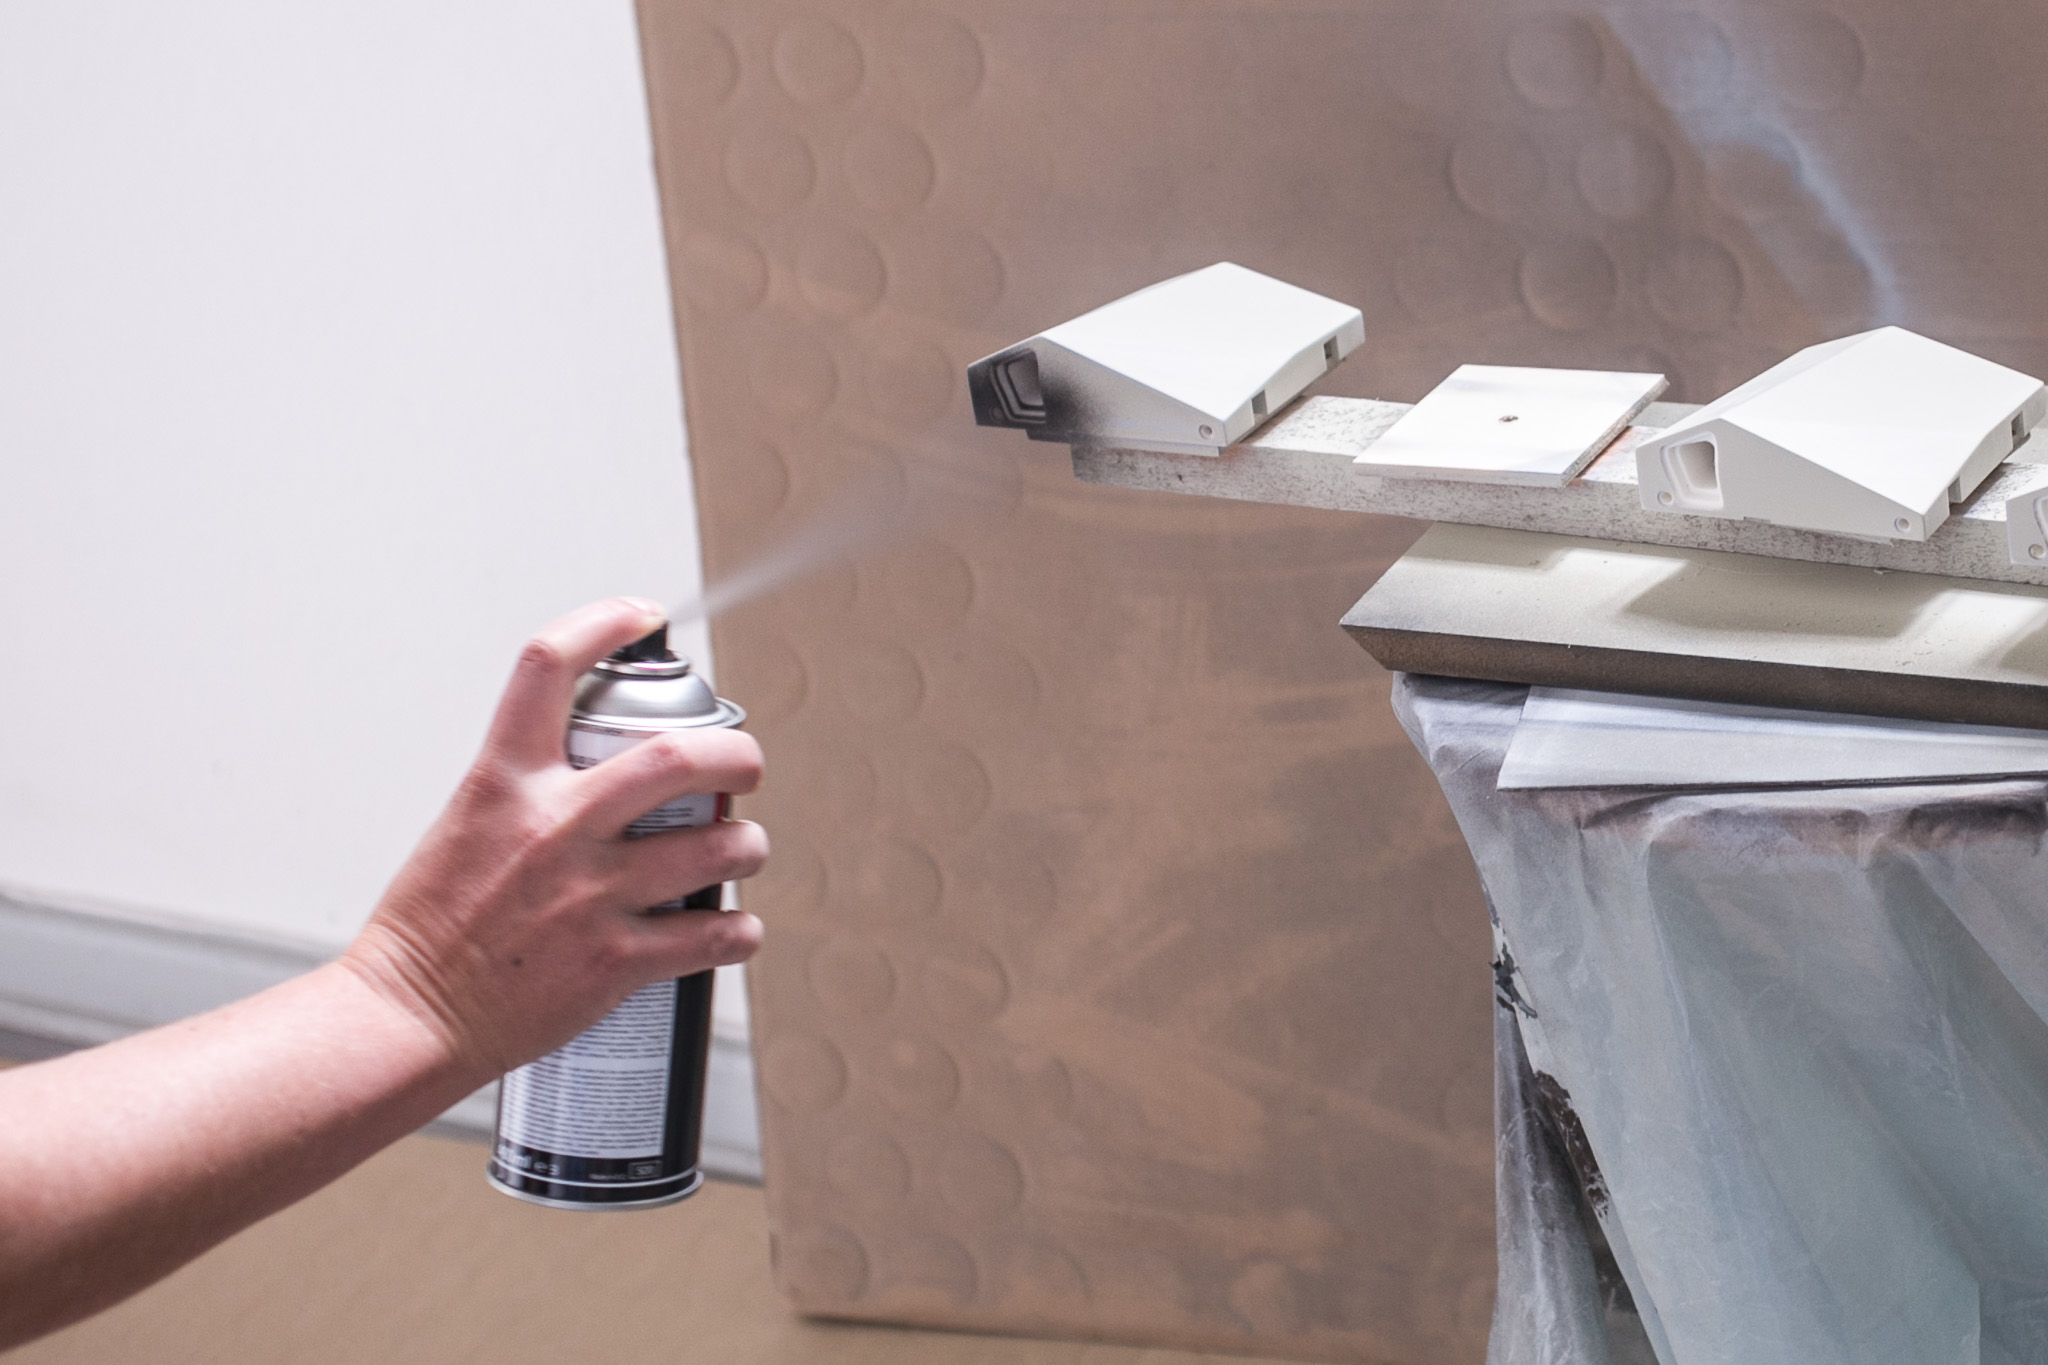 Applying varnish on top part hand-bloc after having sufficiently filled and sanded surfaces. note that it is a good idea starting with the upright surfaces all around and then work your way over the top edges towards the top surfaces.
 turning top part so that front sides can be varnished.
 **working your way over the edges (with 45 degree angle) to the to surfaces (with a 90 degree angle).
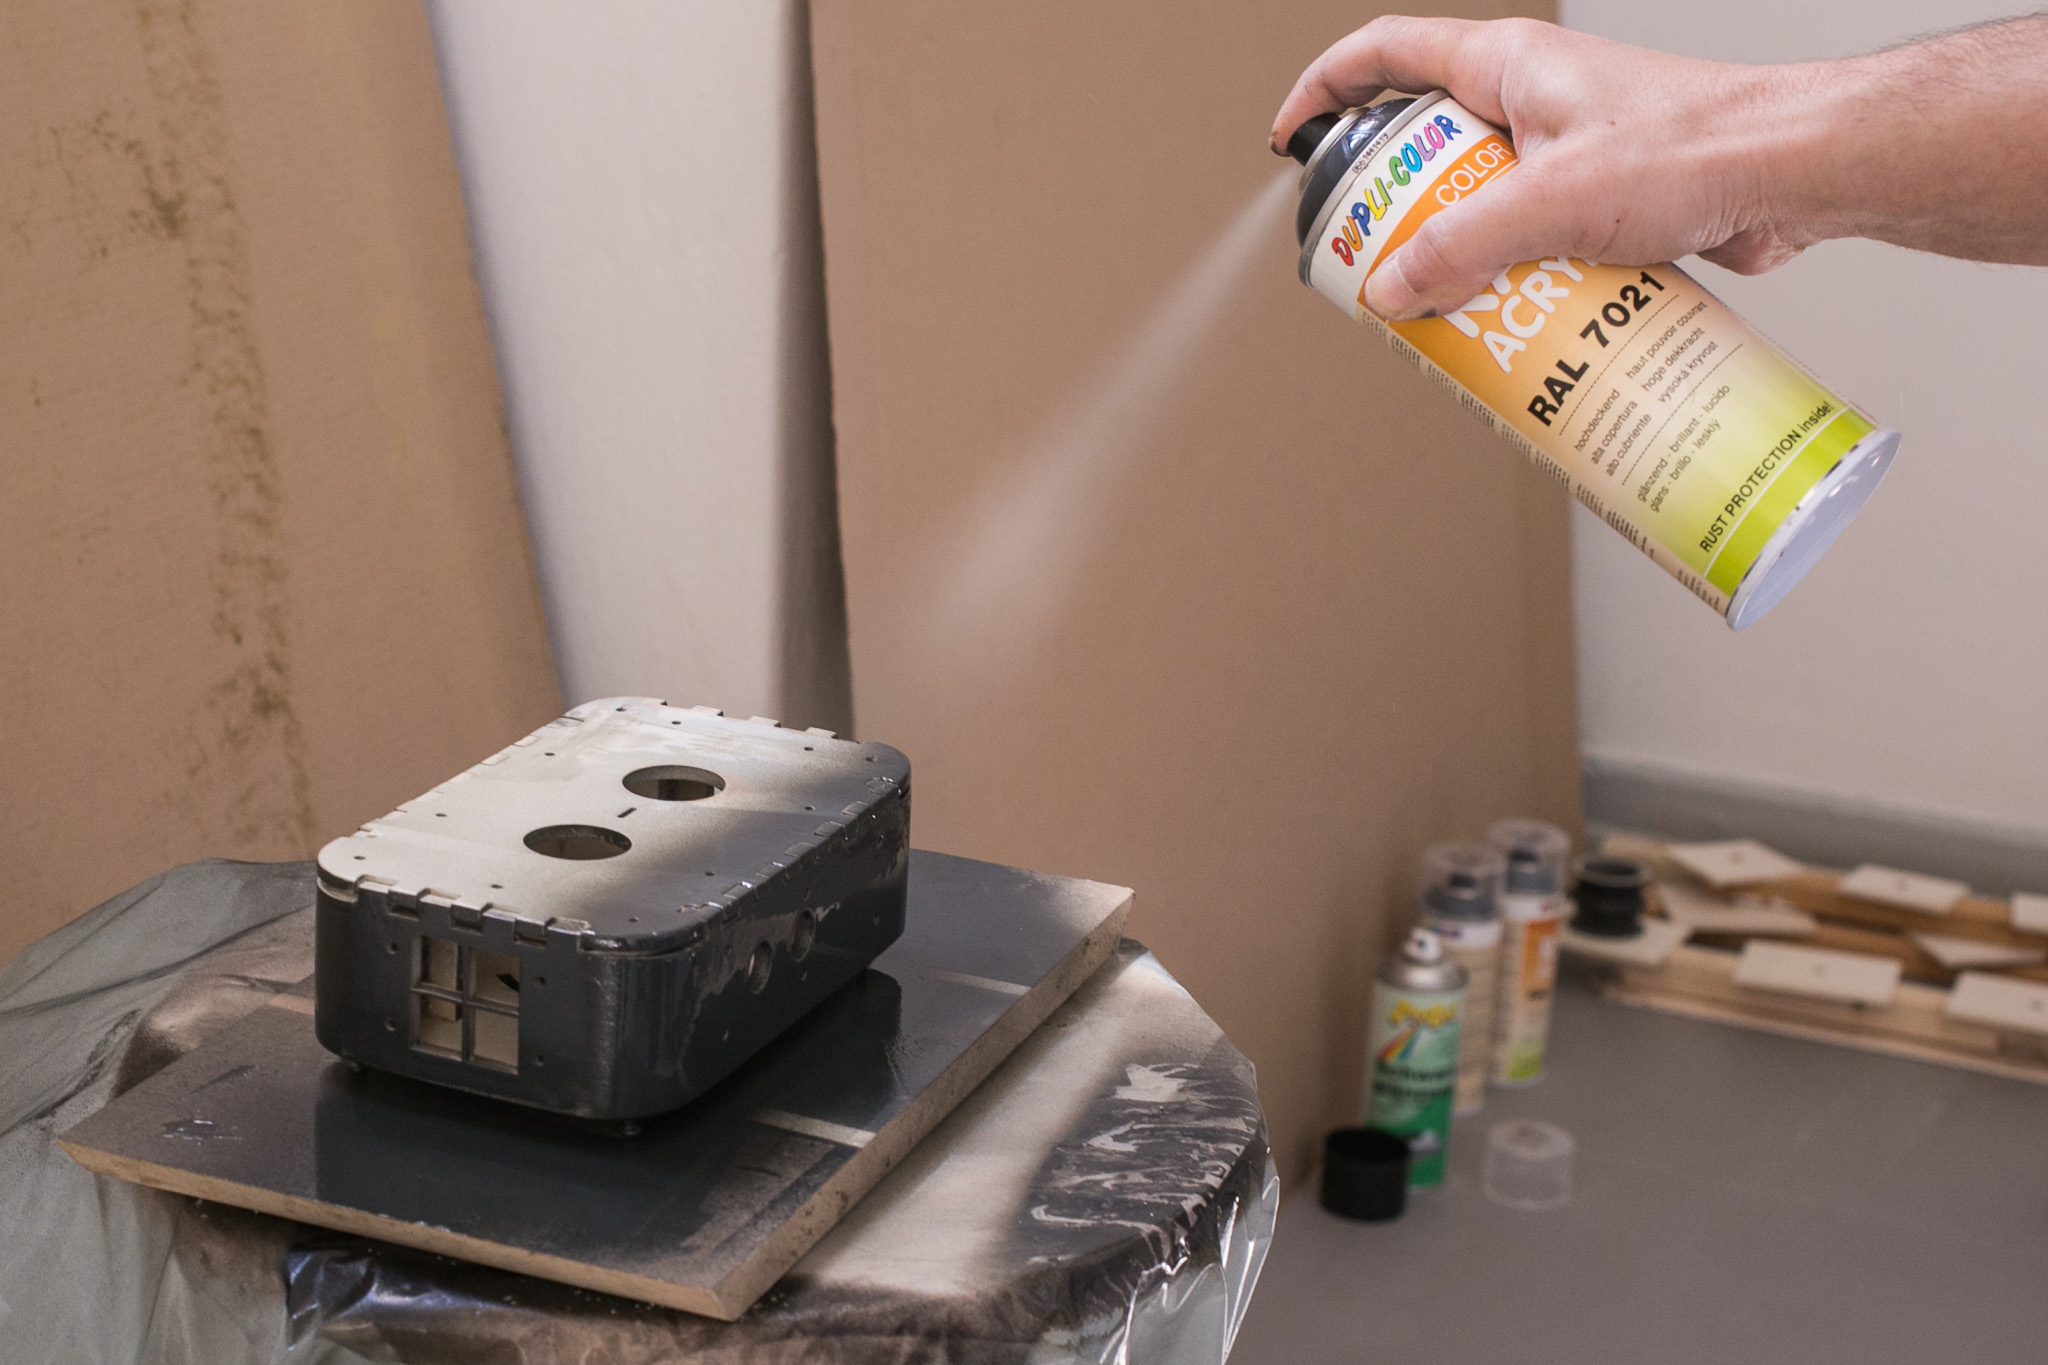
Varnishing lower box
The lower box needs to be ground coated with a a appropriate filler. This closes the the surface and protects coloured varnish from sinking into the pores of the material. Similar to the plastic parts filler should rather be applied in several thin layers than in one thick layer which will take forever to dry.
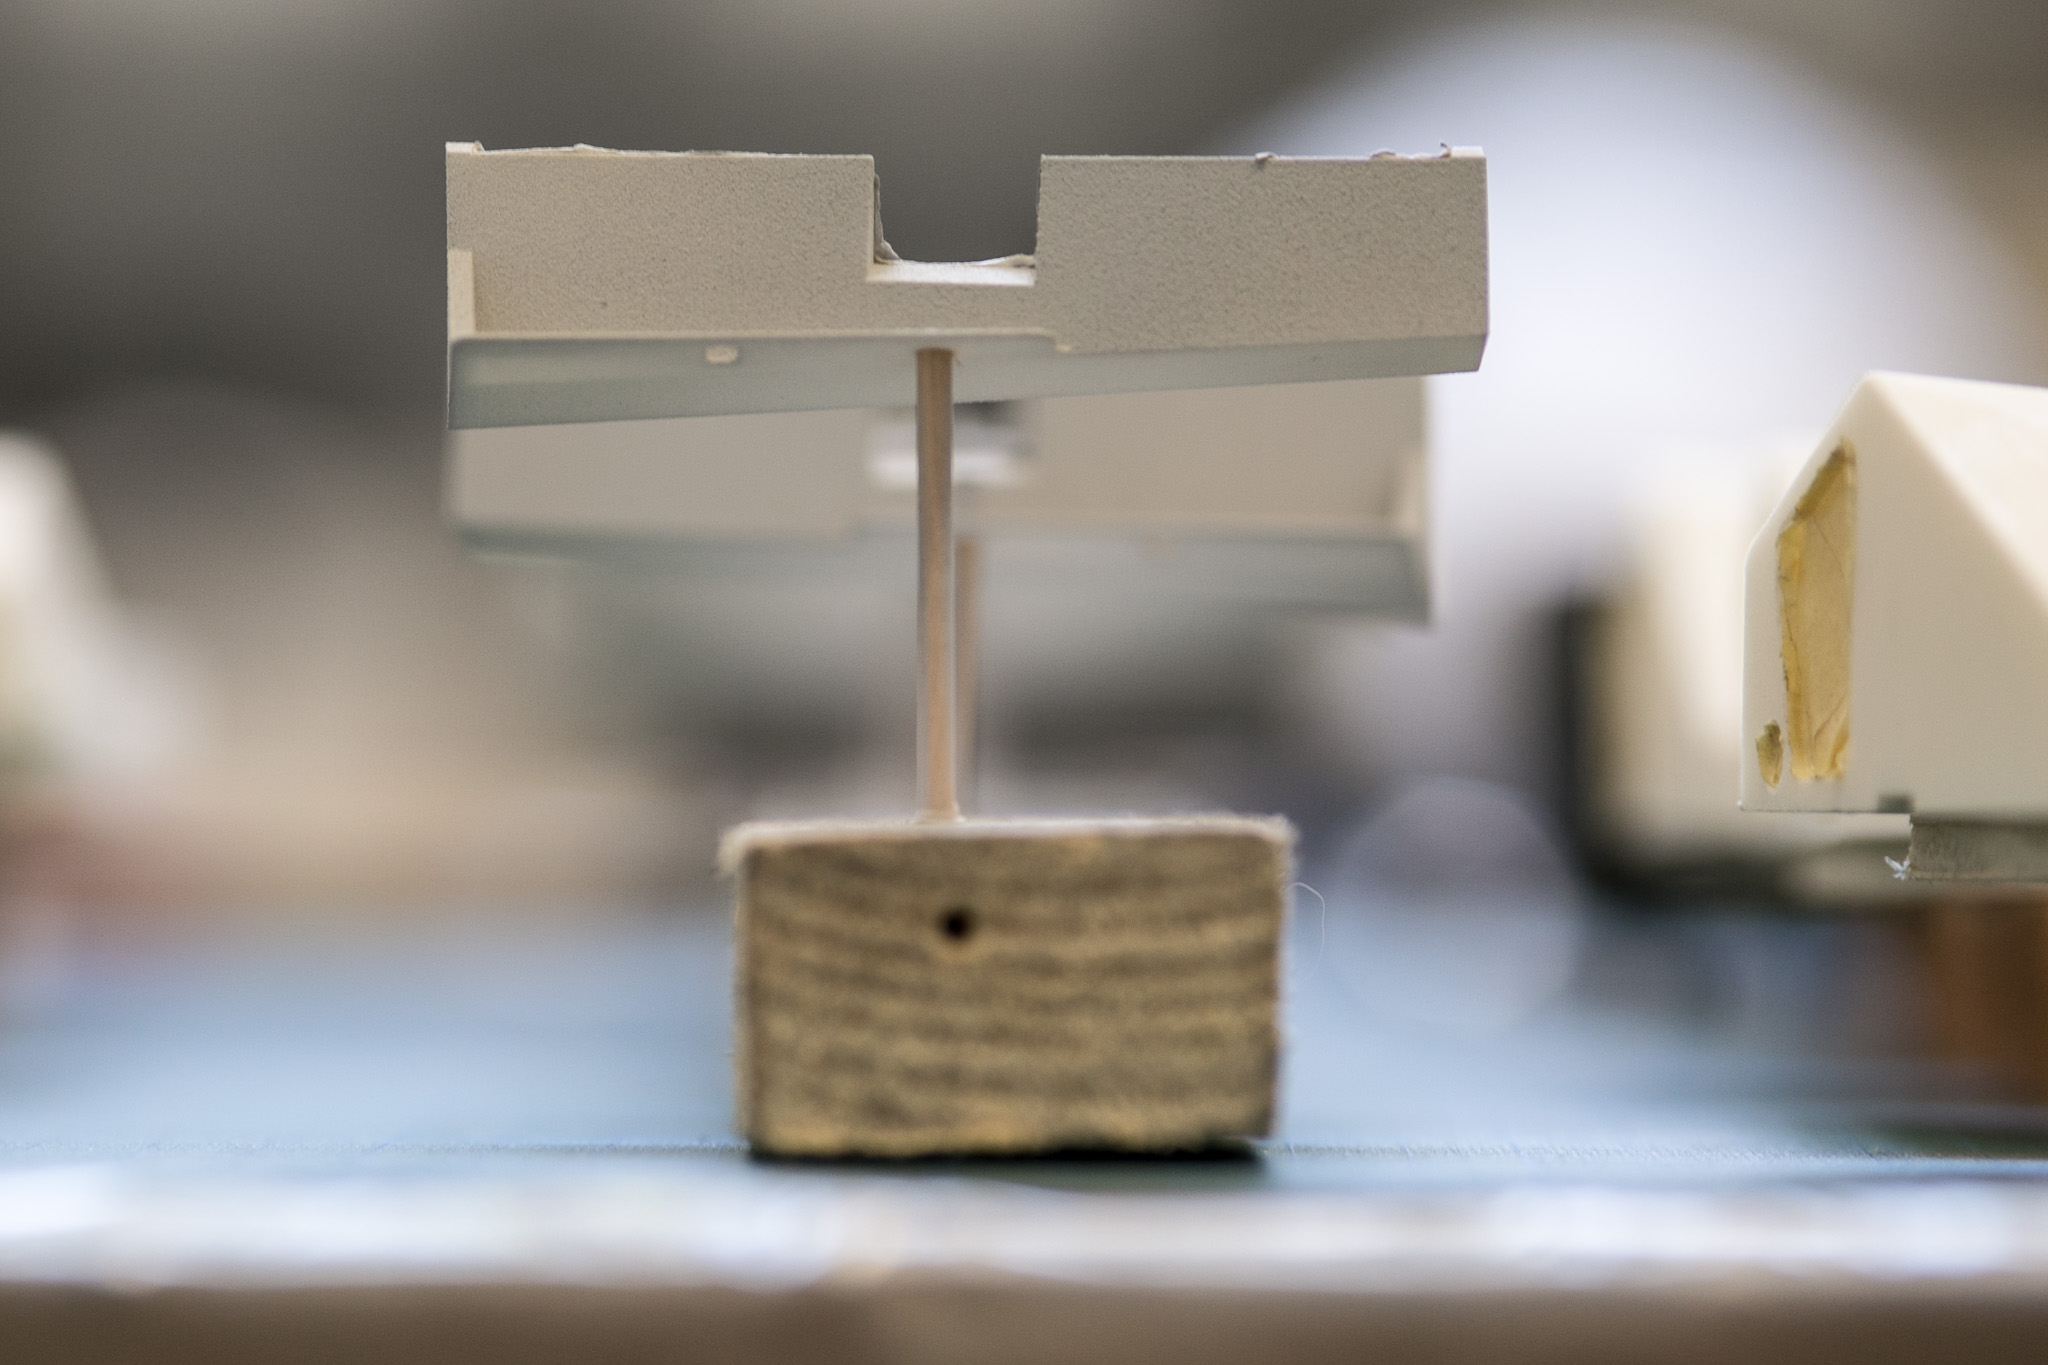
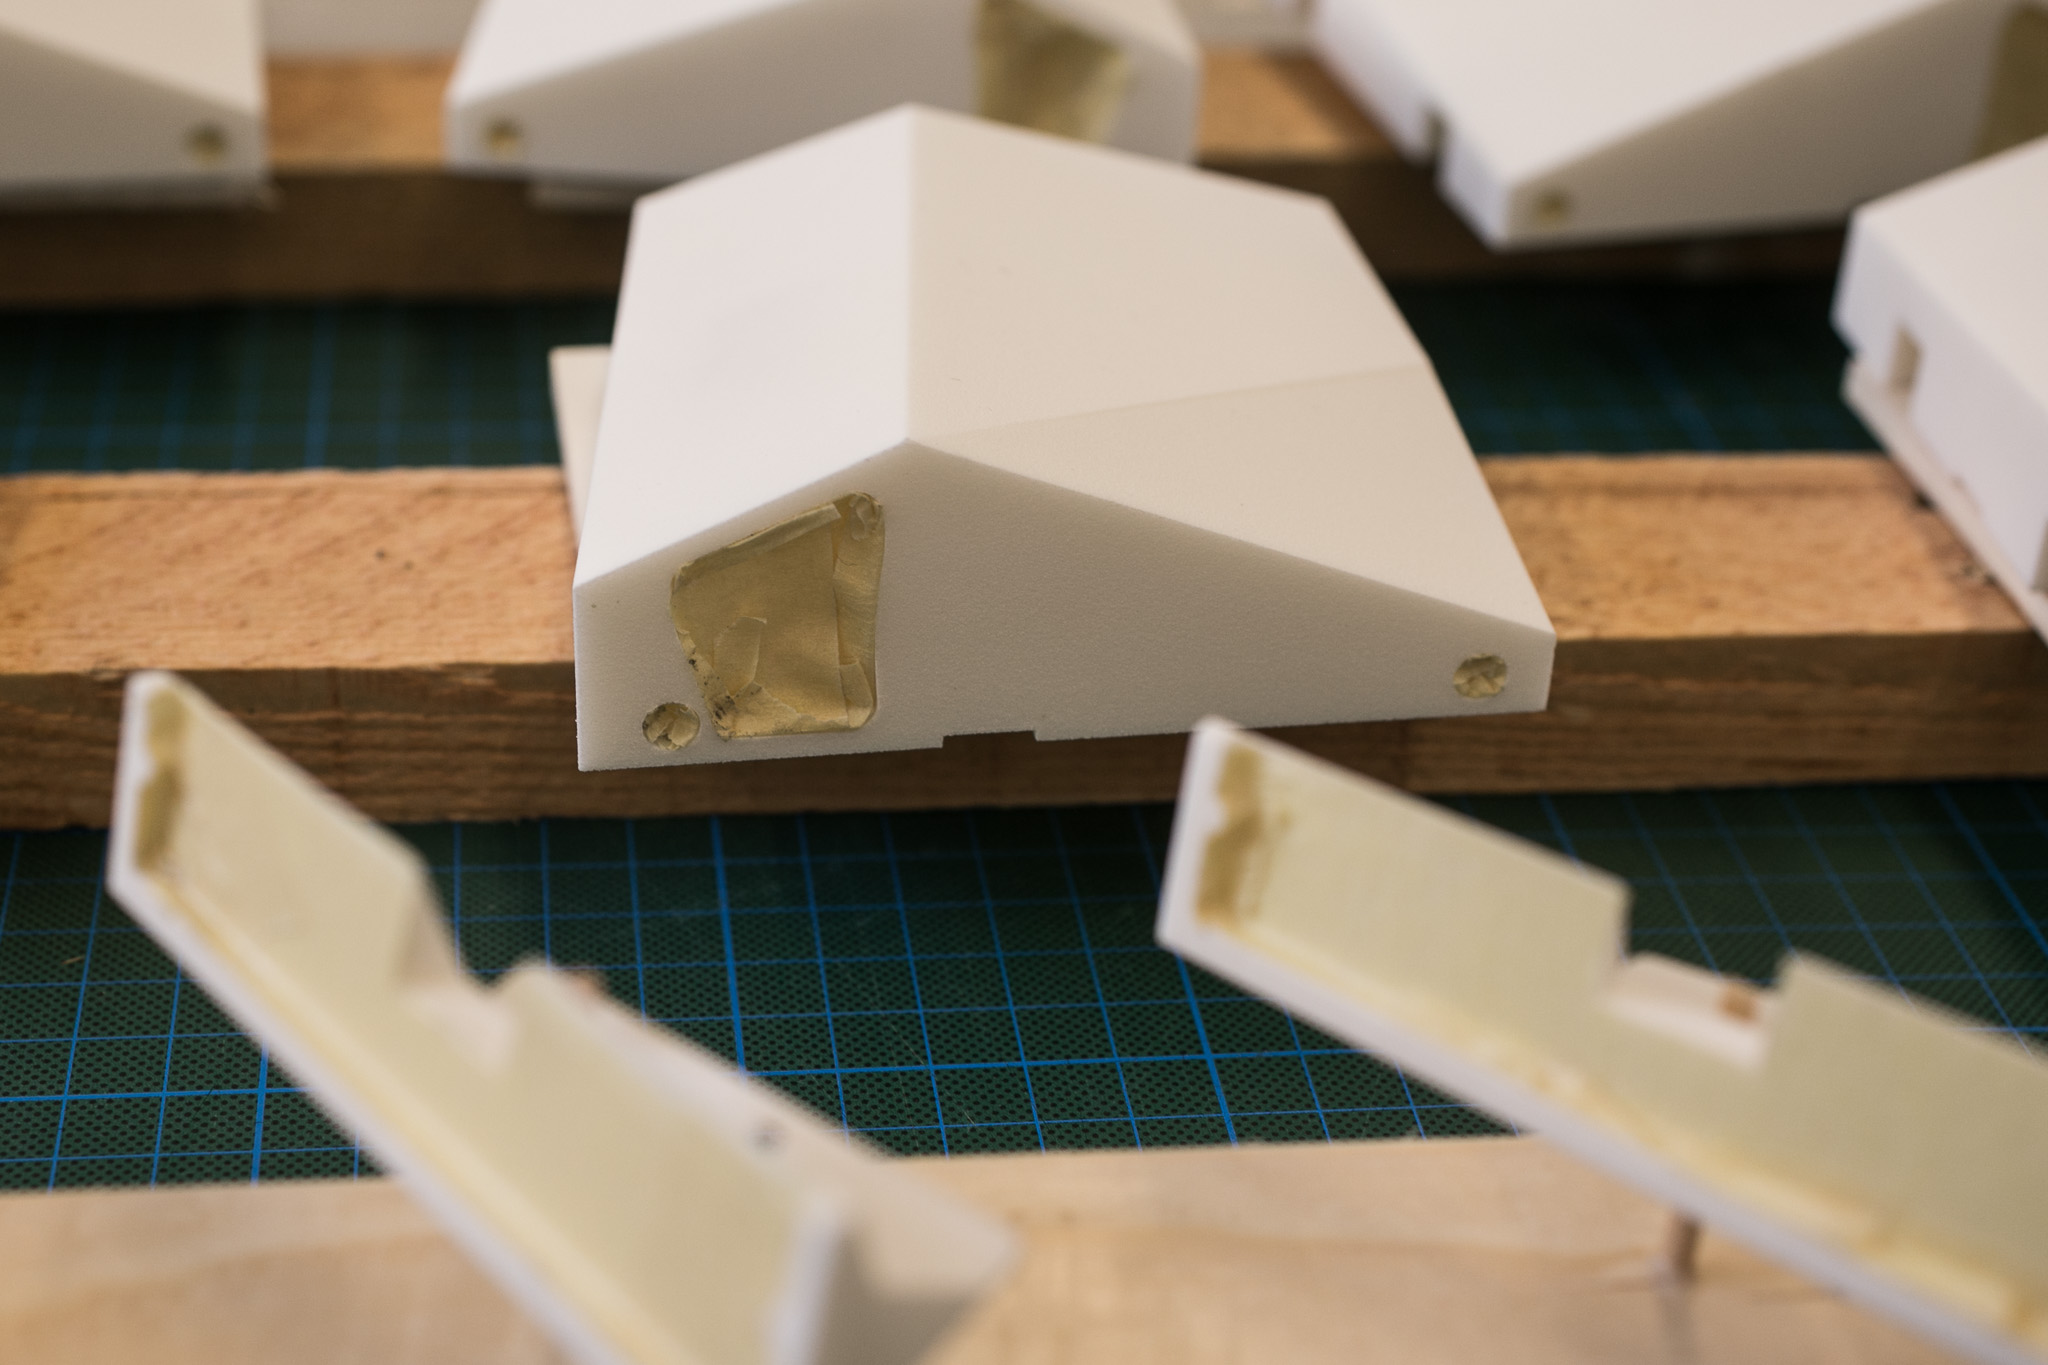
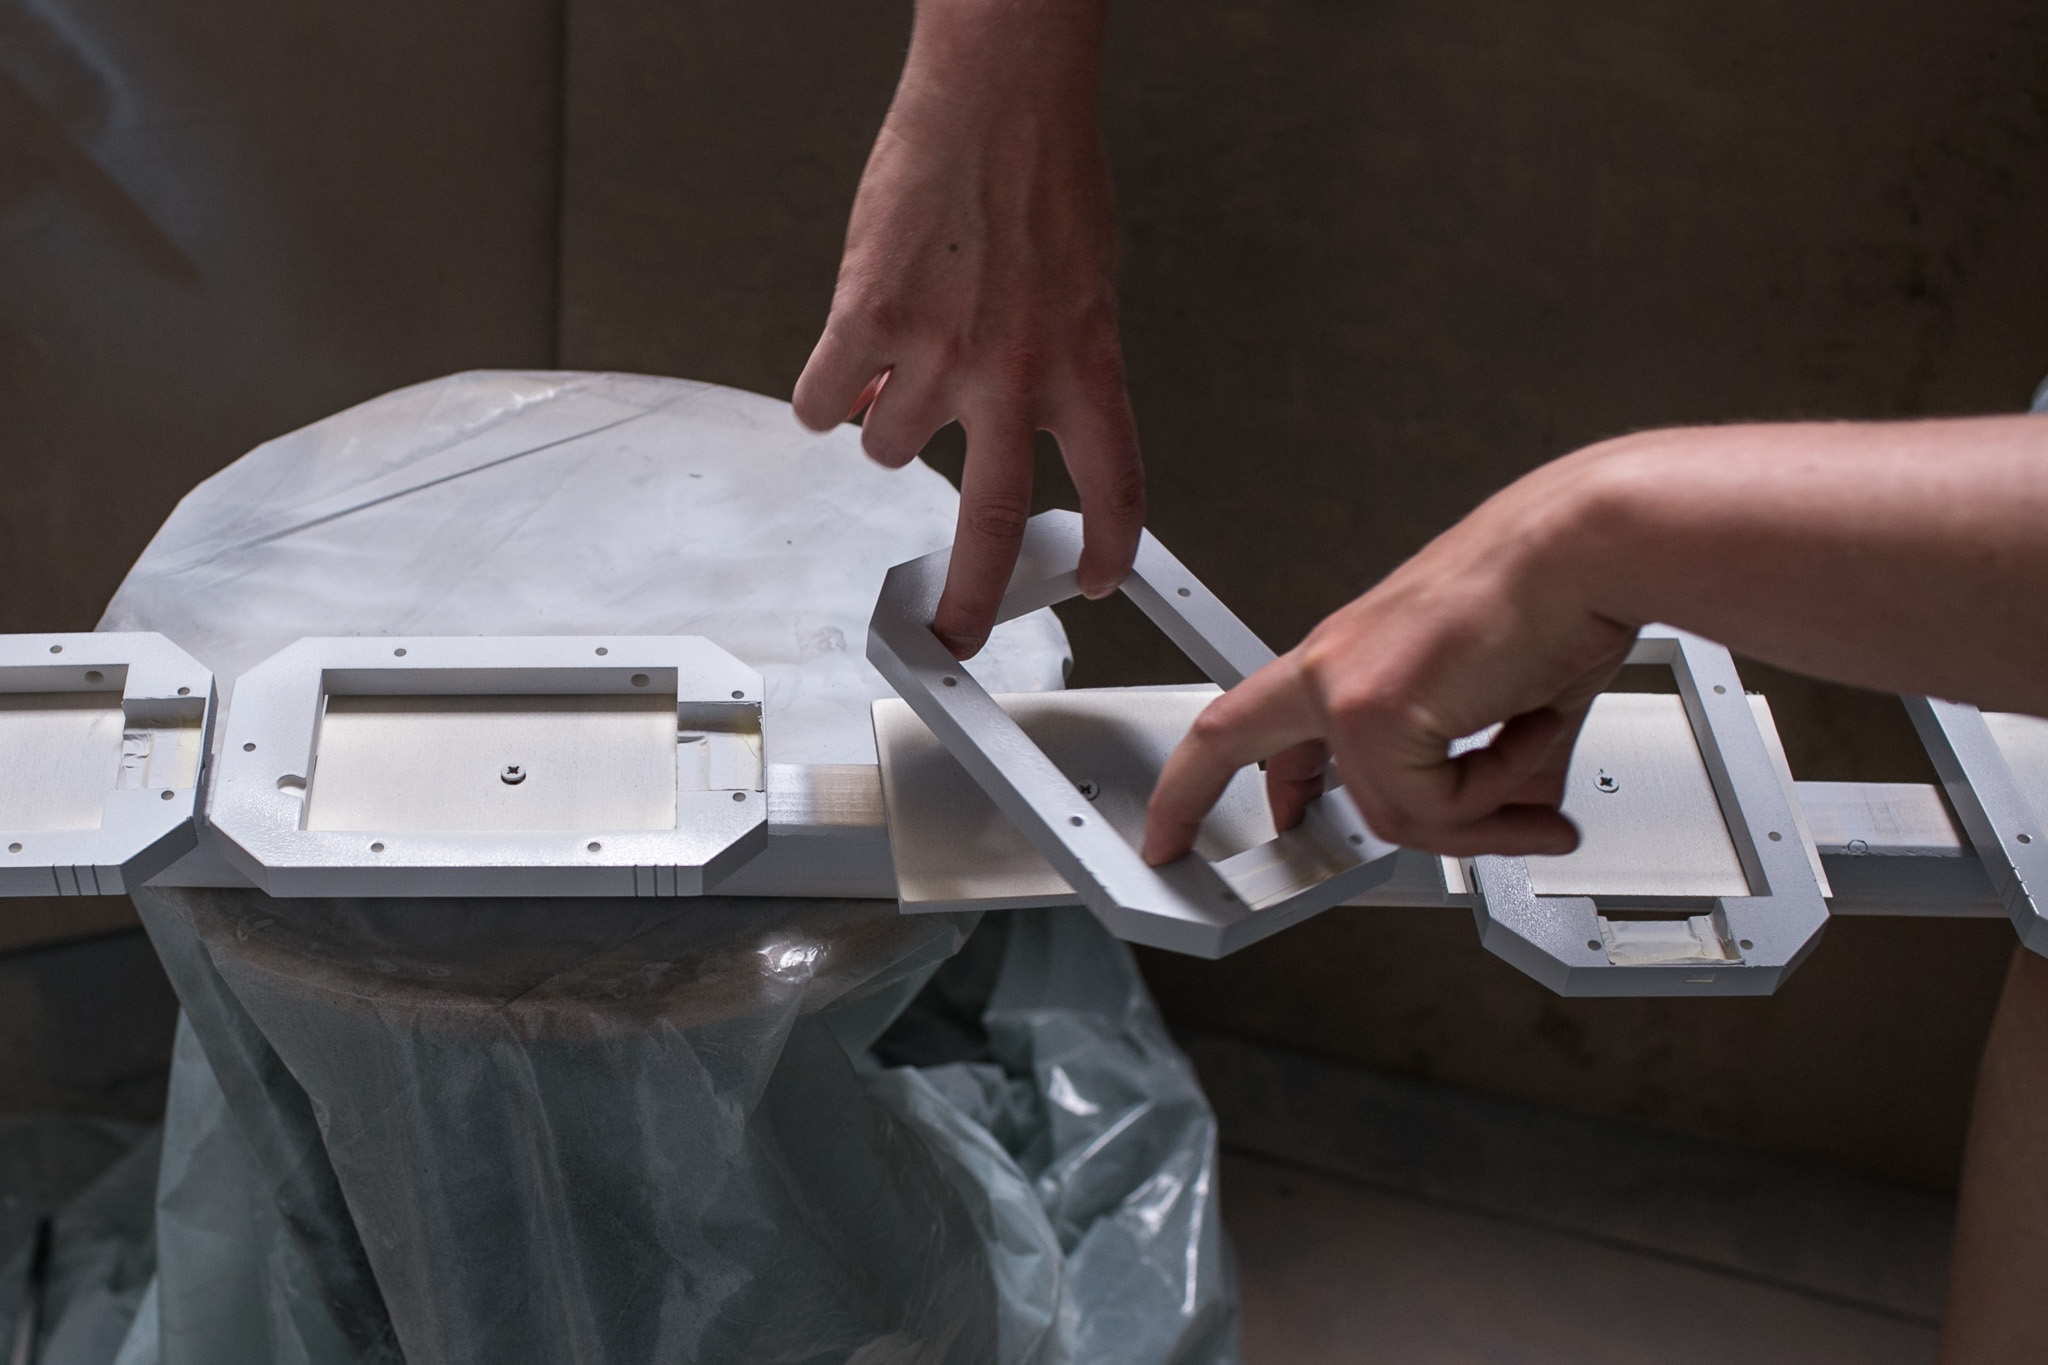
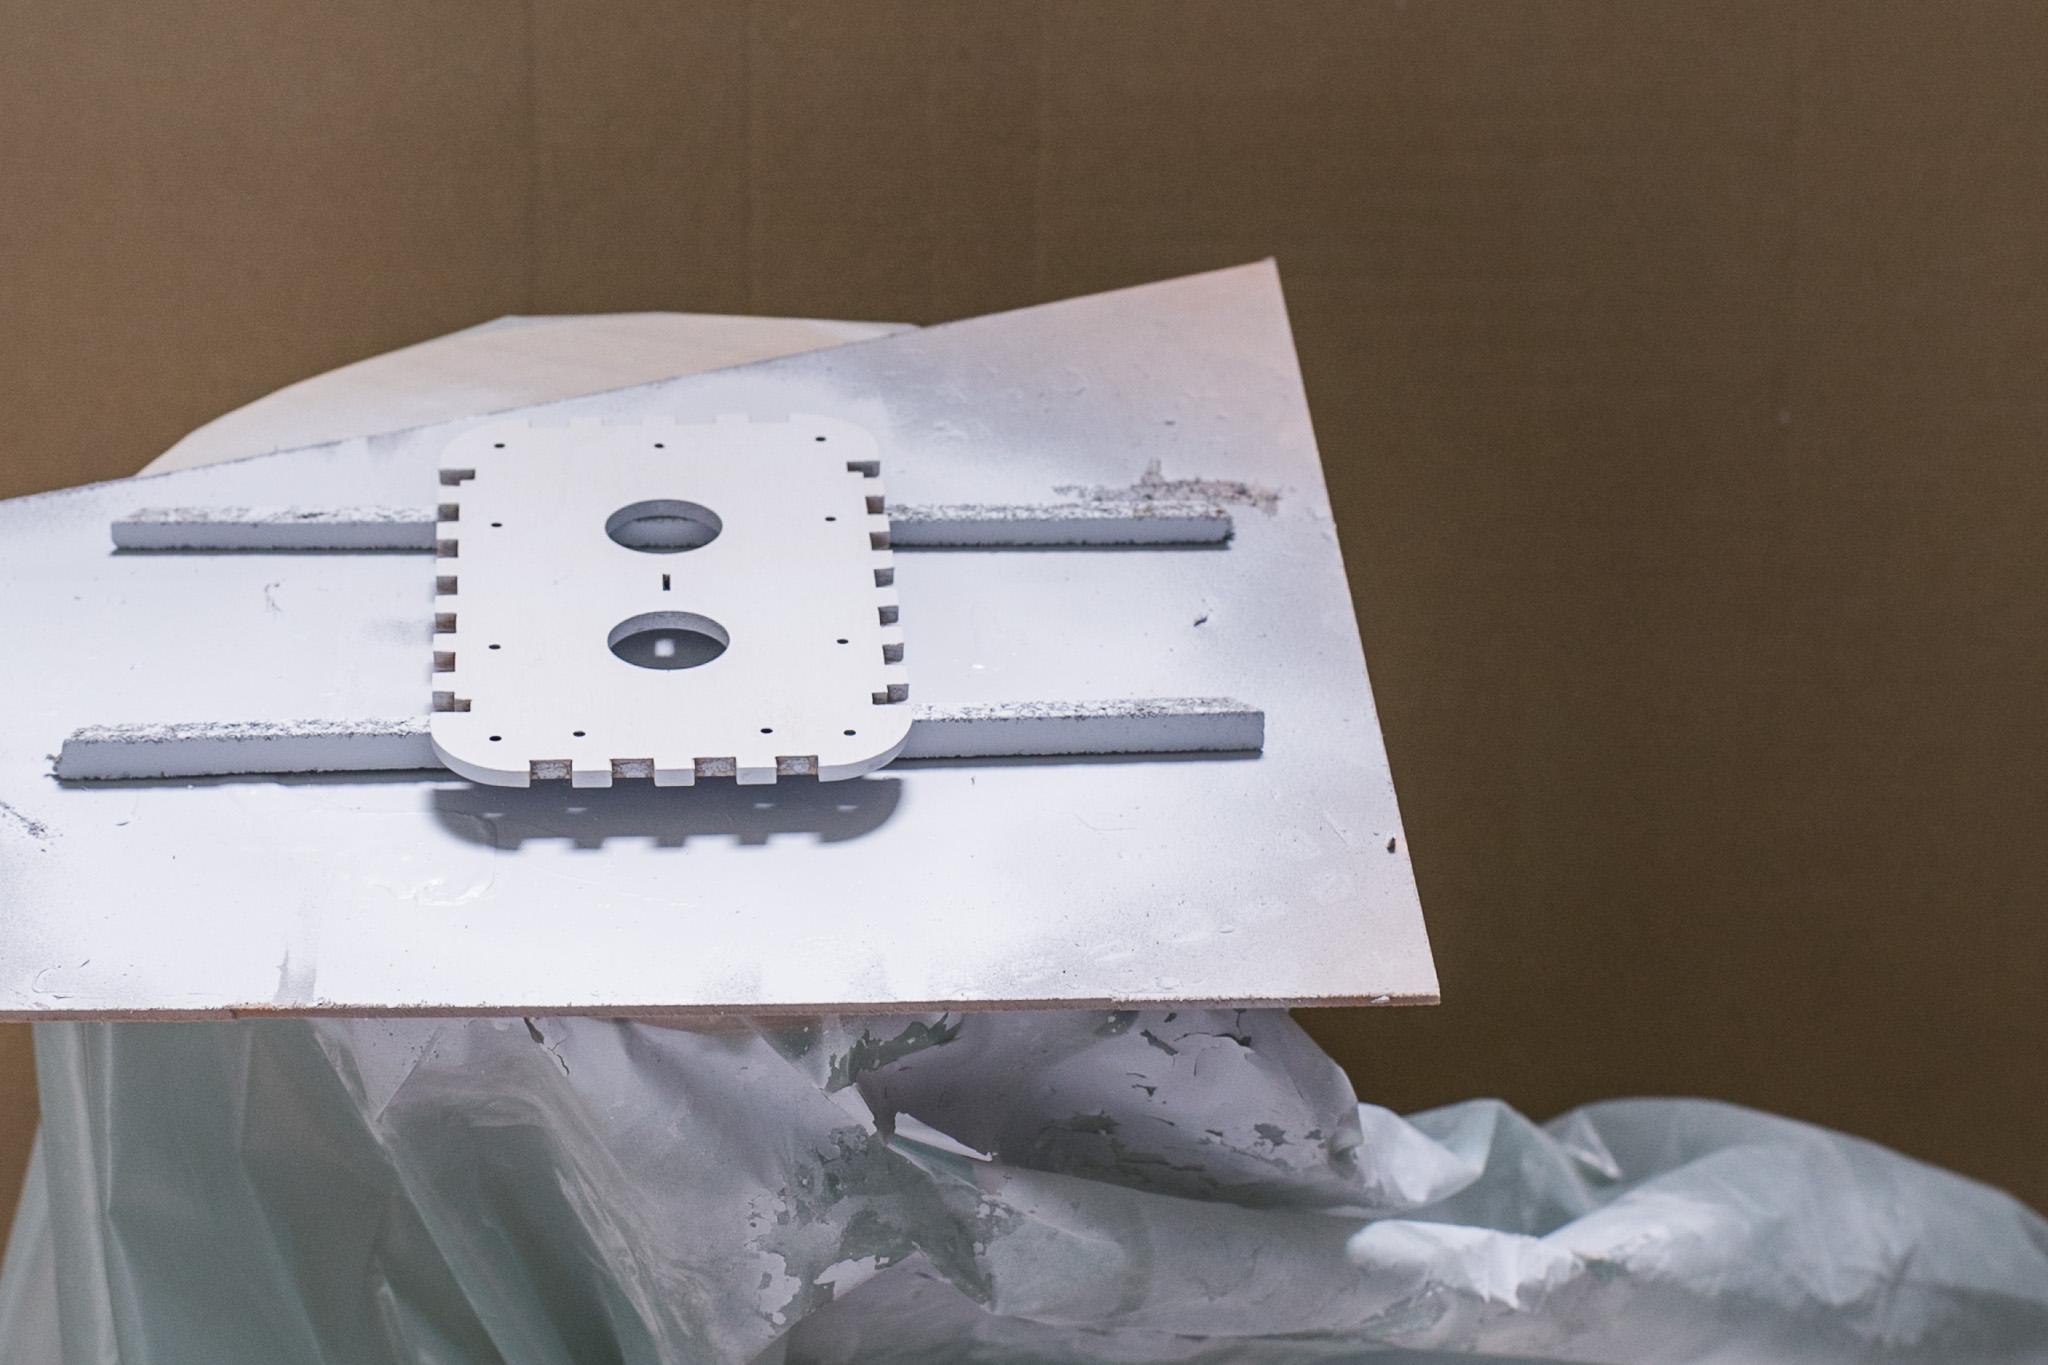 To varnish lower box you should use 2 triangular sticks to put parts on
 Move the spray paint in same speed and distance over the surface. Move from left to right and slowly from front to back. Then turn the piece in 90 degrees an do the same again. Wait for 30 minutes and spray the backside. The lid needs to be filled from both sides otherwise it might curve.
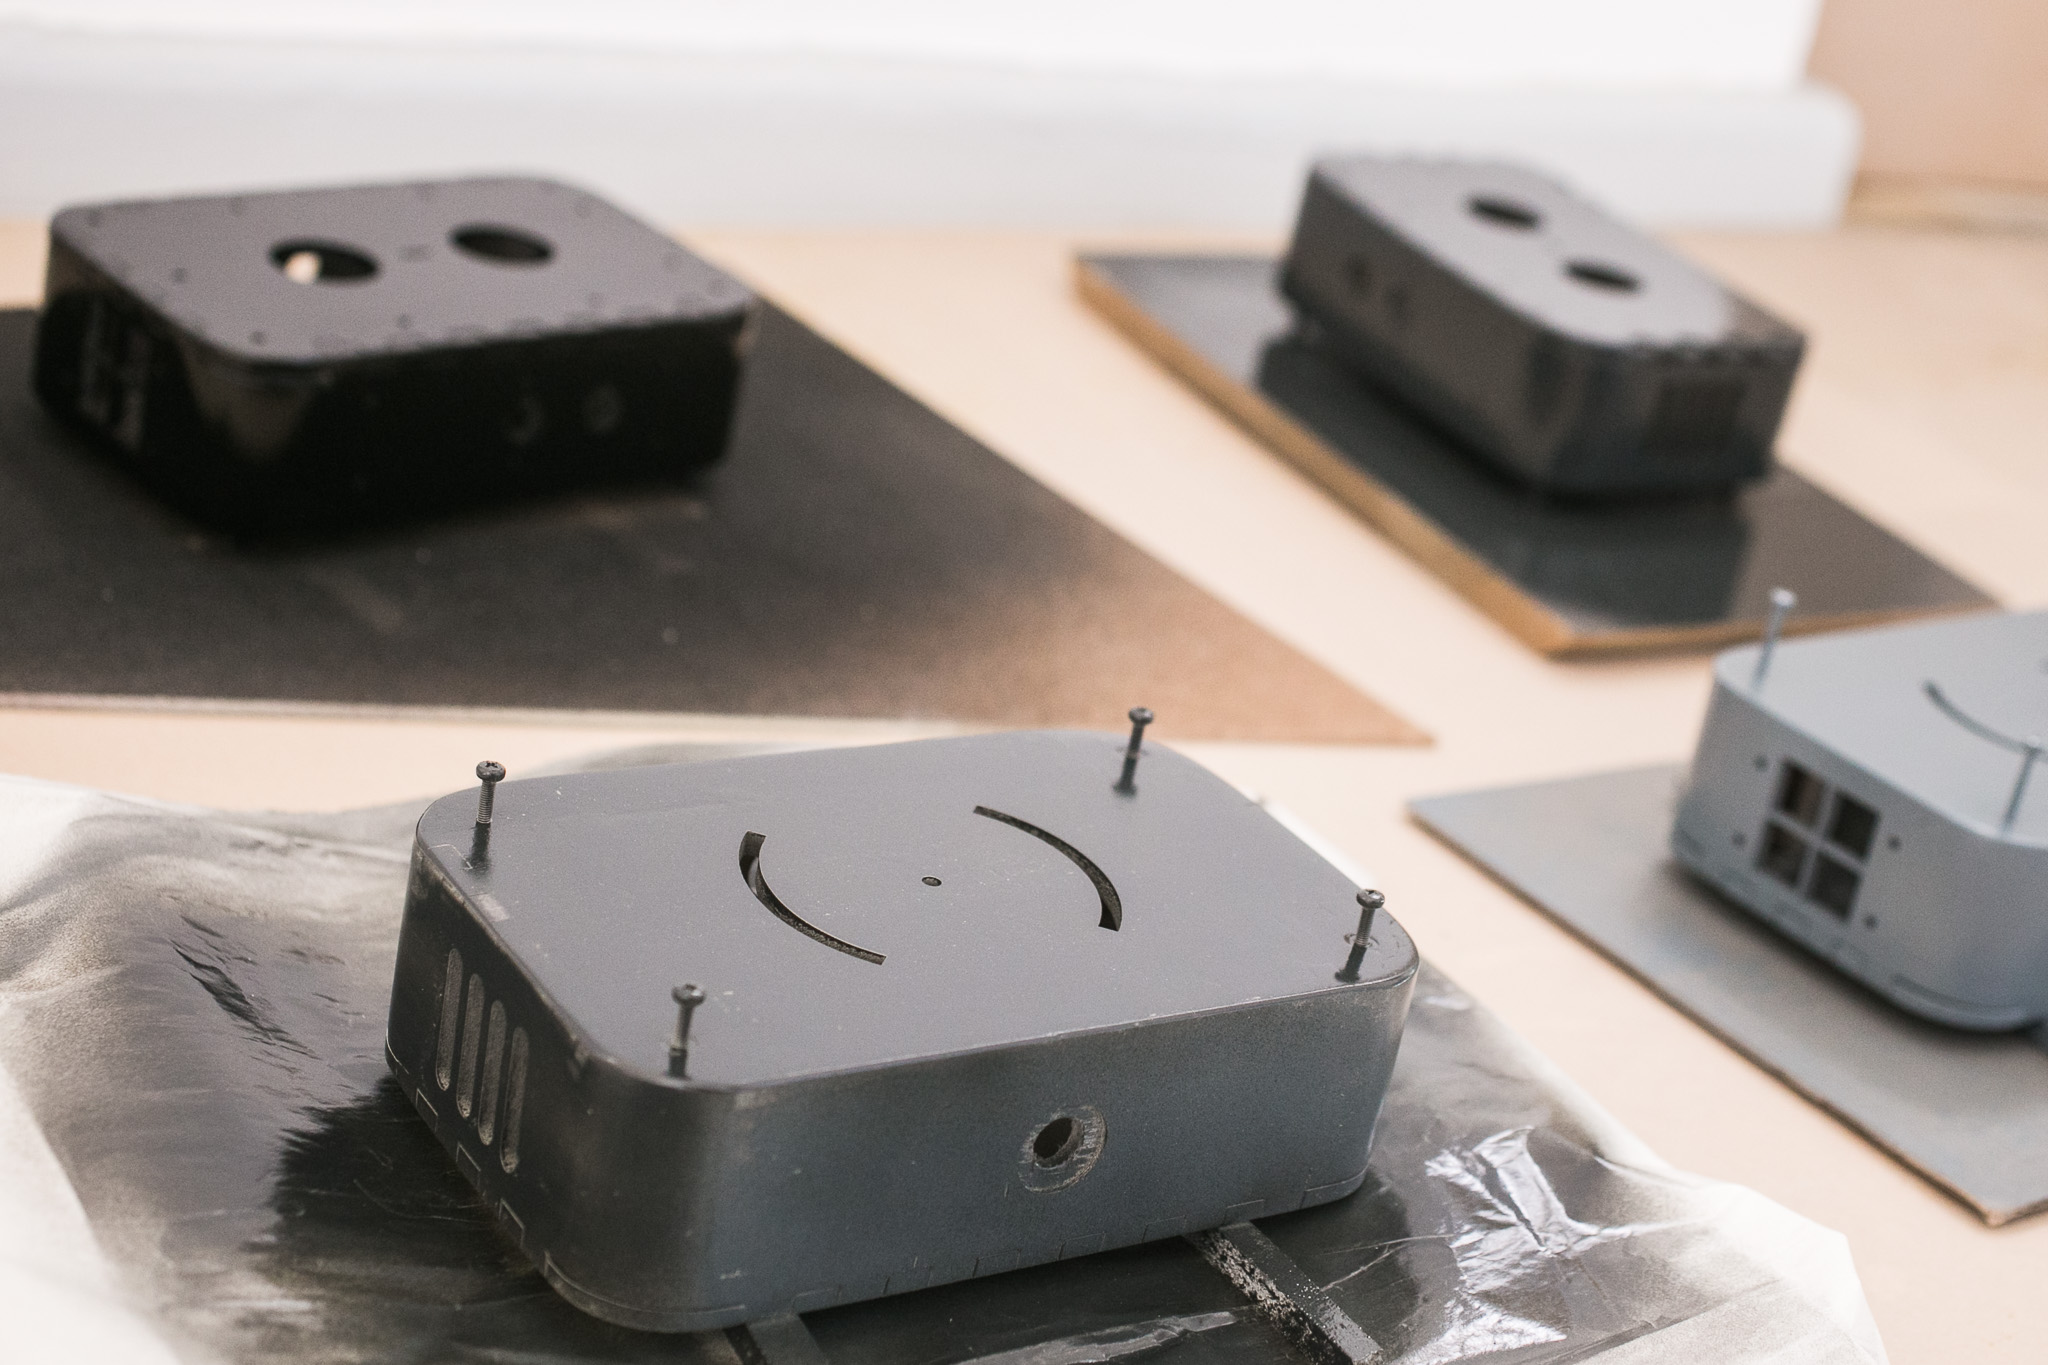
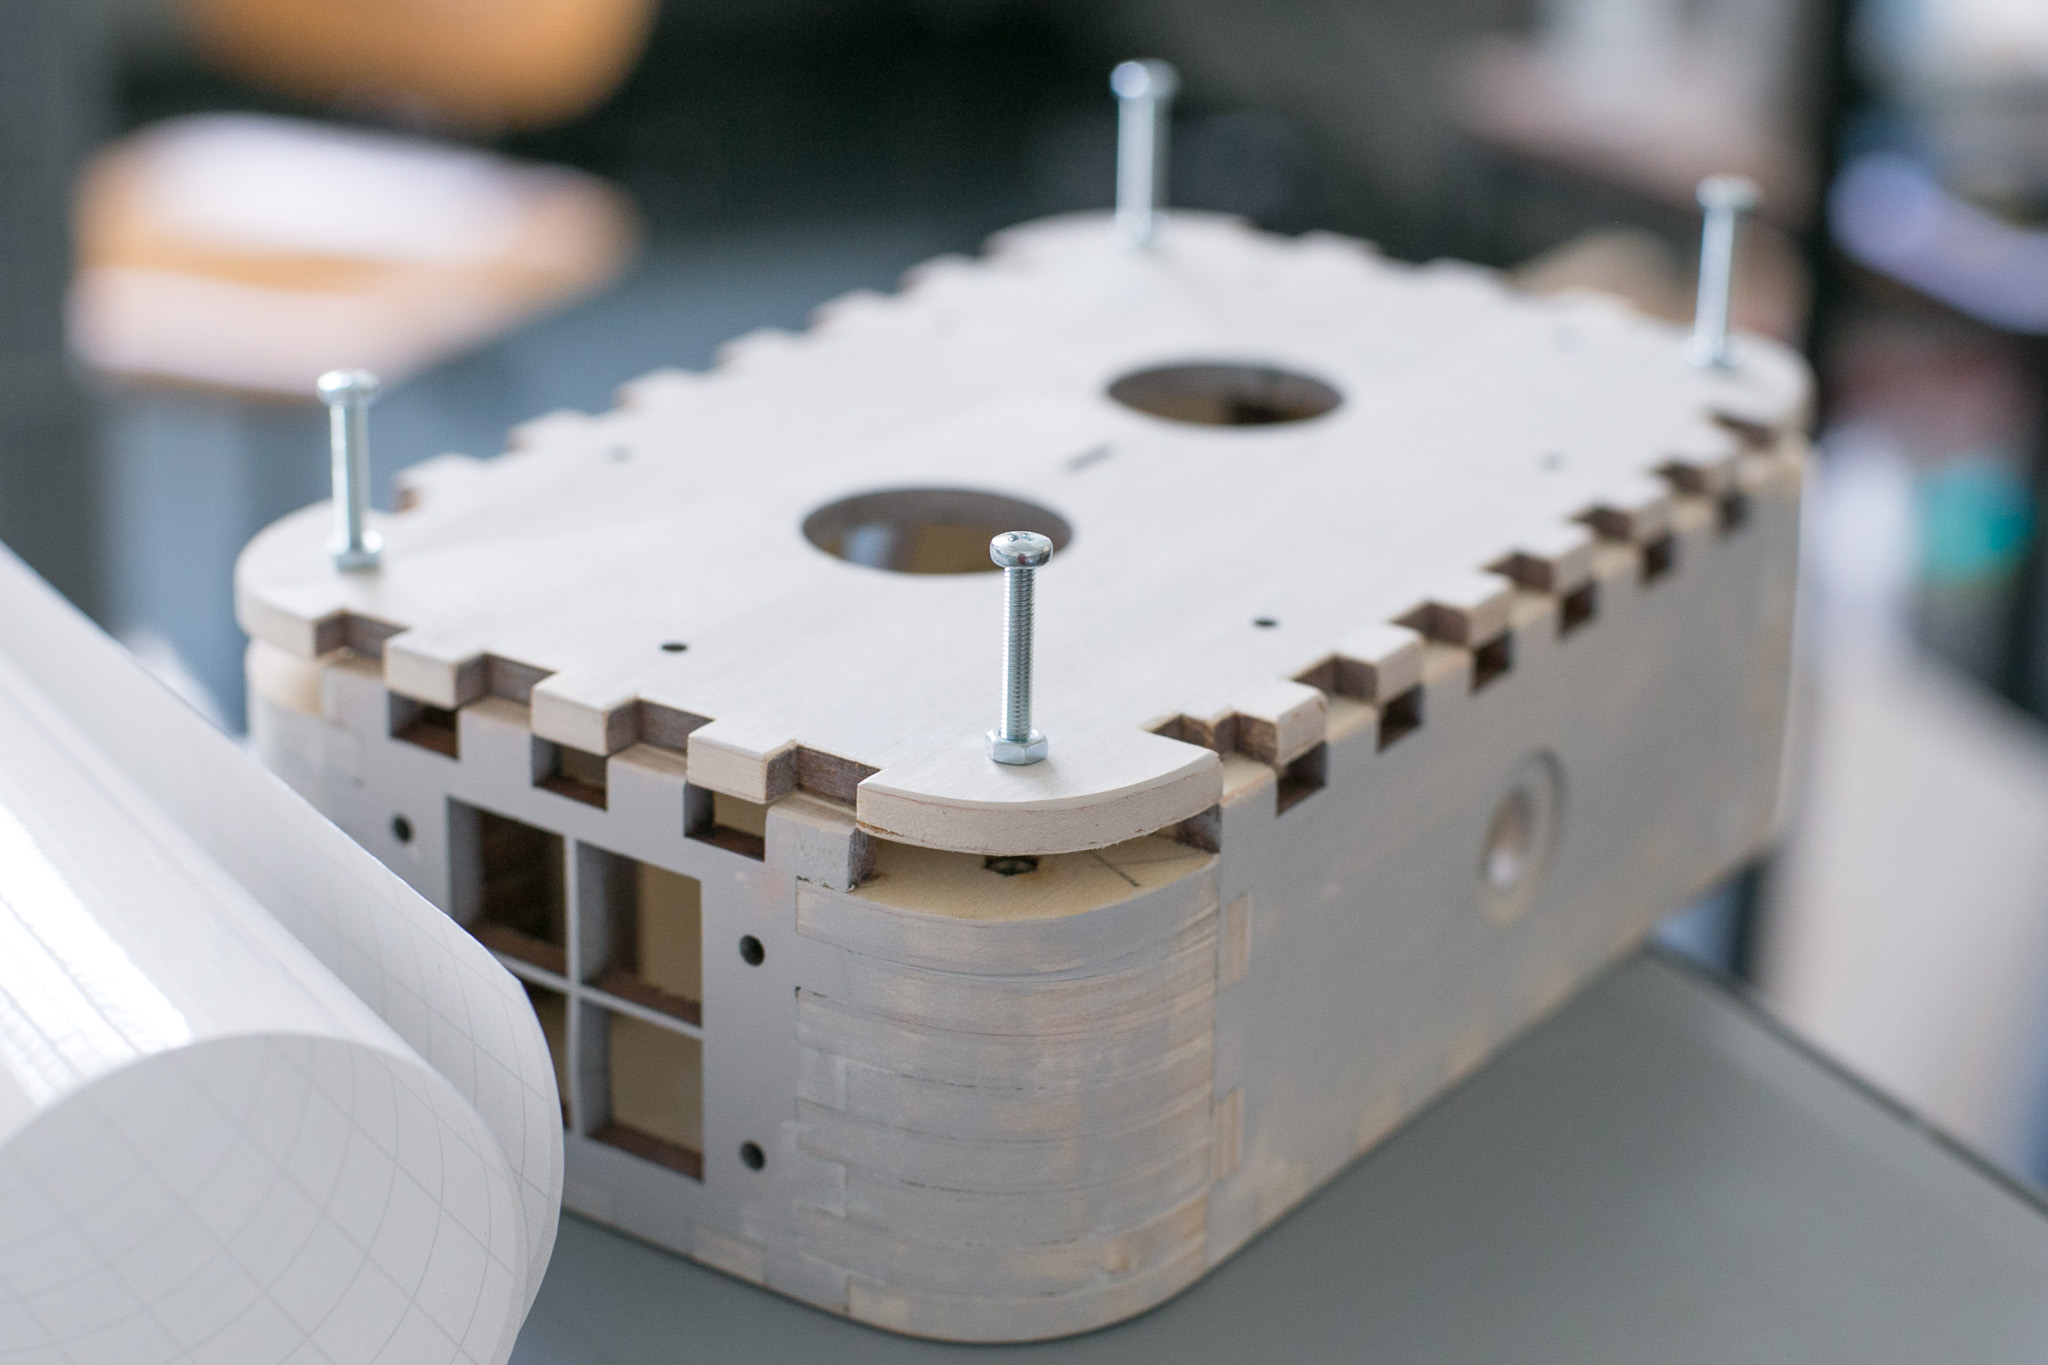
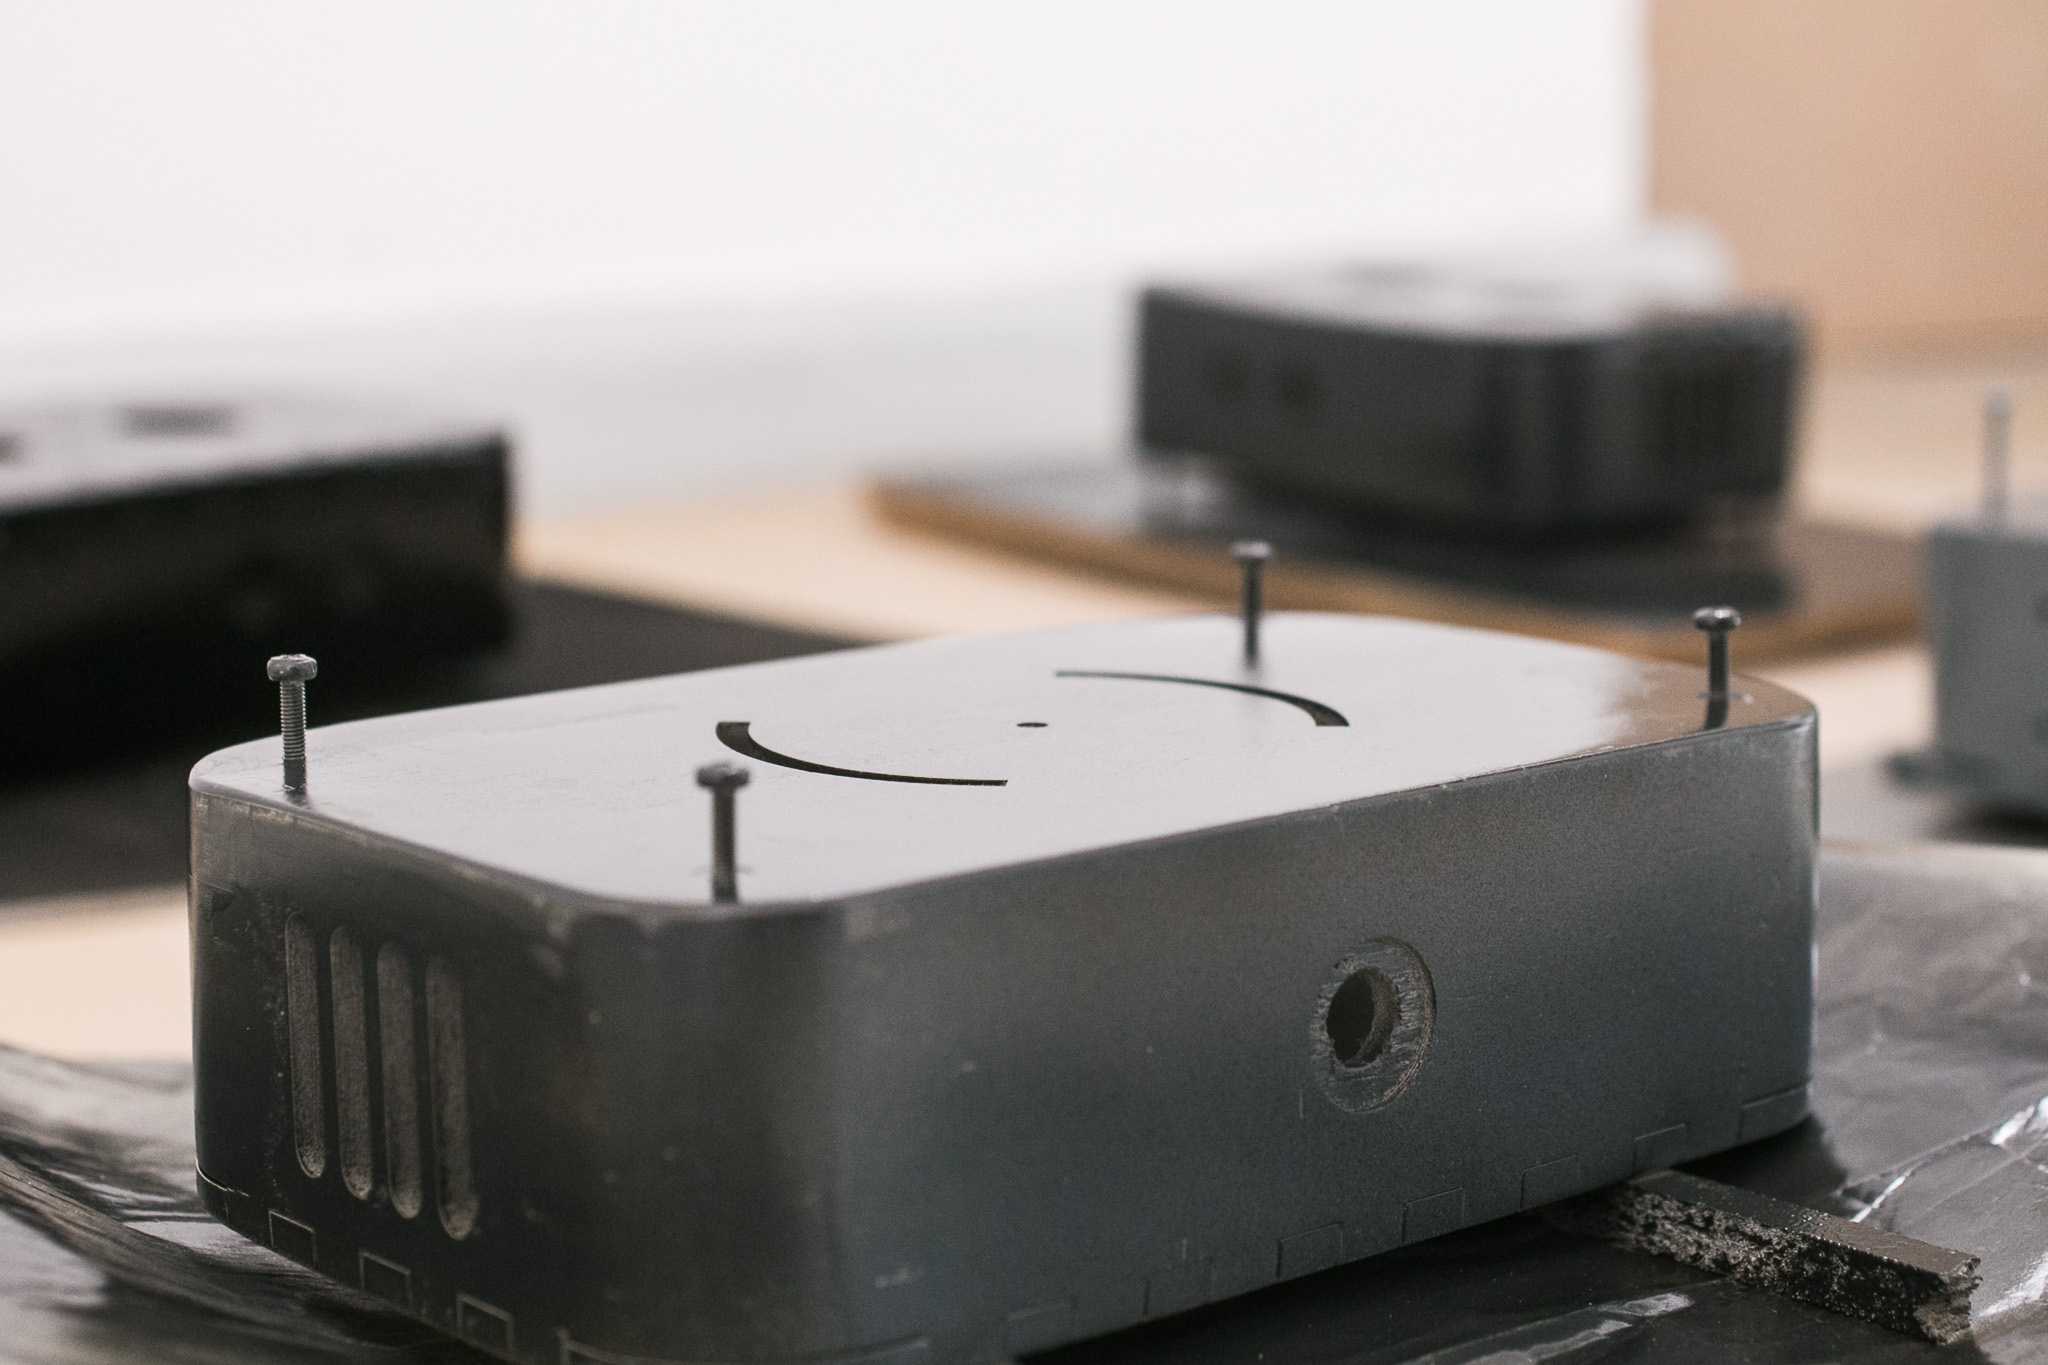
 For the last layer of filler and final varnish put lid into box and spray them all together. Put screws in the wholes of the box to have feet to stand on and to protect them from filling up with paint.
 final layer of filler. Aim to end up with an even an closed surface. Sand on last time.
 Spray upright surfaces and bottom part first. Wait for 30 minutes.
 Turn box around and paint upright surfaces and lid.
varnished box