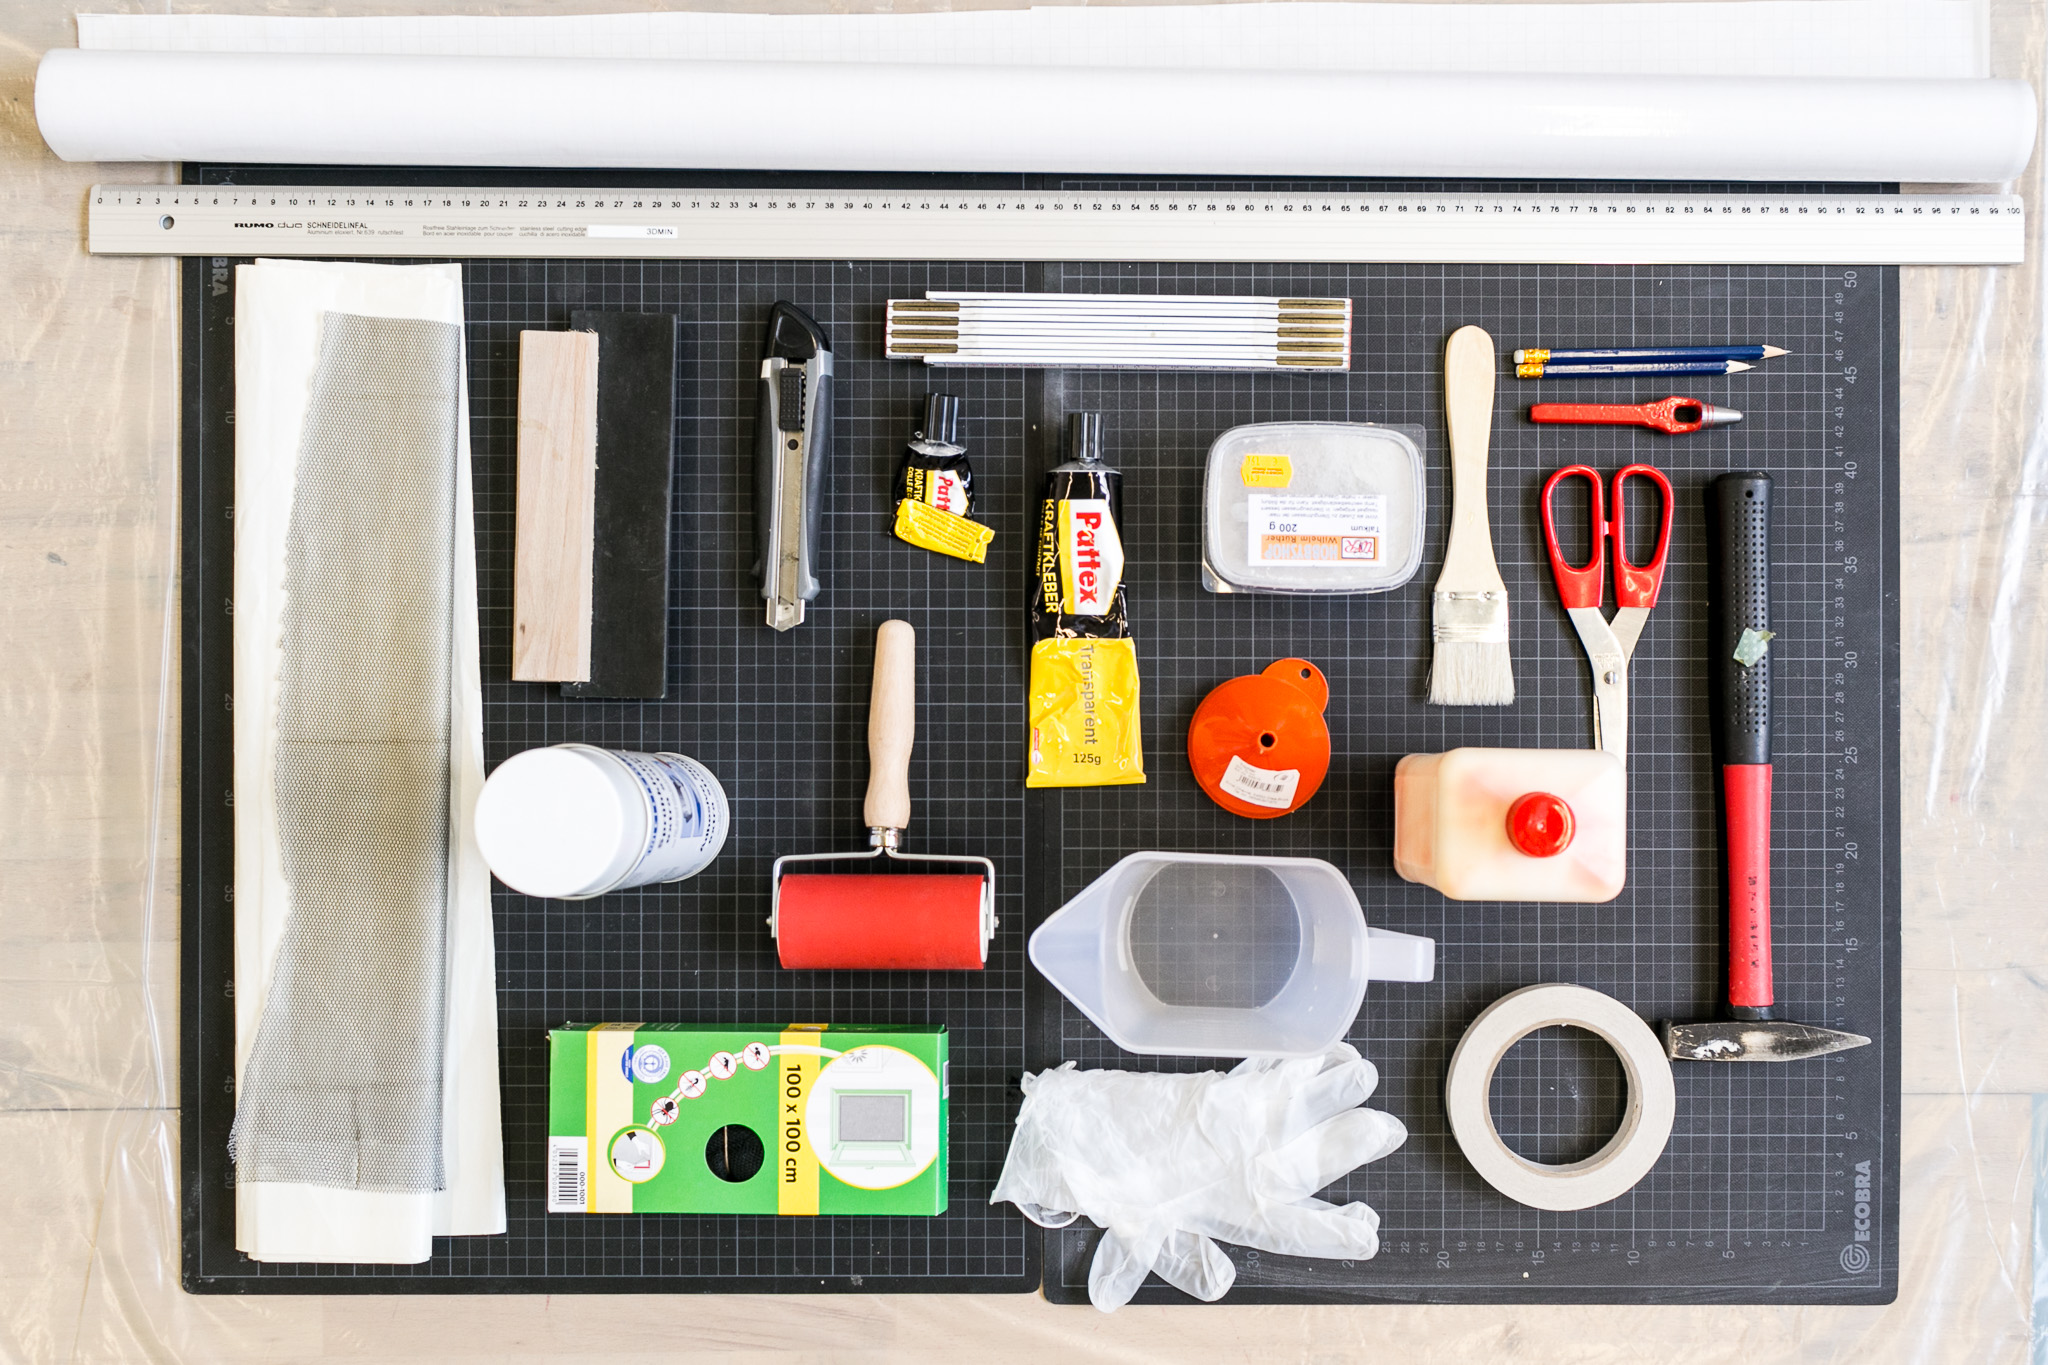
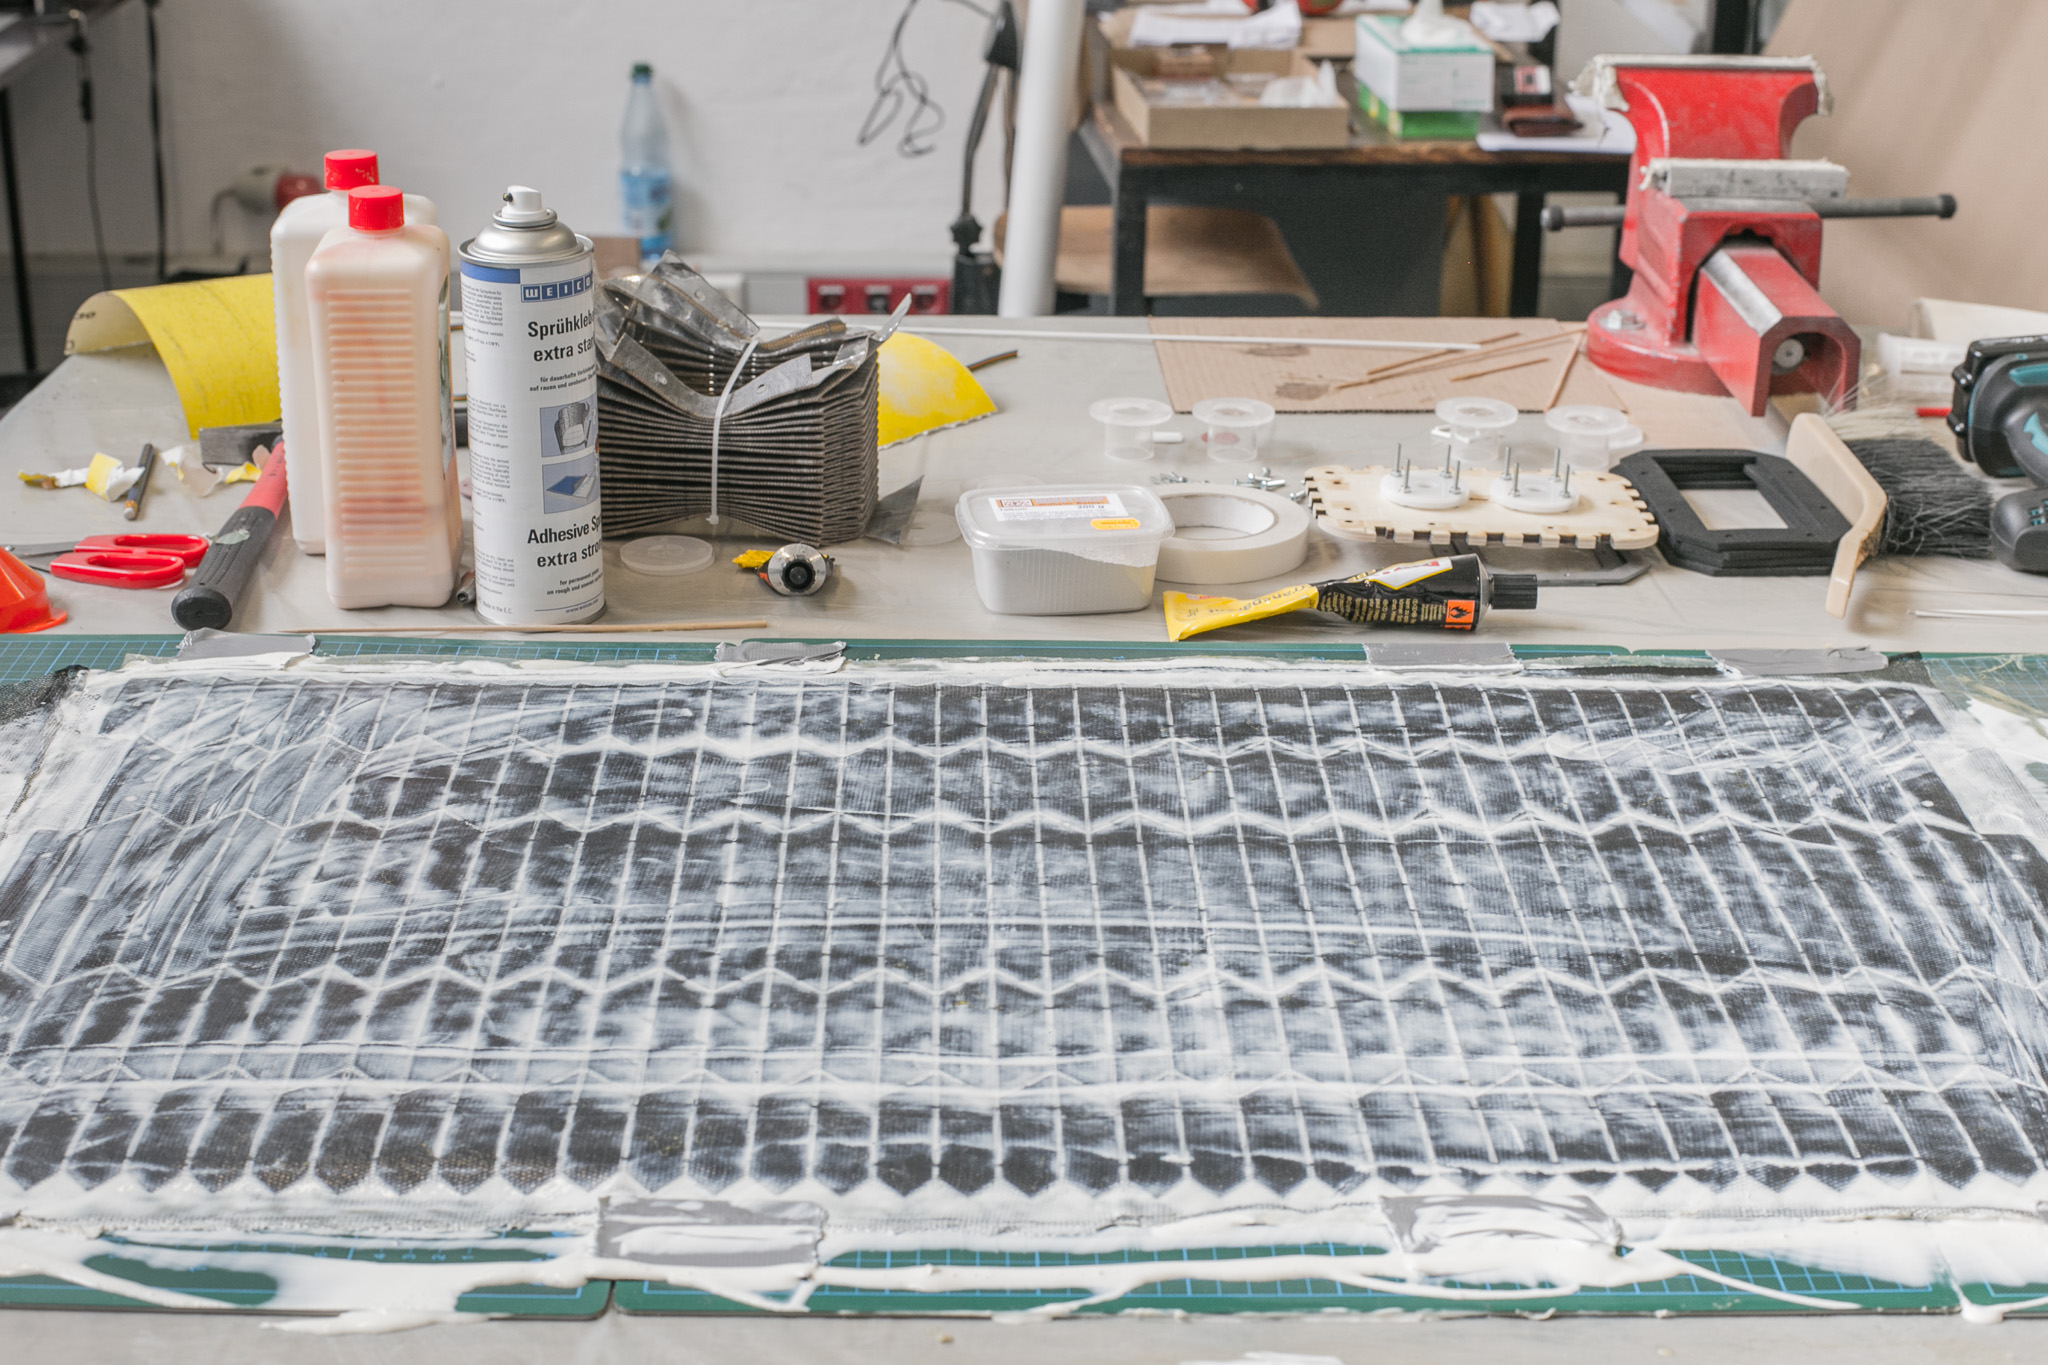
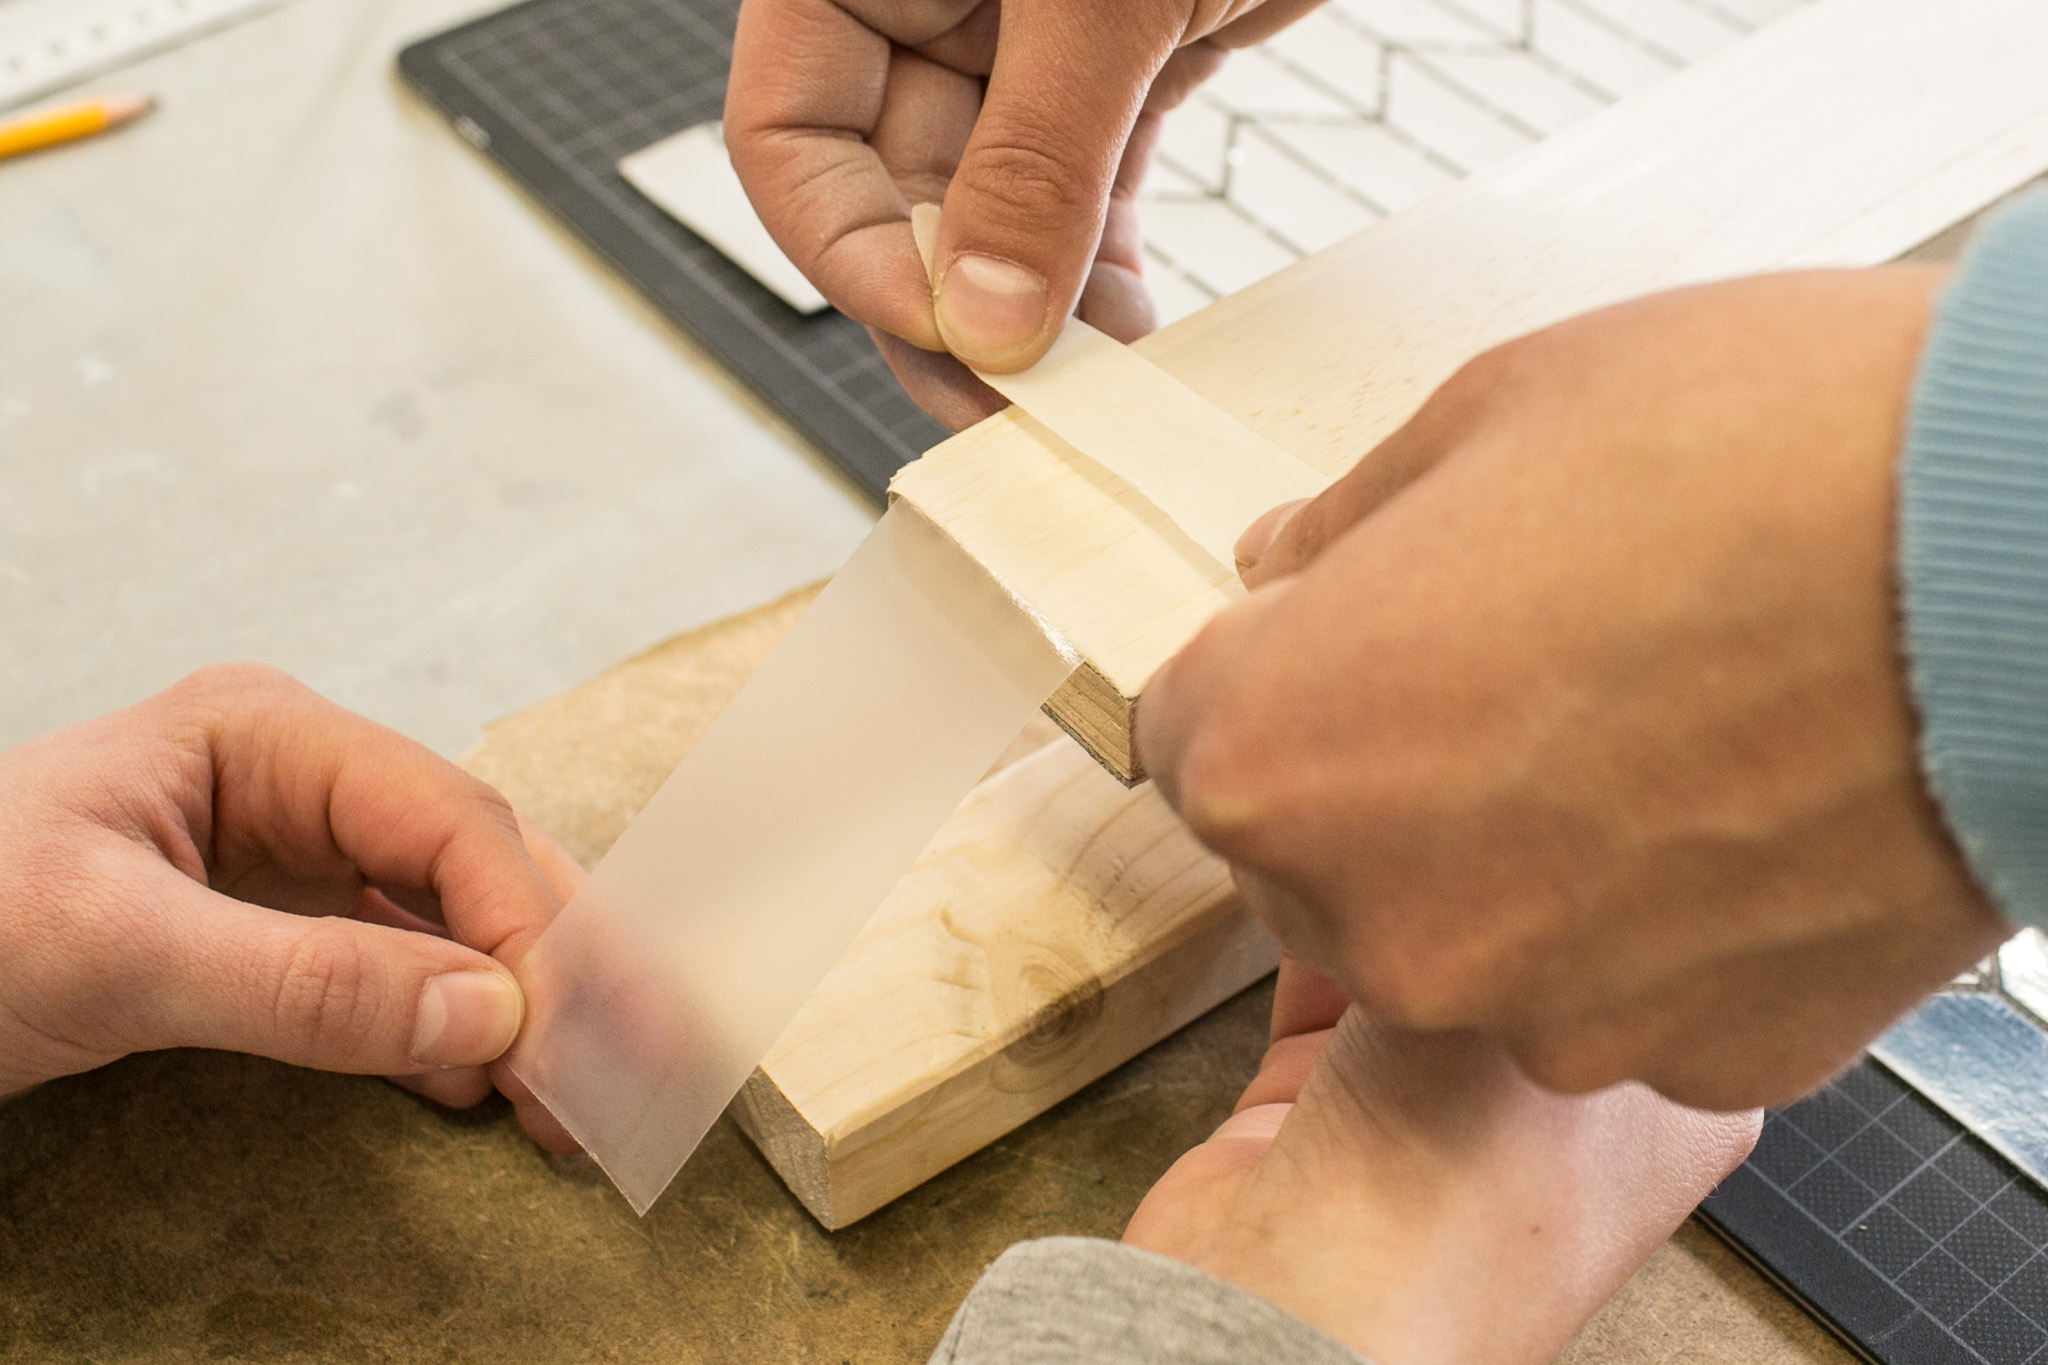
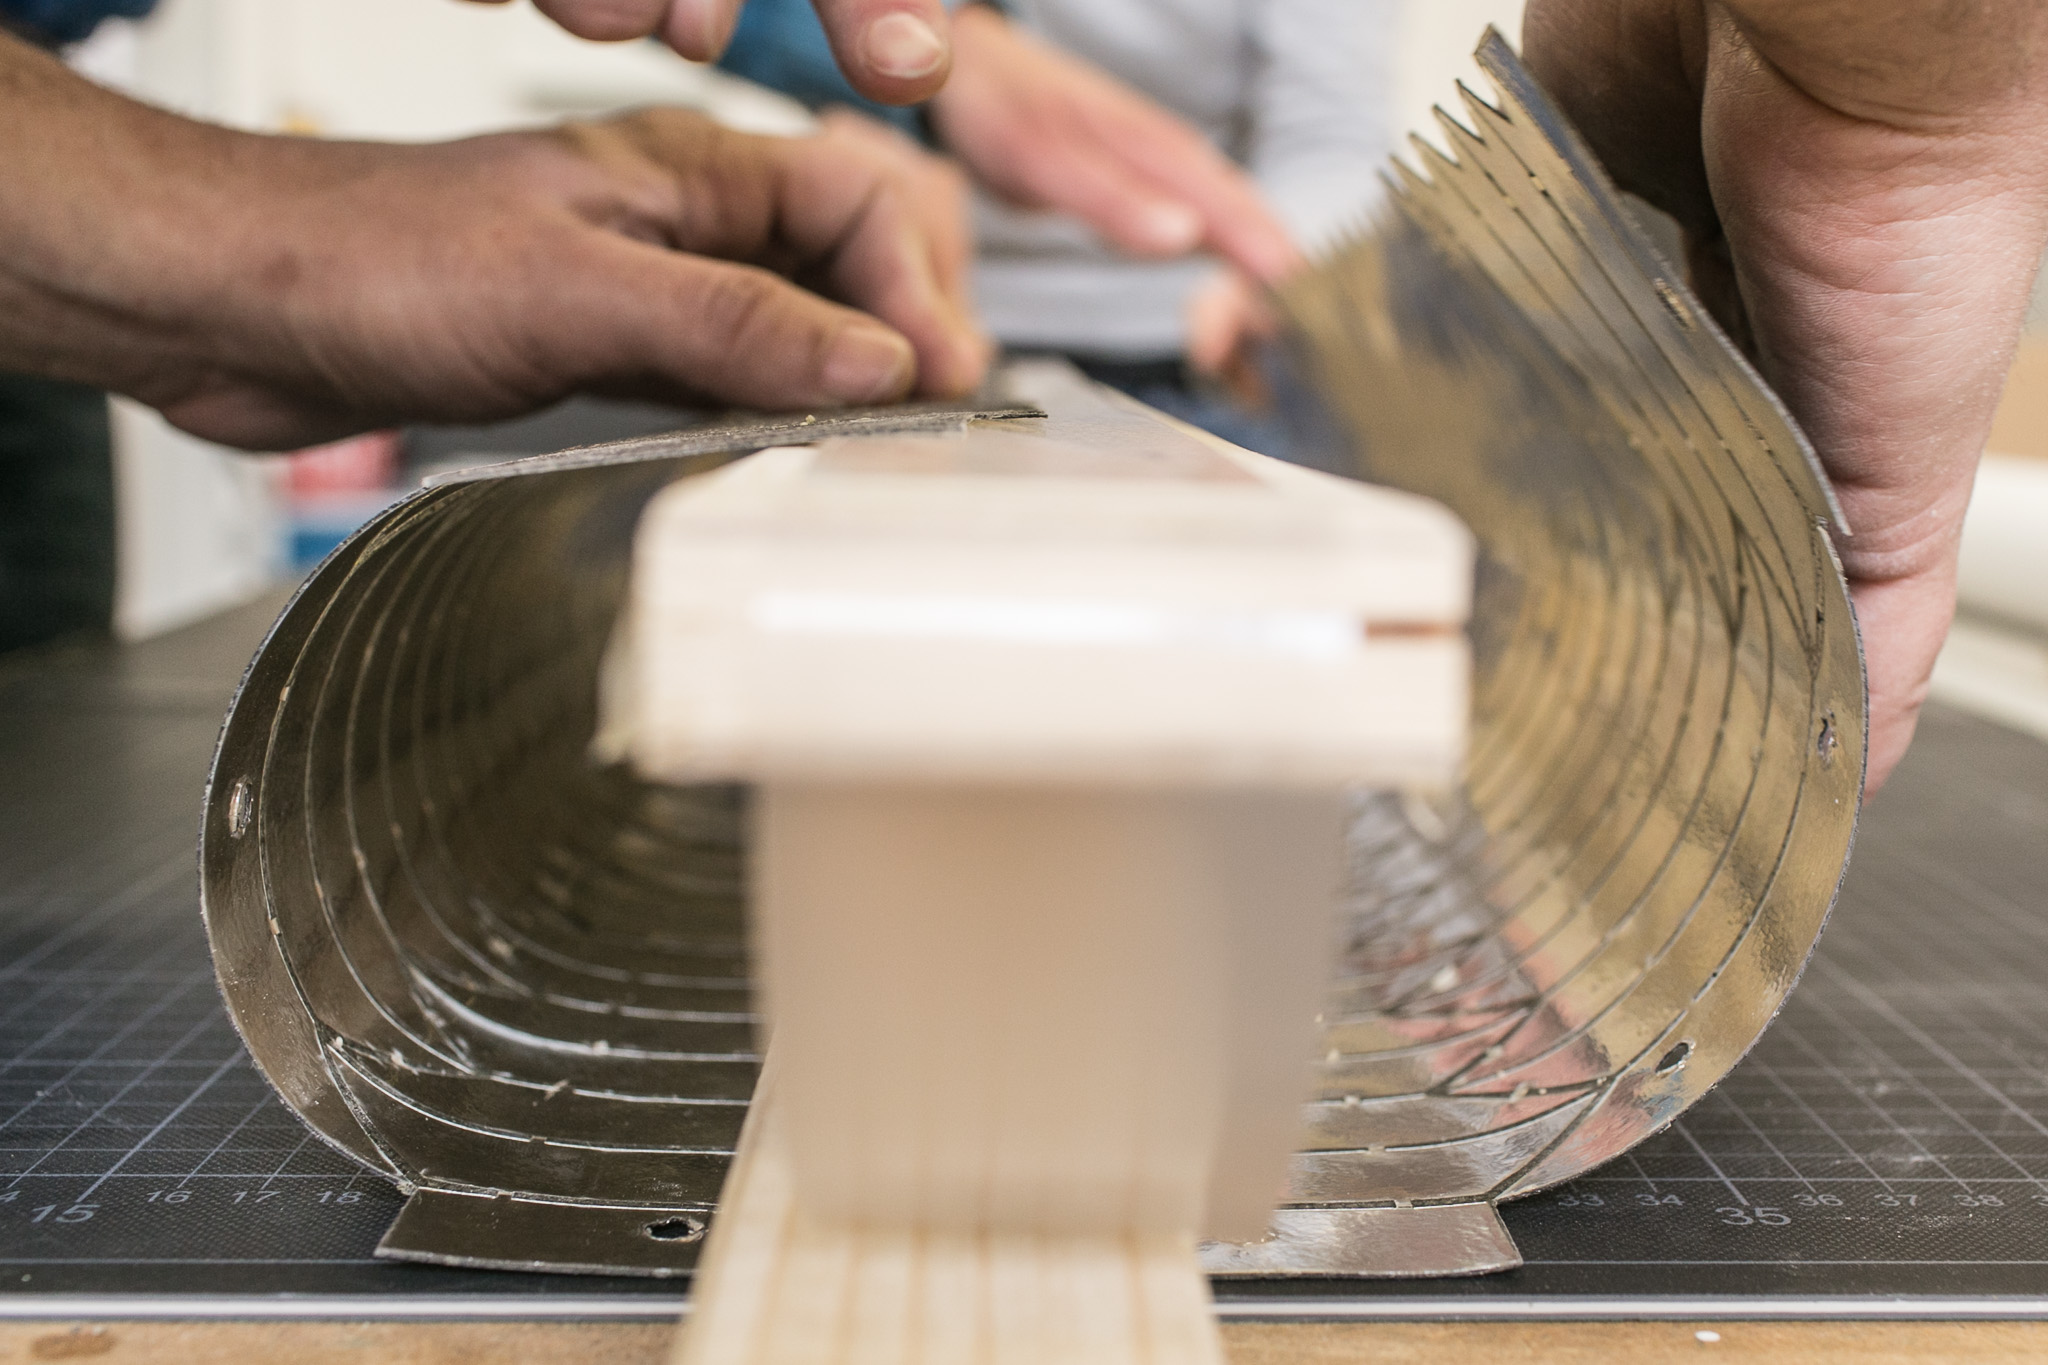
 tools and some of the materials
End Result
 folded bellow with metal frames
Before laser-cutting, glue the mirror film to the cardboard.
Load the provided file to your laser-cutter and try cut settings with a test piece of the material. Then, cut the sheet. As material we used woodfree cardboard from Igepa (Art.-No. 354-97).
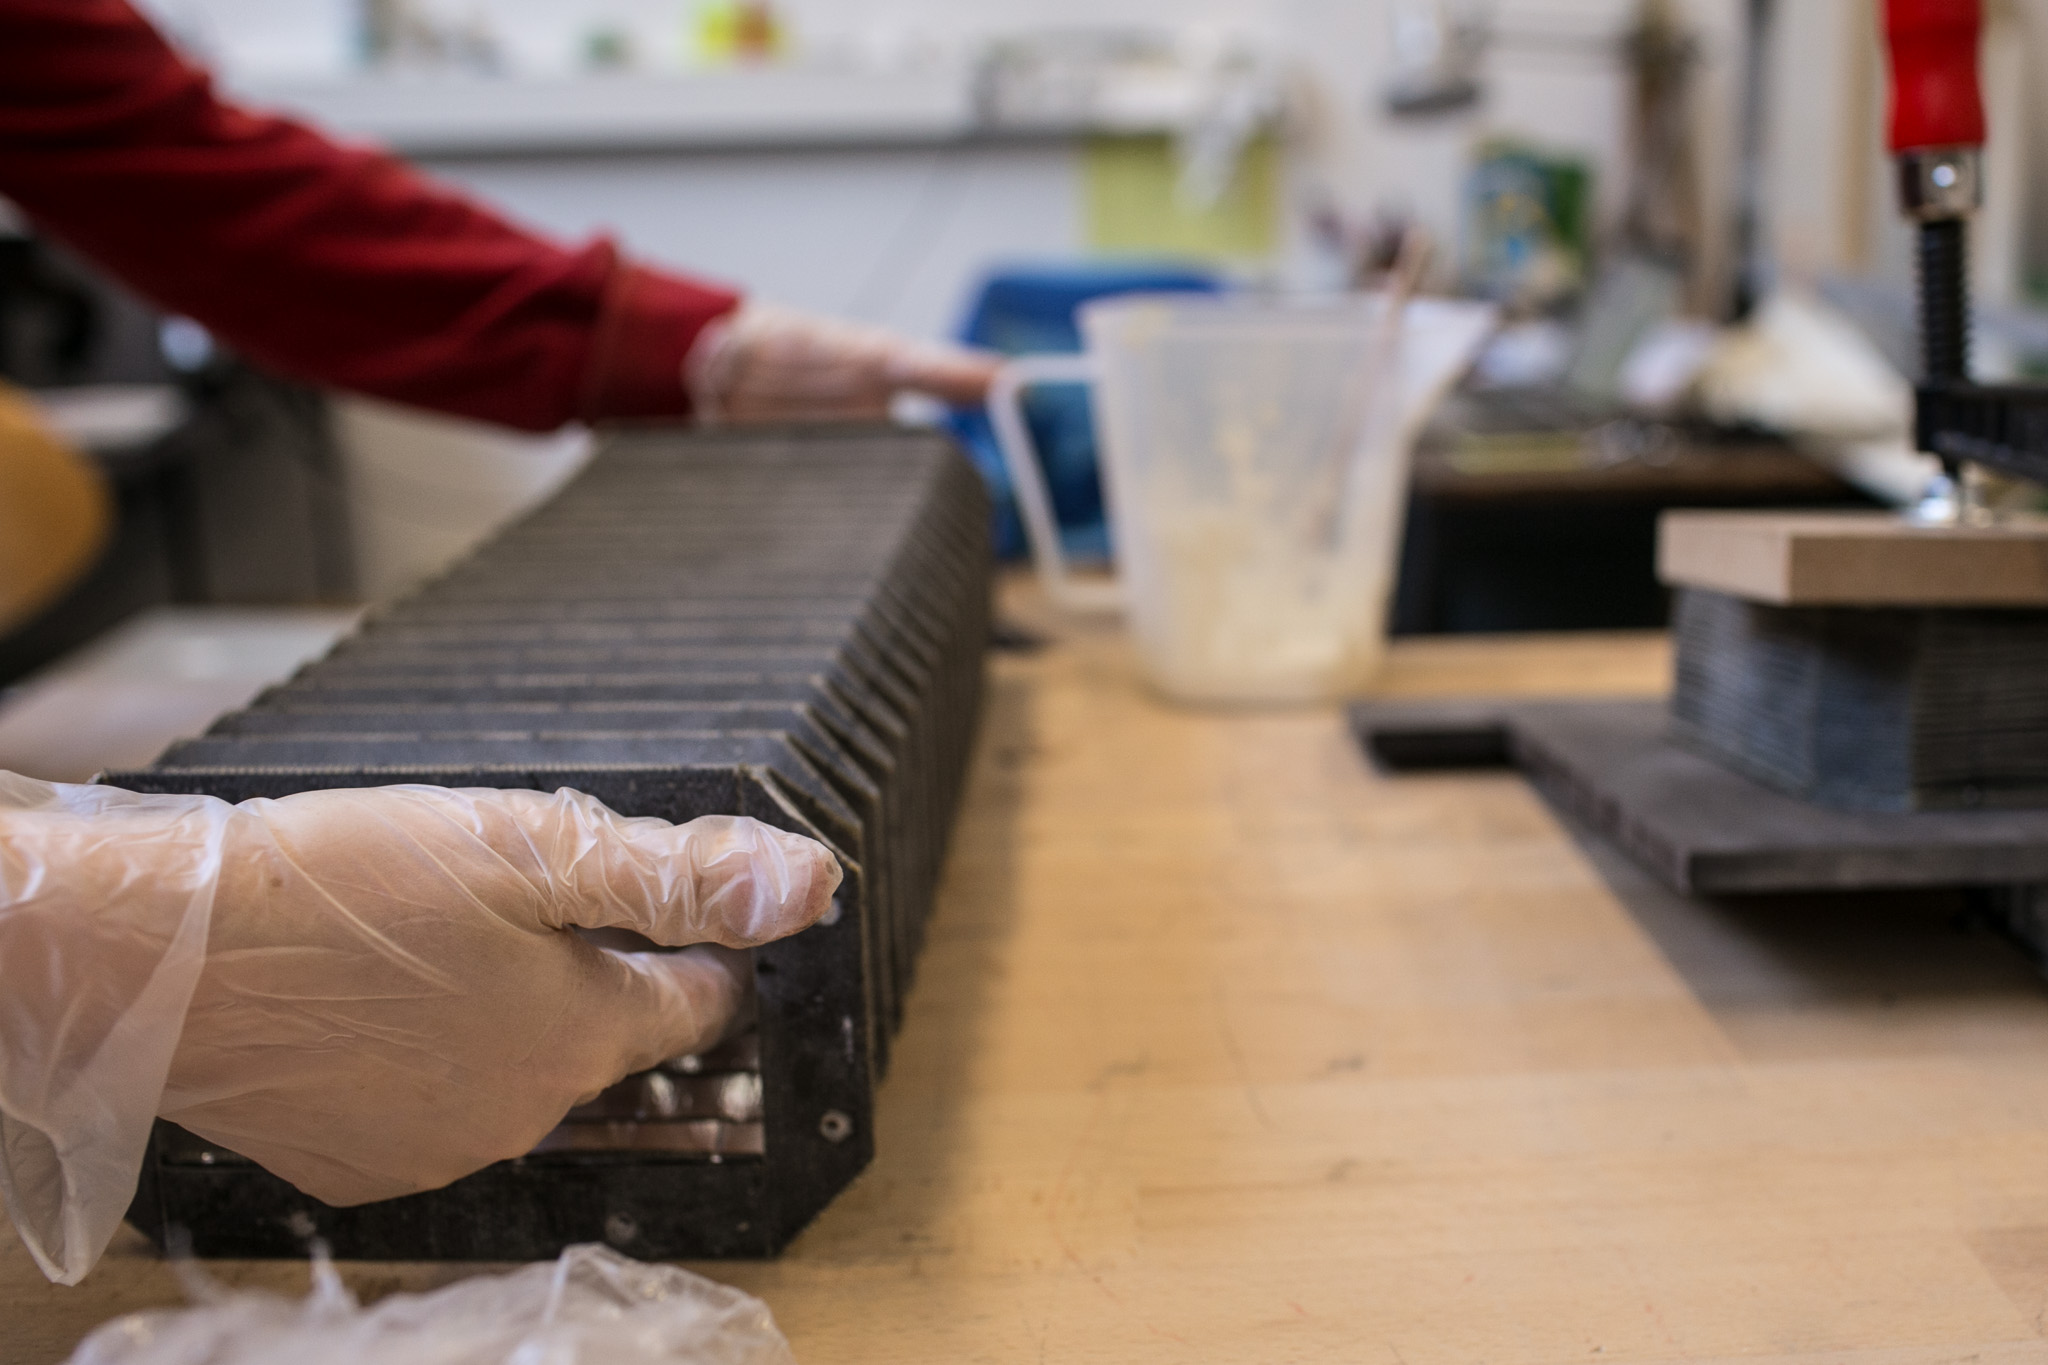
Further we got the metal frames professionally produced. All its holes need a M3 female screw threading.
Coating preparation
You will need an assistant for the following steps.
Cut transfer adhesive film to about 50cm x 100cm and remove its protective sheet starting at one corner, pulling diagonally and almost parallel to the surface.
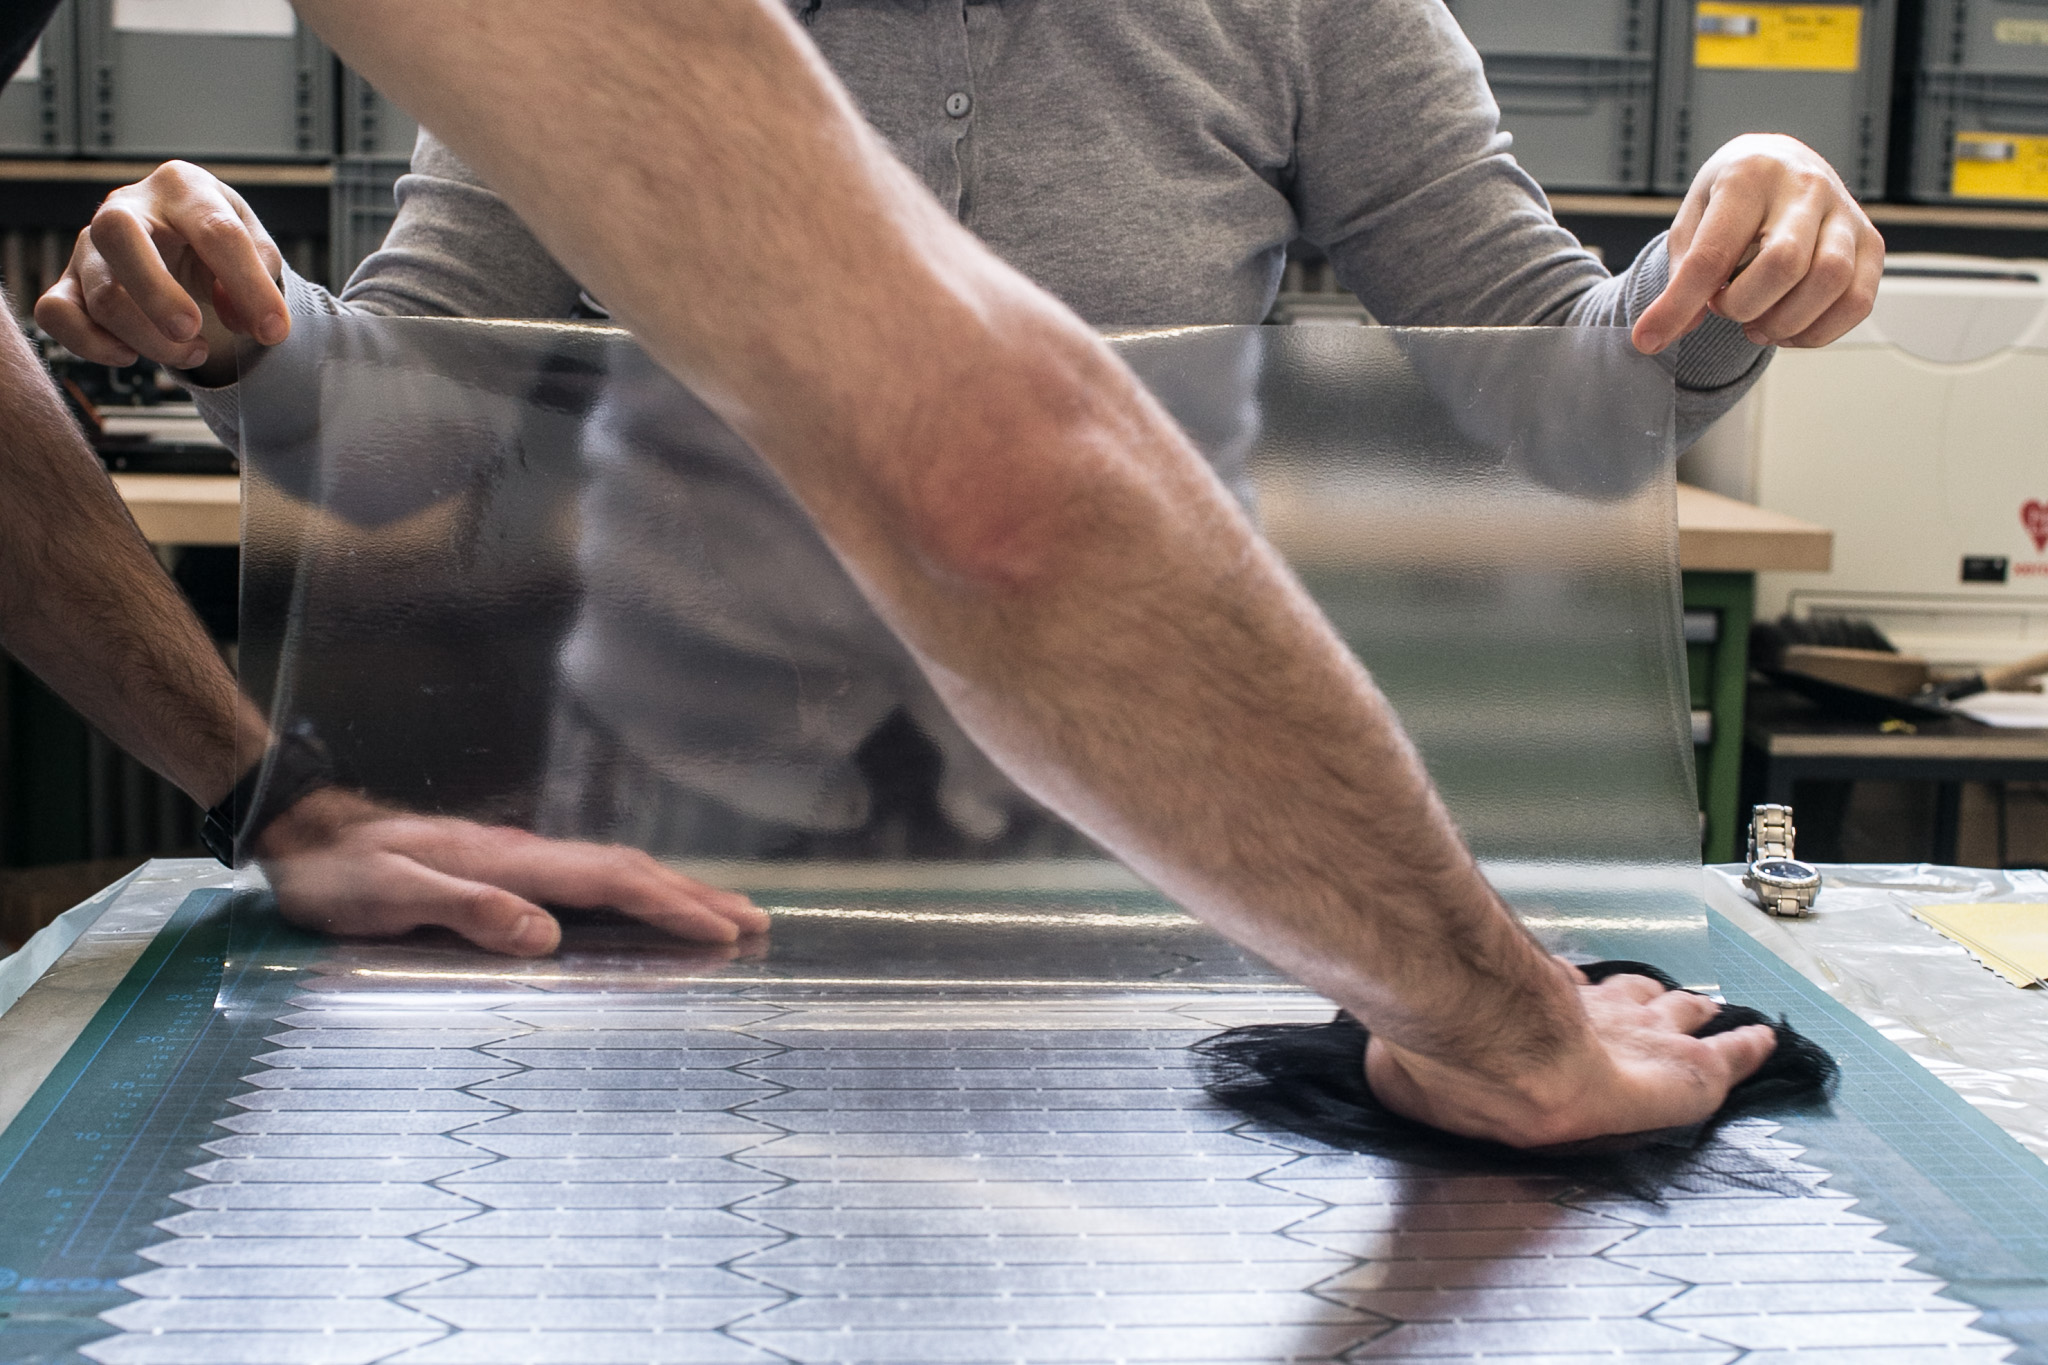
While one person positions the transparent film parallel to the end of the cut cardboard (mirrored side up!), the other holds up the other end.
The film should protrude the cardboard on every side.
 cut transfer adhesive film to 50cm x 100cm
 removing film from paper, start at one corner and pull diagonal and parallel to surface
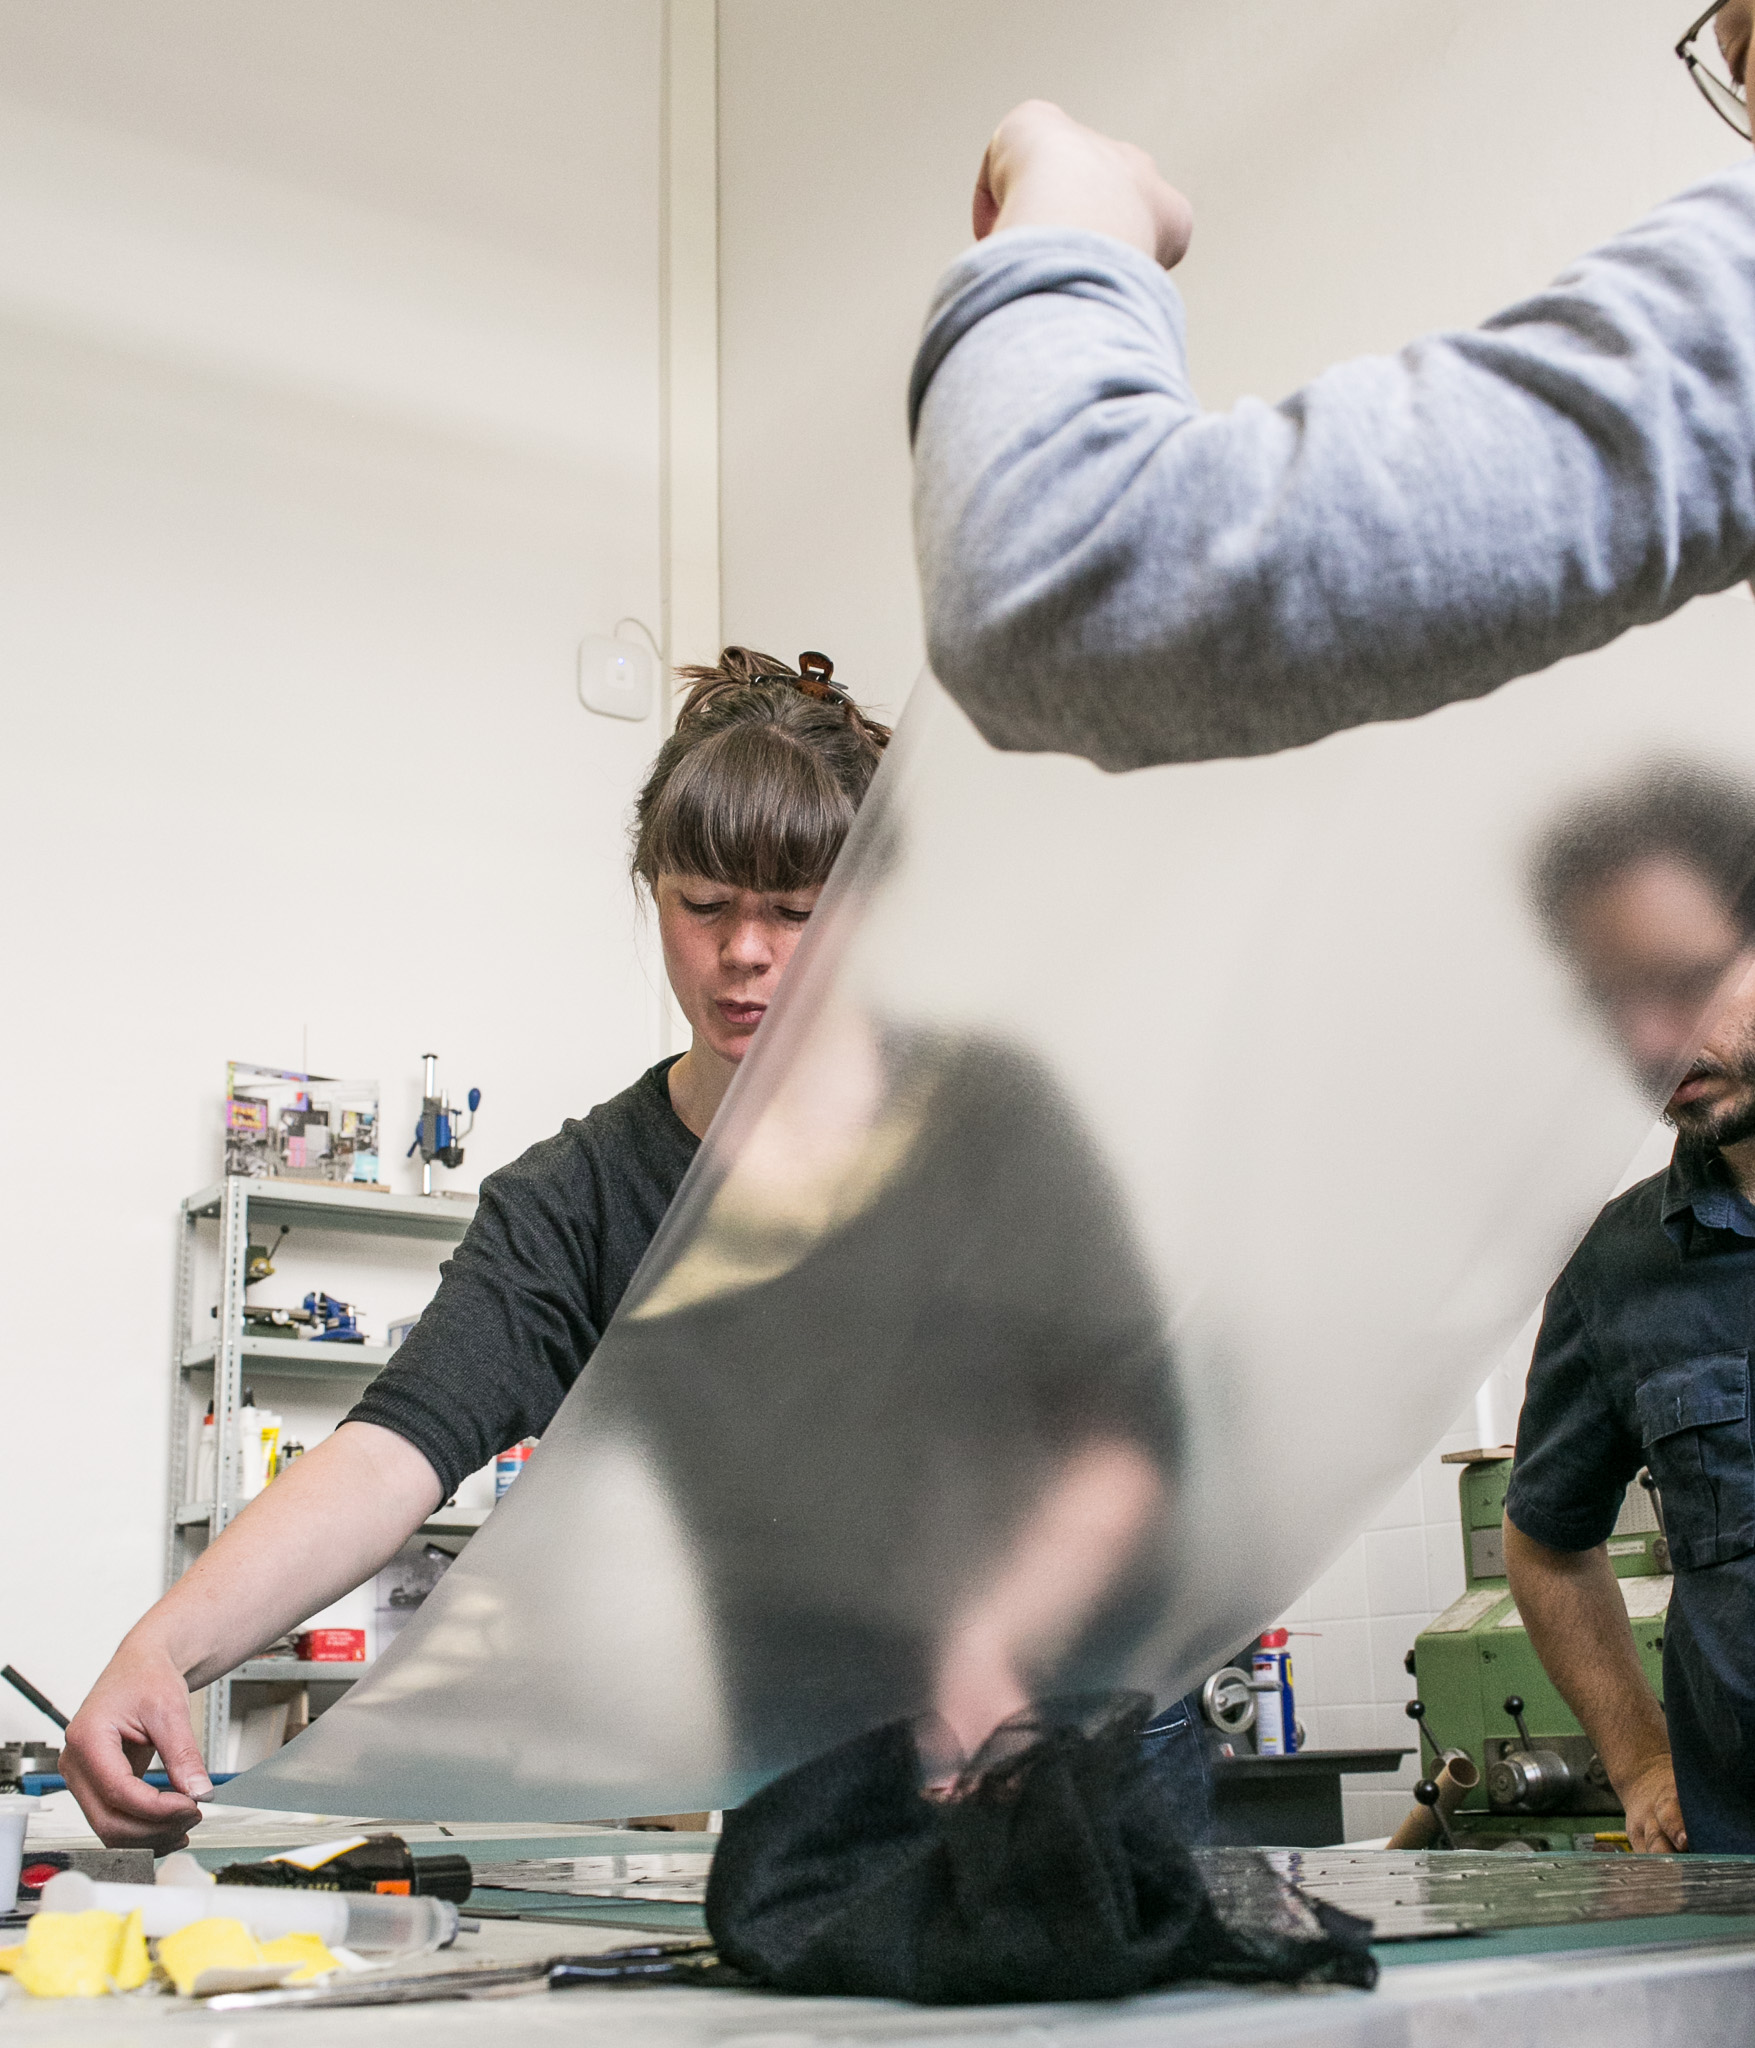 While one person positions the transparent film parallel to the end of the cut cardboard (mirrored side up!), the other holds up the other end. The film should protrude the cardboard on every side.
 Starting at one corner, wipe-press a cloth over the foil to stick it to the cardboard. While brushing from left to right, move slowly from one end of the cardboard to the other.
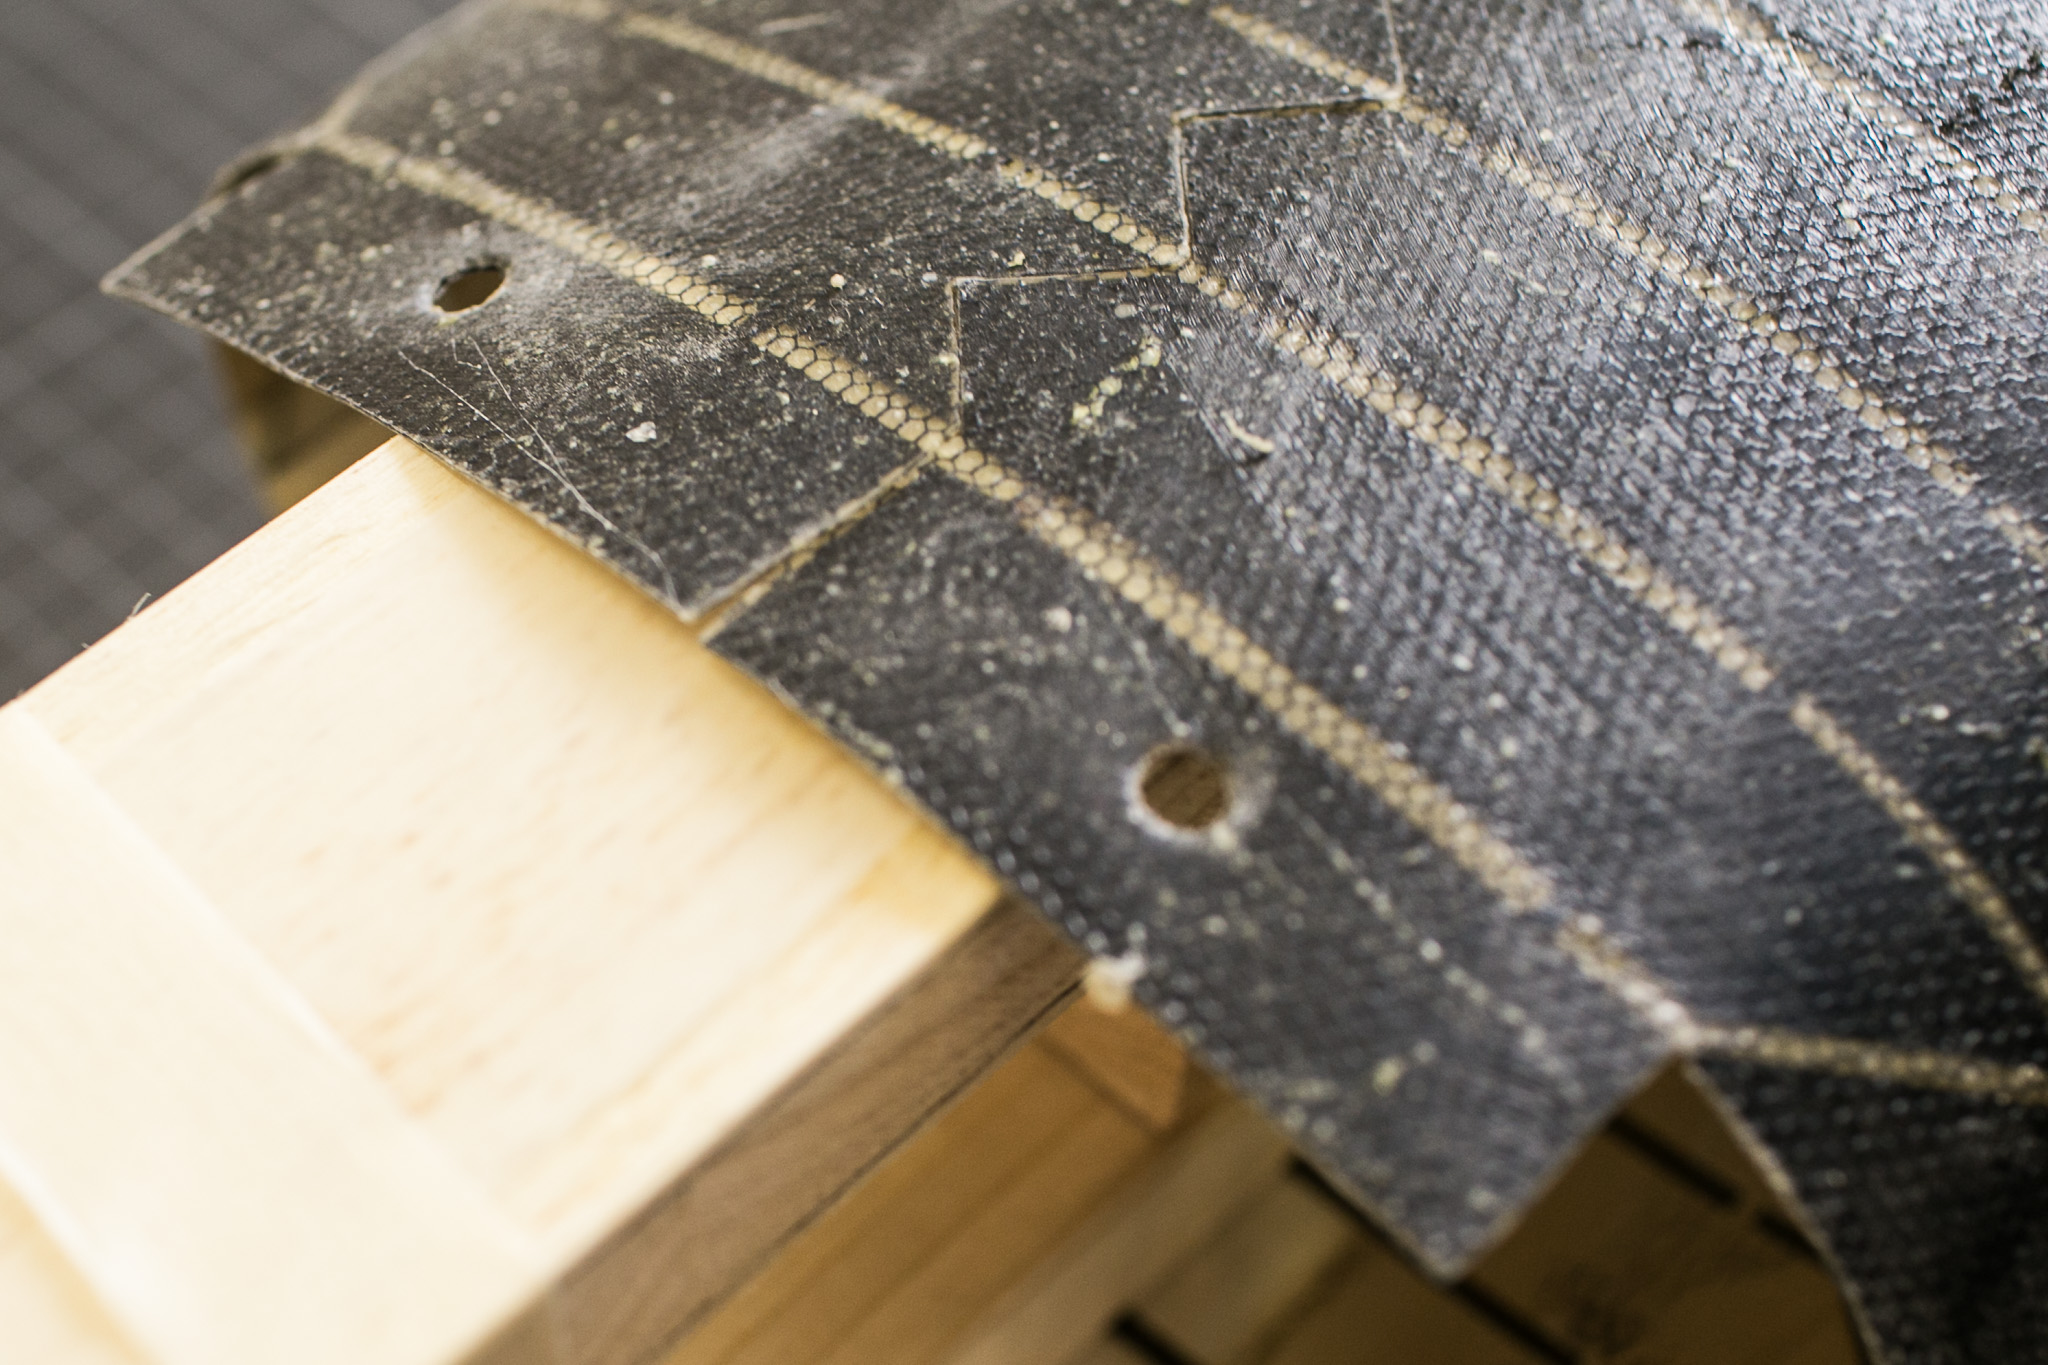
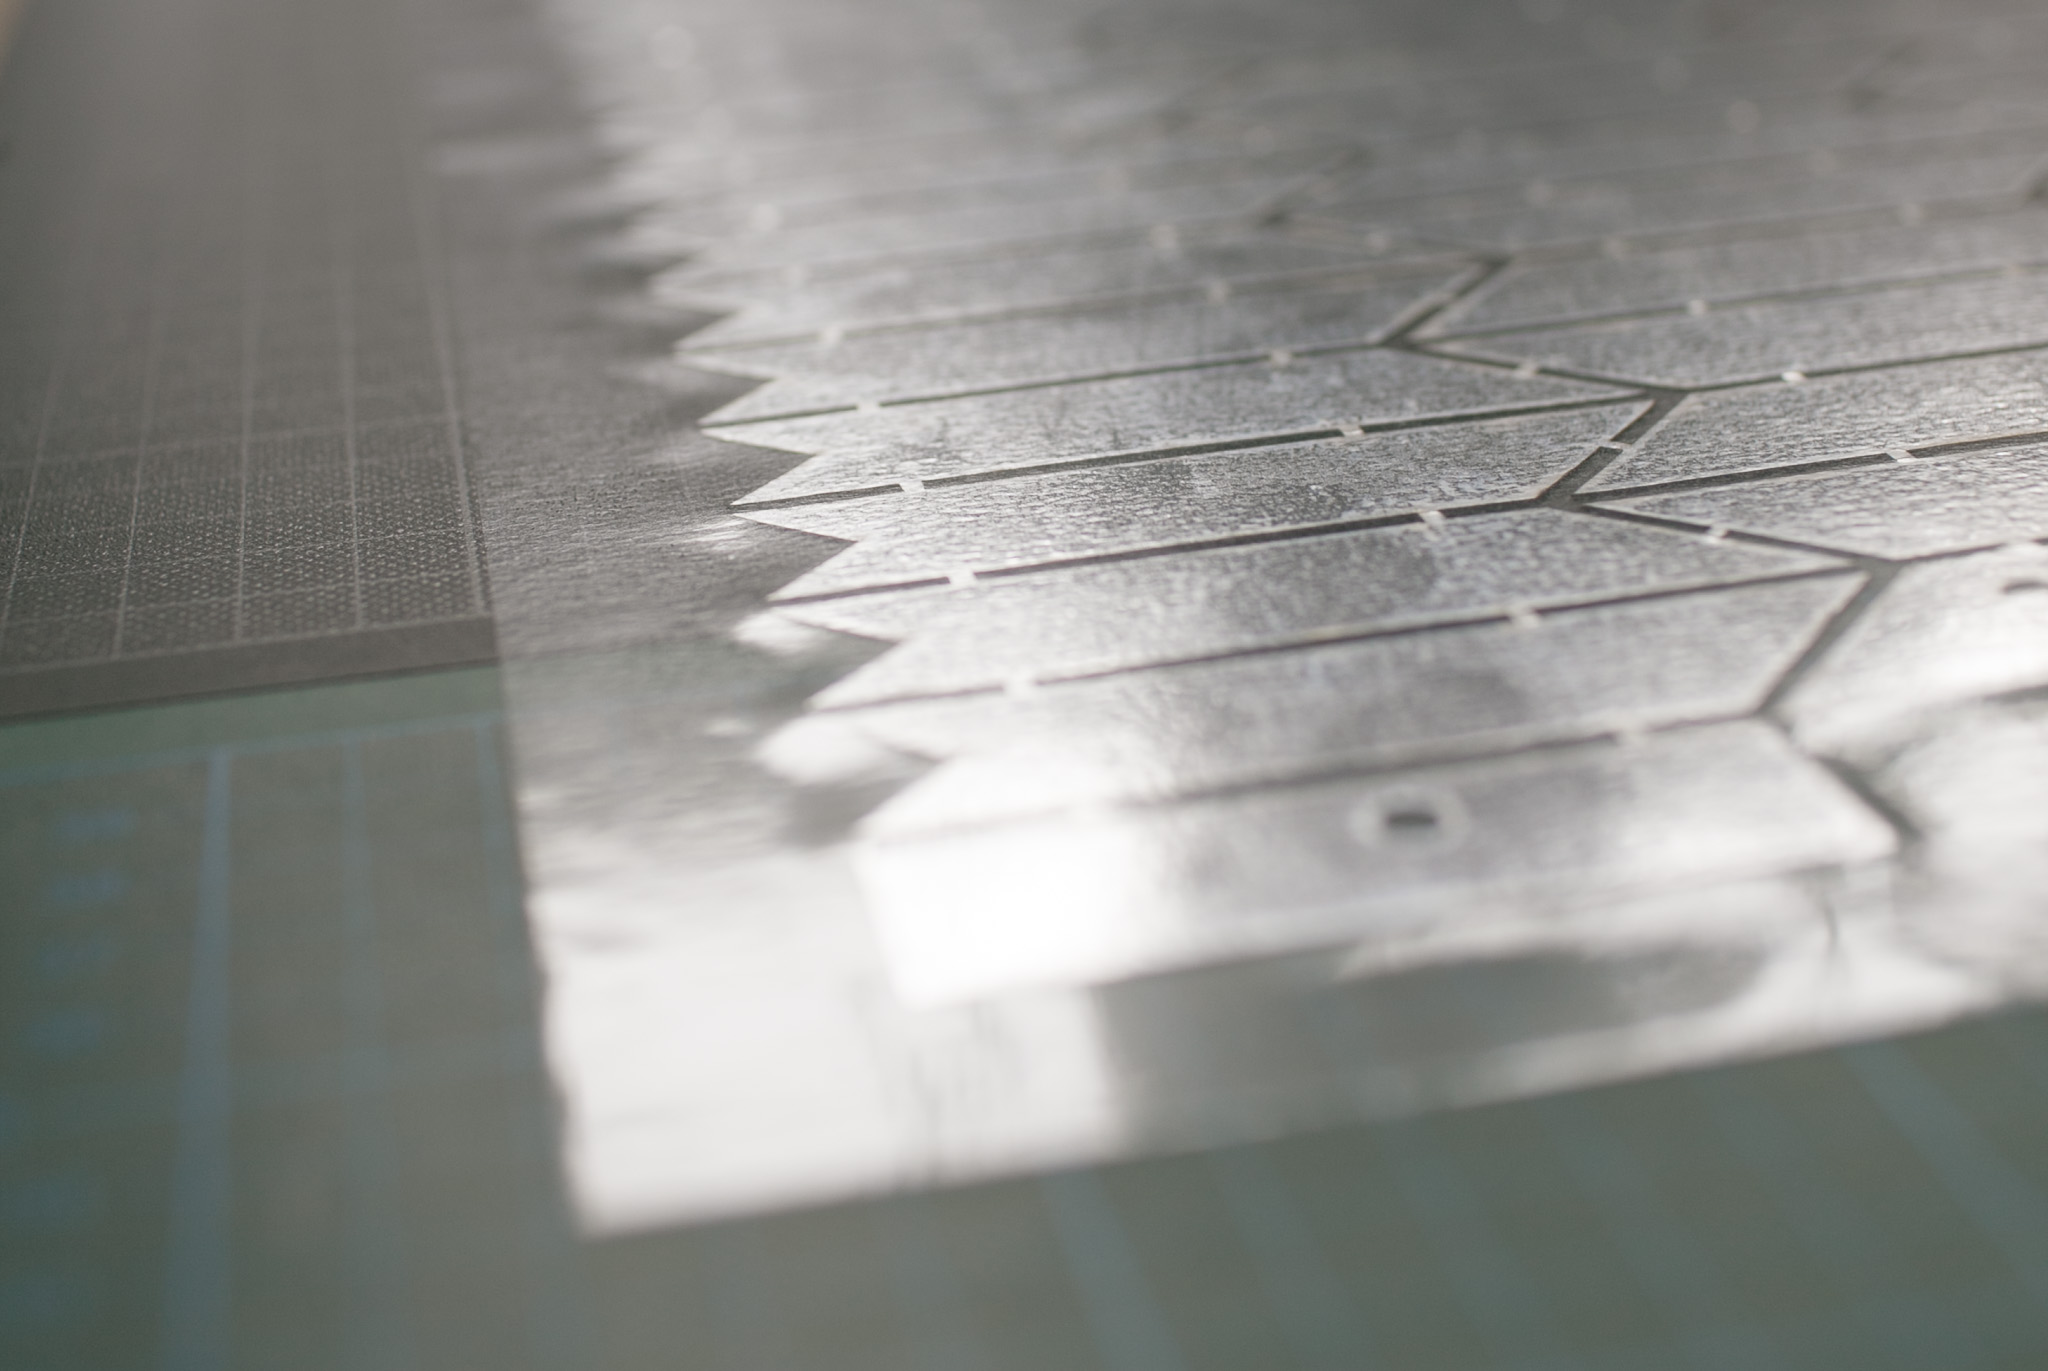 transparent film properly mounted on sheet
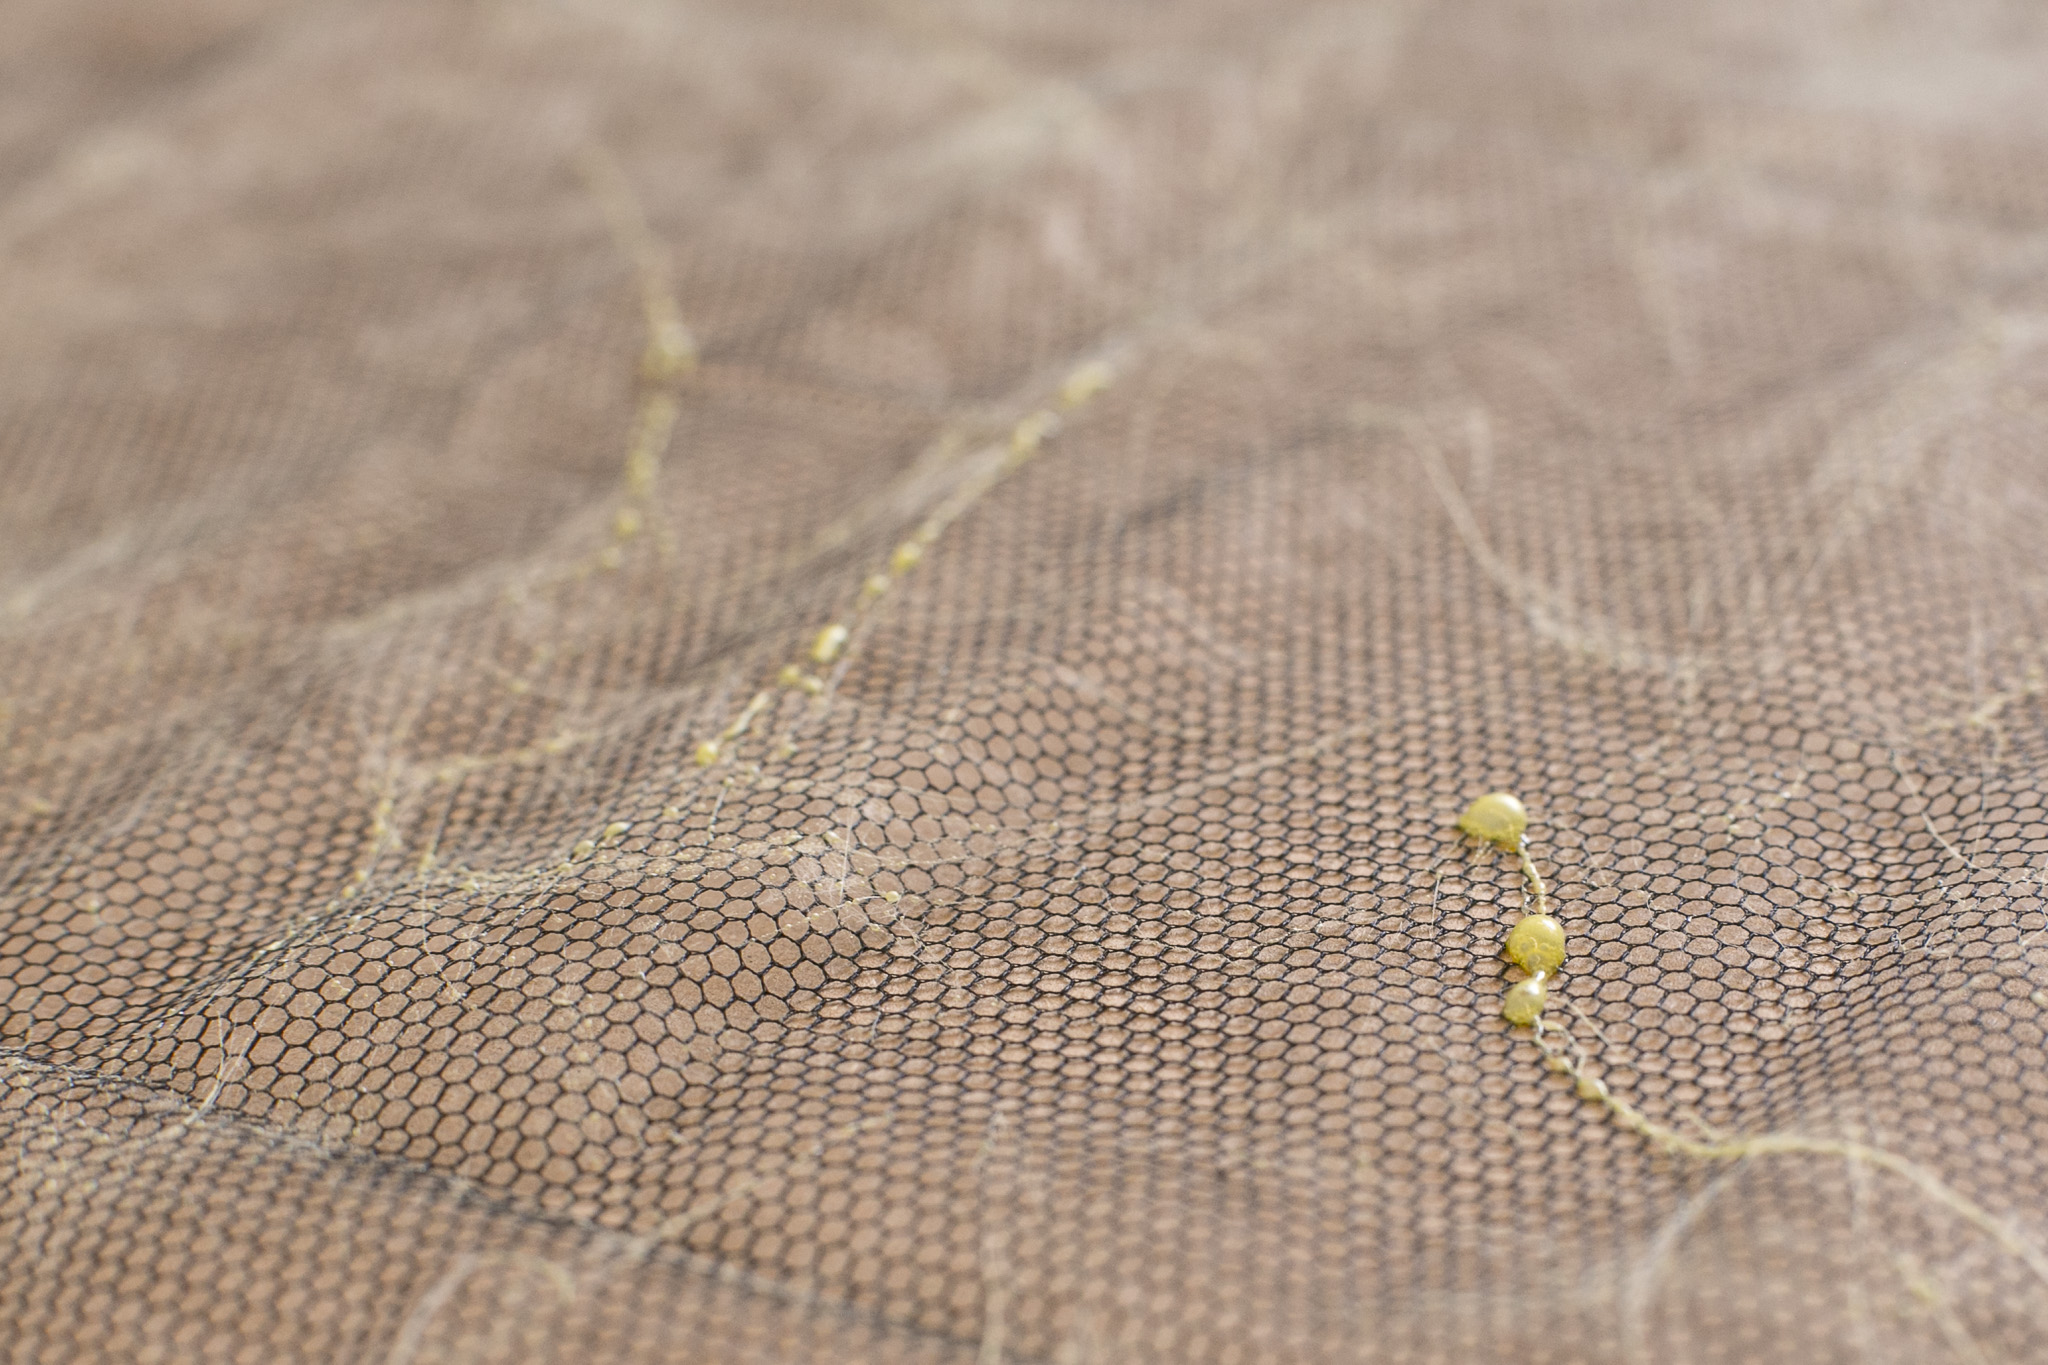
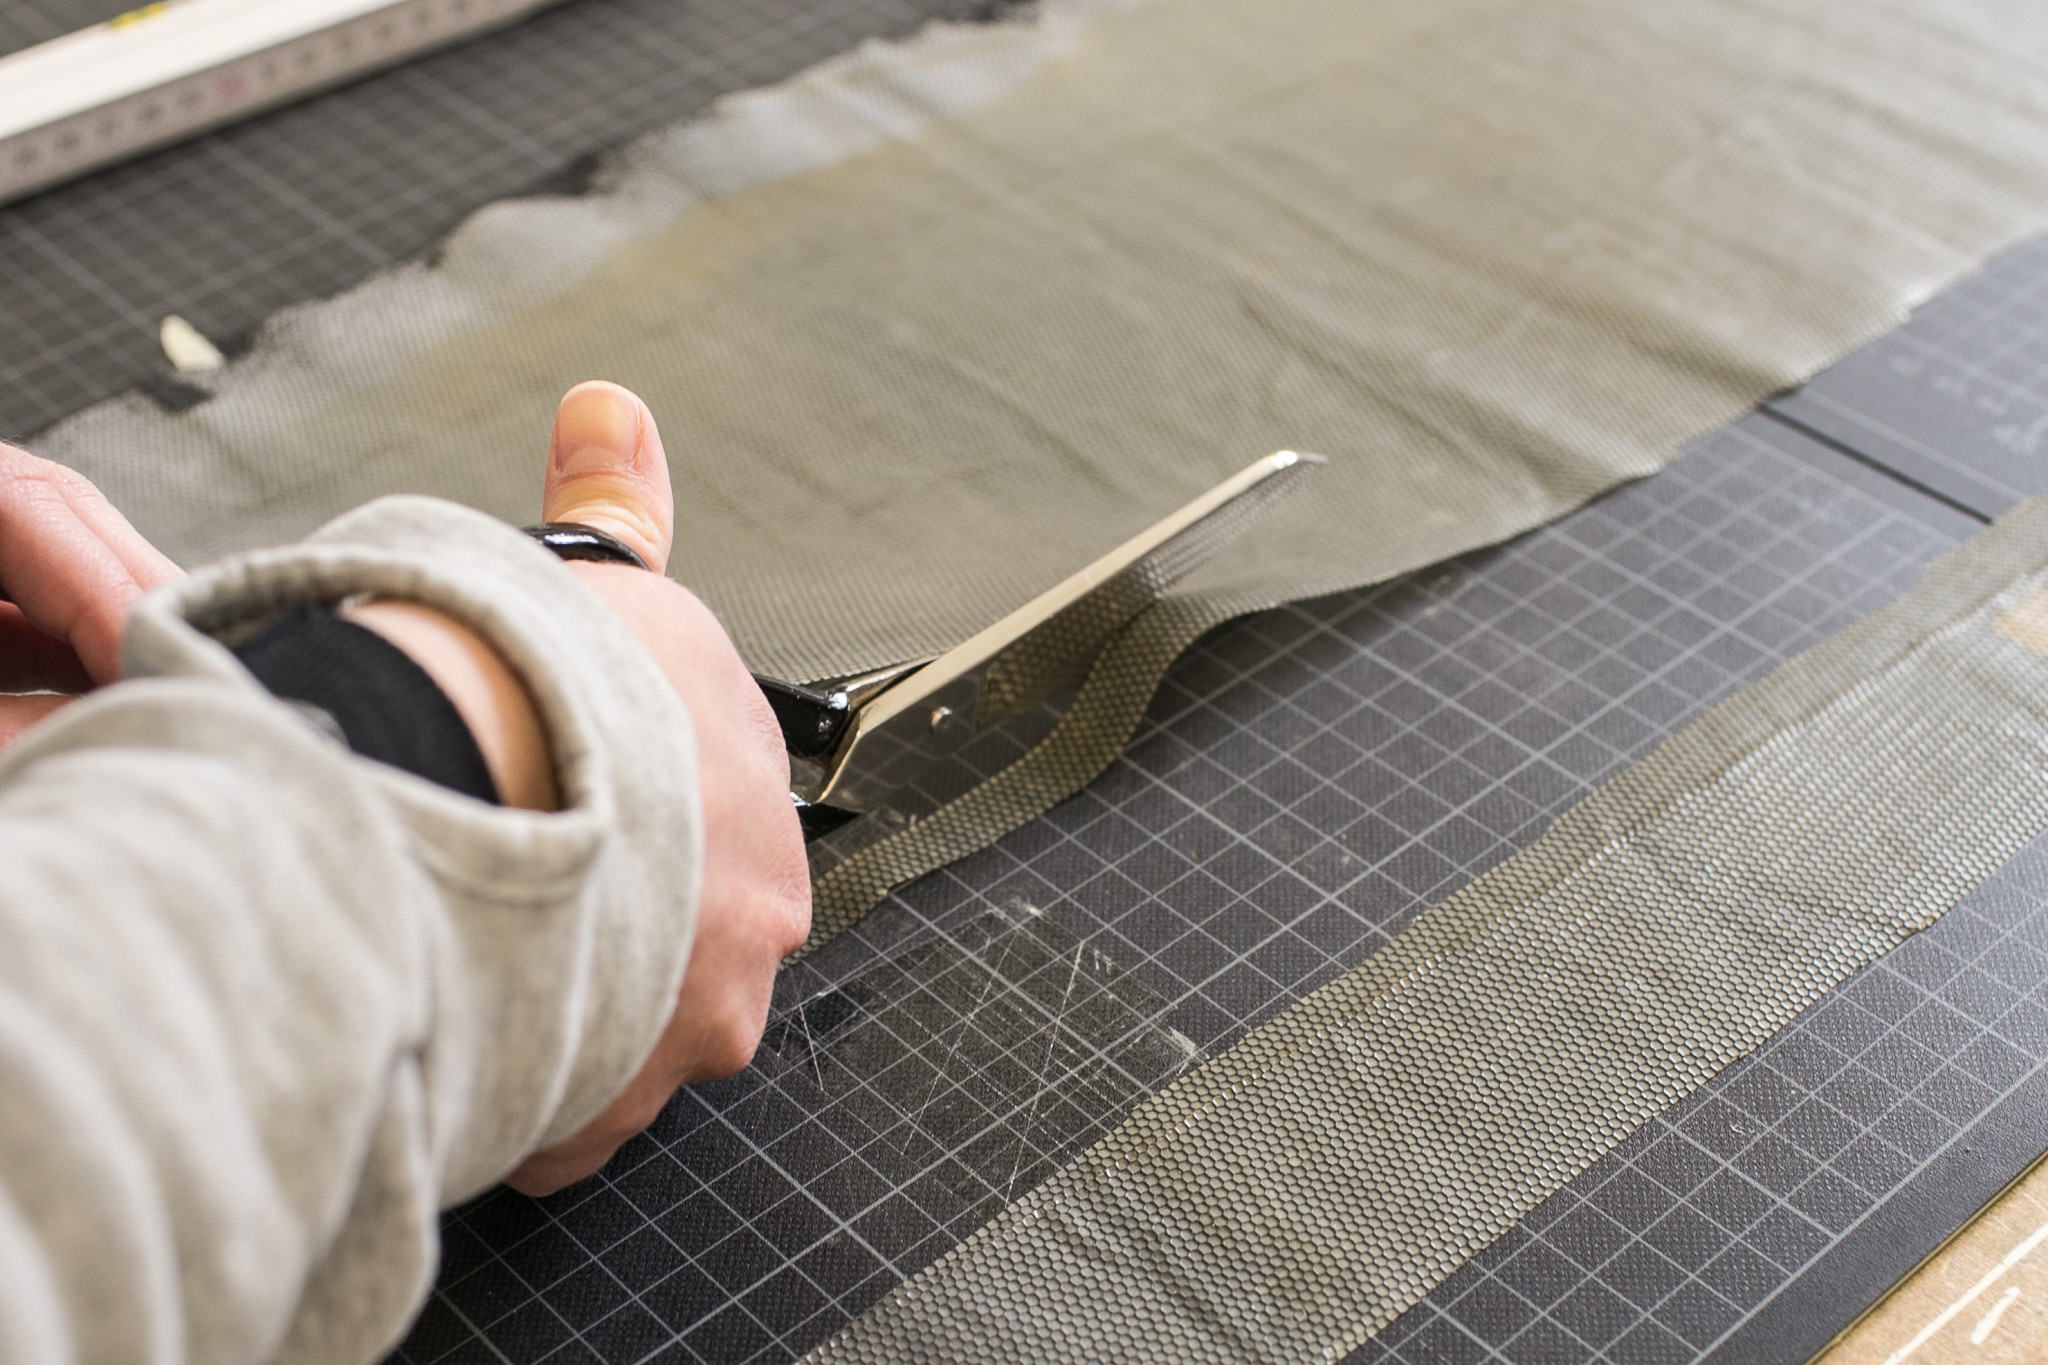
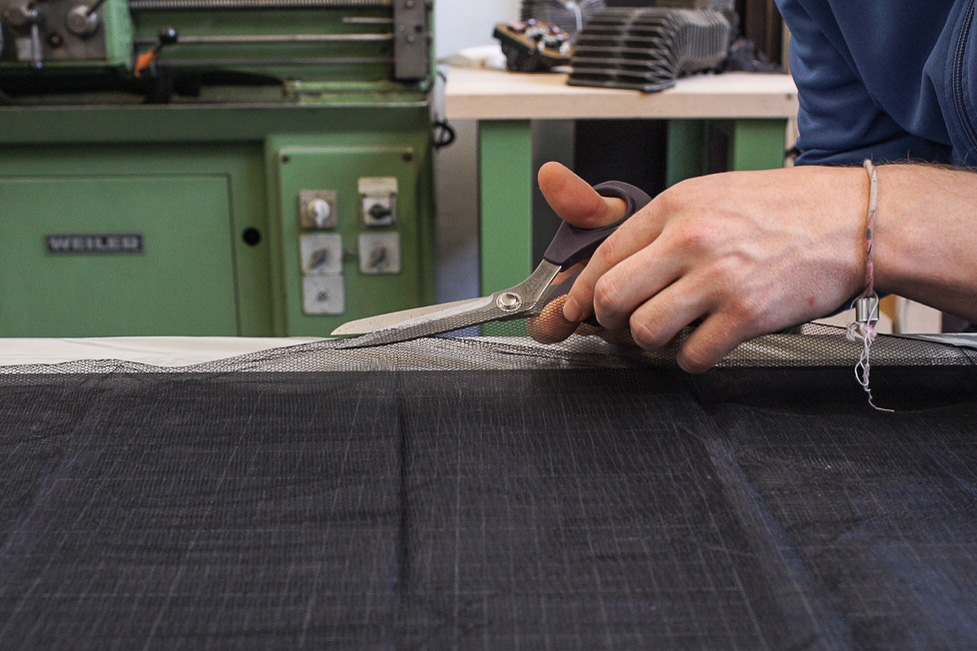 cut mosquito netting to 50 x 100cm
 apply adhesive spray to cardboard
 apply adhesive spray to mosquito net
Wait 10 minutes before mounting mosquito net on cardboard, adhesive spray needs to be dry
 Mount mosquito net to the cardboard in the same way as you applied the transparent adhesive film before. Adjust its position by hand if necessary. Avoid wrinkles!
 Use a rubber roll to evenly apply pressure. Not the time but the amount of pressure determines the quality of the connection.
Coating
Put on vinyl gloves, and repeat coating three times. Thin layers of latex are better, wait for one layer to fully dry until you apply the next layer. This takes more or less 2 hours.
 tape material to working surface, it should be strapped with a proper amount of tension
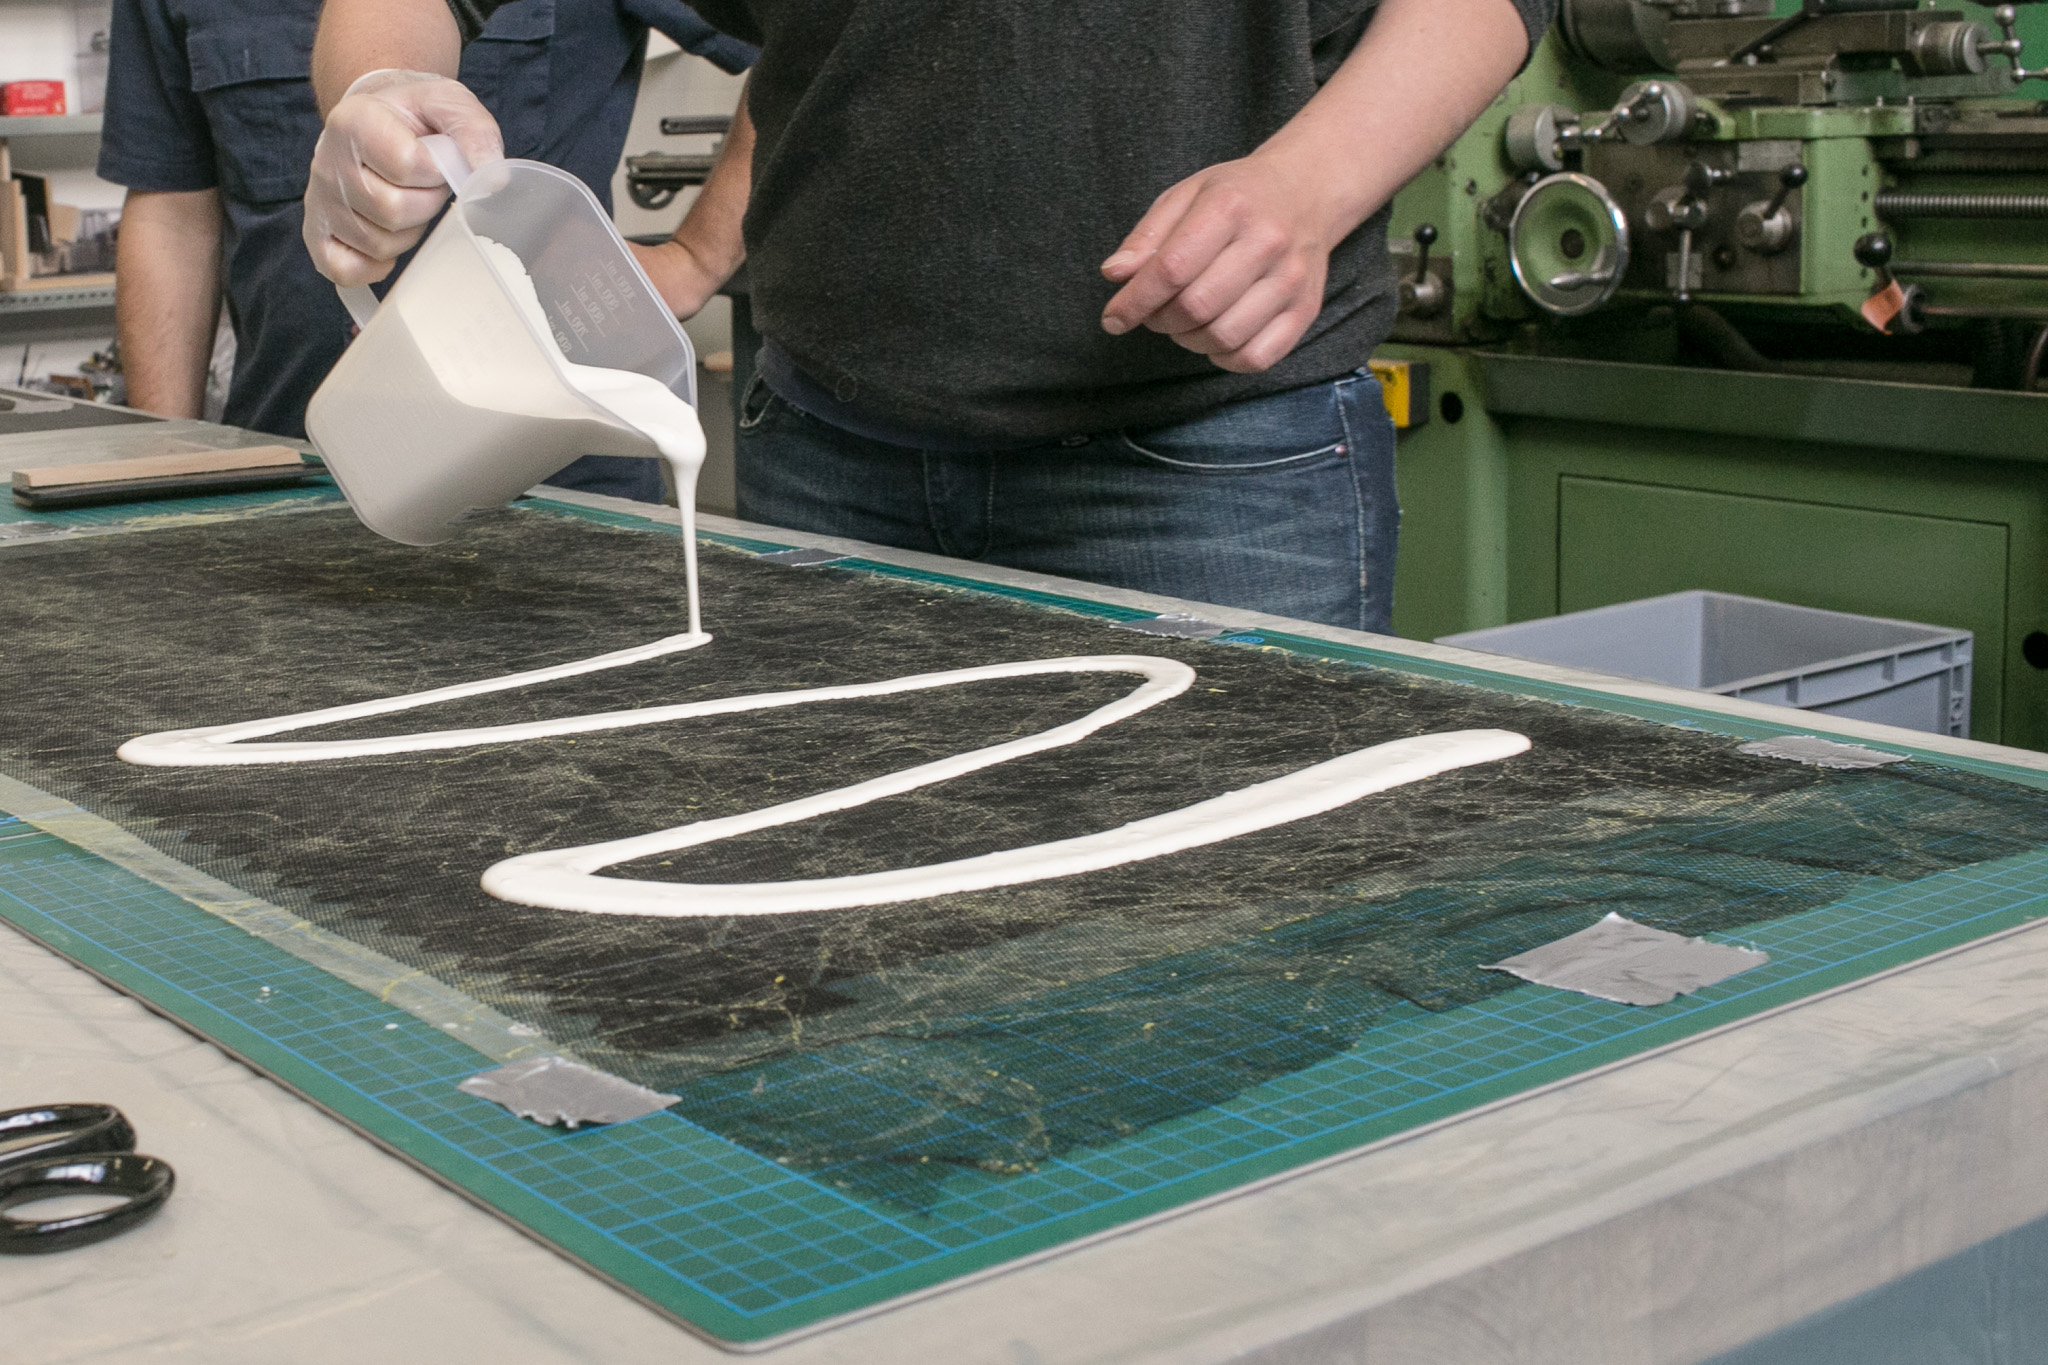 Pour more or less 300m of liquid latex on material
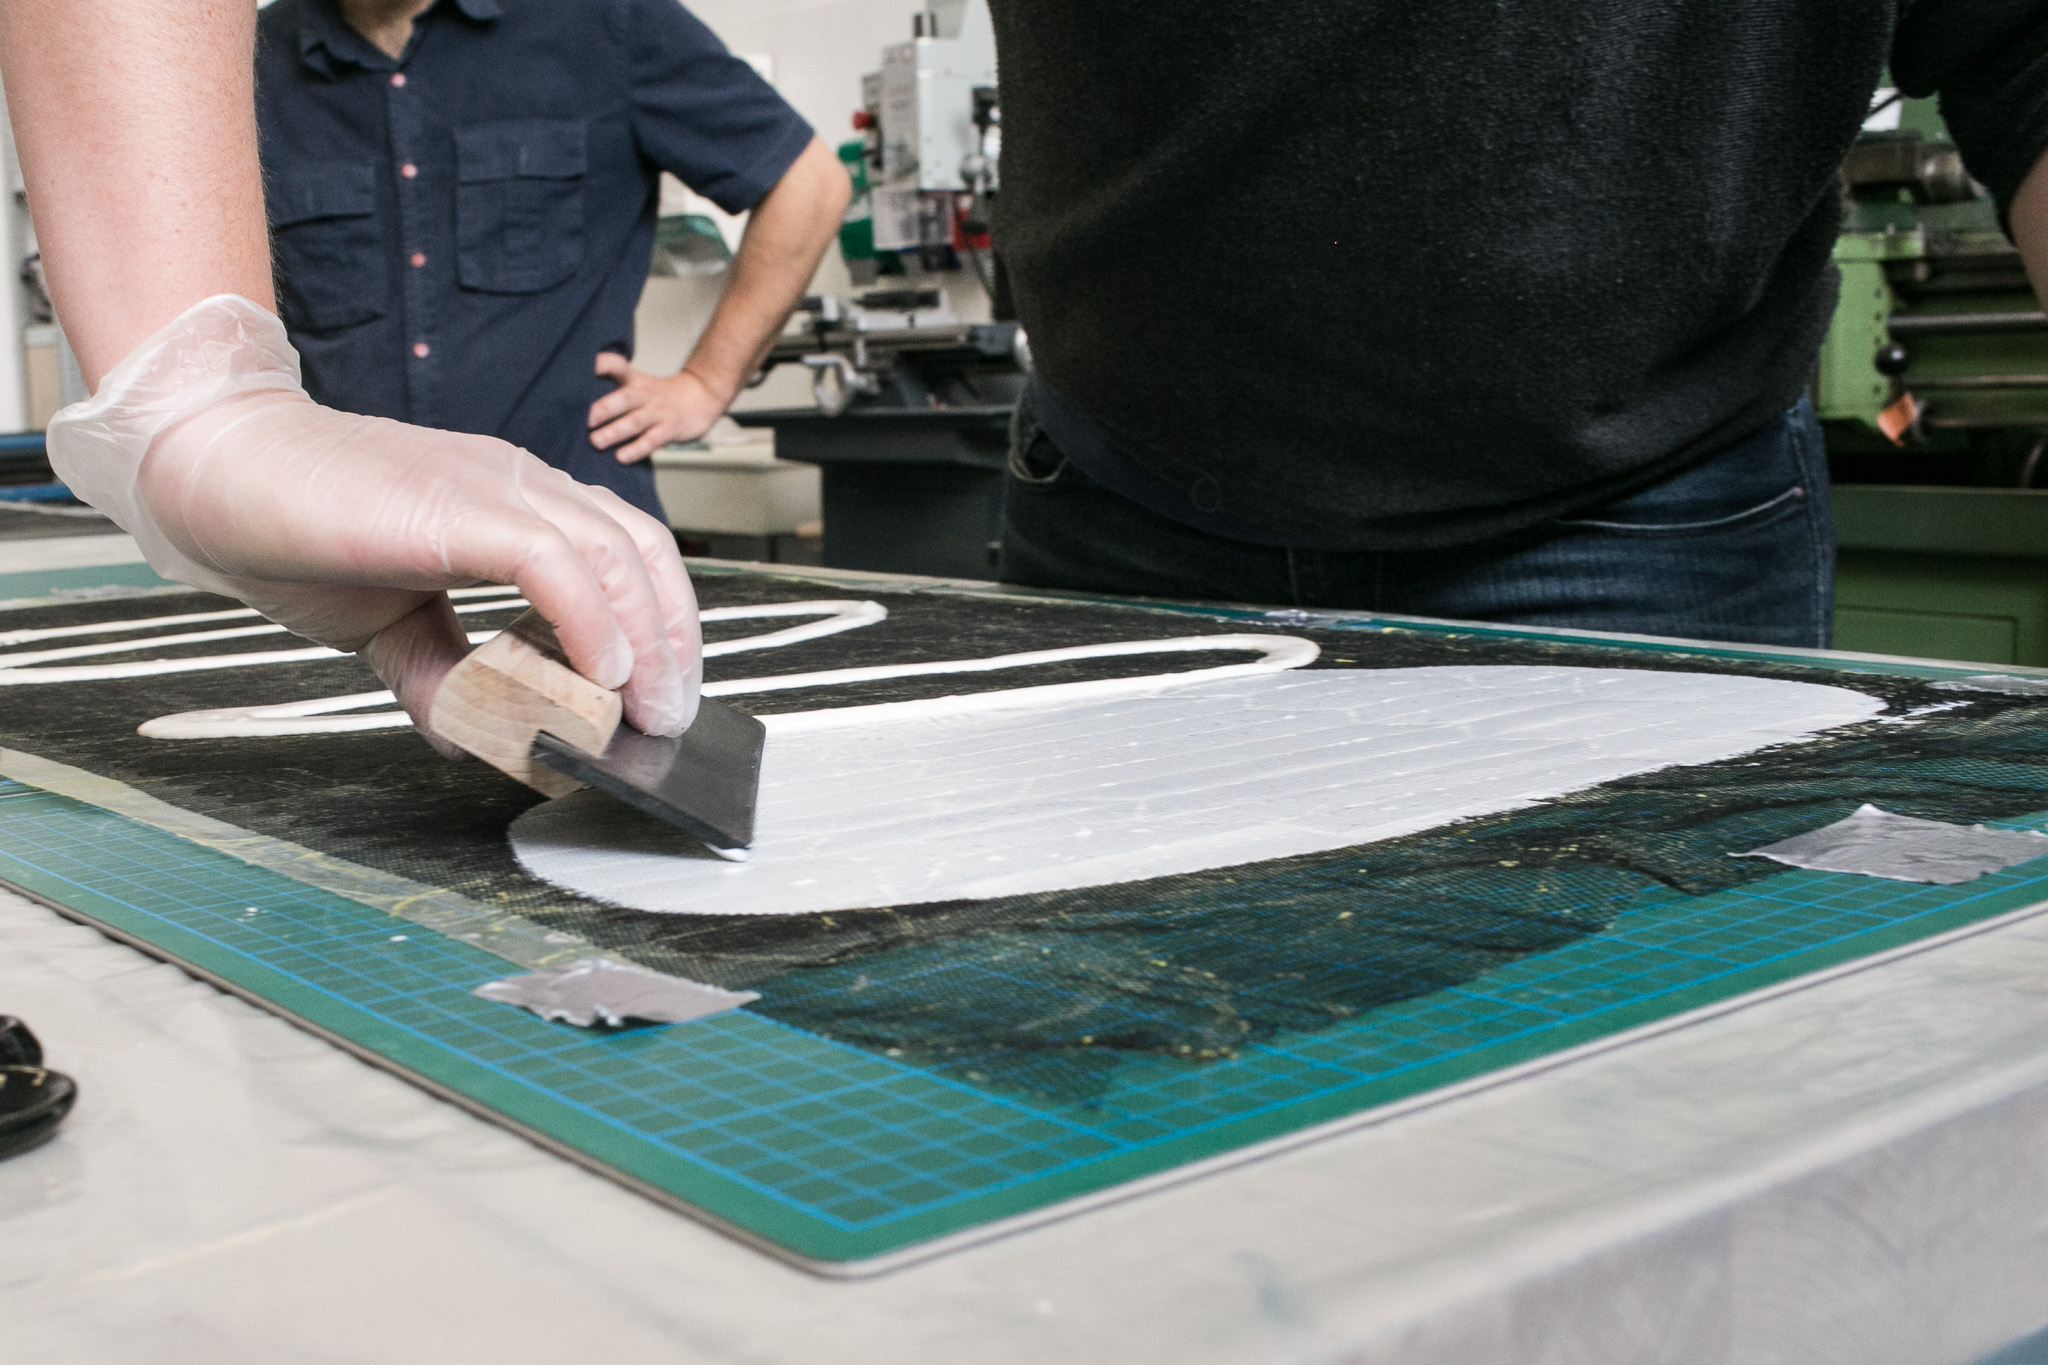 spread liquid latex on surface evenly
 the more diagonal you hold the rubber spreader the easier you can spread the latex into the mosquito net
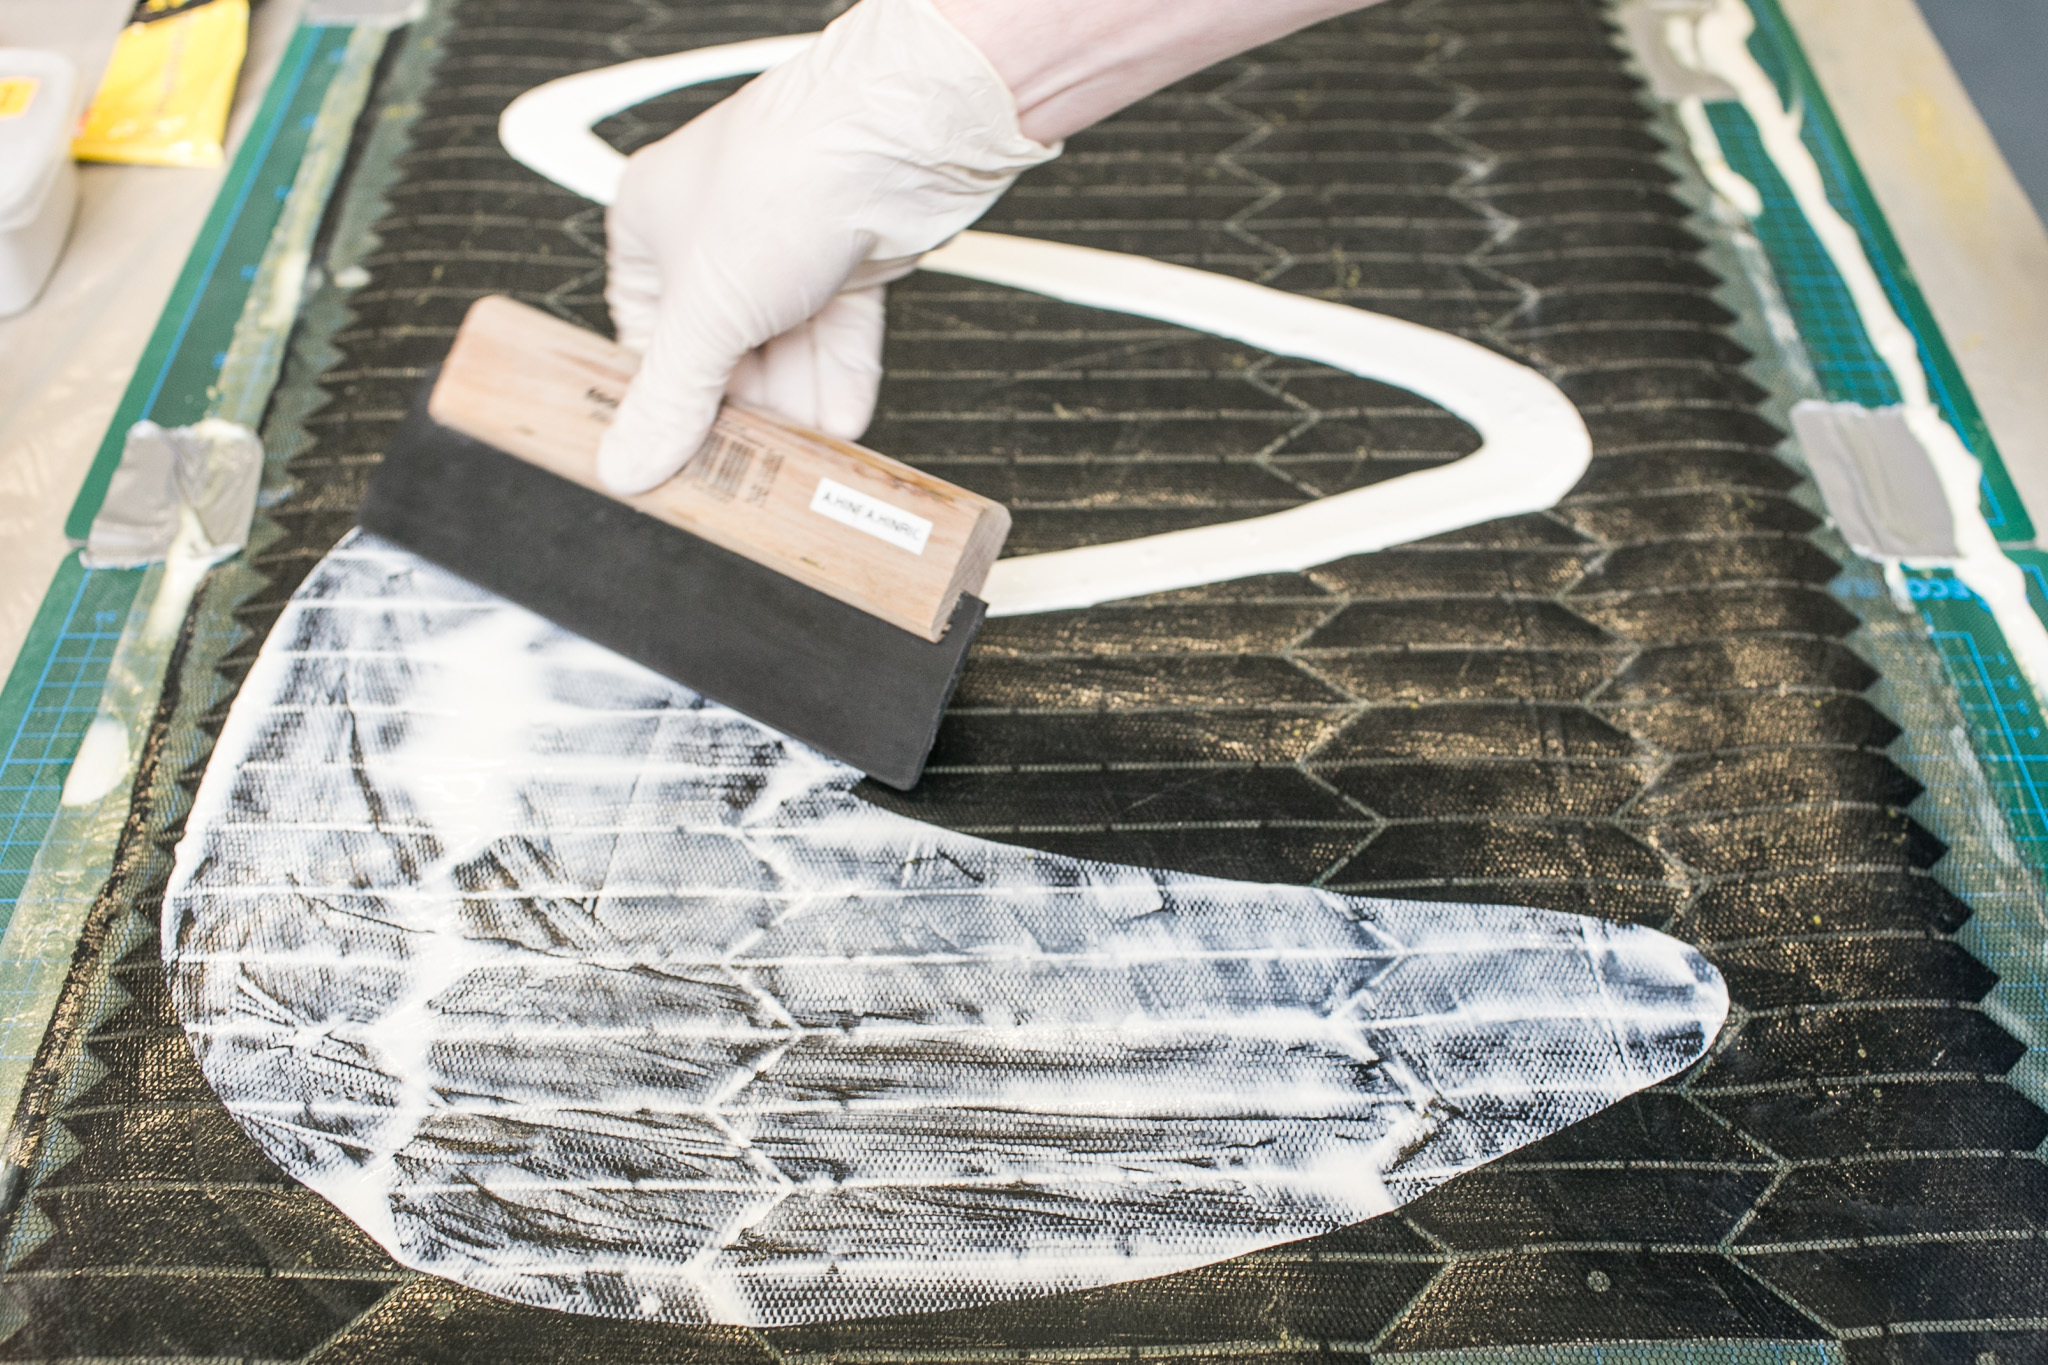
 take care of the edges, they should be fully covered by latex.
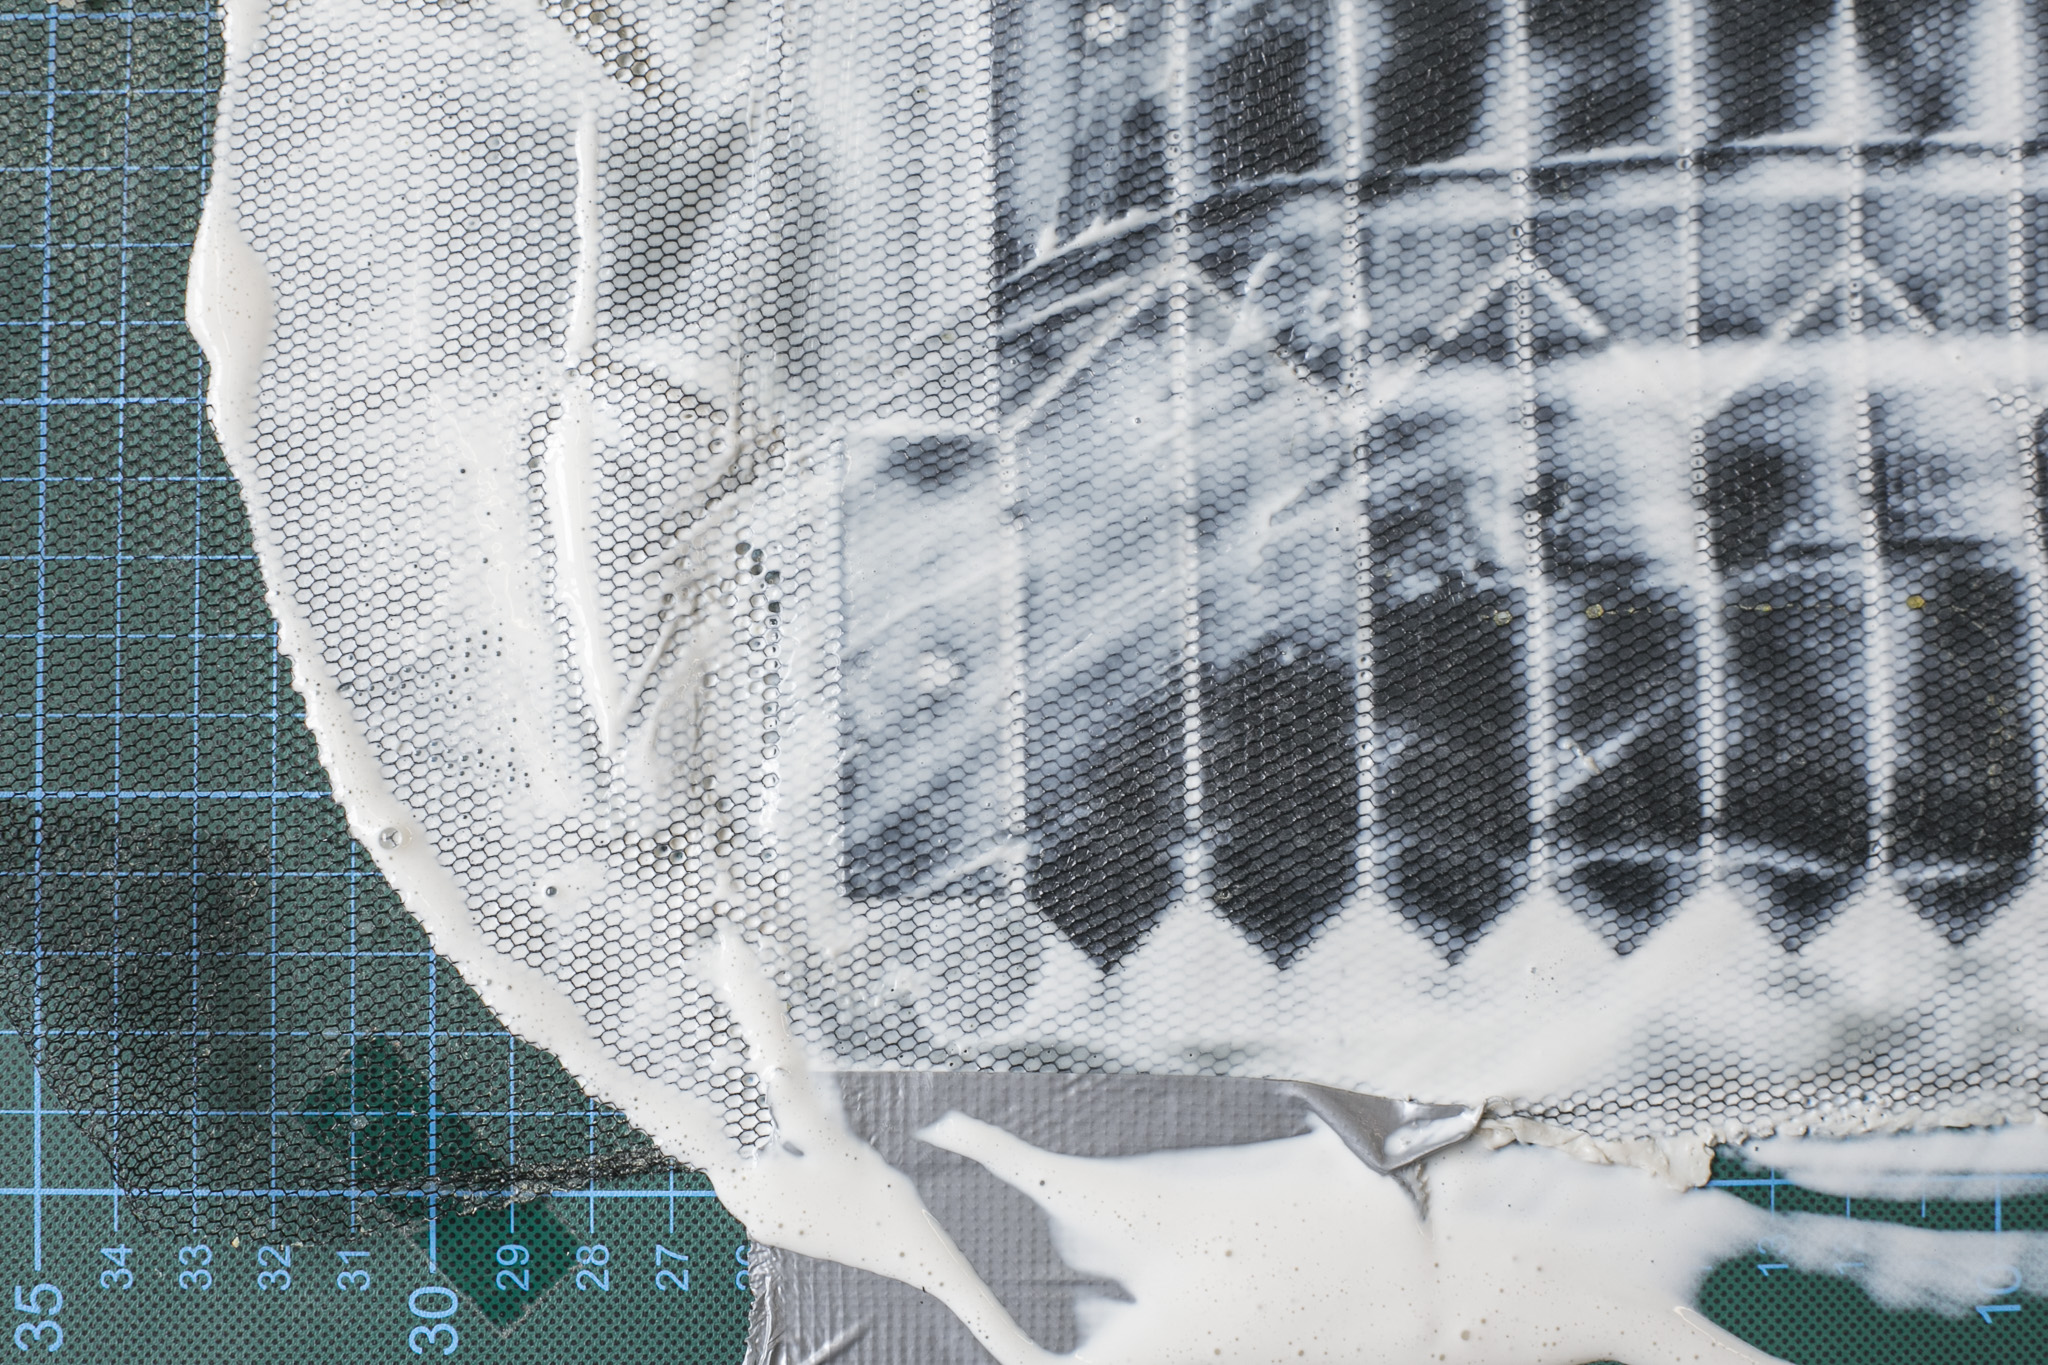
 coated material, avoid dabs, if they happen spread them with your fingertip
Preparing putting
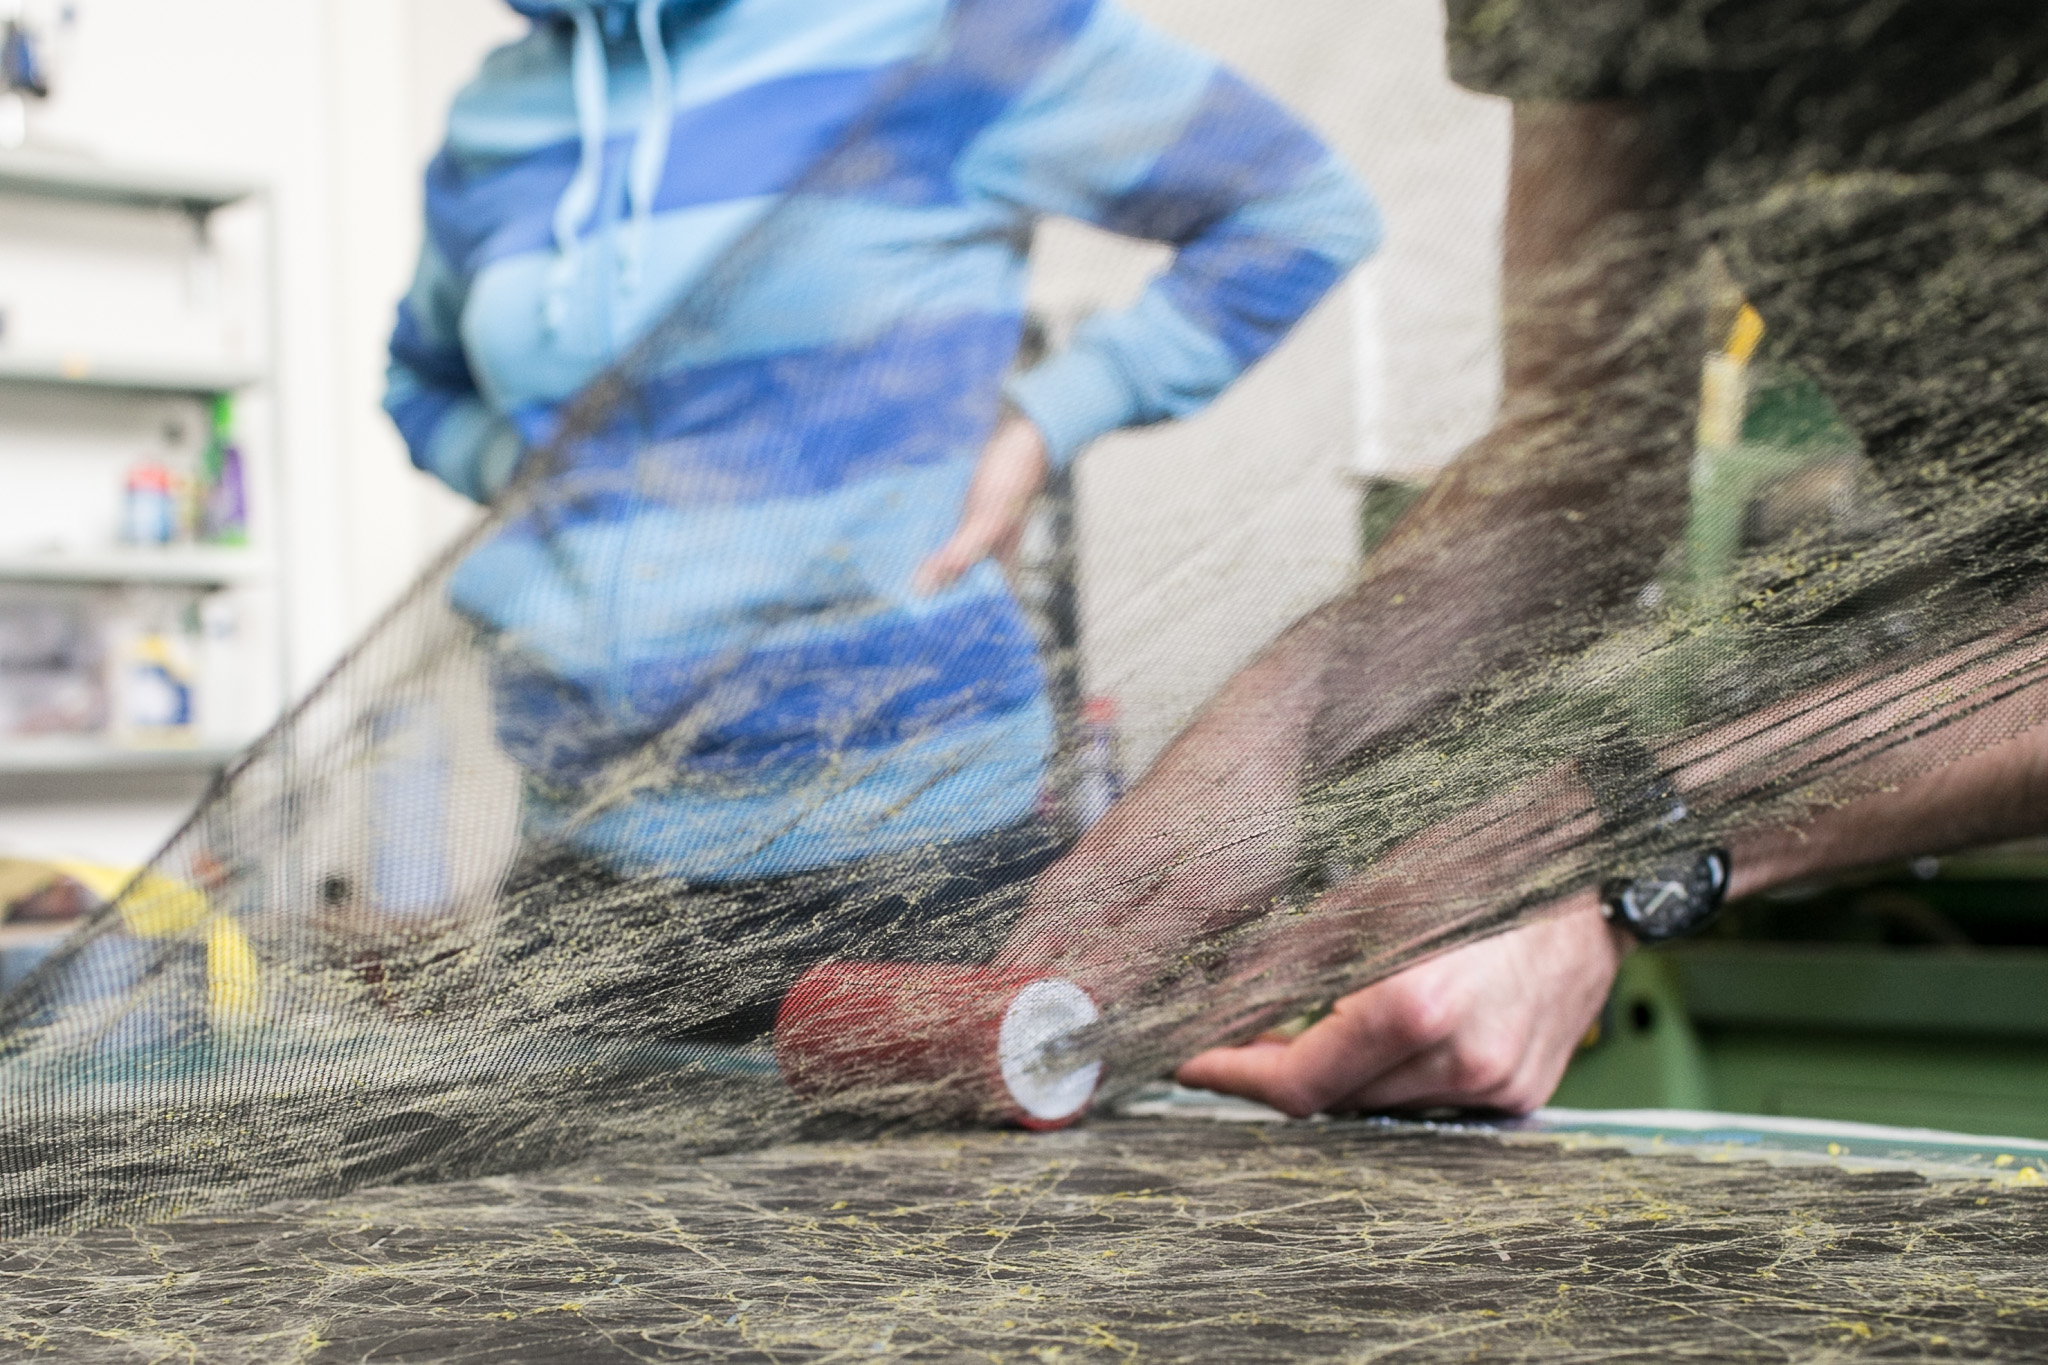
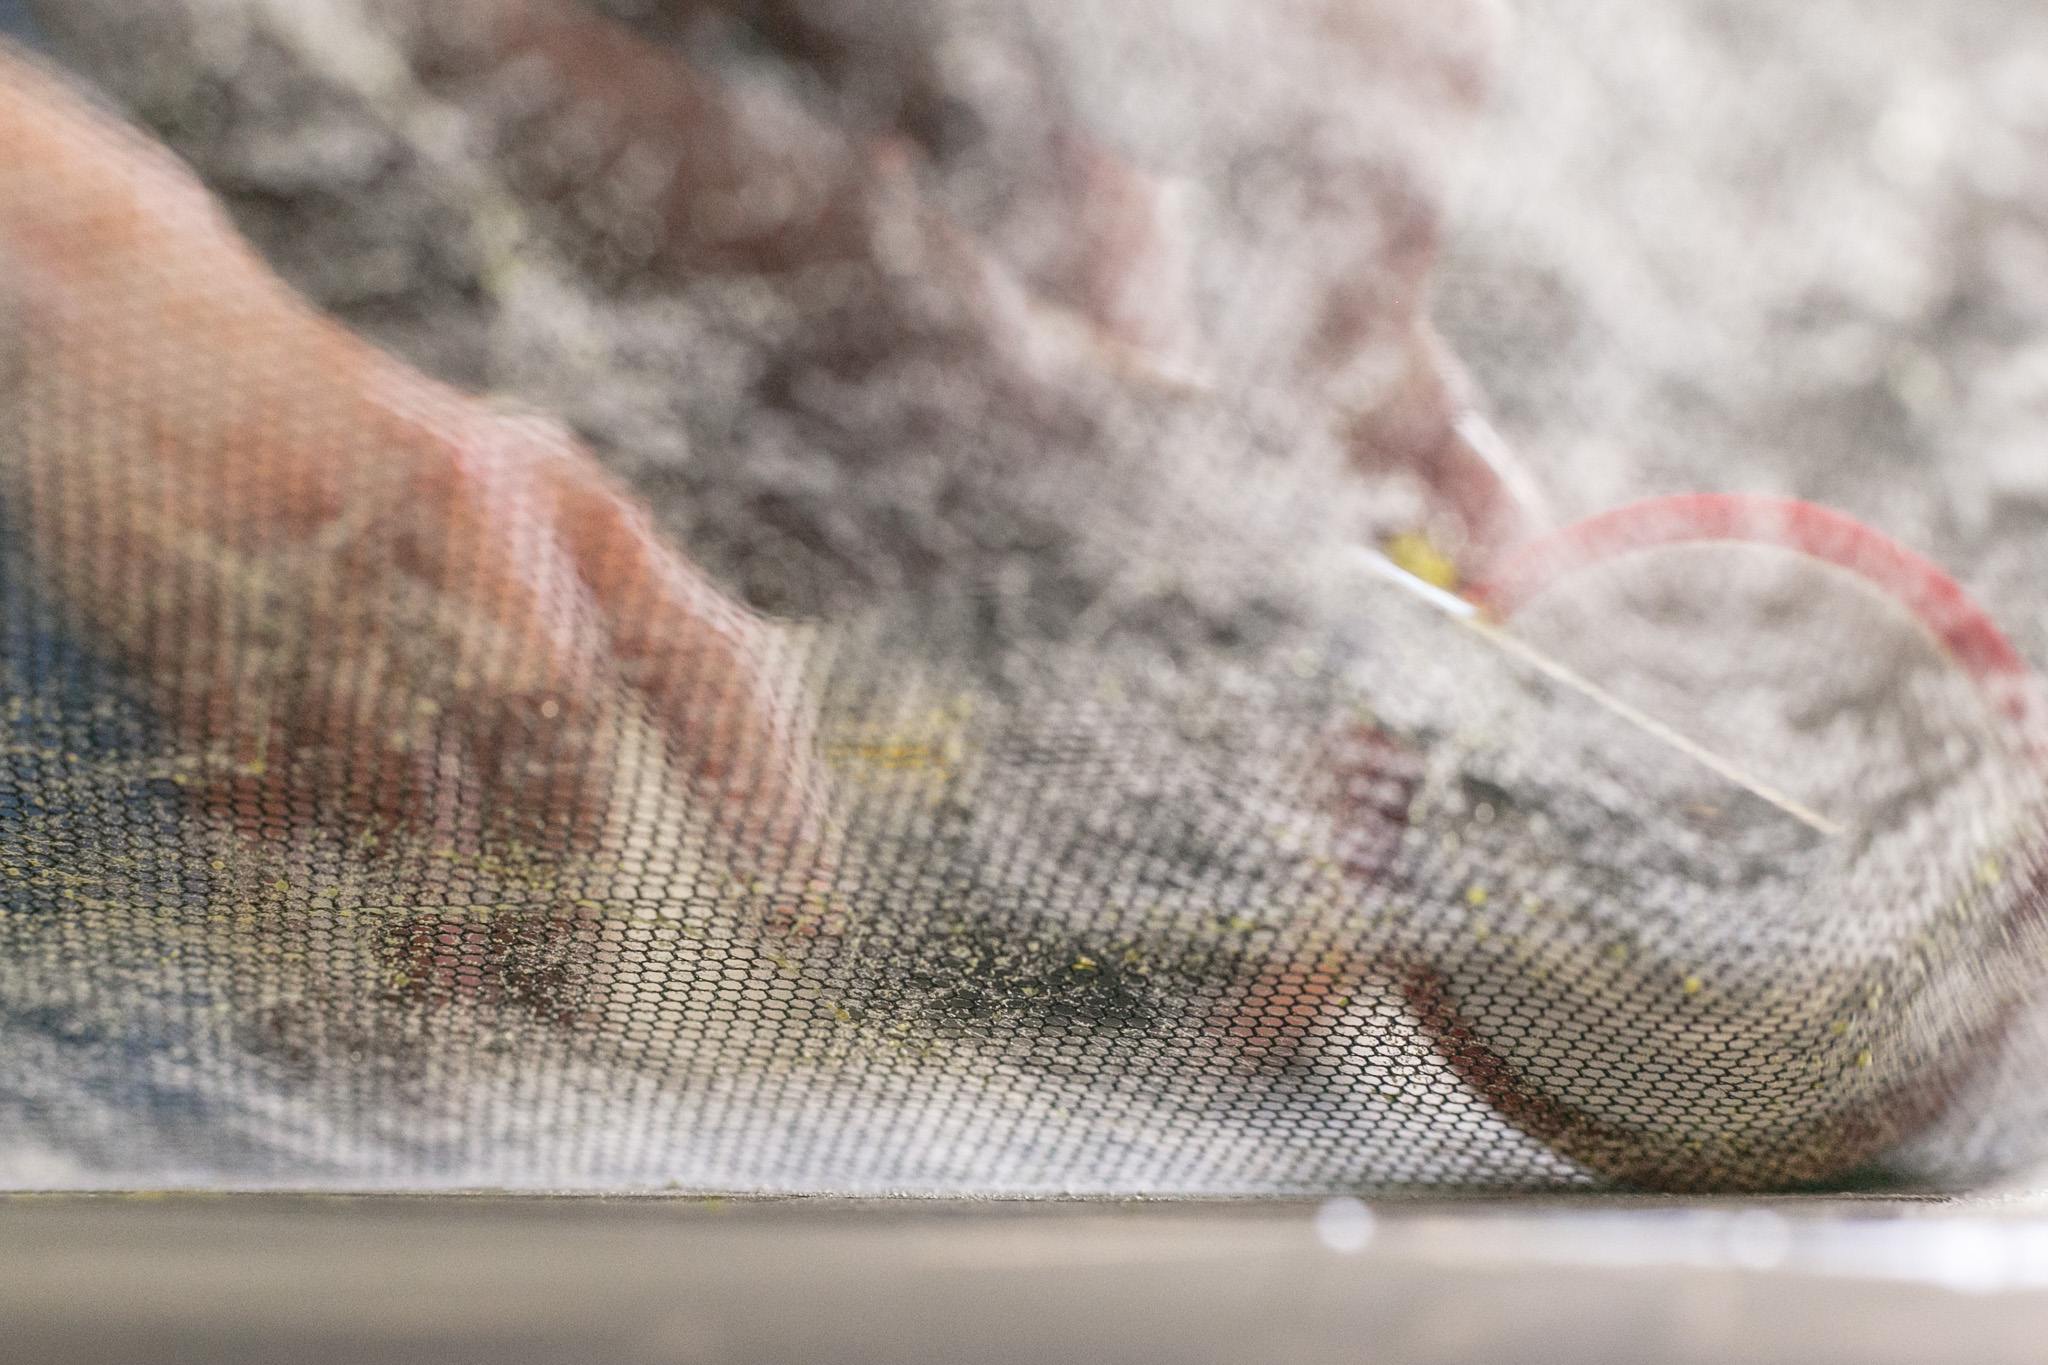
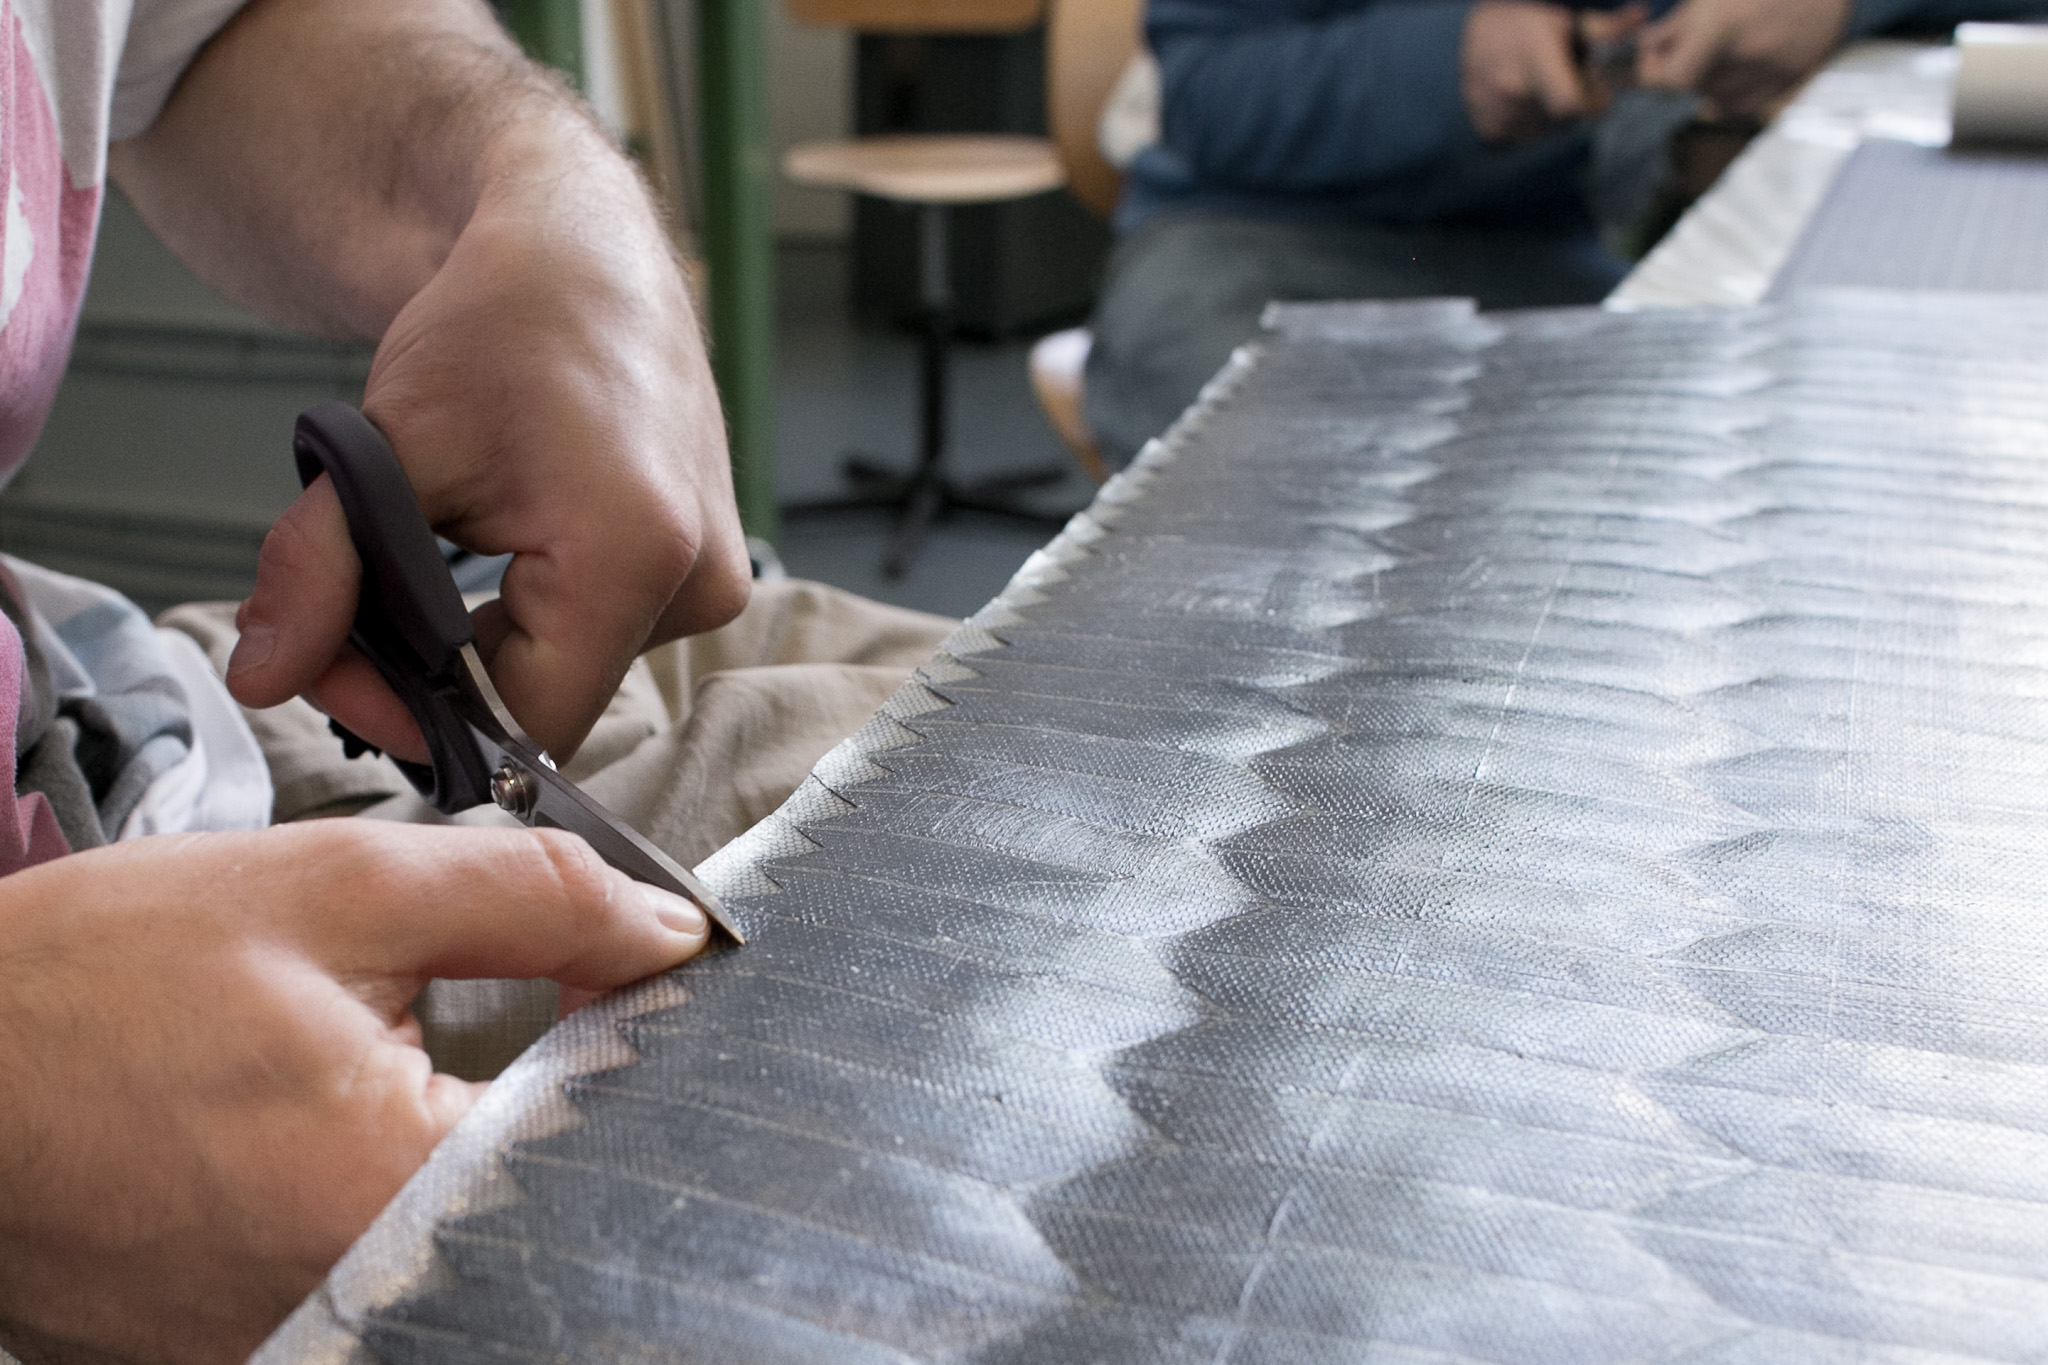 detach material from surface and cut along the edges
 here as shown on the sides
 here as shown on the bottom part
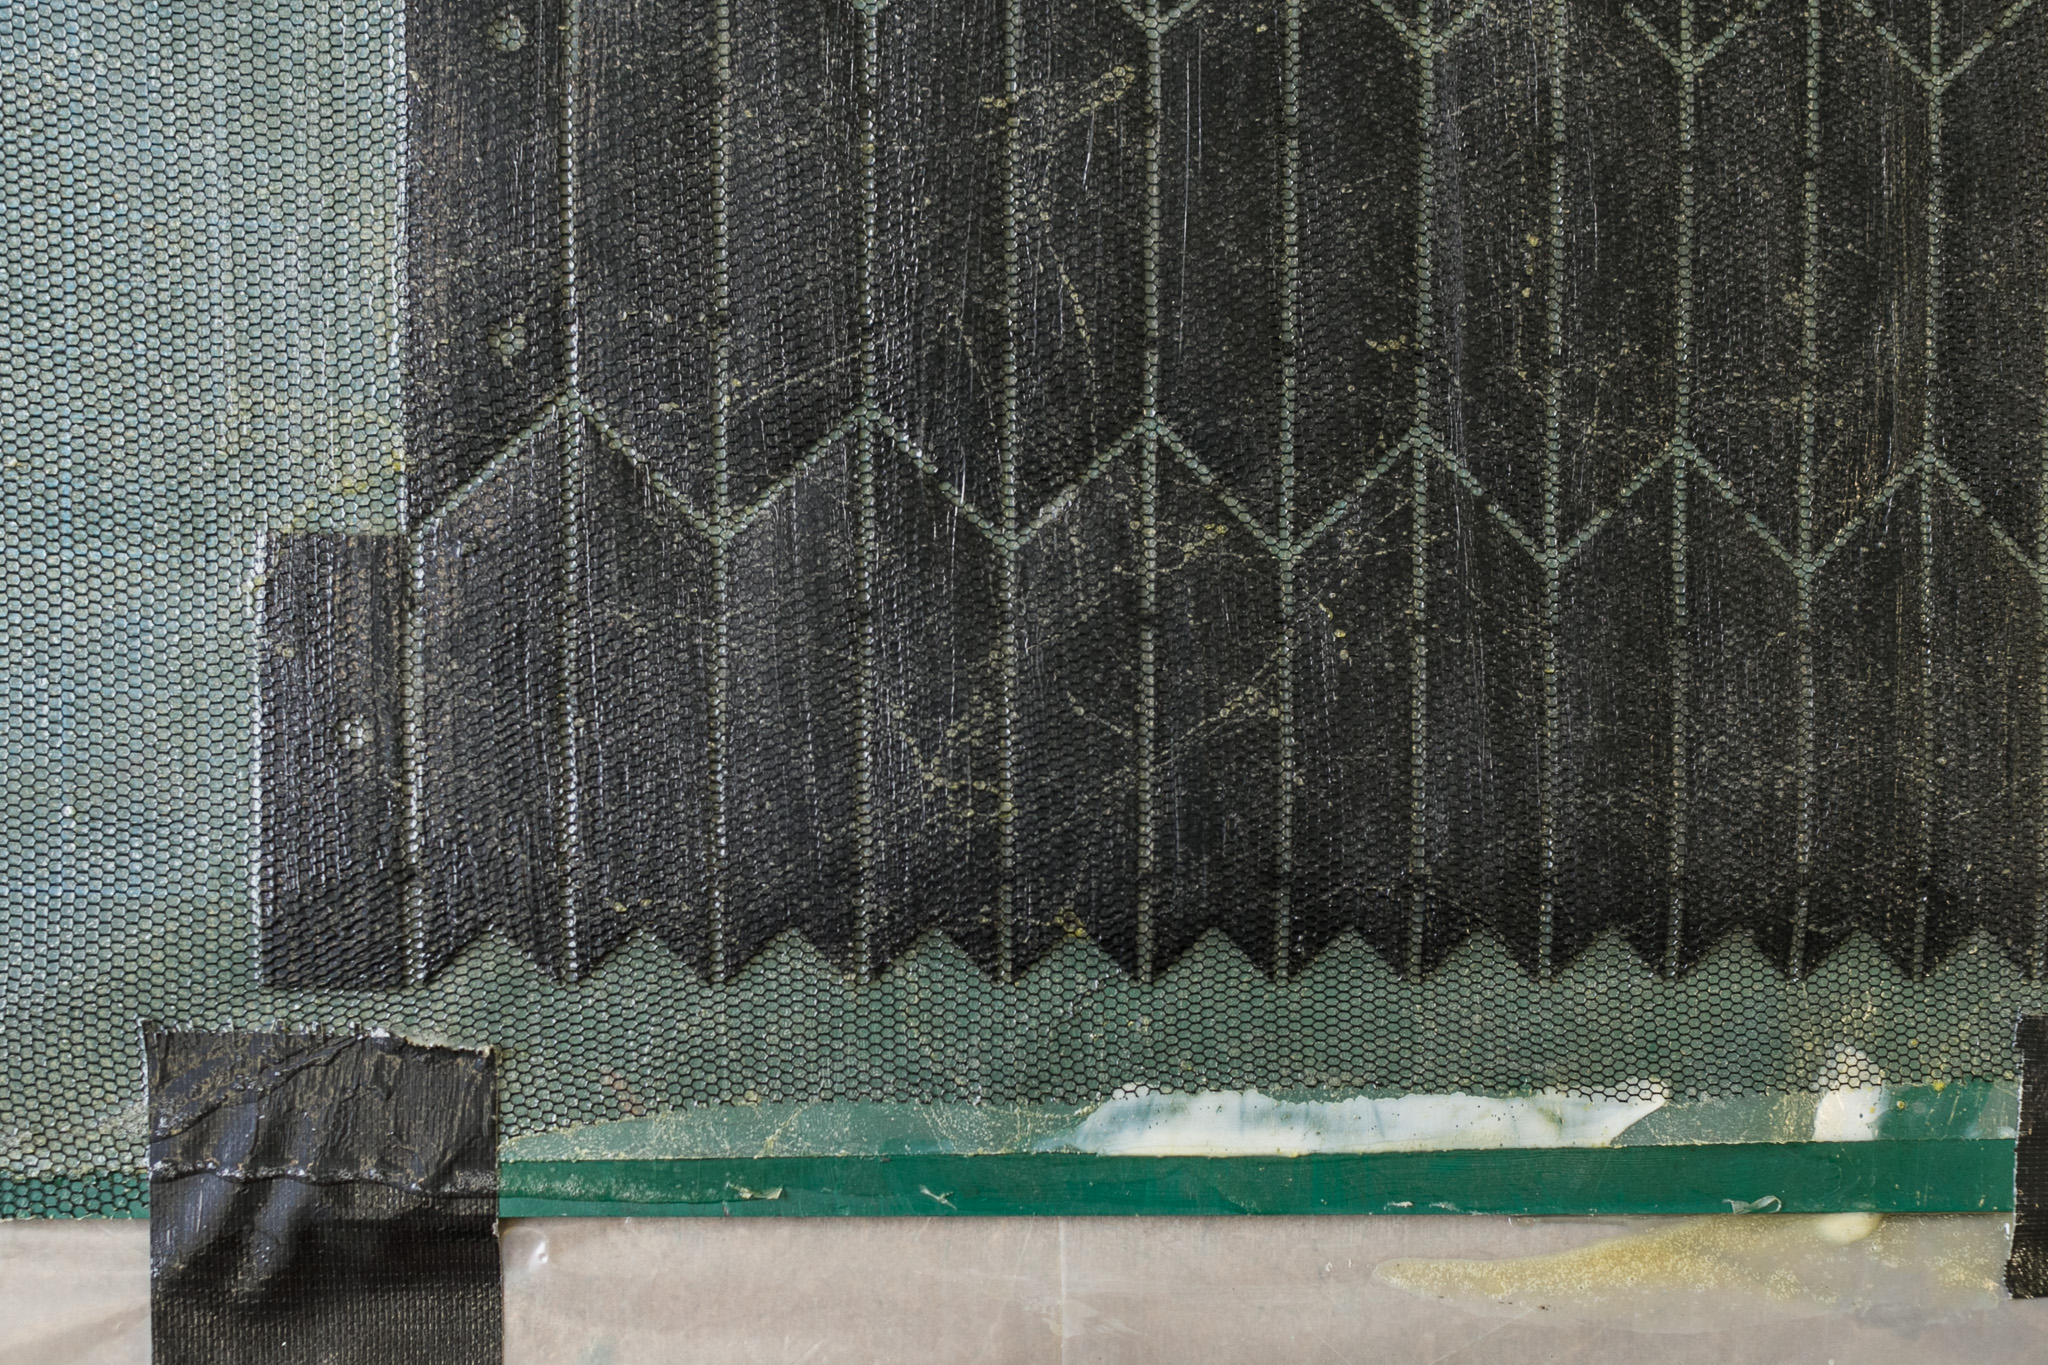
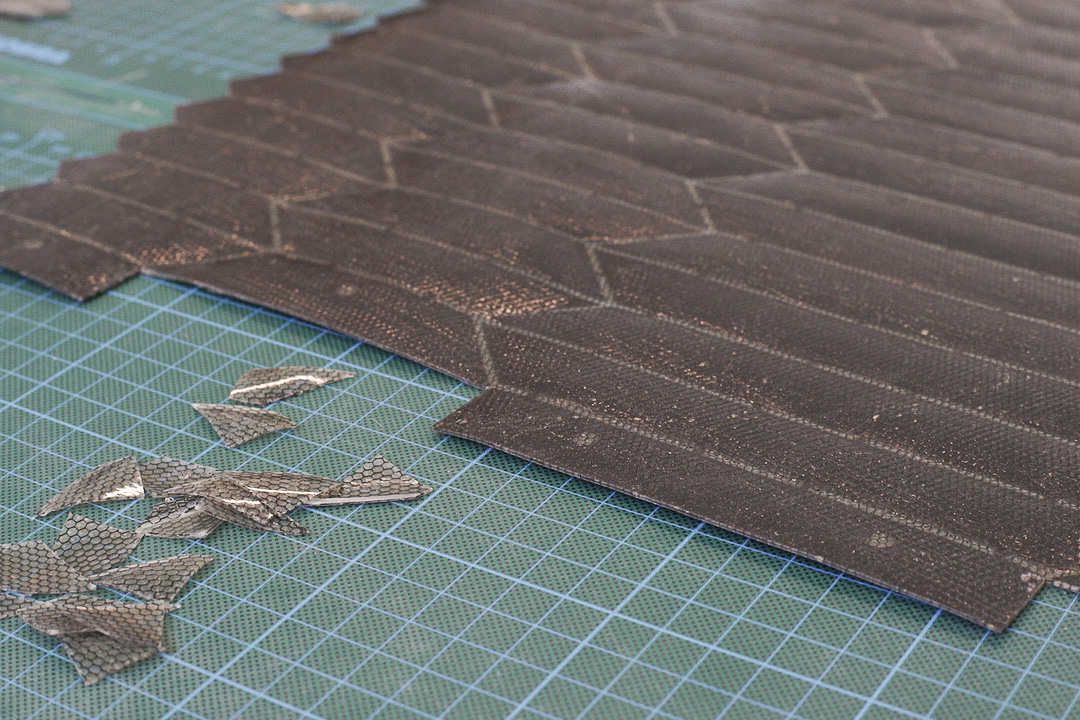 cut away excess material.
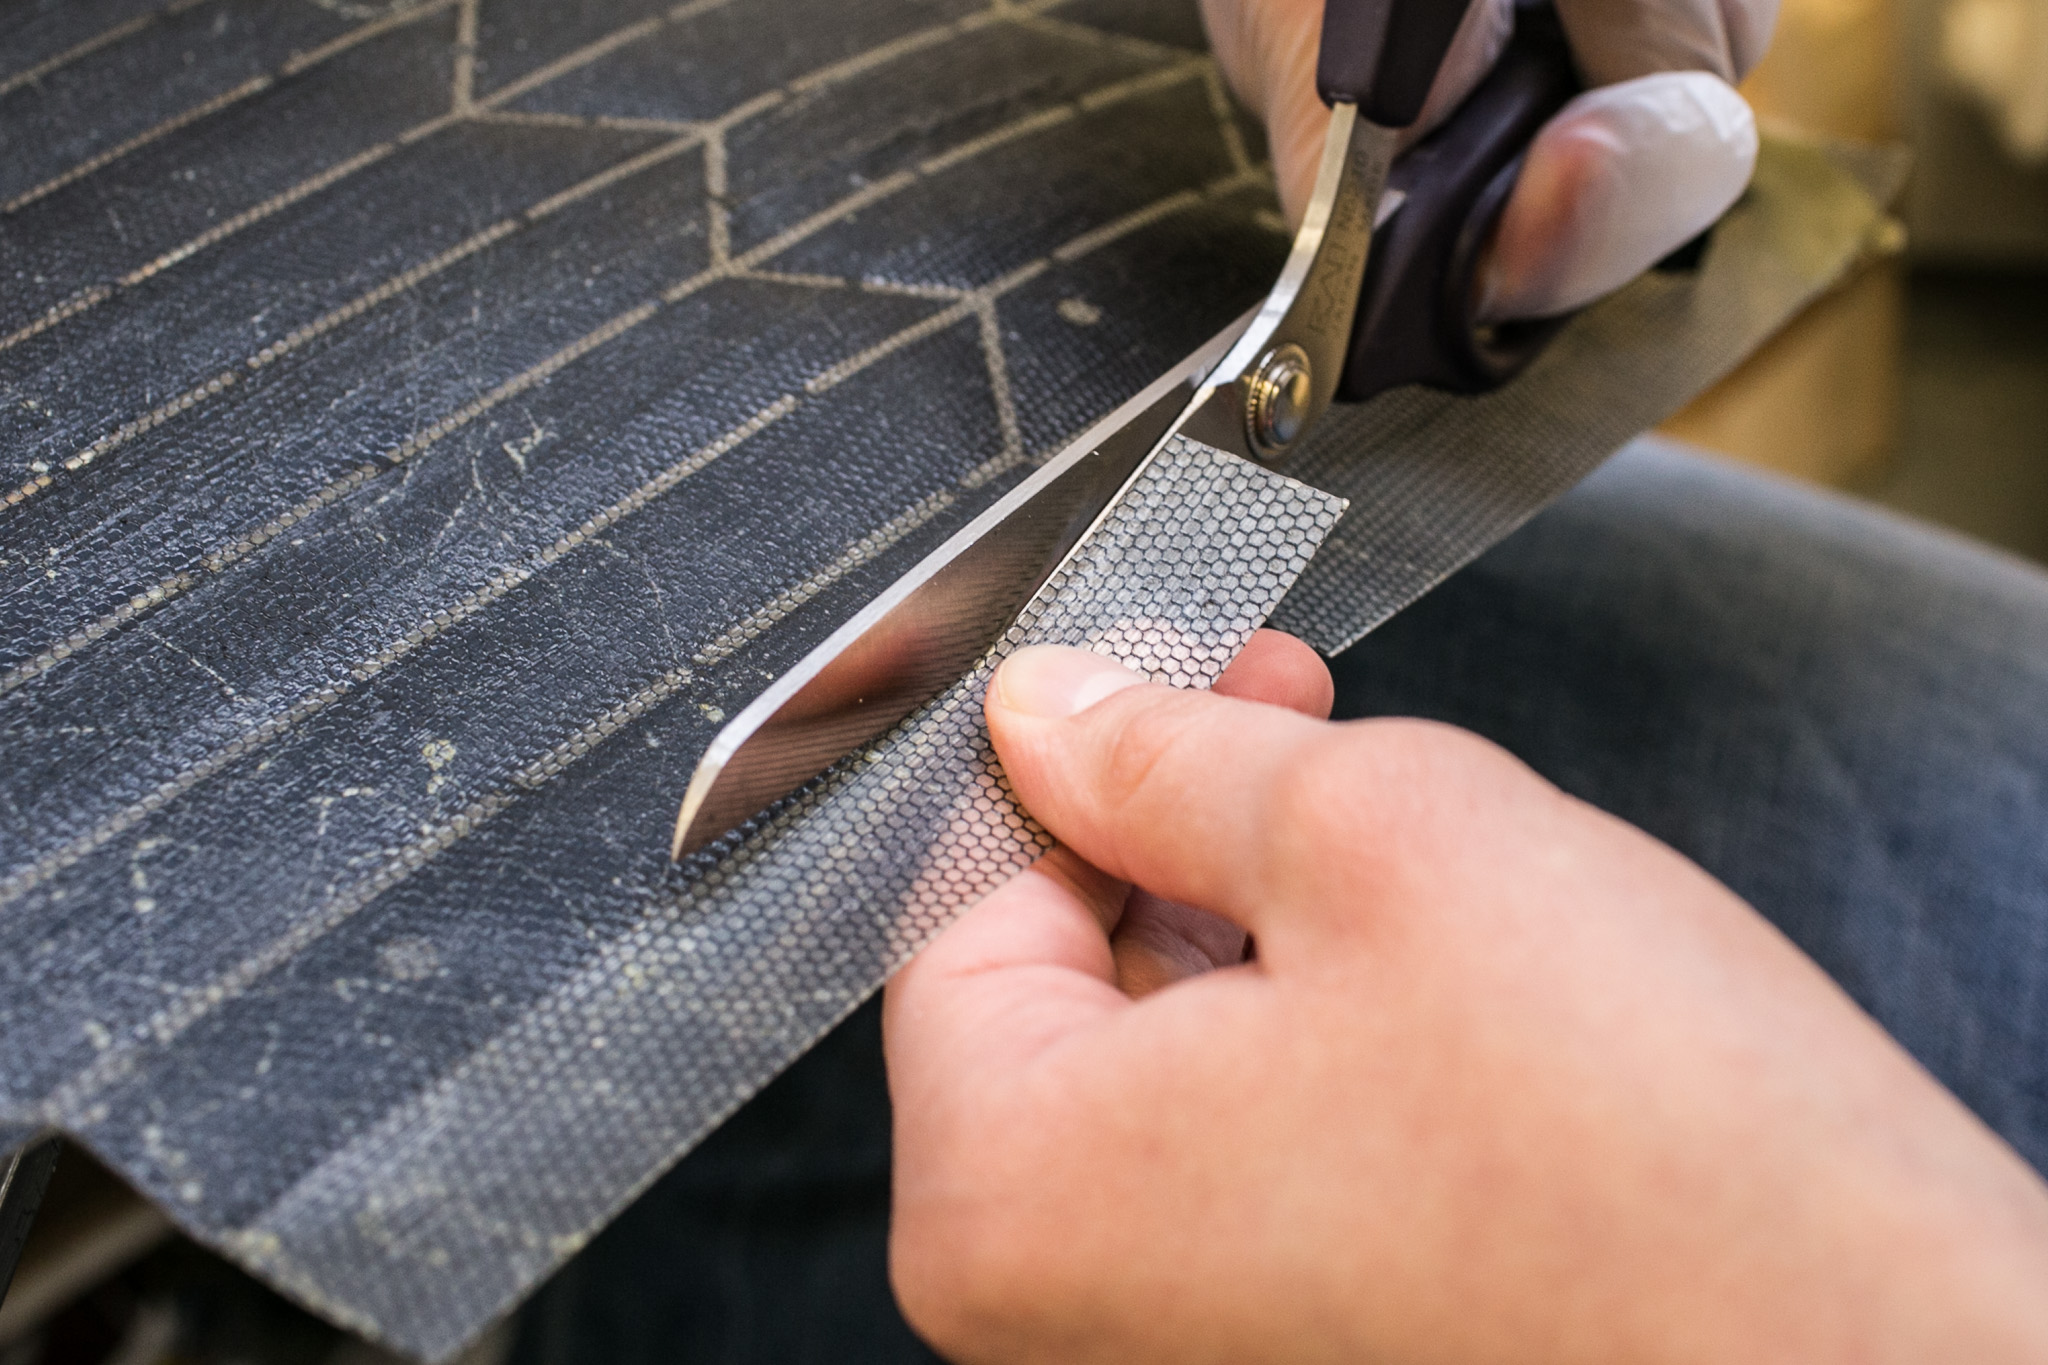
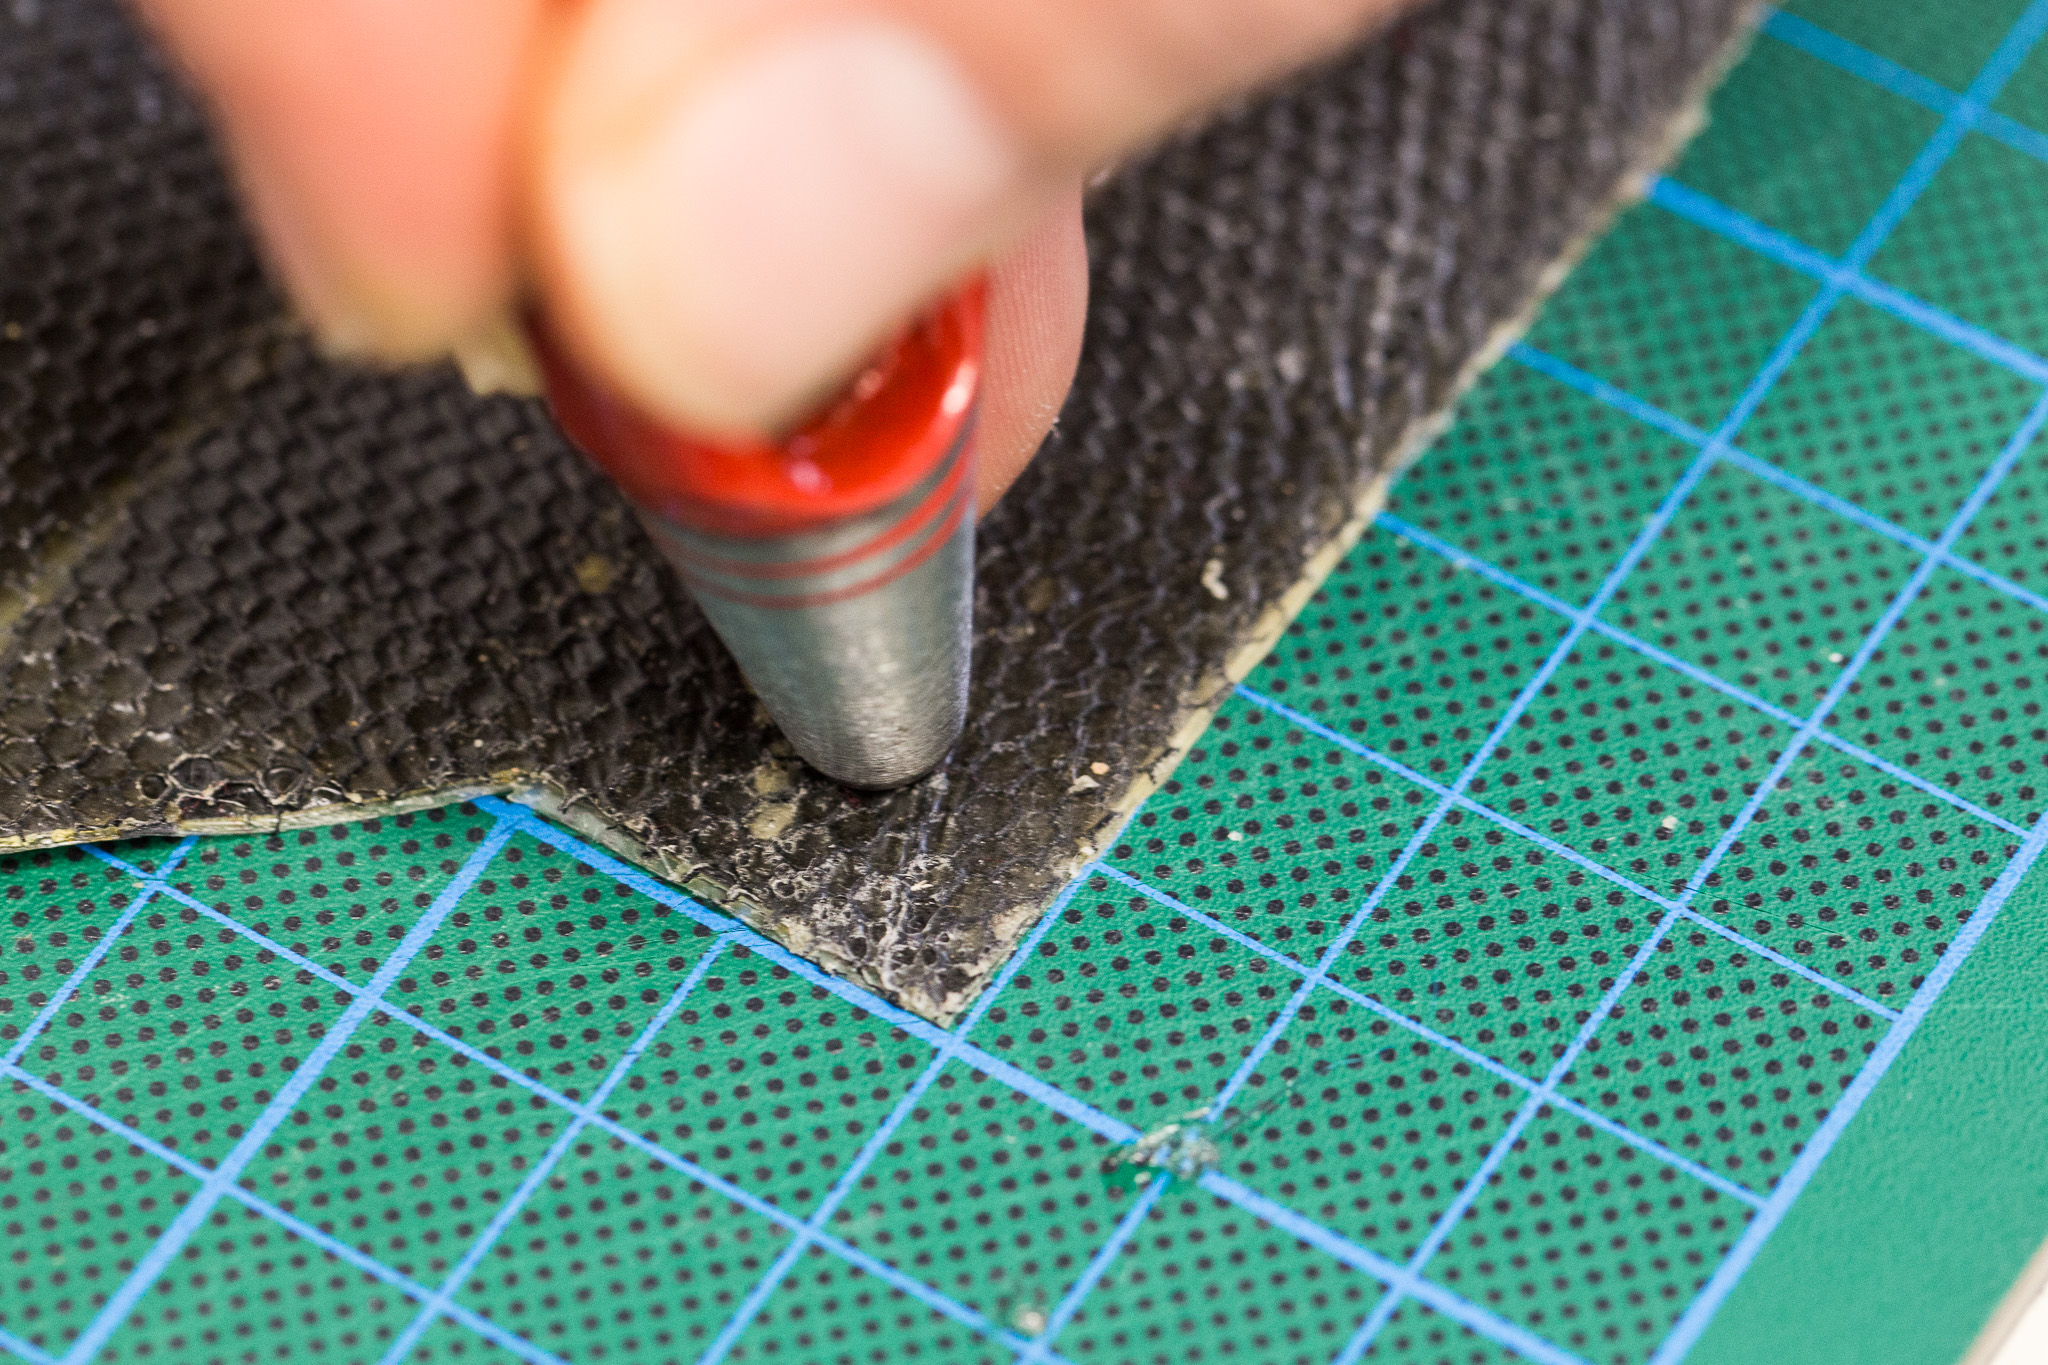 cut wholes with hollow puncher.
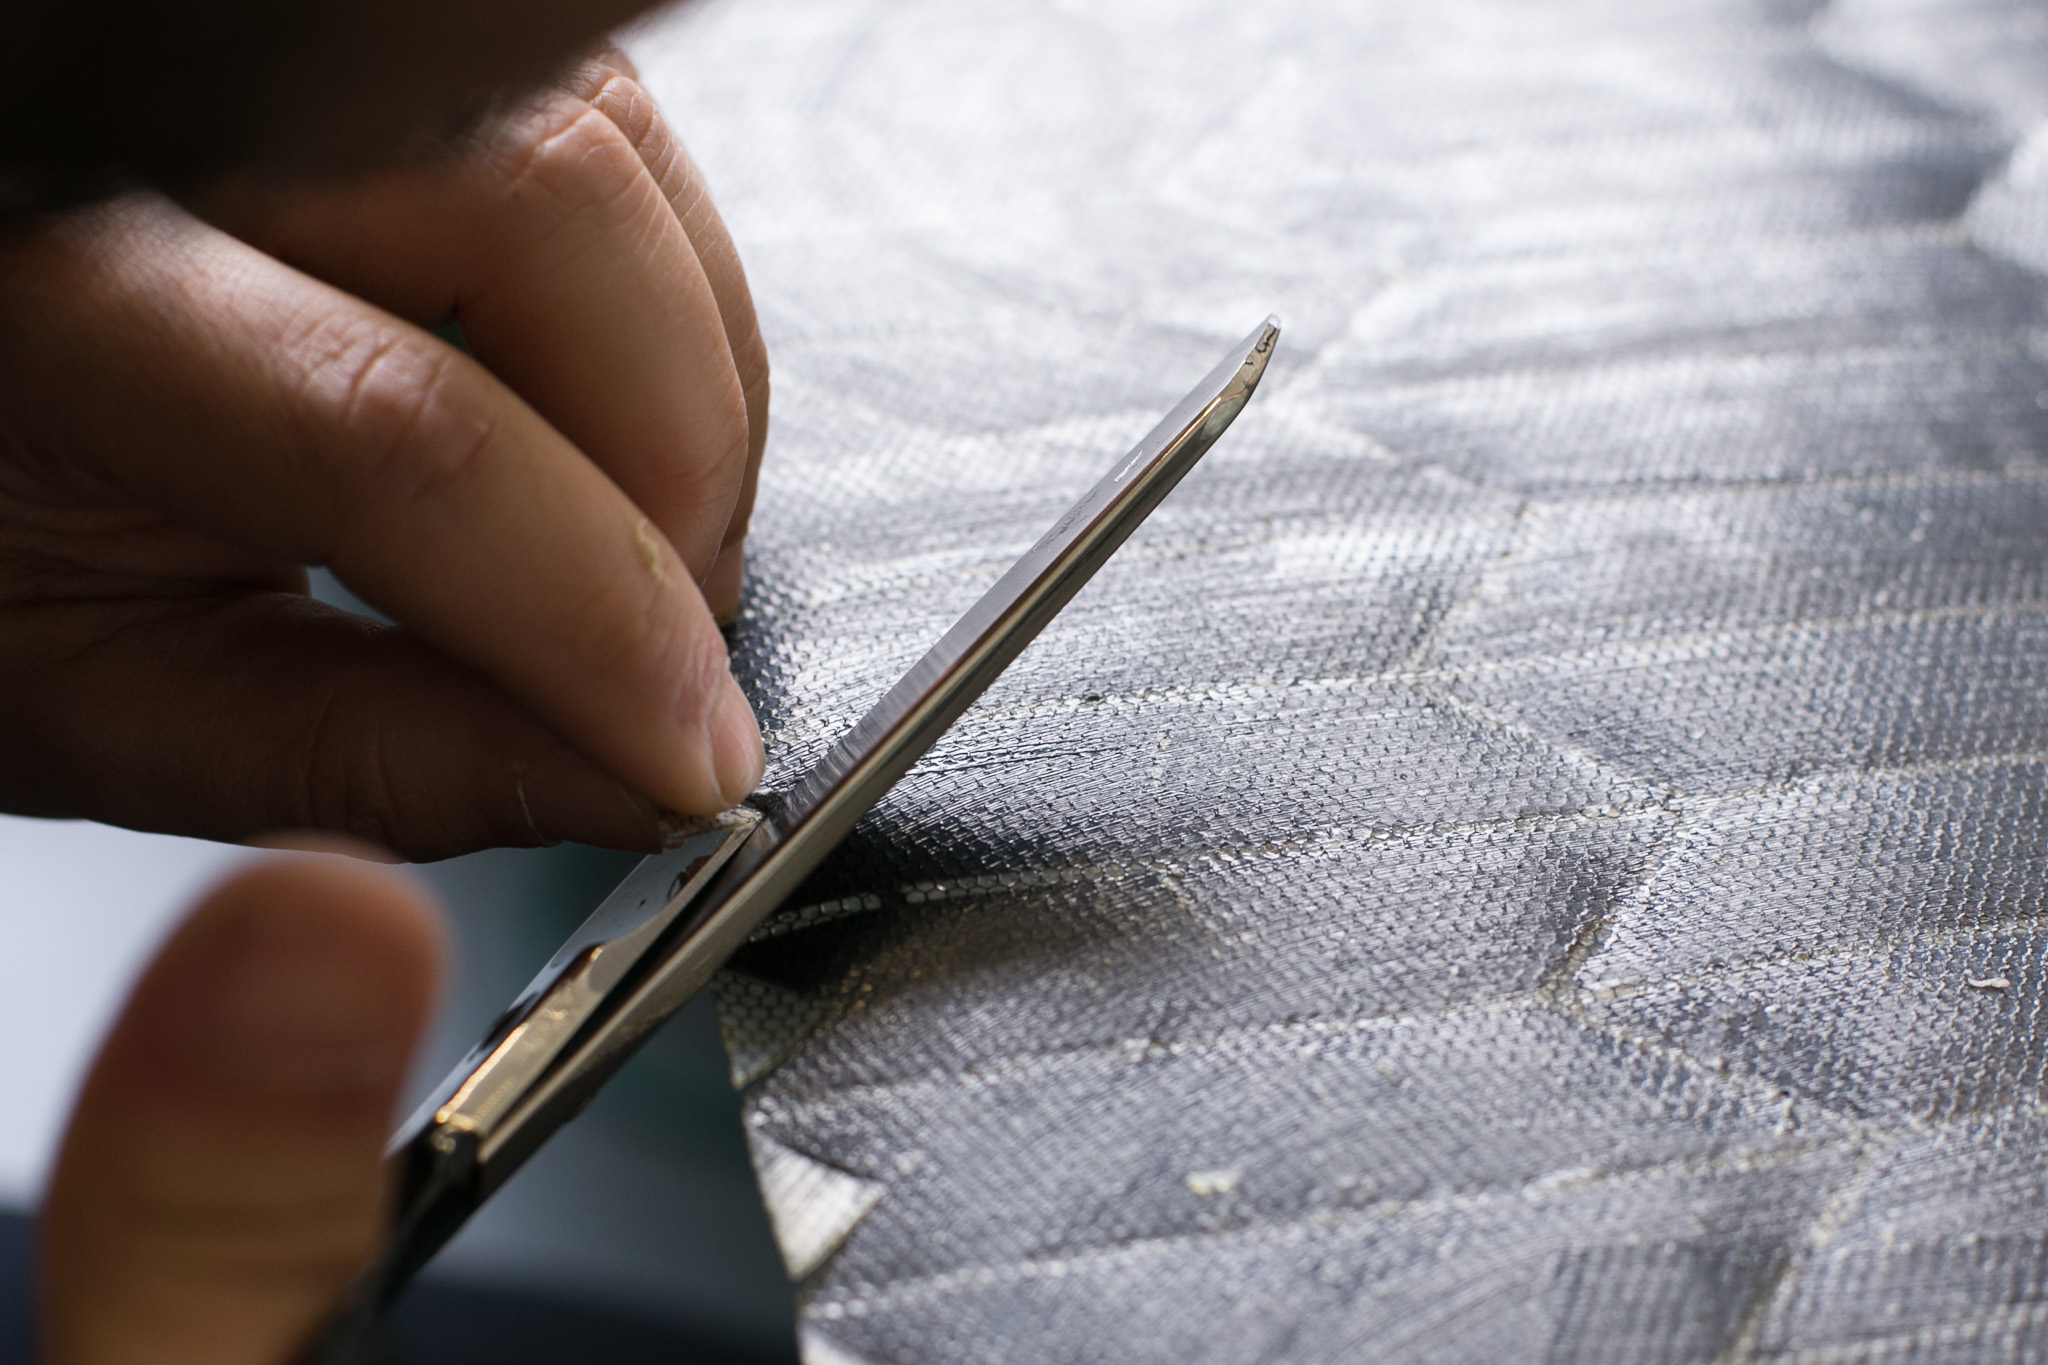
 Remove adhesive transfer film from the mirror side of the material. it is very important to remove it by pulling slowly, parallel and close to the surface. that way you won’t rip latex out of the spacings in between the material
Putting
For the following steps it is much easier to work with somebody who can give you hand.
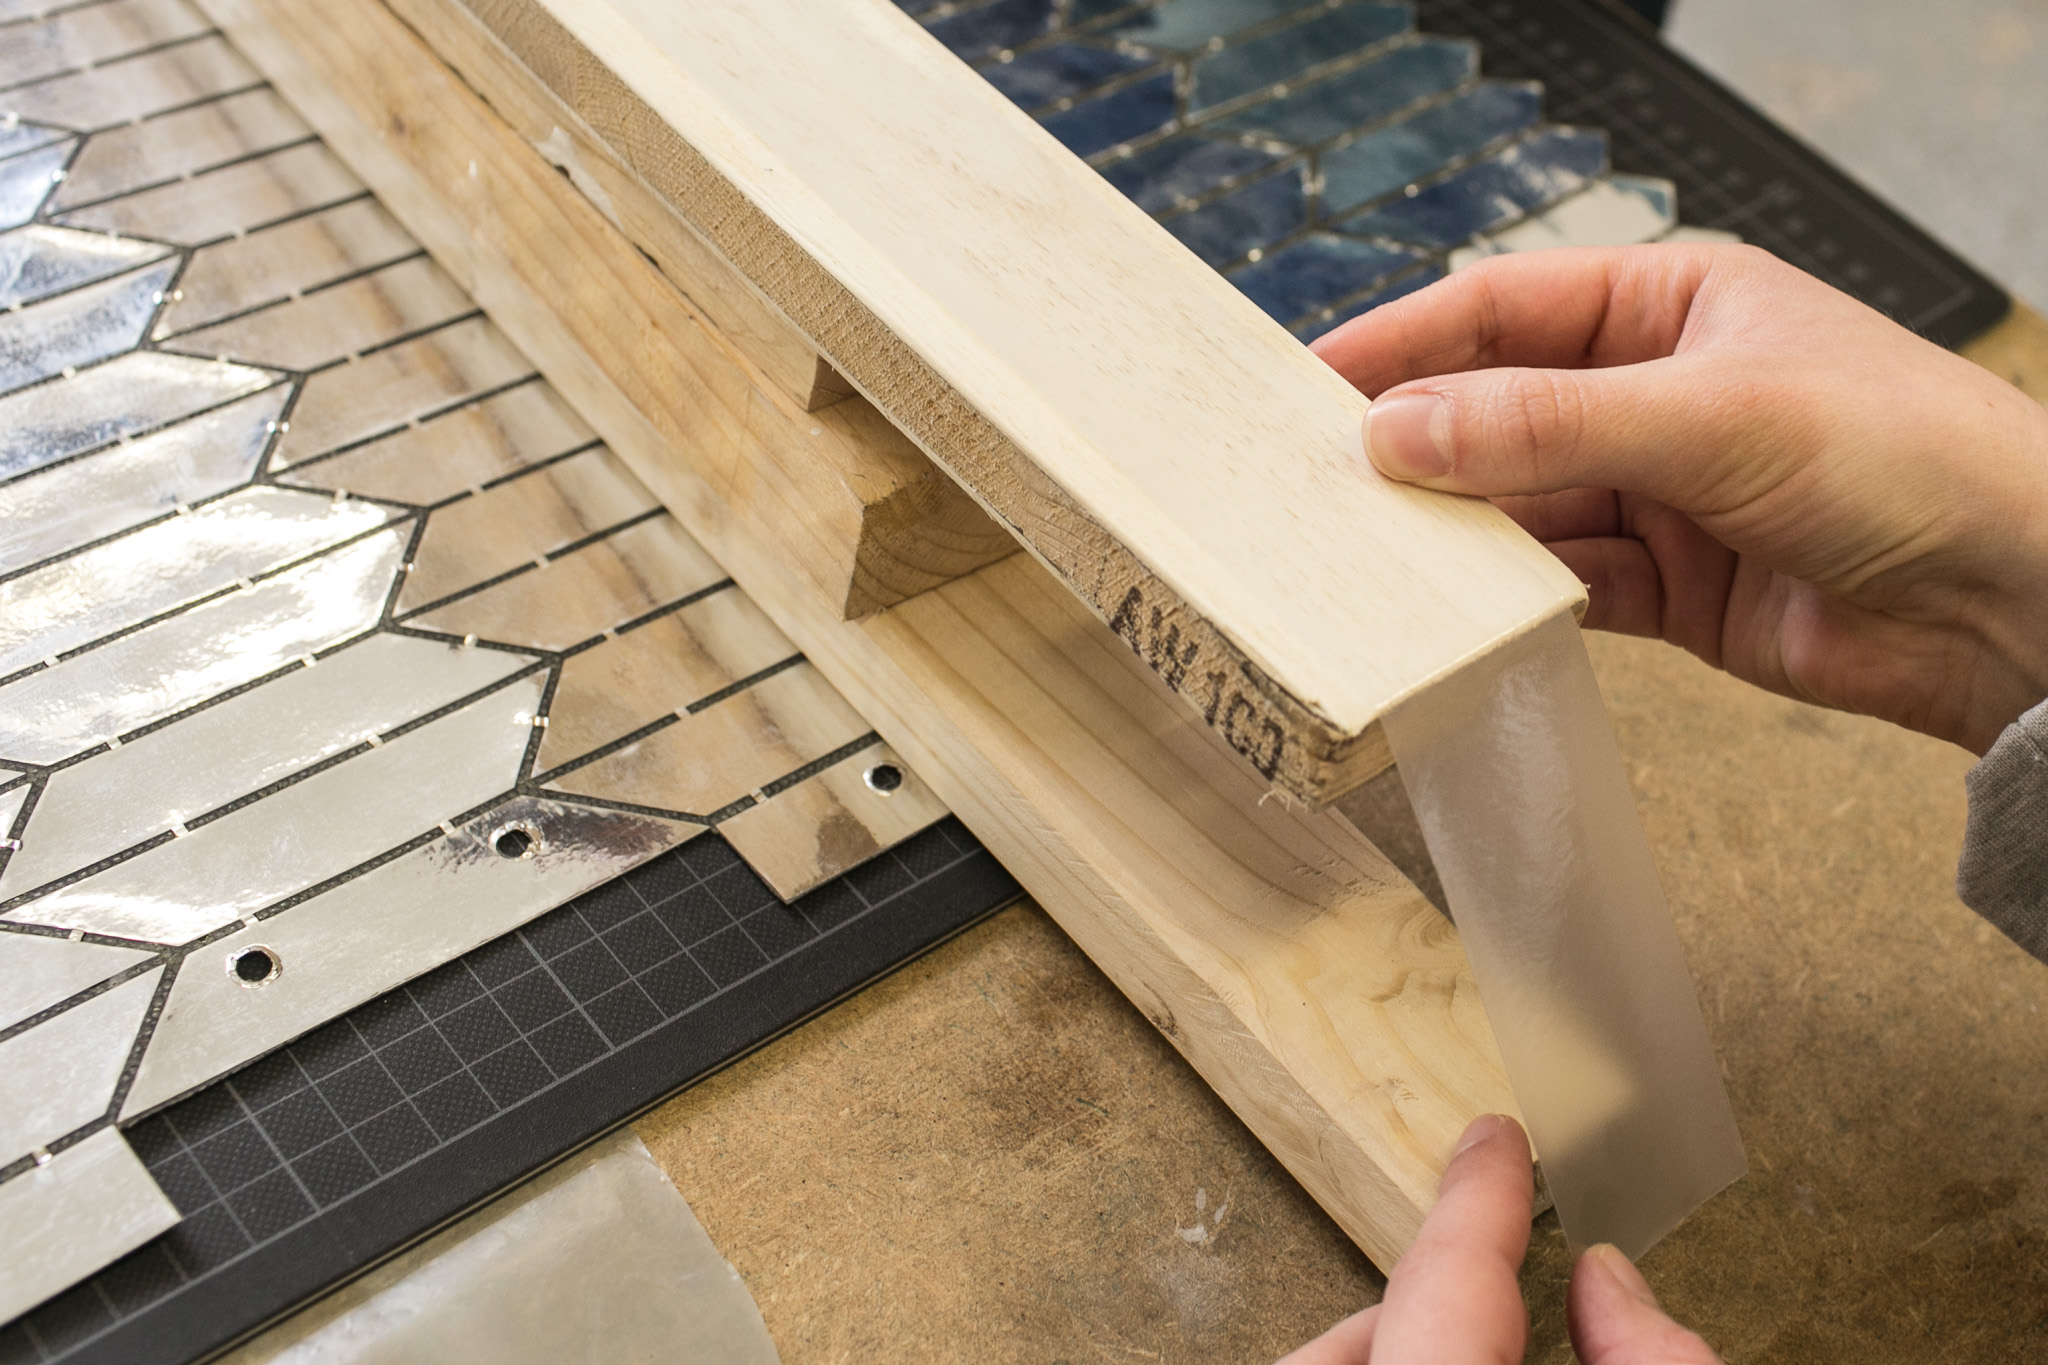 put a log of wood in the middle of coated sheet as supporting structure during the putting process
 put the strip of adhesive film on the log (adhesive side up) and fix it with tape at each end of the log
 bend one half of the sheet towards the adhesive foil on the log so that it sticks there
 bend the other half
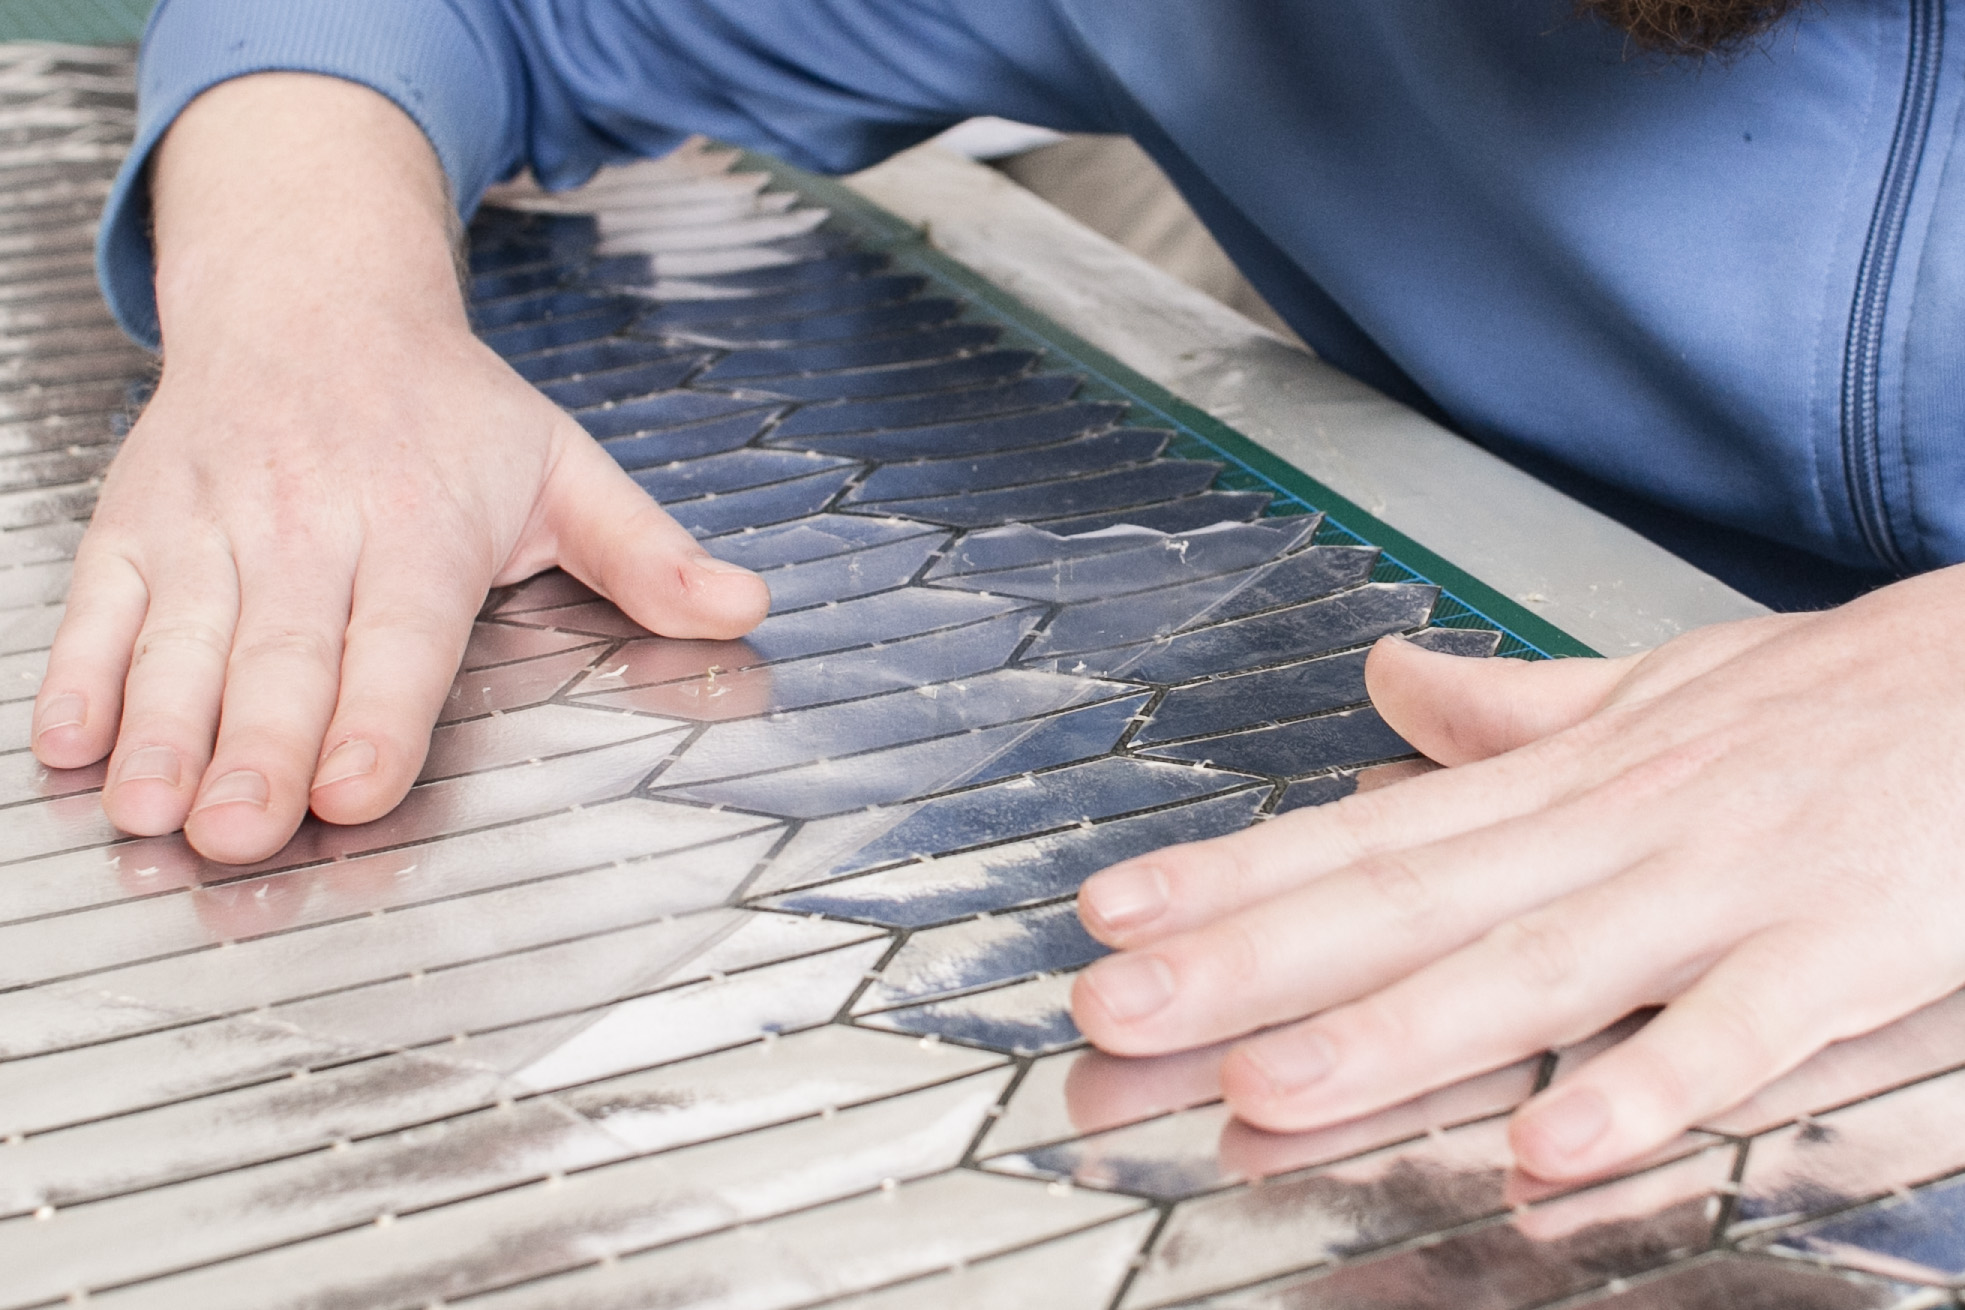
 start at one end putting both ends together
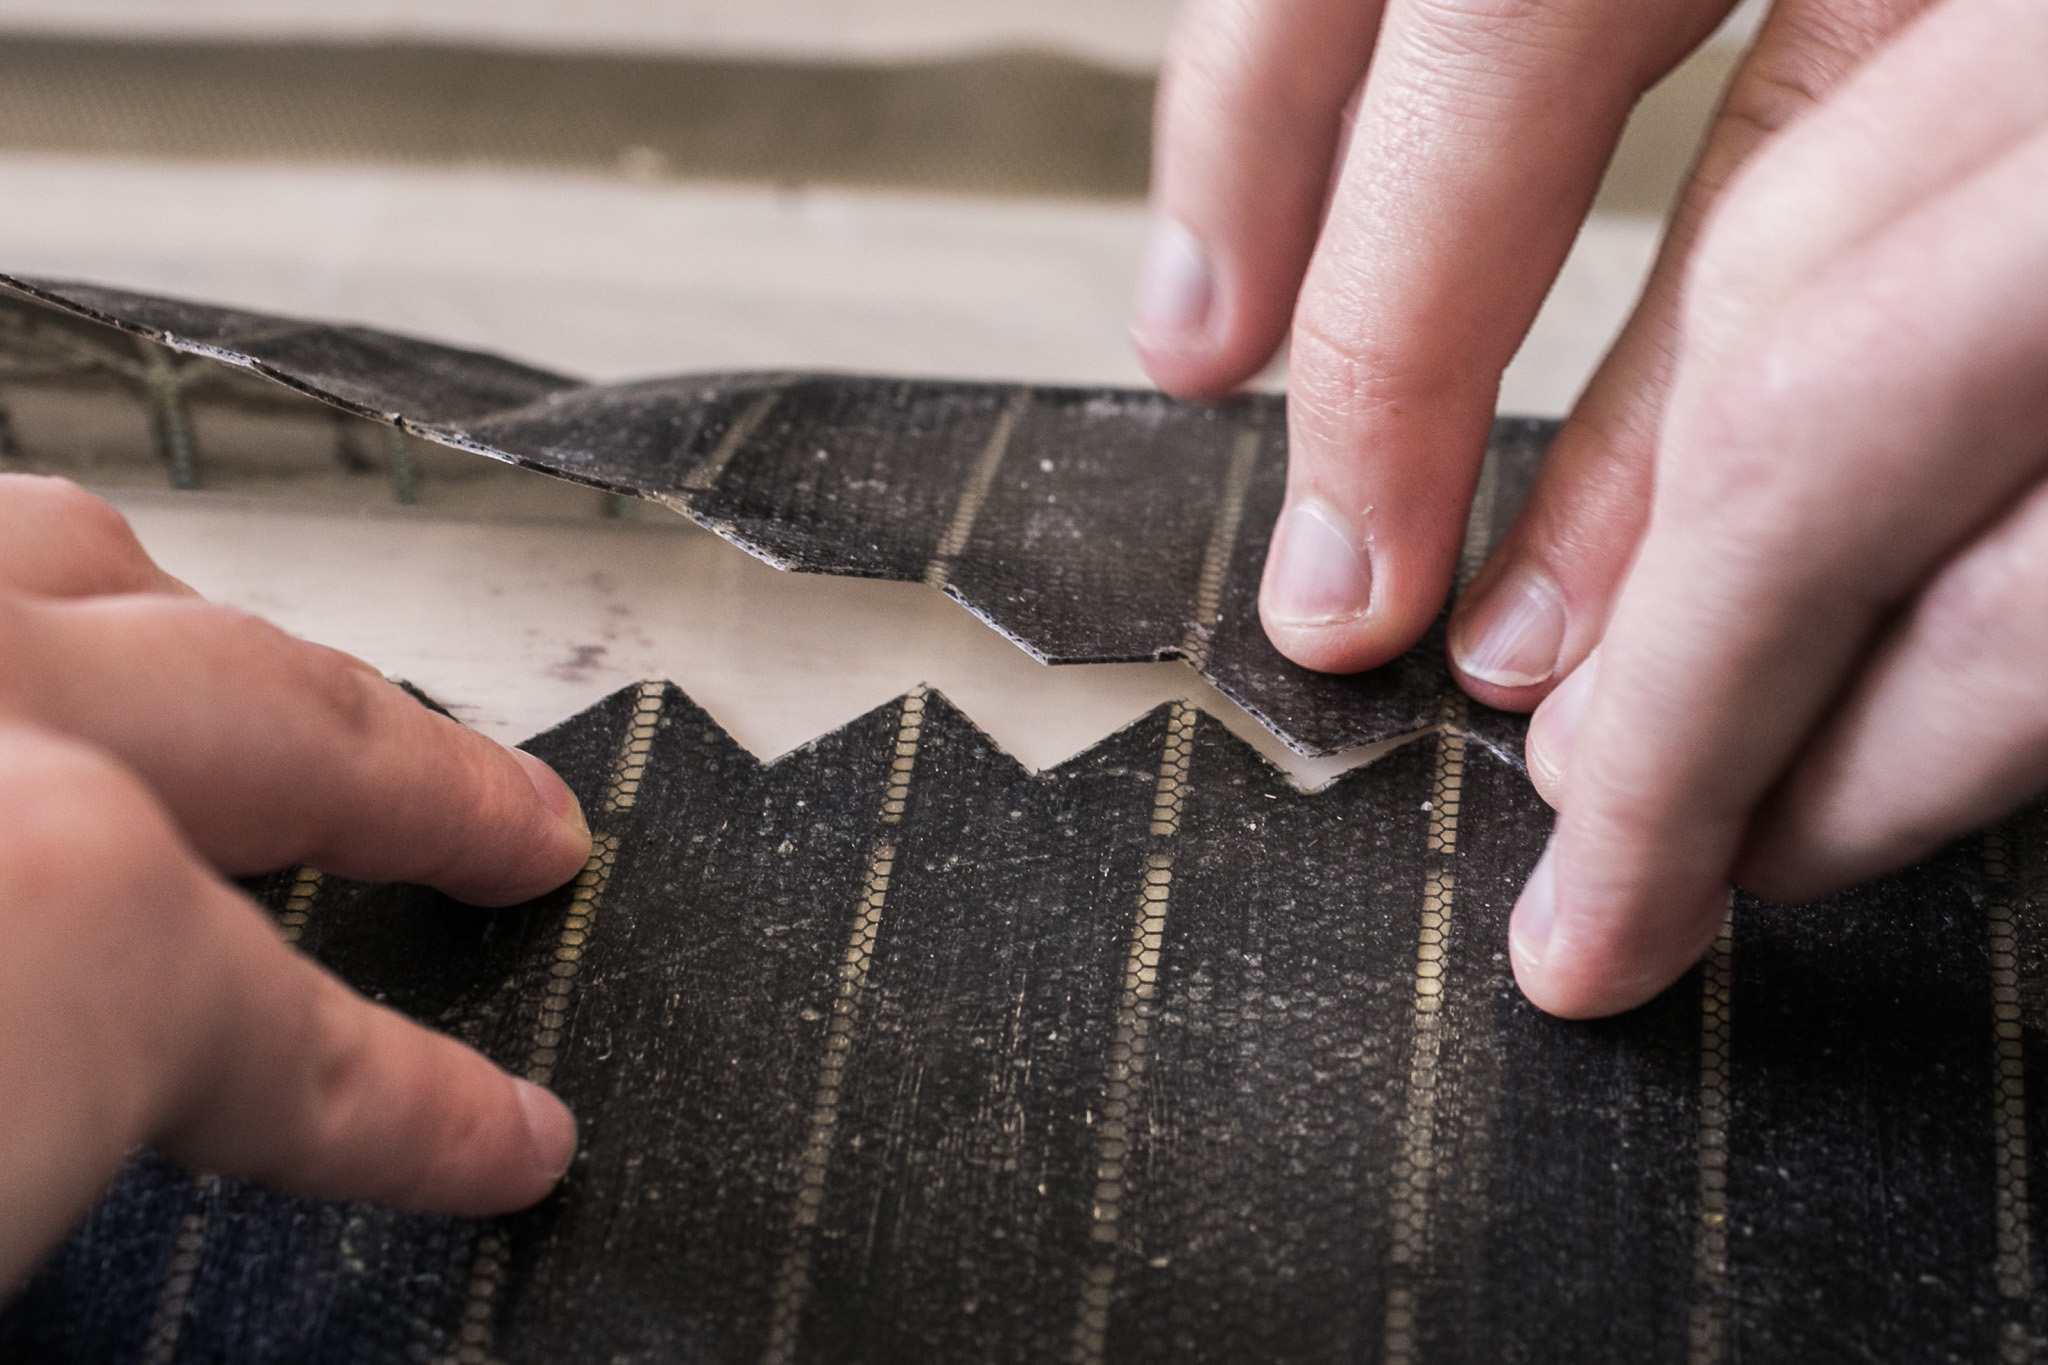
 slowly moving up, triangles need to interlock
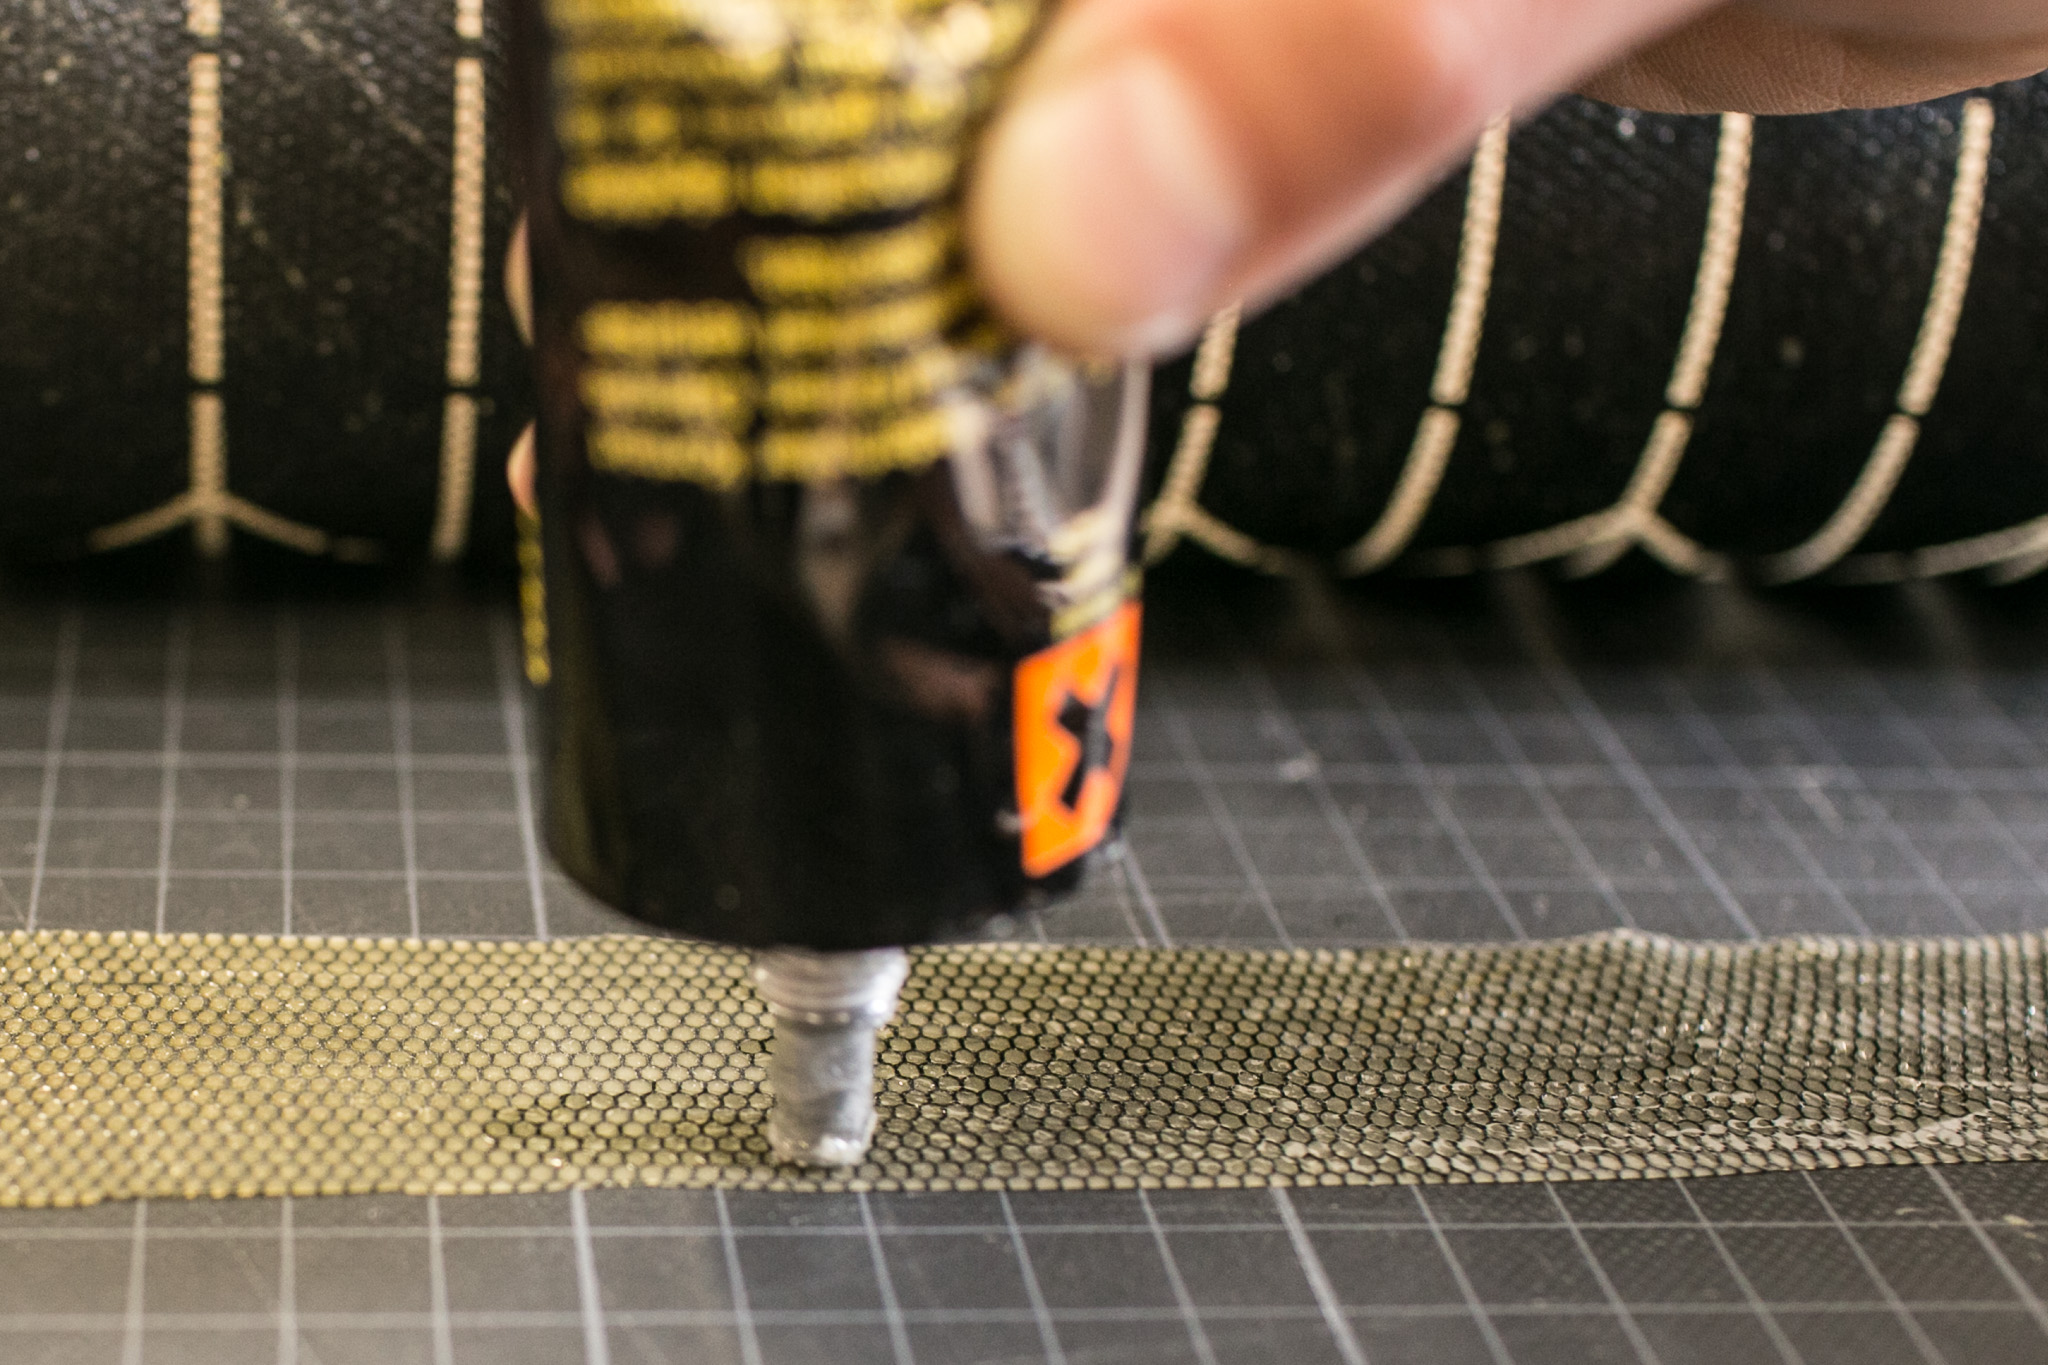
 cut strip of latex textile 4cm x 95cm
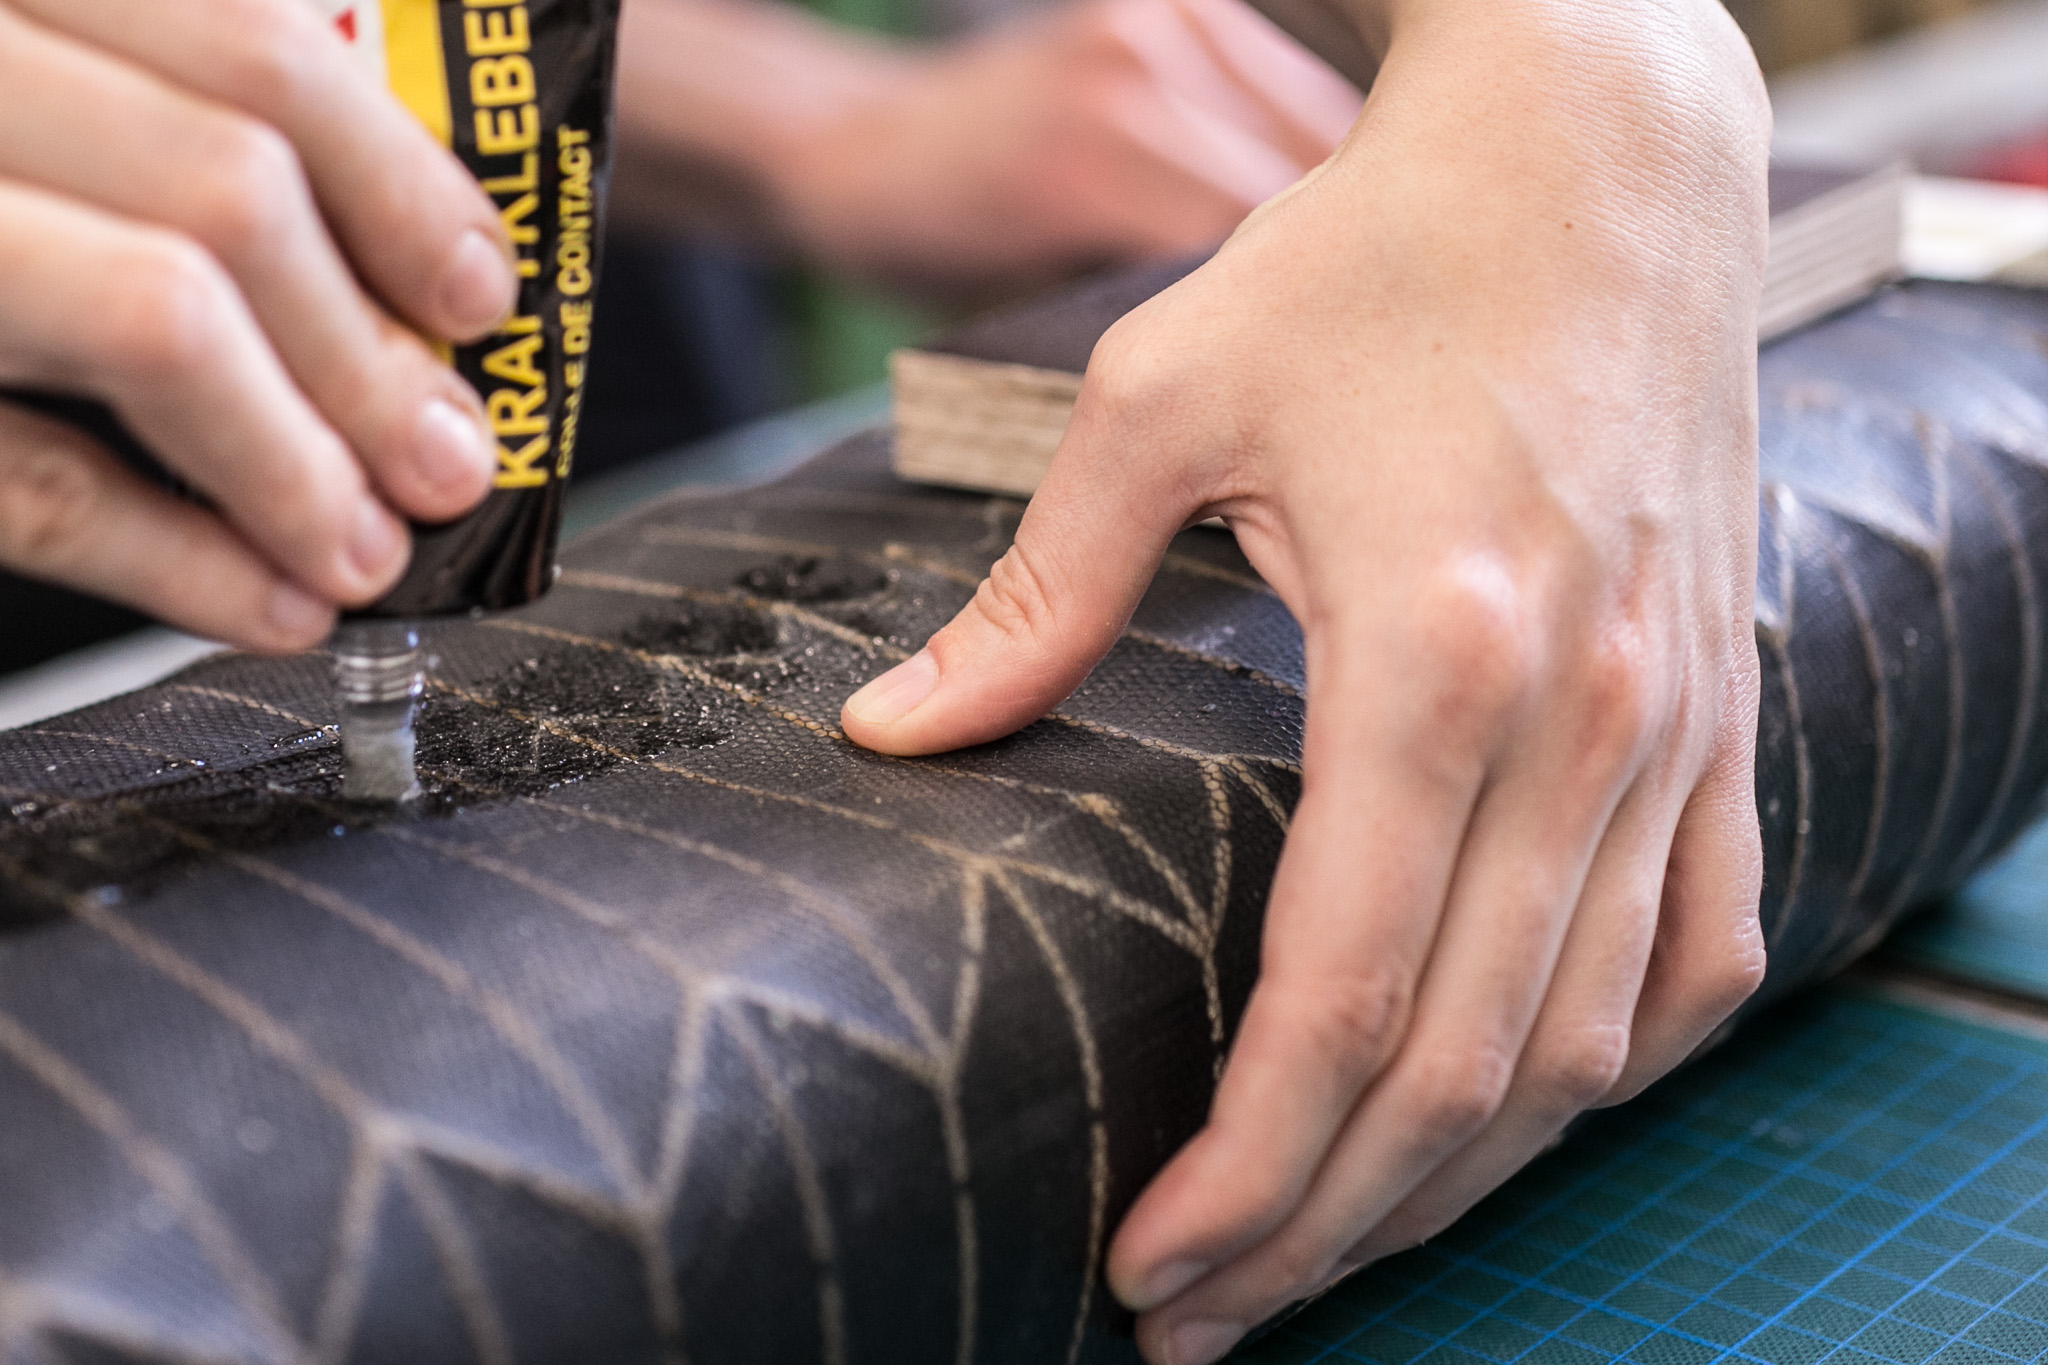 apply a 4 cm wide strip contact glue to the bellow’s seam.
 apply contact glue on latex textile strip
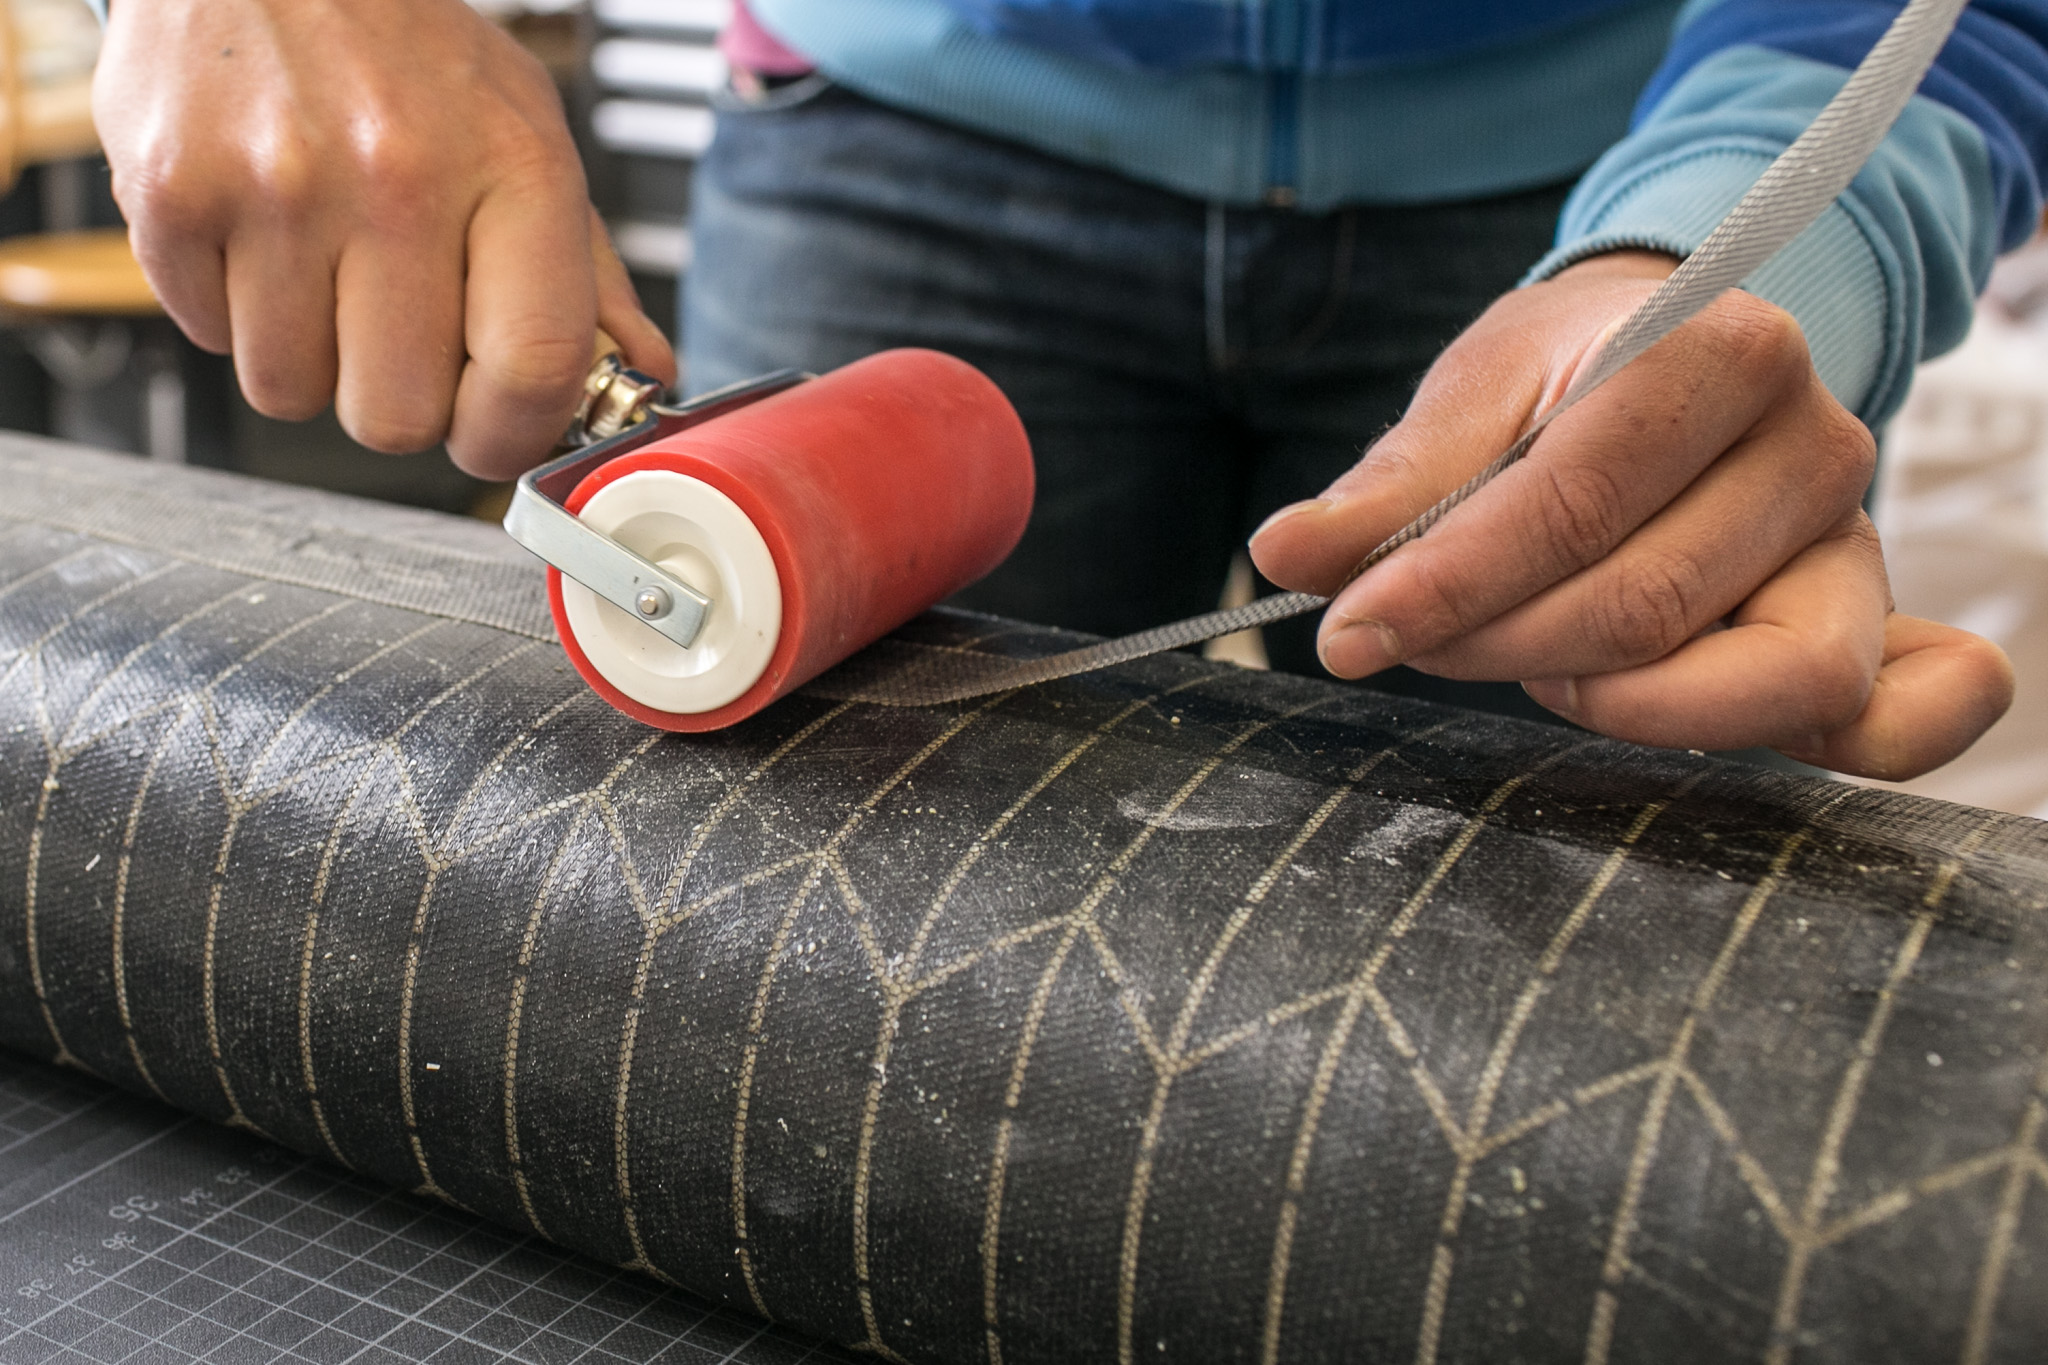 When the glue has fully dried glue strip to seam by applying pressure with rubber roll.
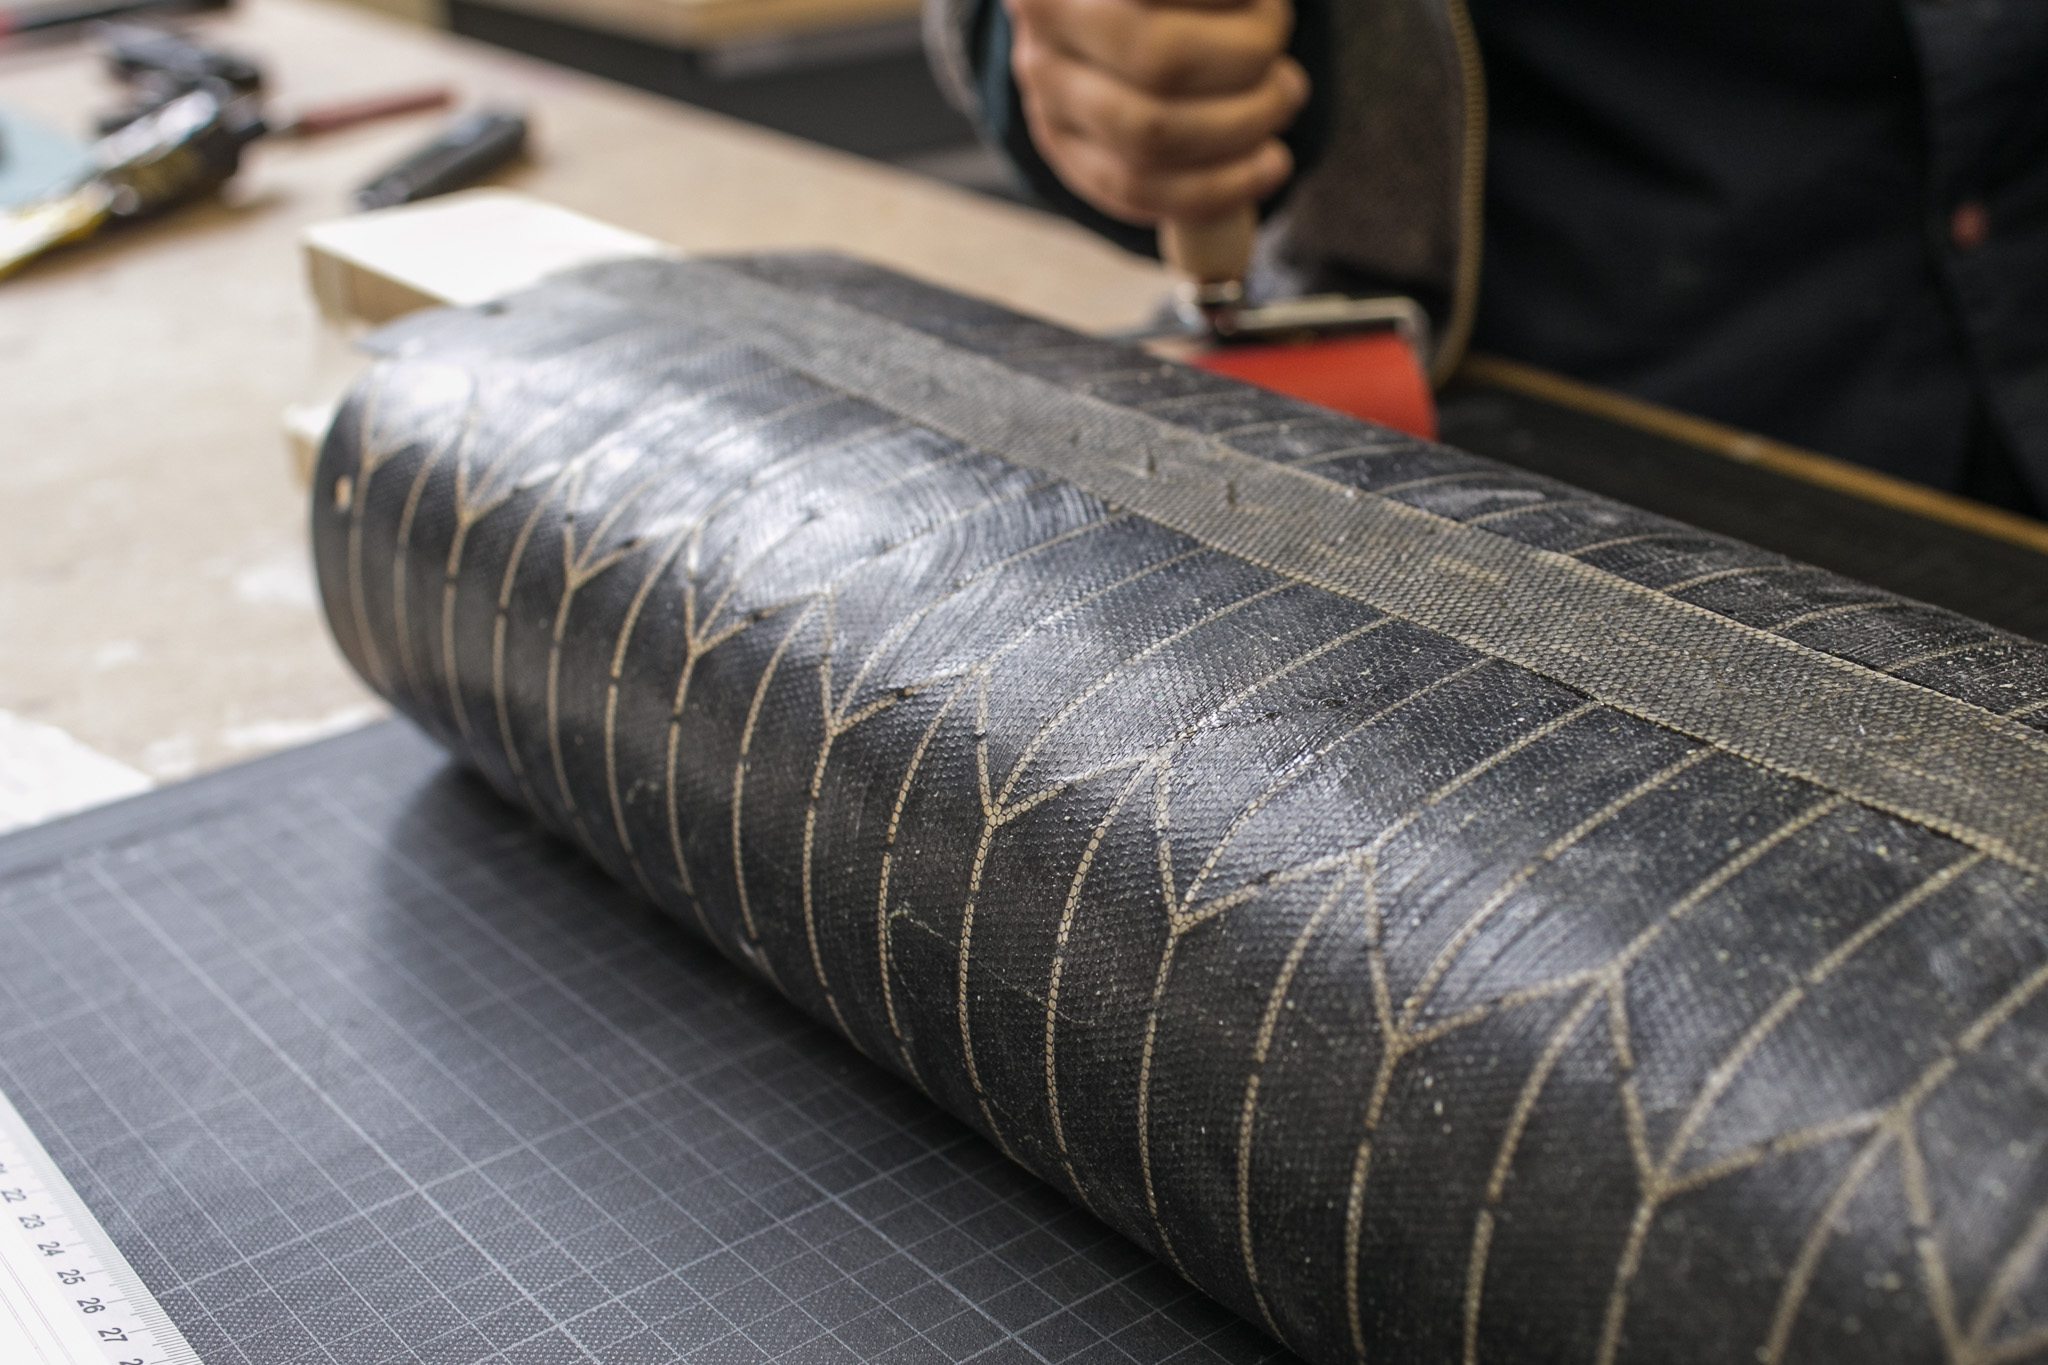 bellow with proper applied strip
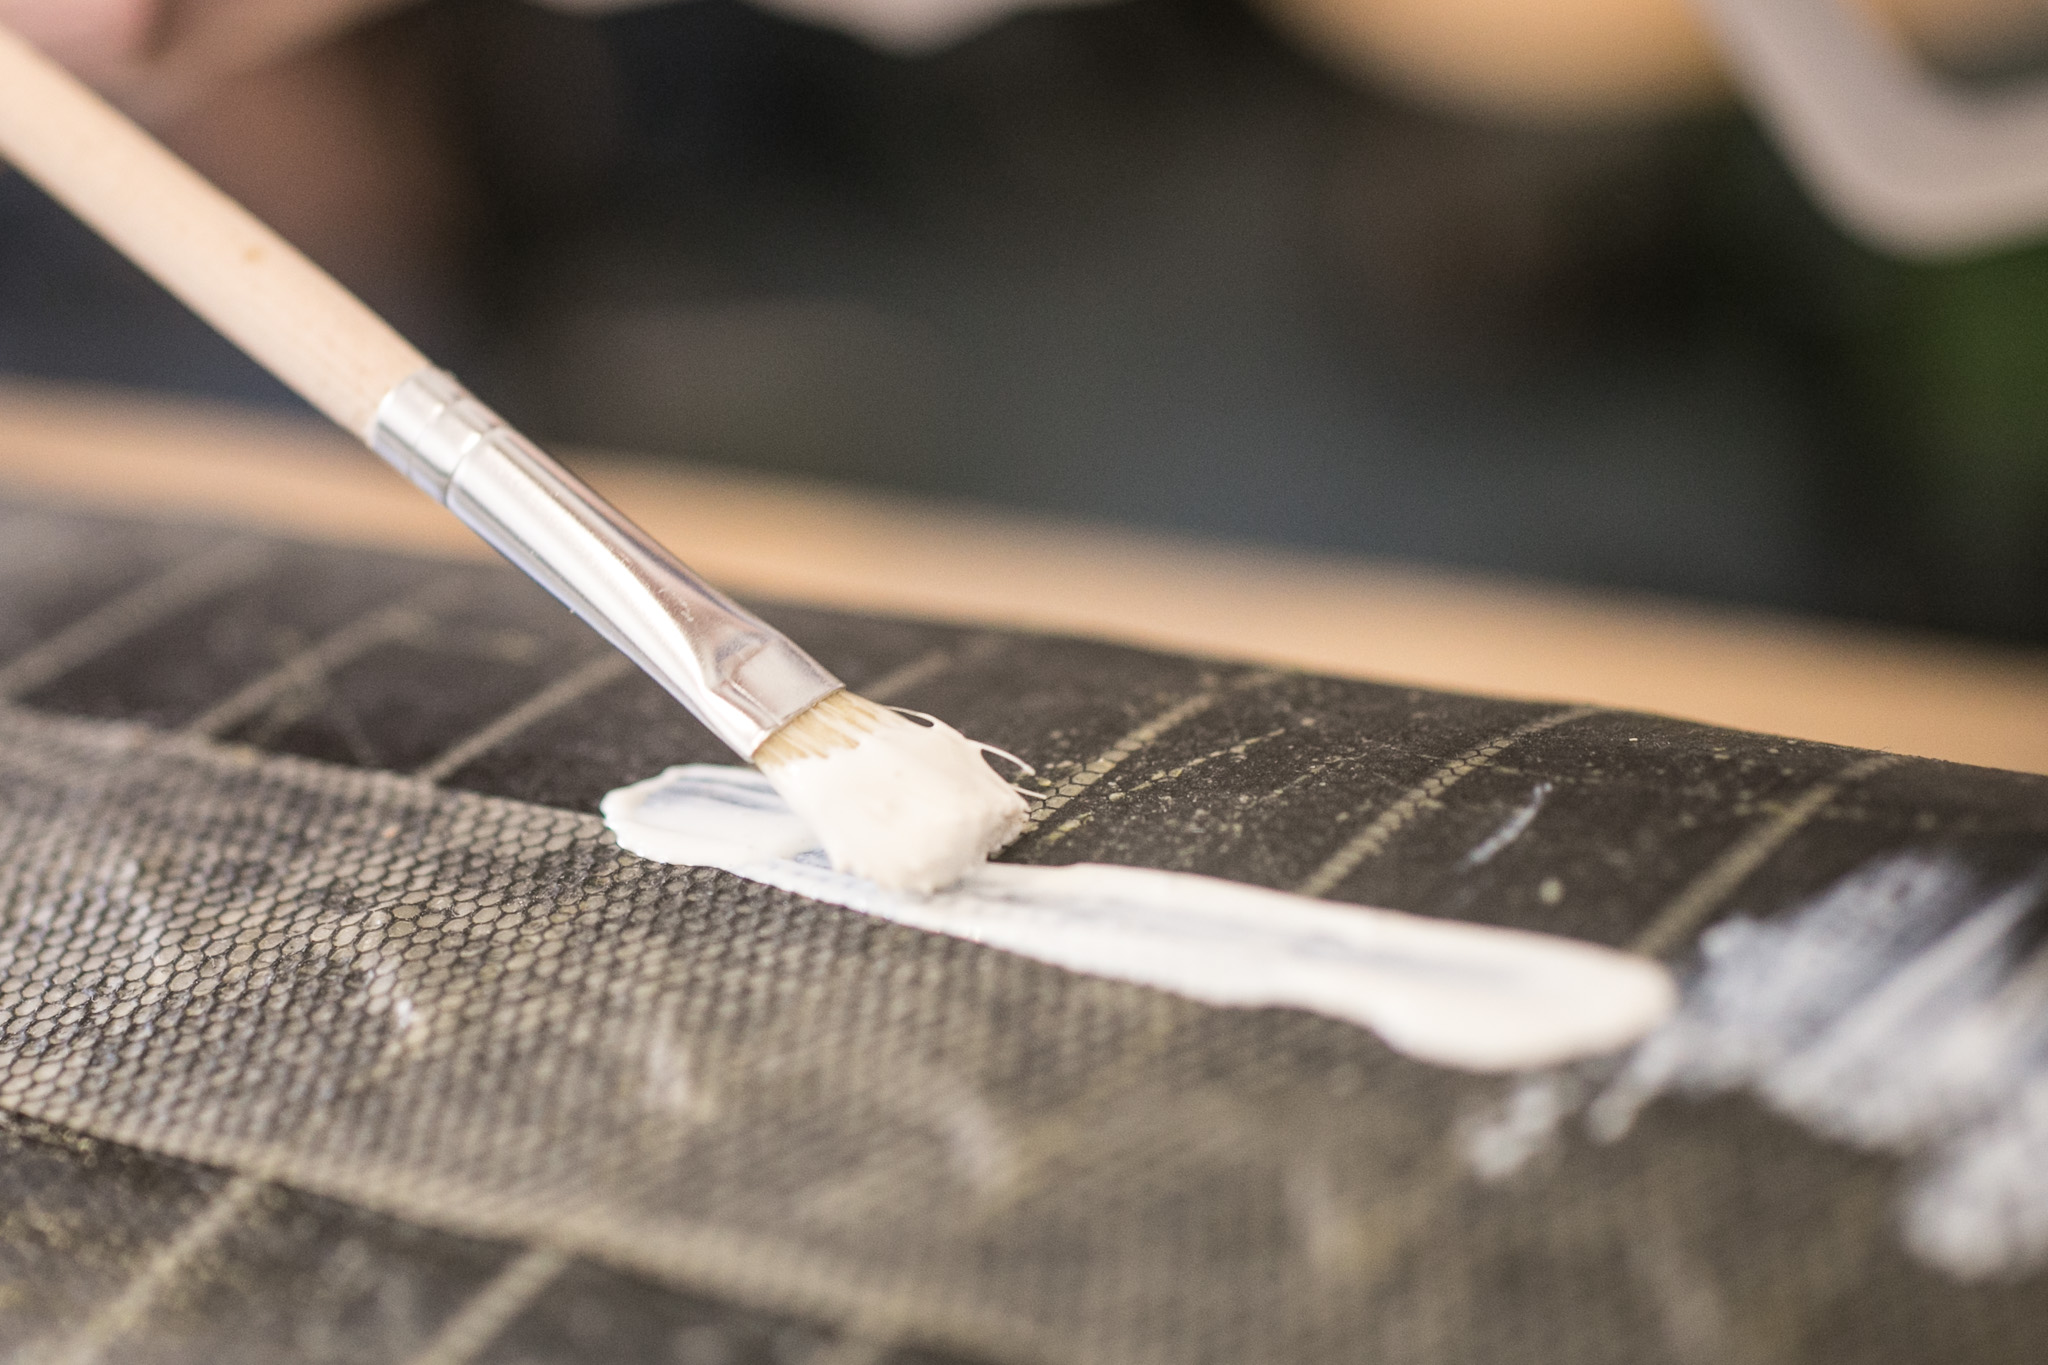 Apply latex with brush along the edges of the strip
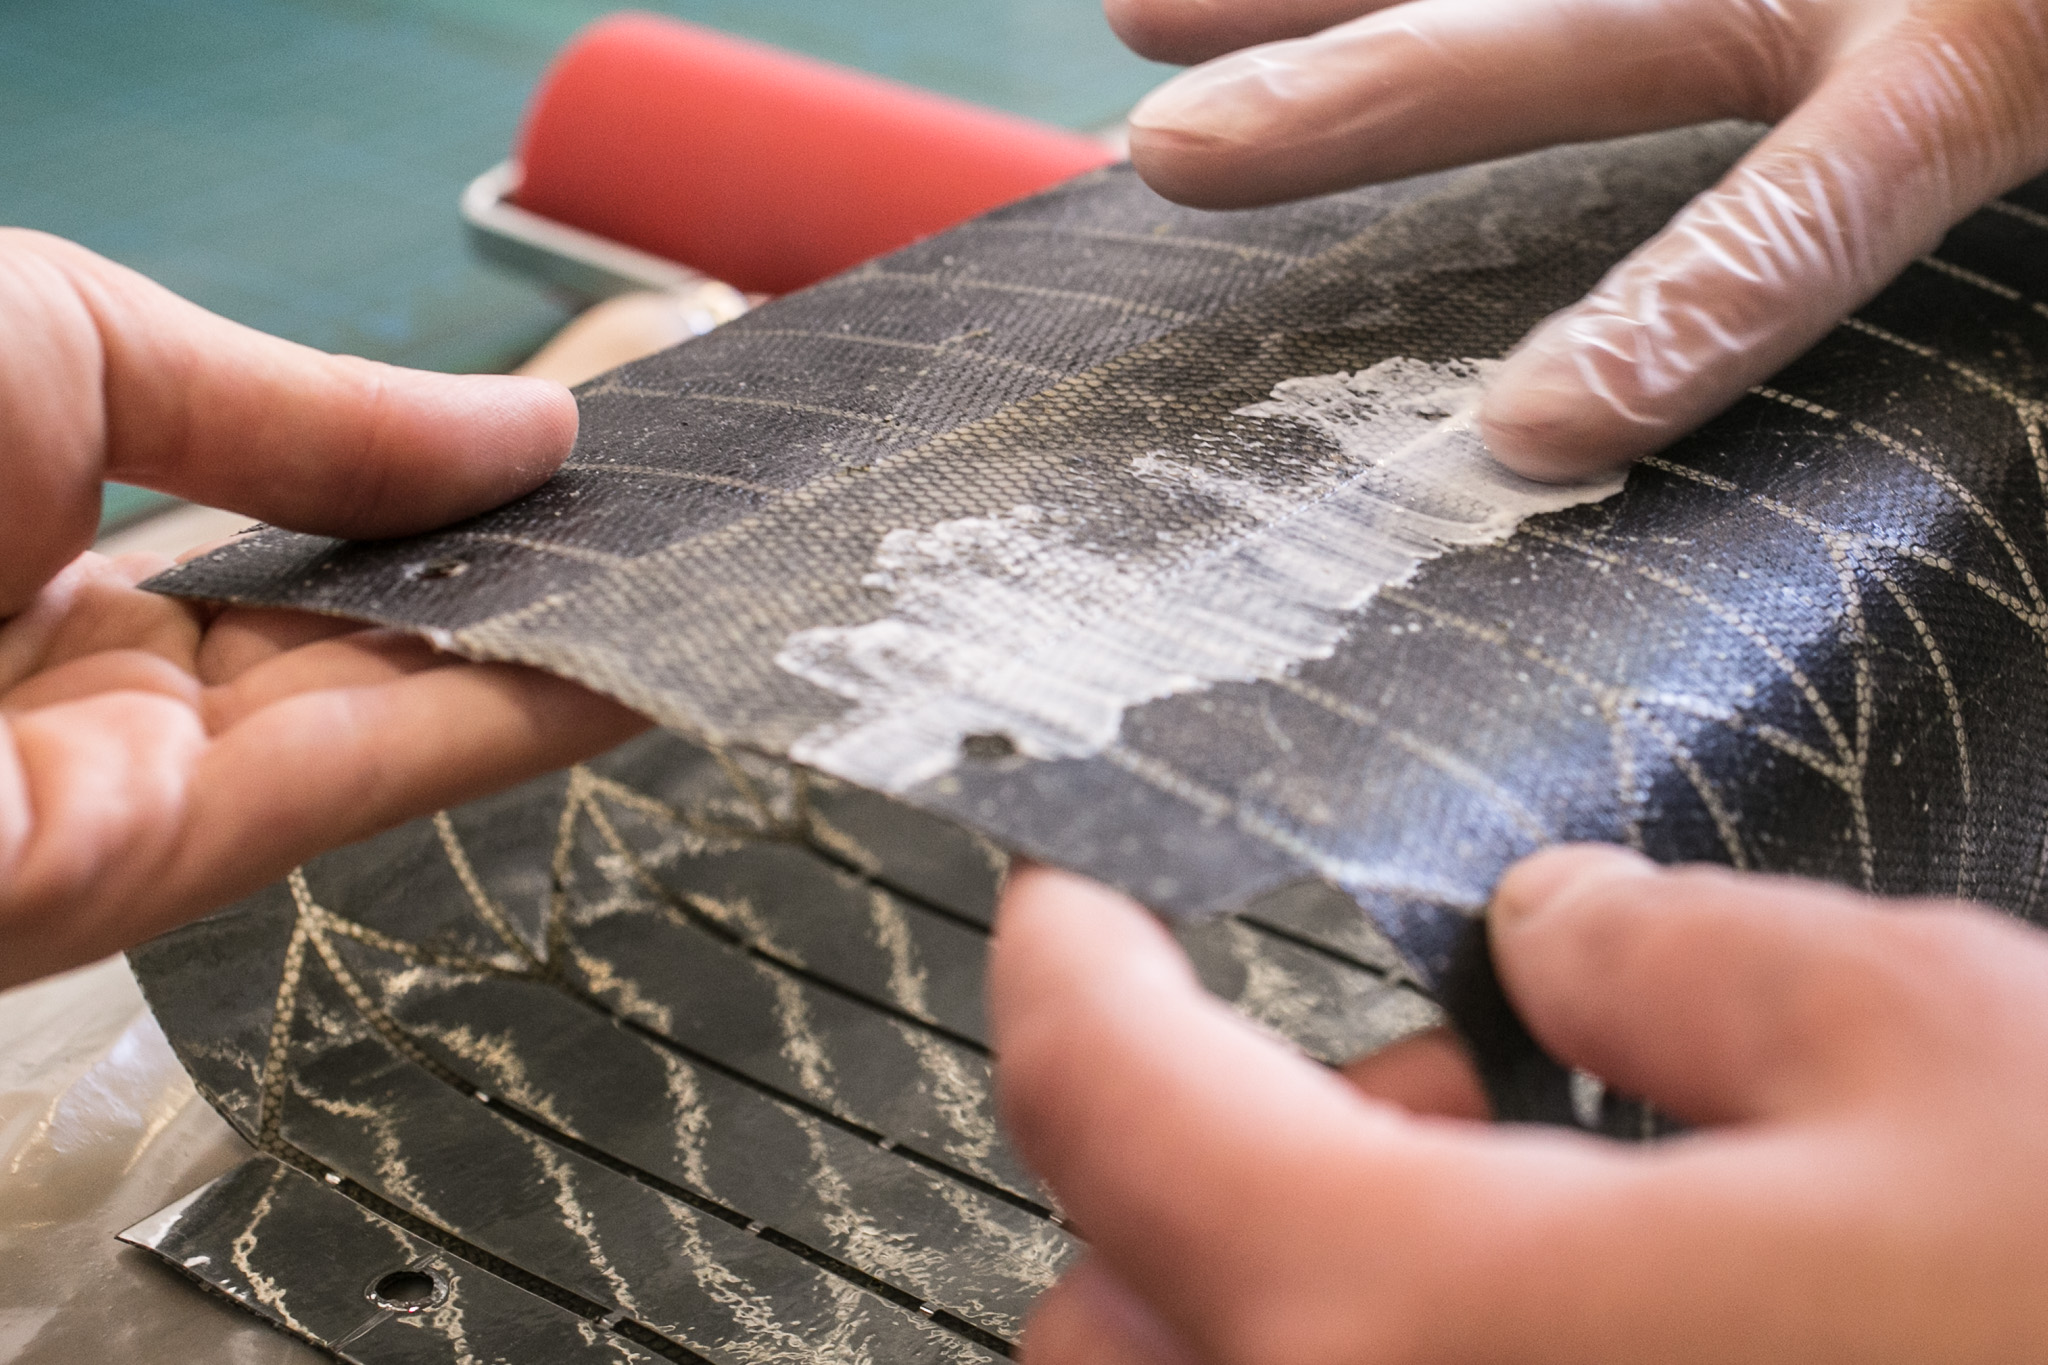 spreading latex with fingertips
Folding
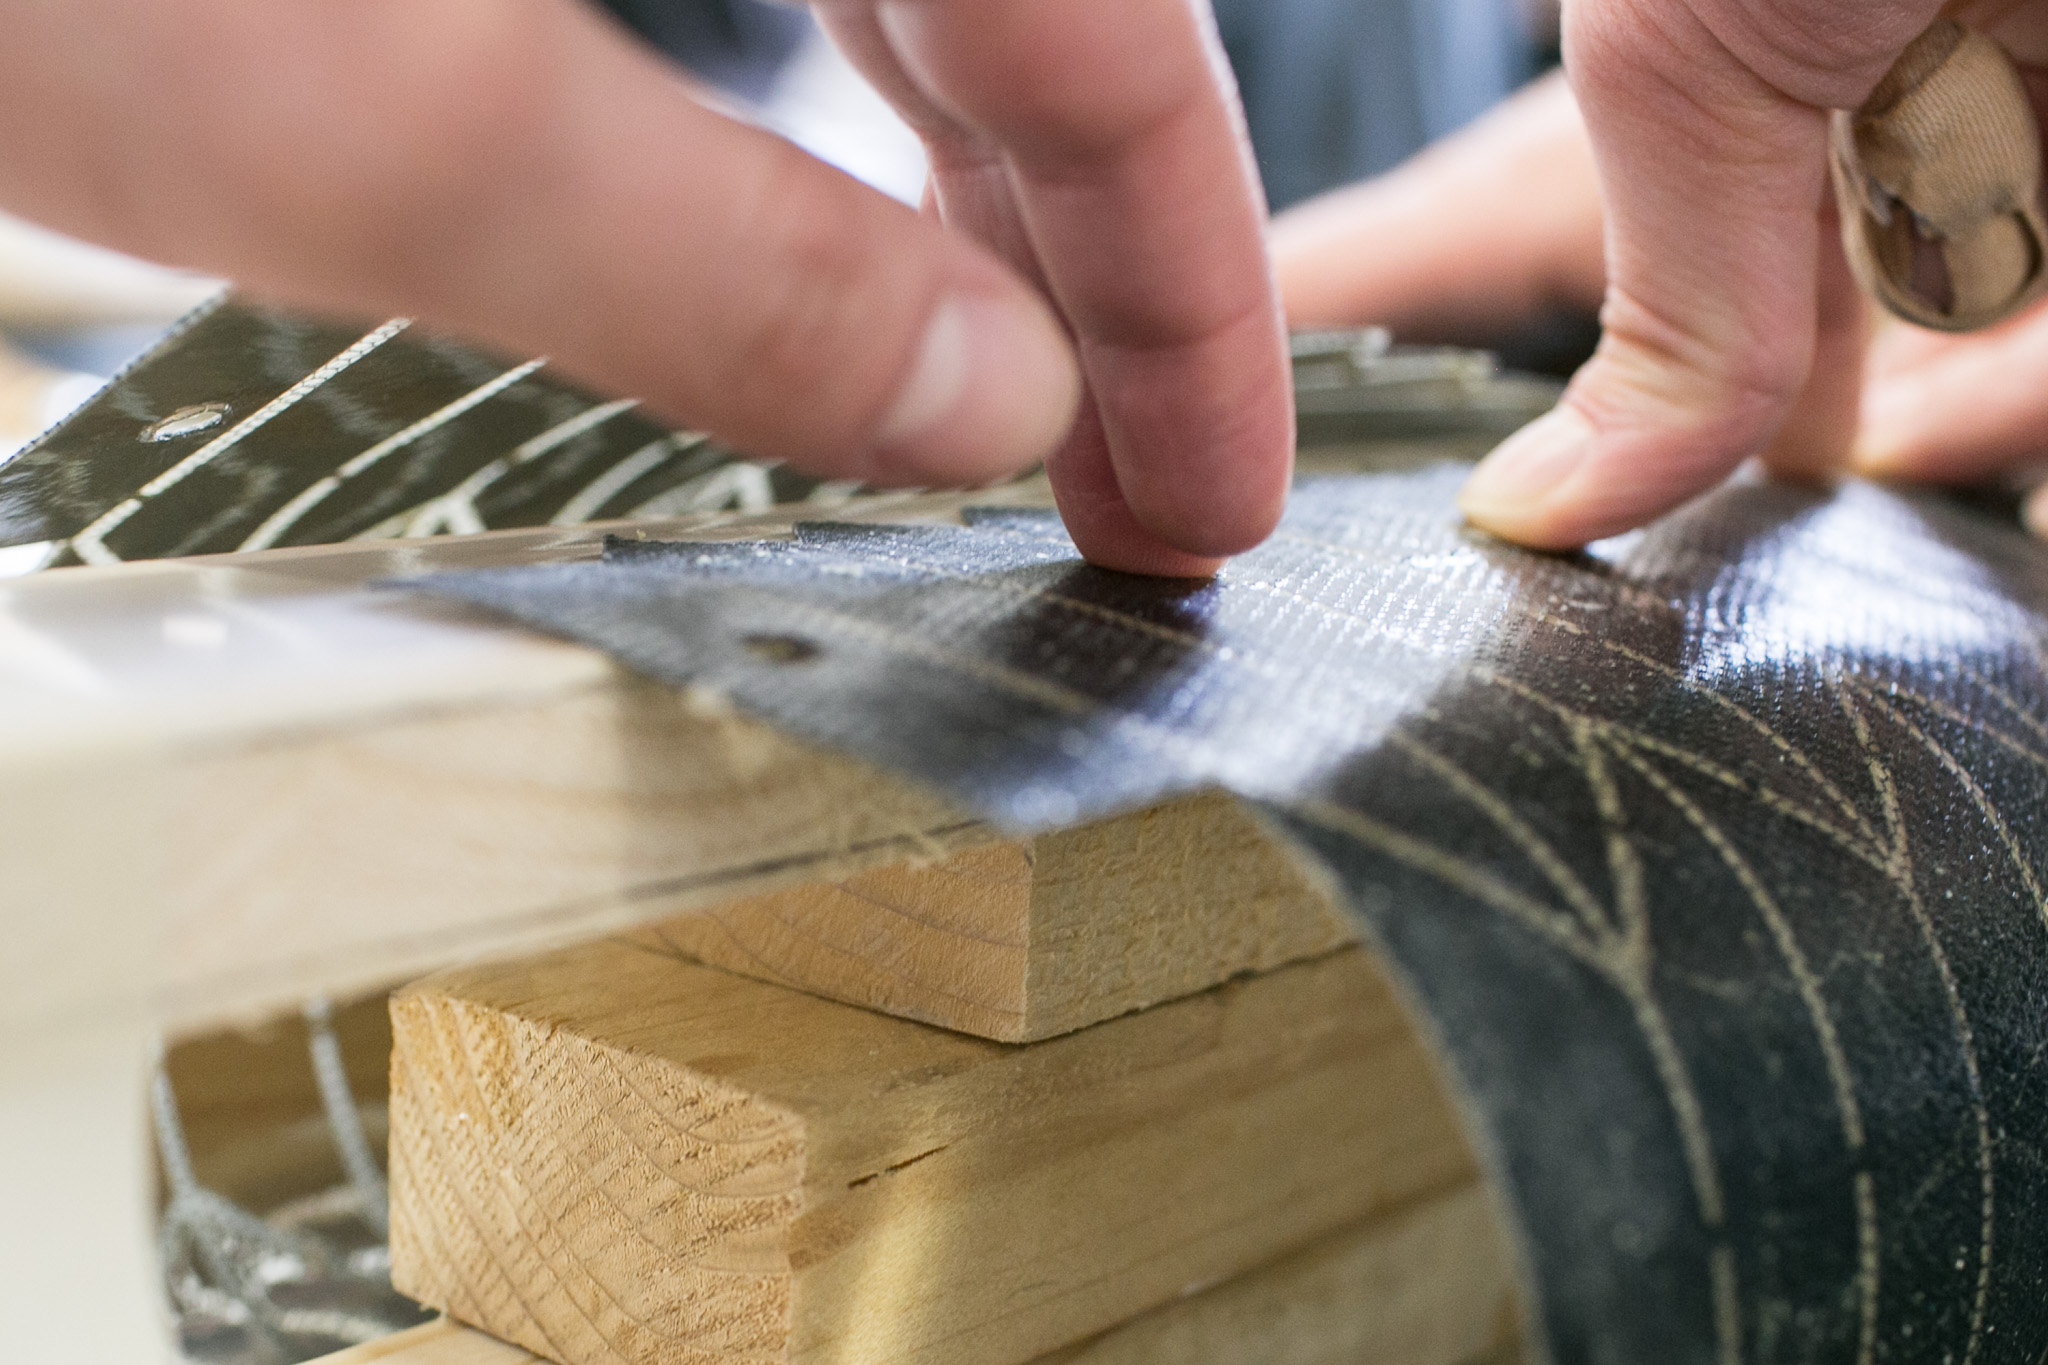
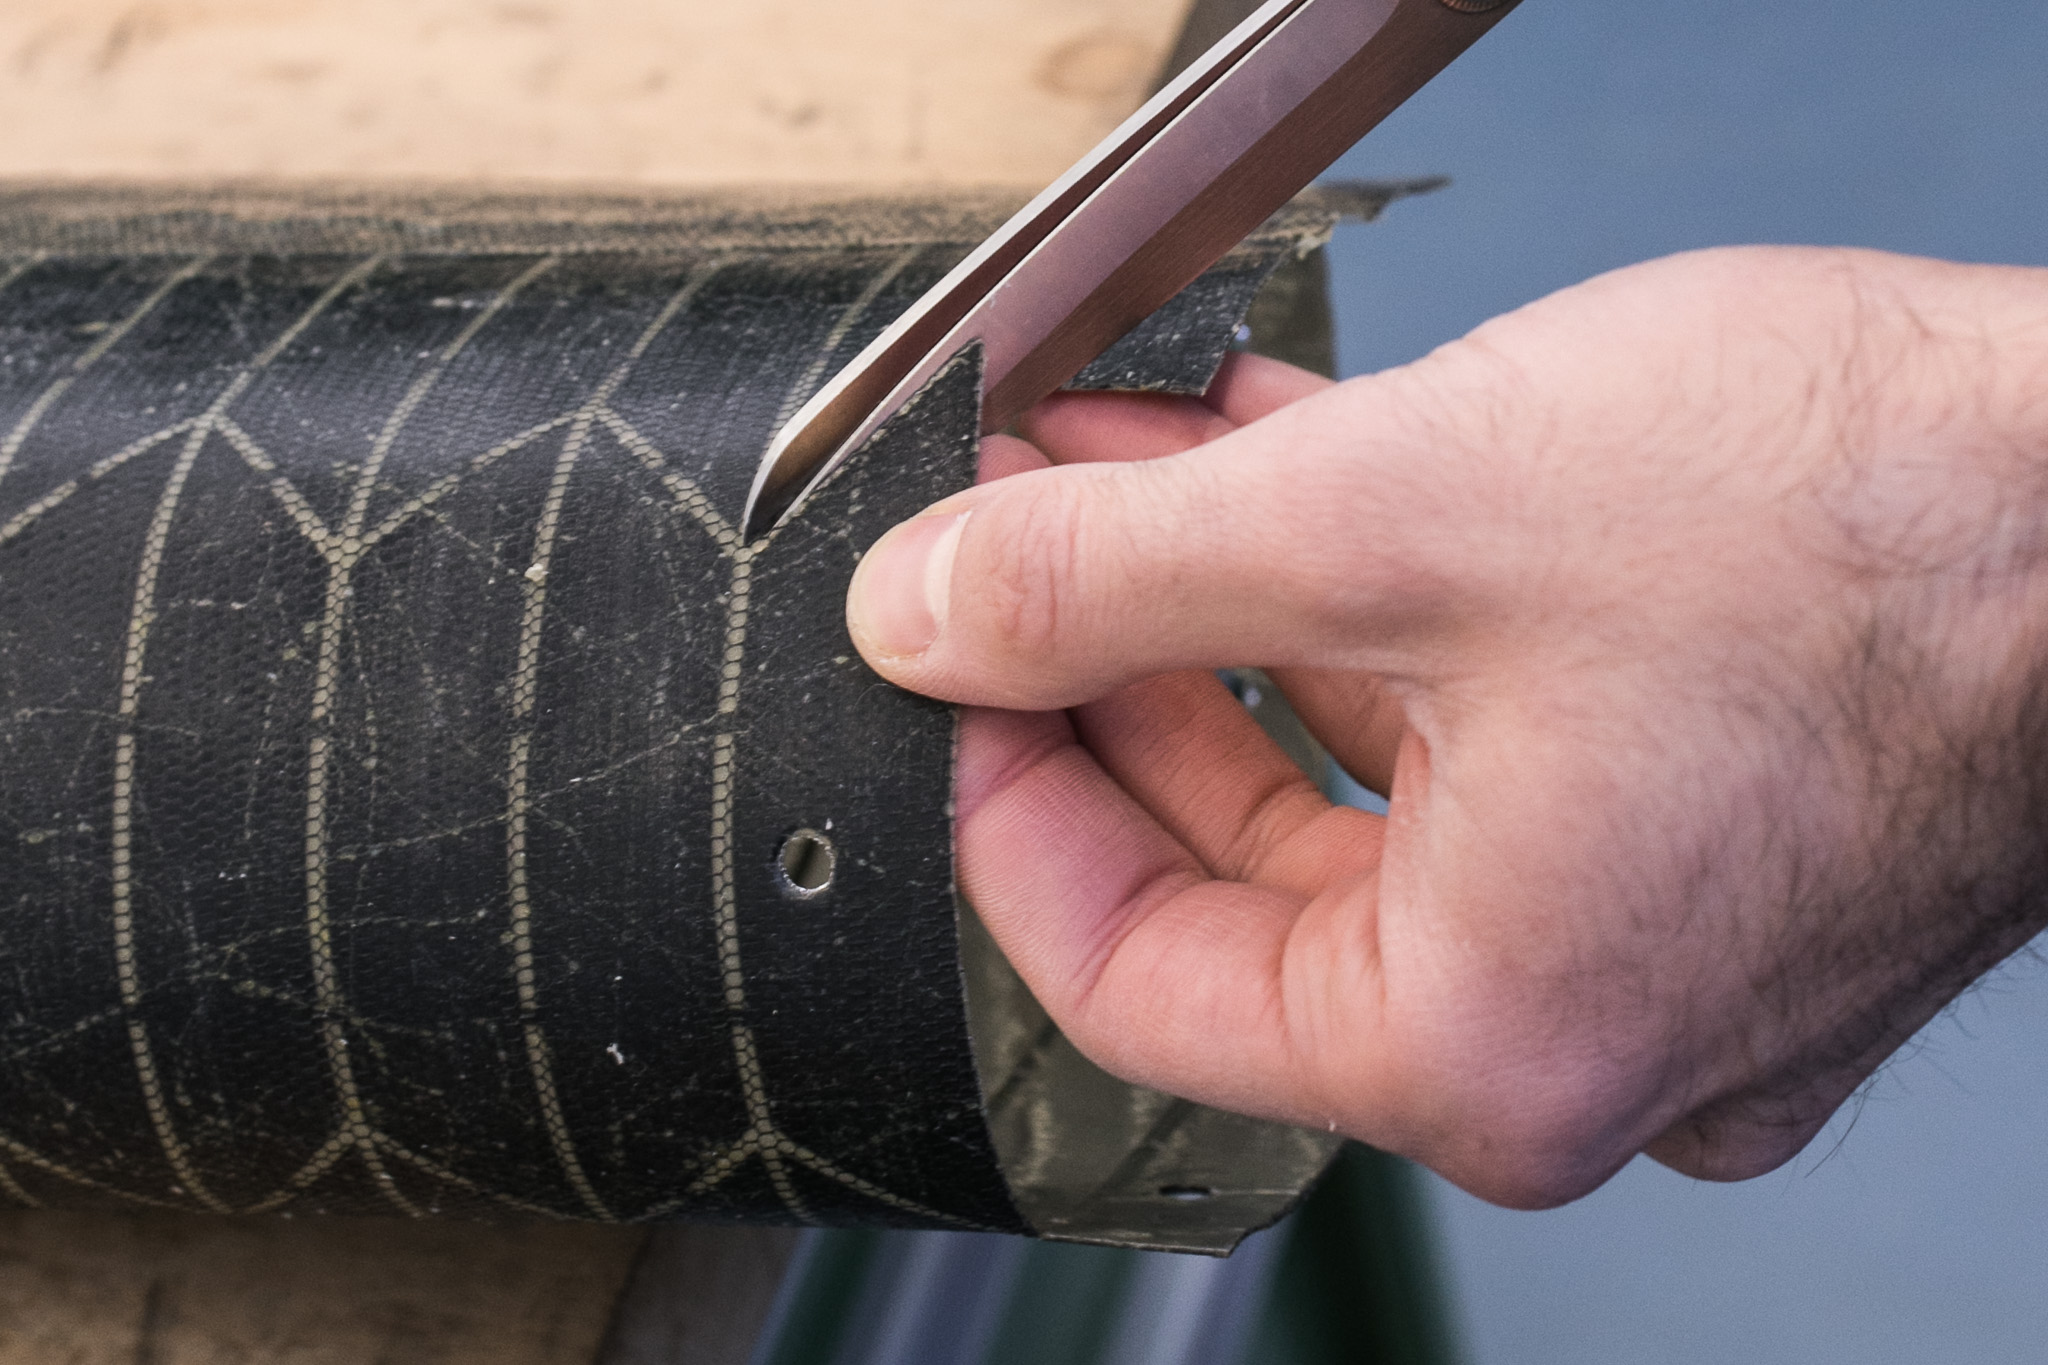 cut the edges of the short ribs at each side of the bellow
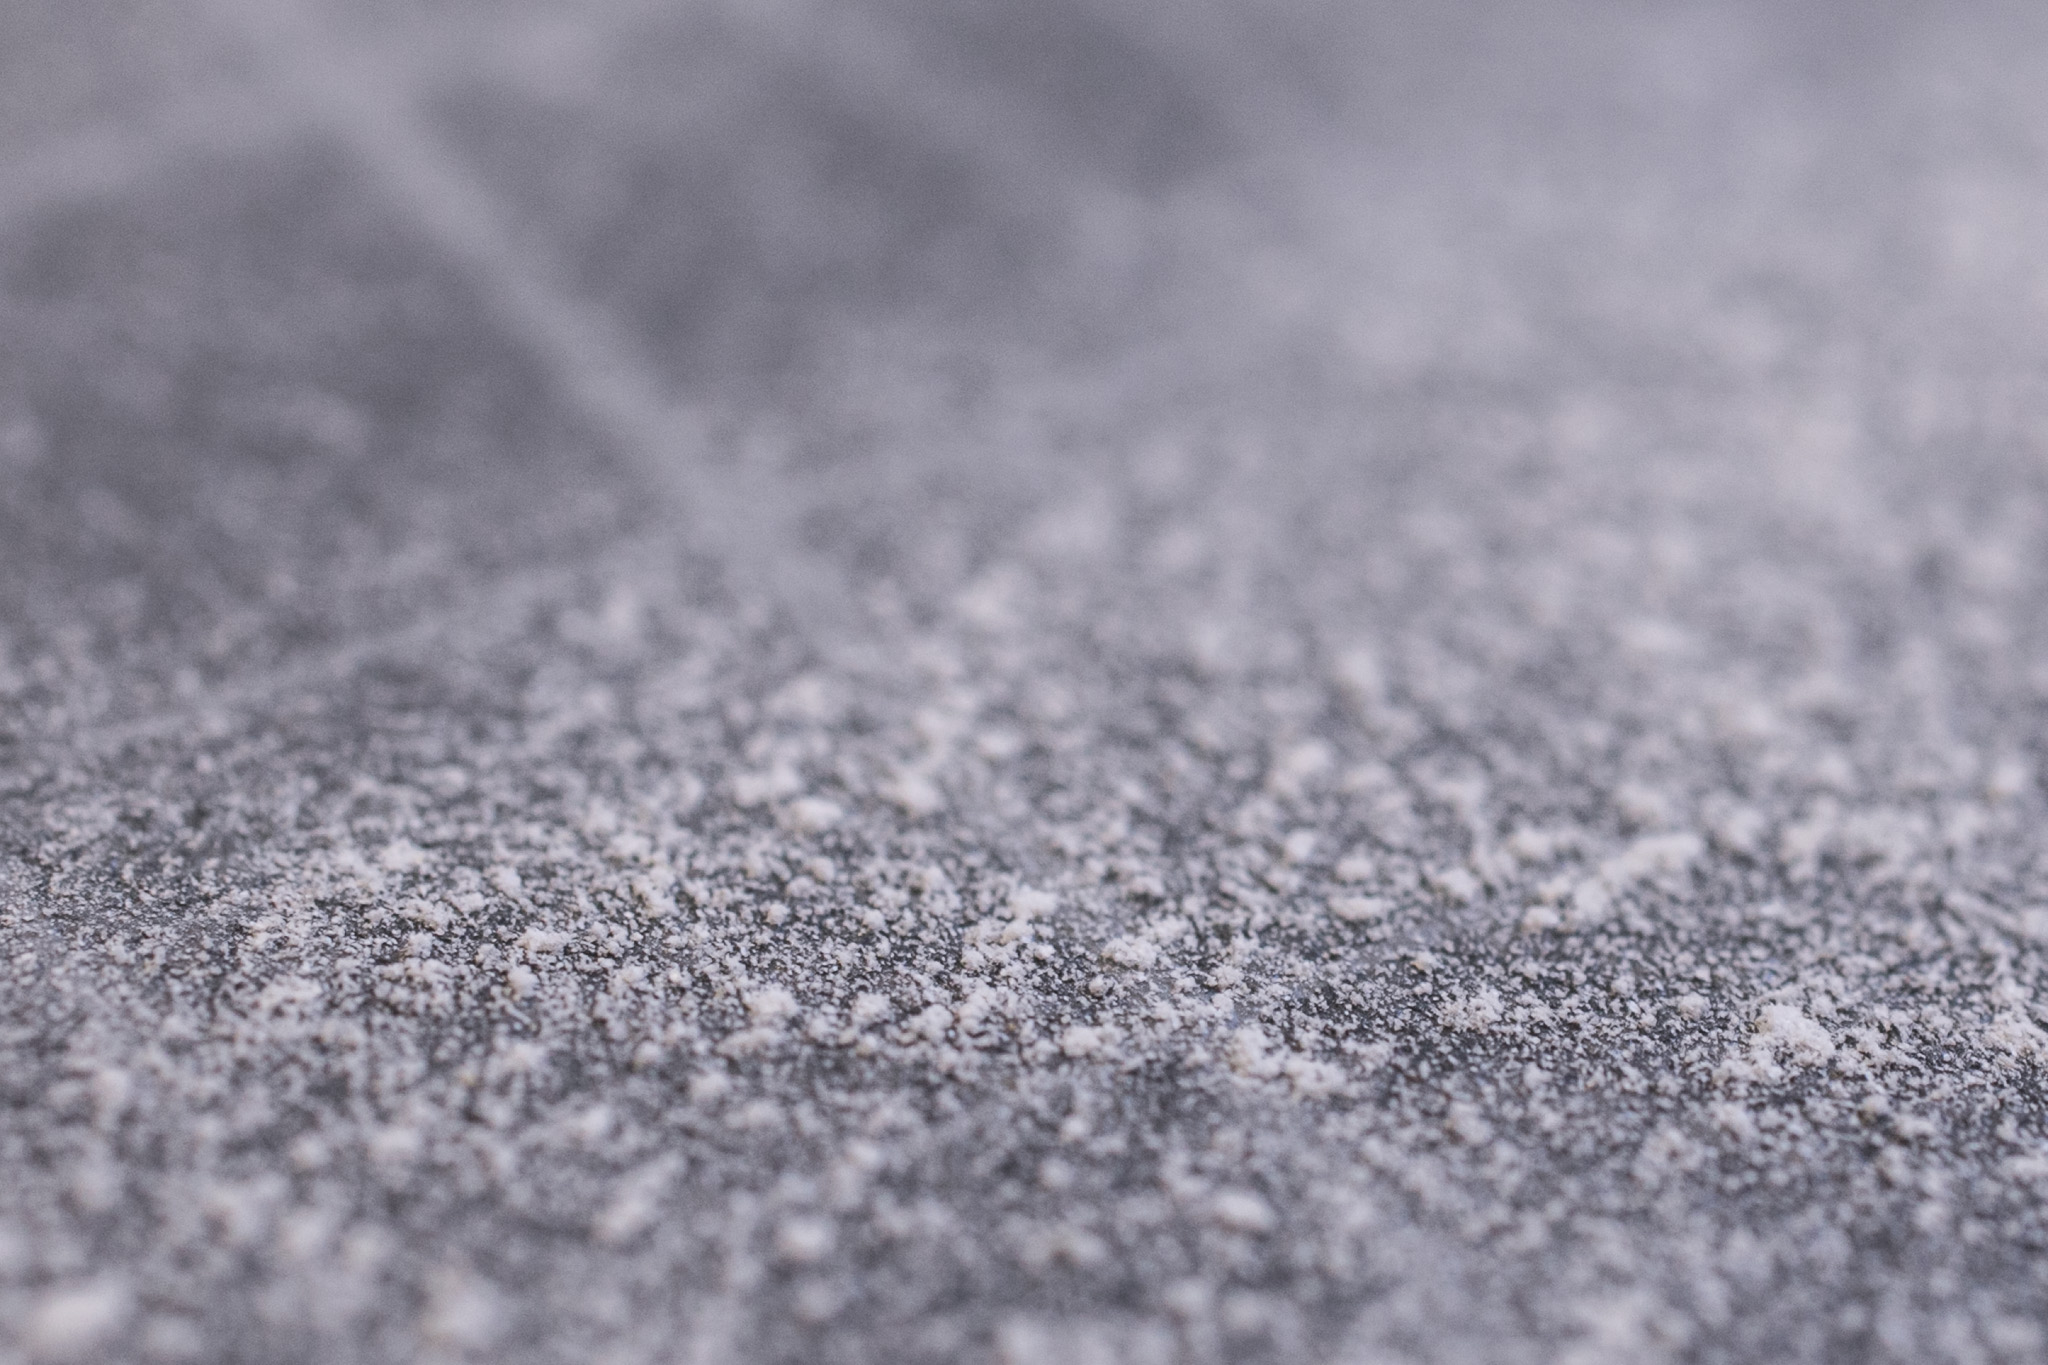
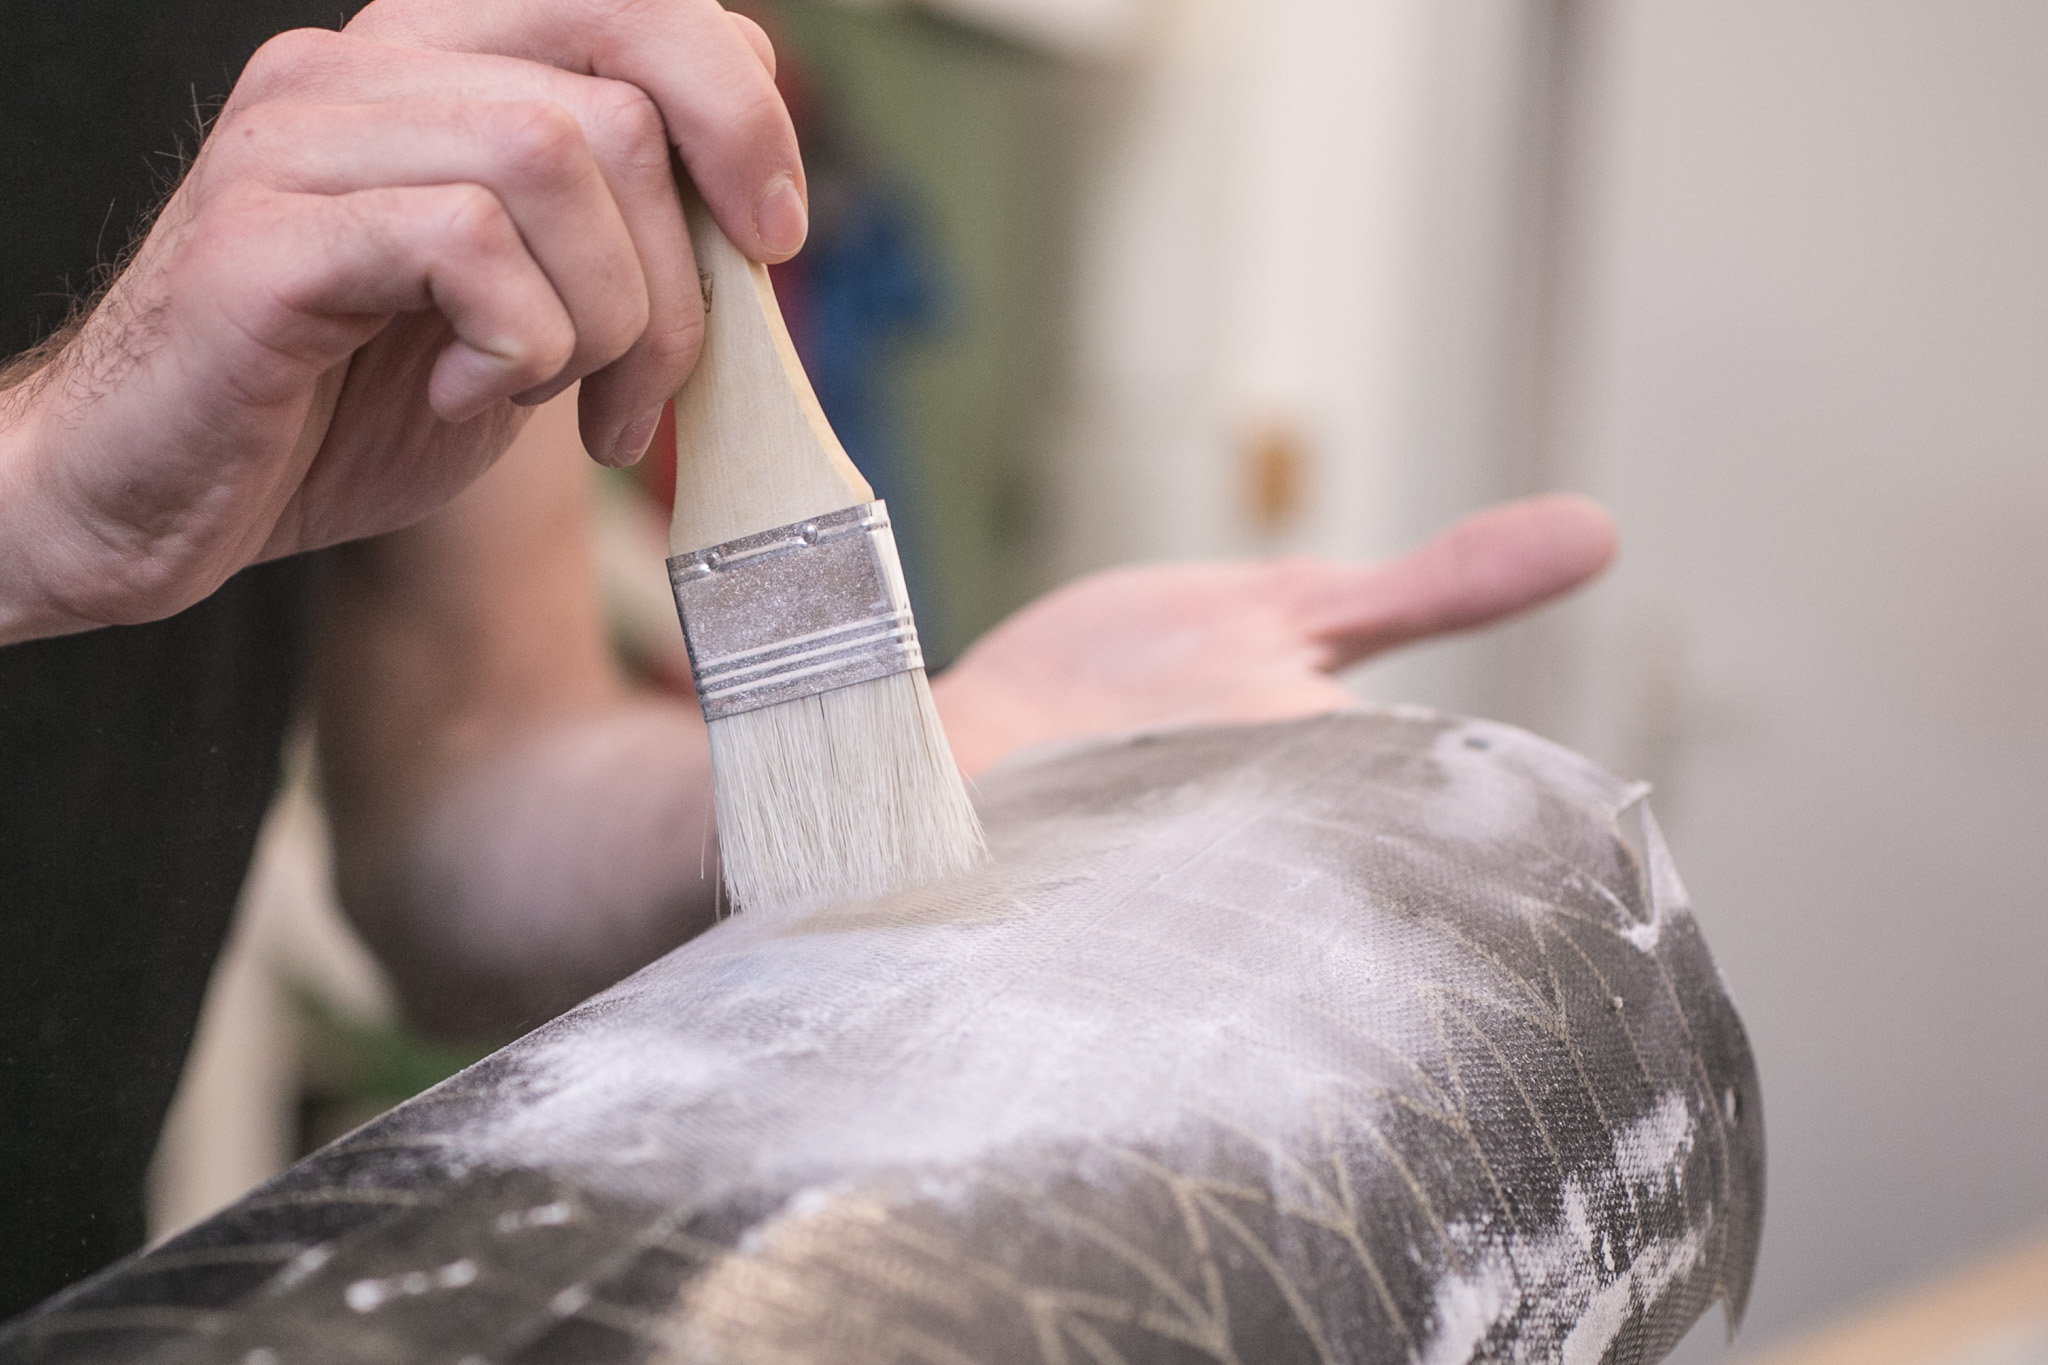 apply talcum evenly on surface
 Fold bellow
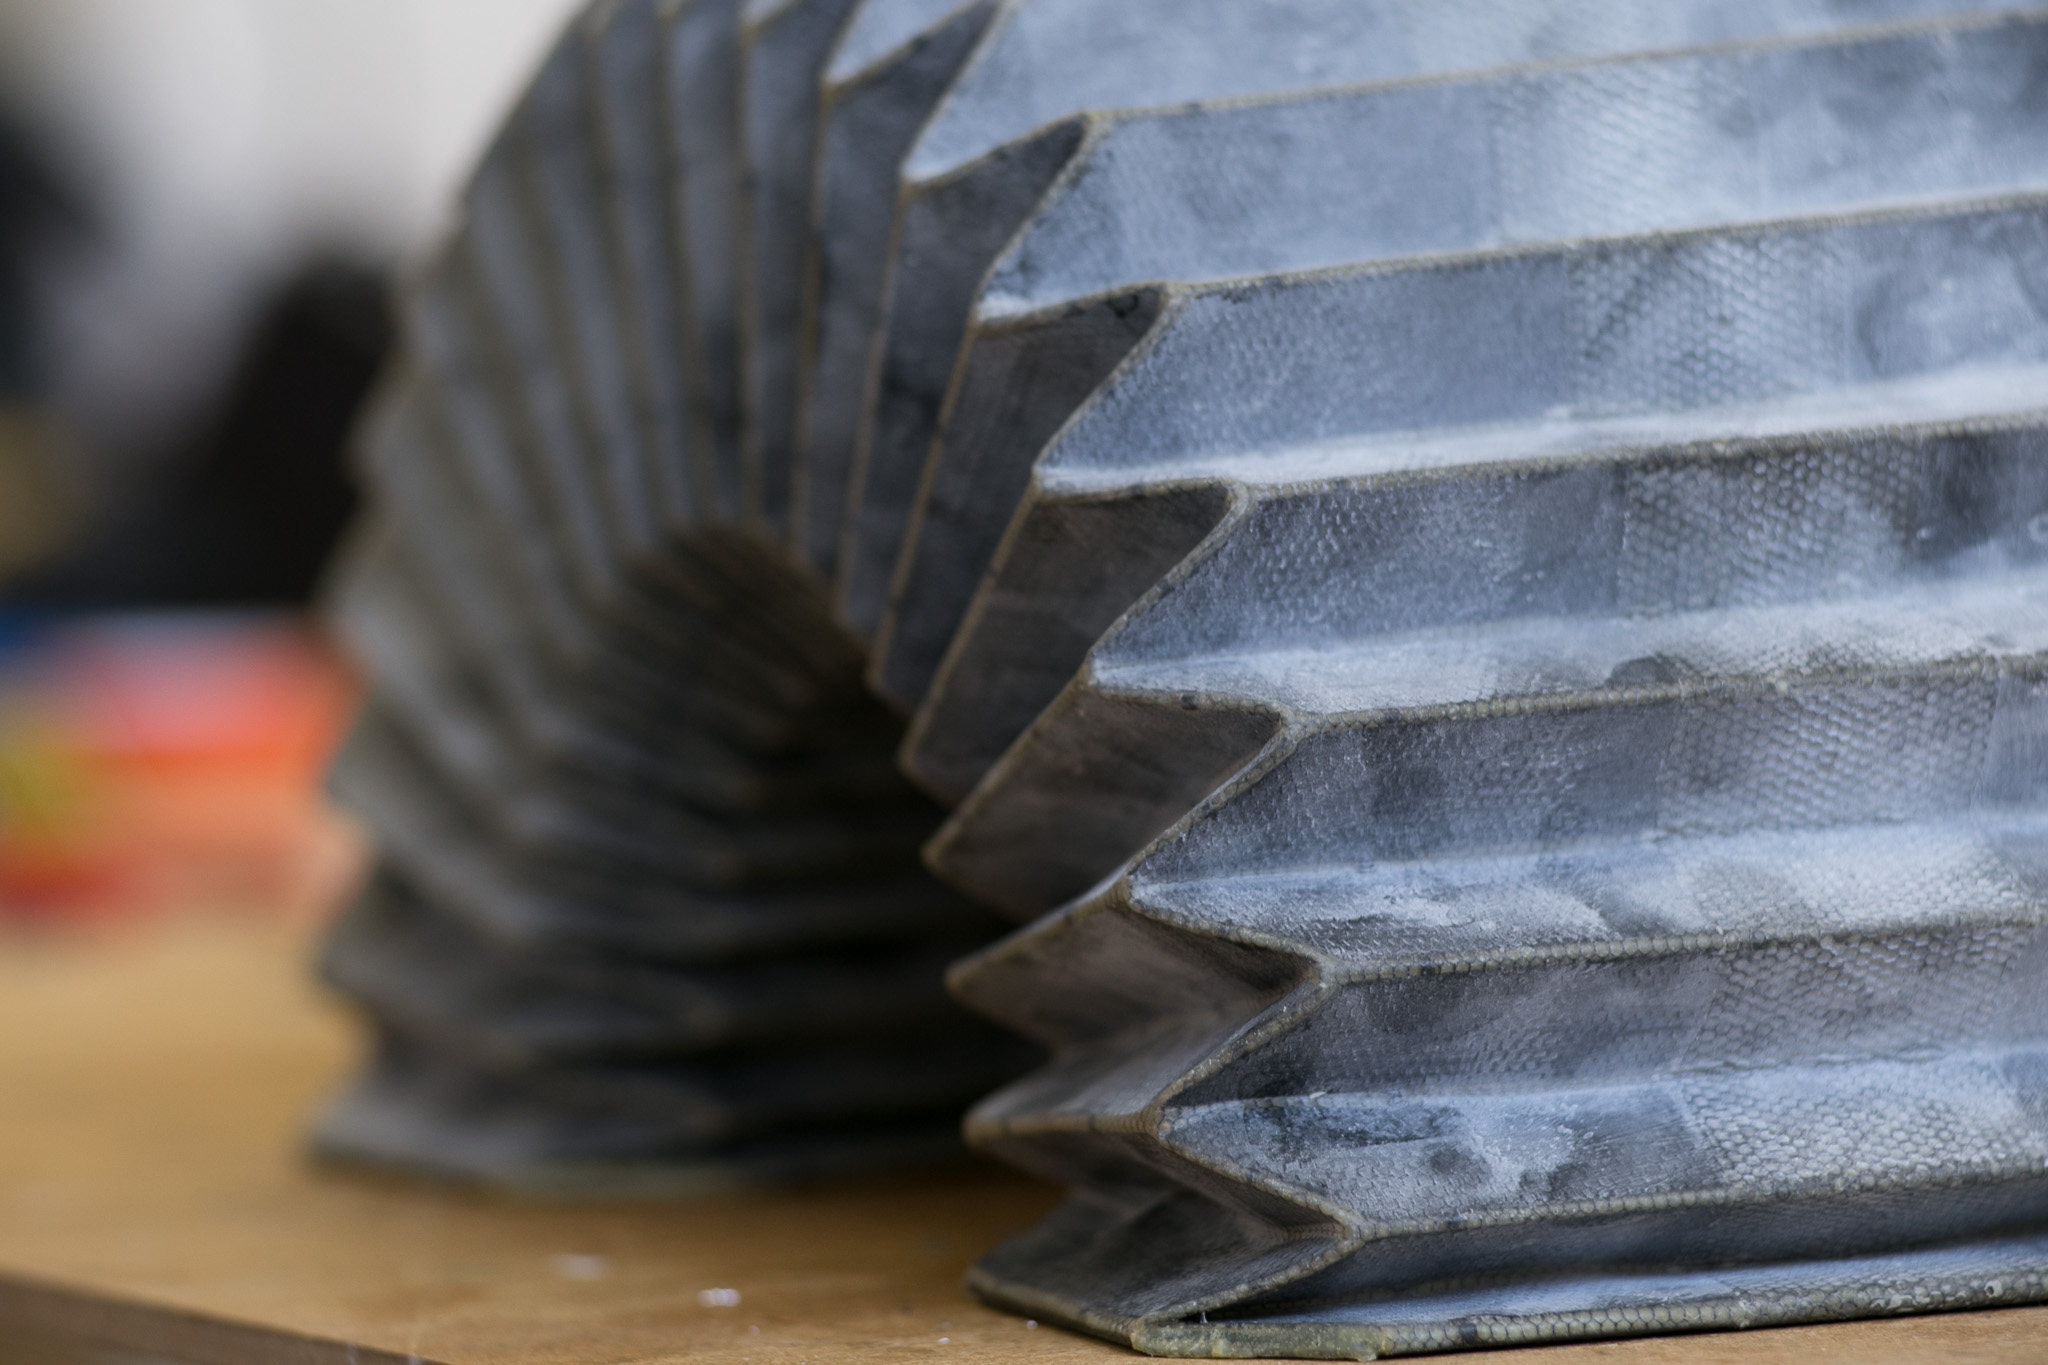
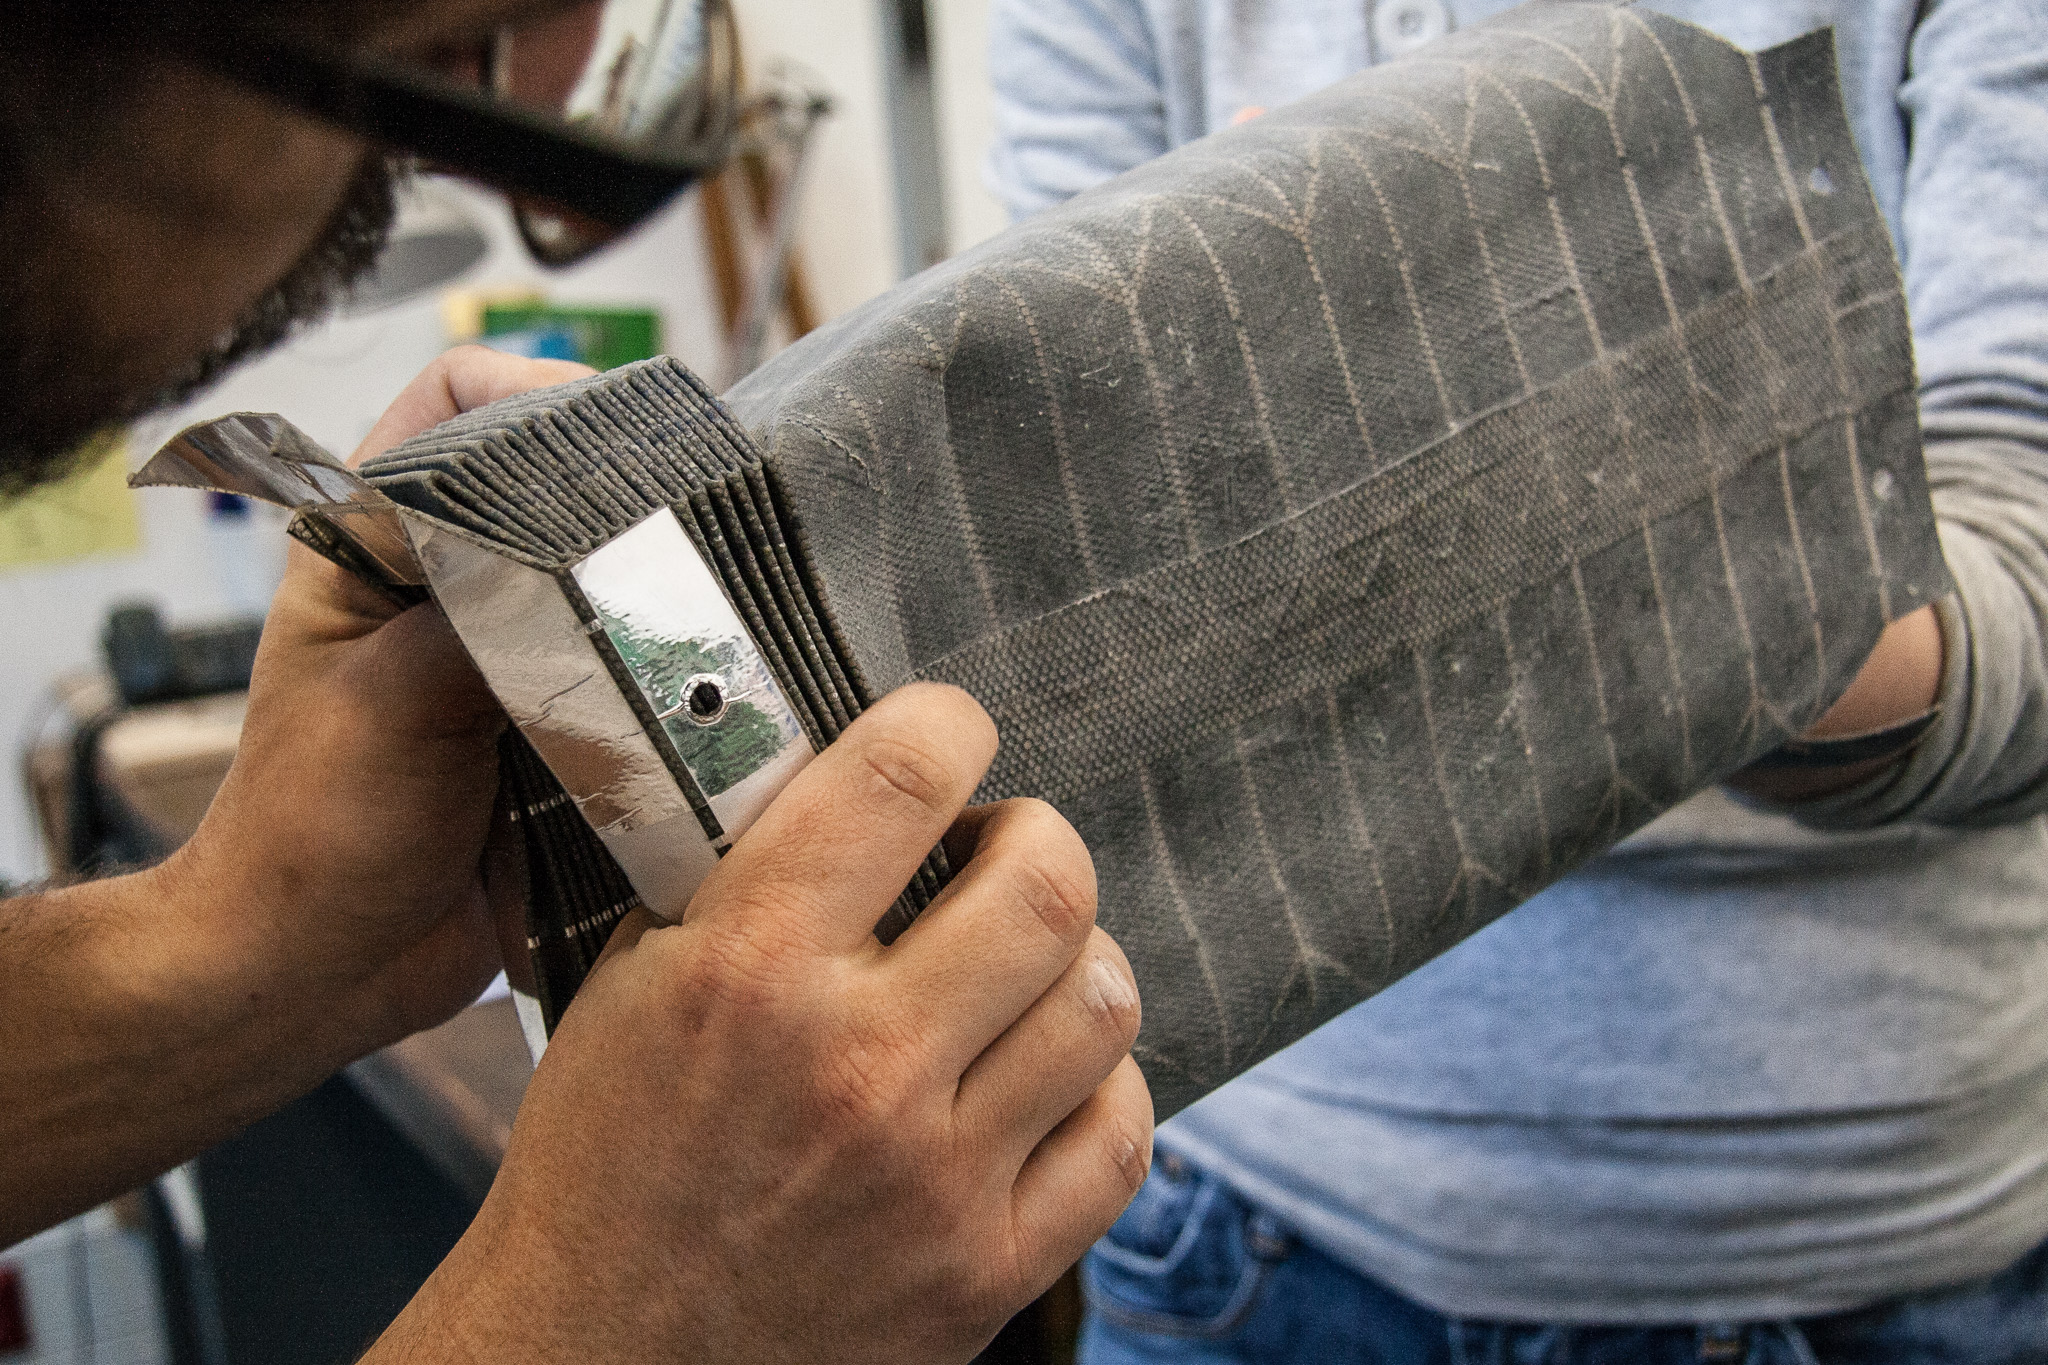
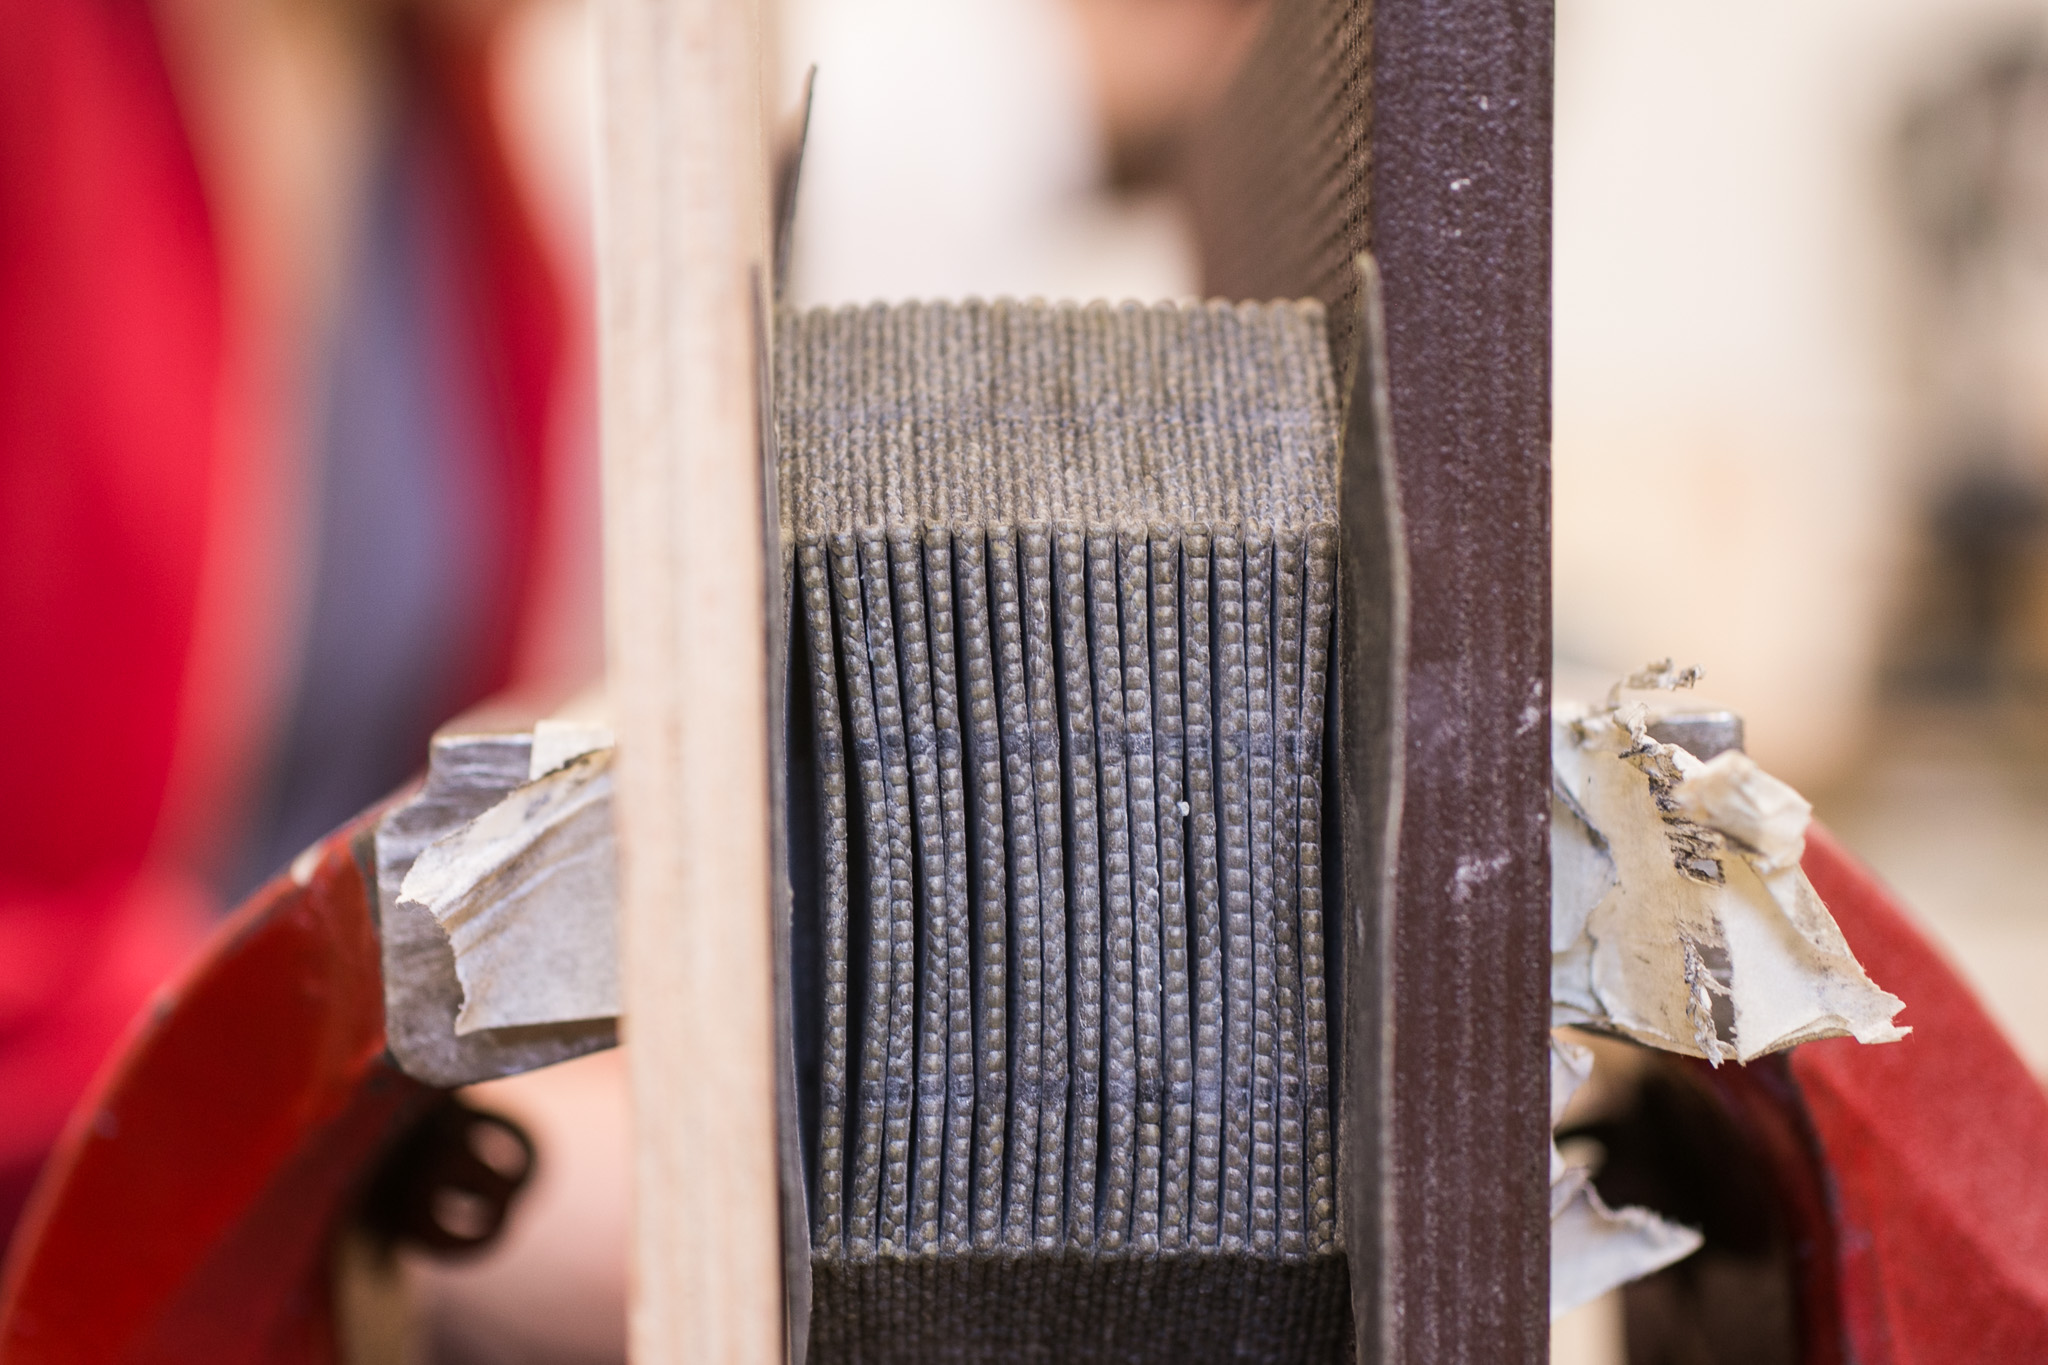
 Completely folded bellow
 Clamp the bellow over night so it will stay in folded position. It it not necessary to apply a lot of pressure. Just that it is stable.
Glueing
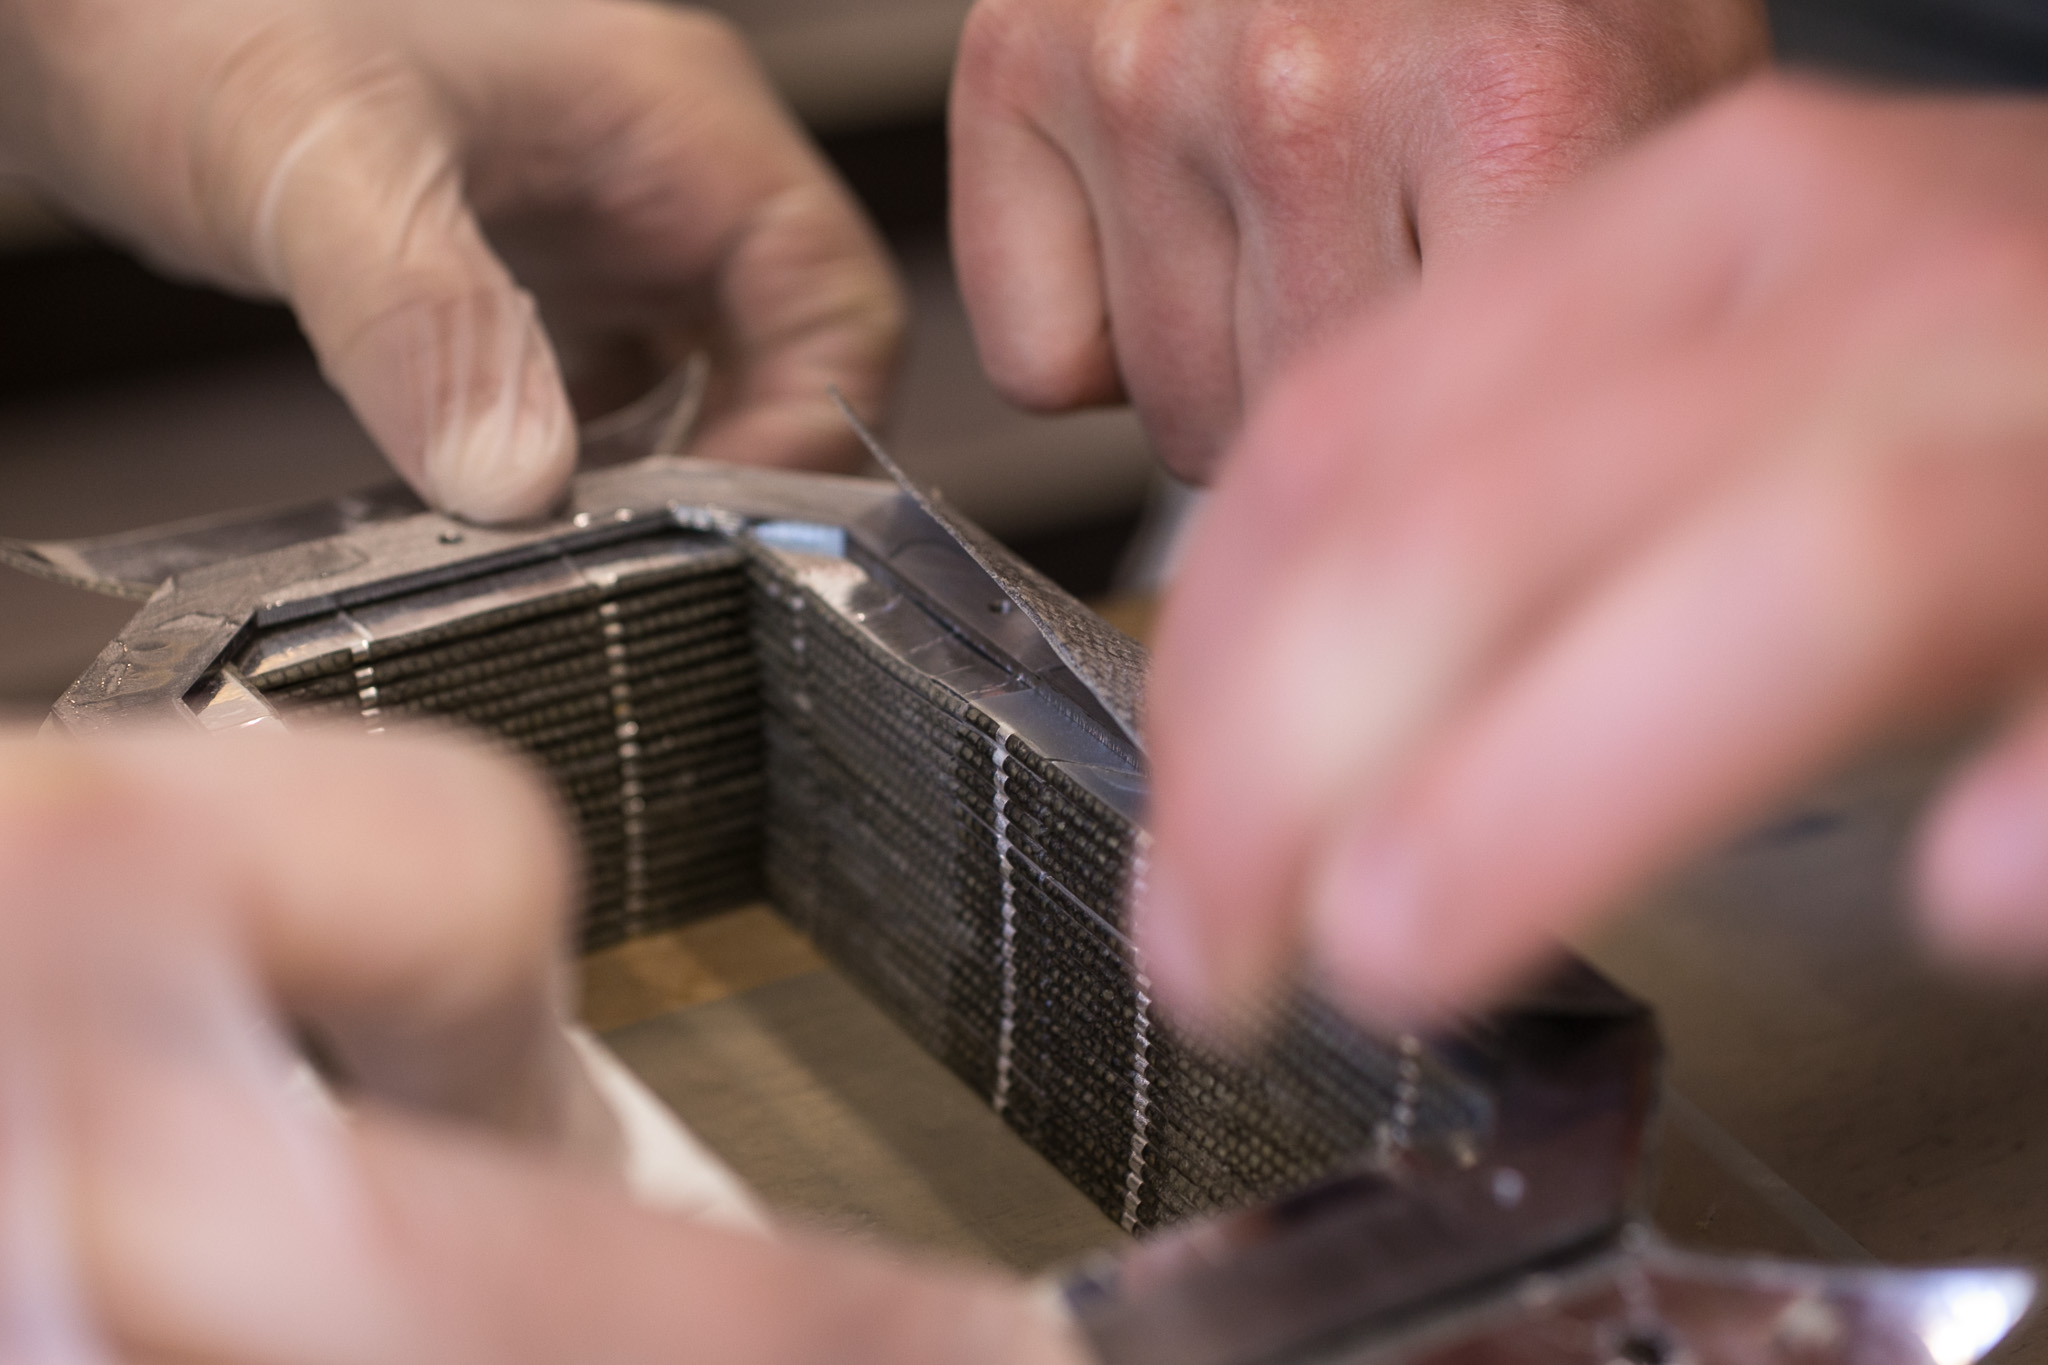
While glueing in the metal frames at each end of the bellow work with another person. before glueing make sure metal parts are fat and dust free. Glue one frame at a time since the epoxy hardens quiet fast!
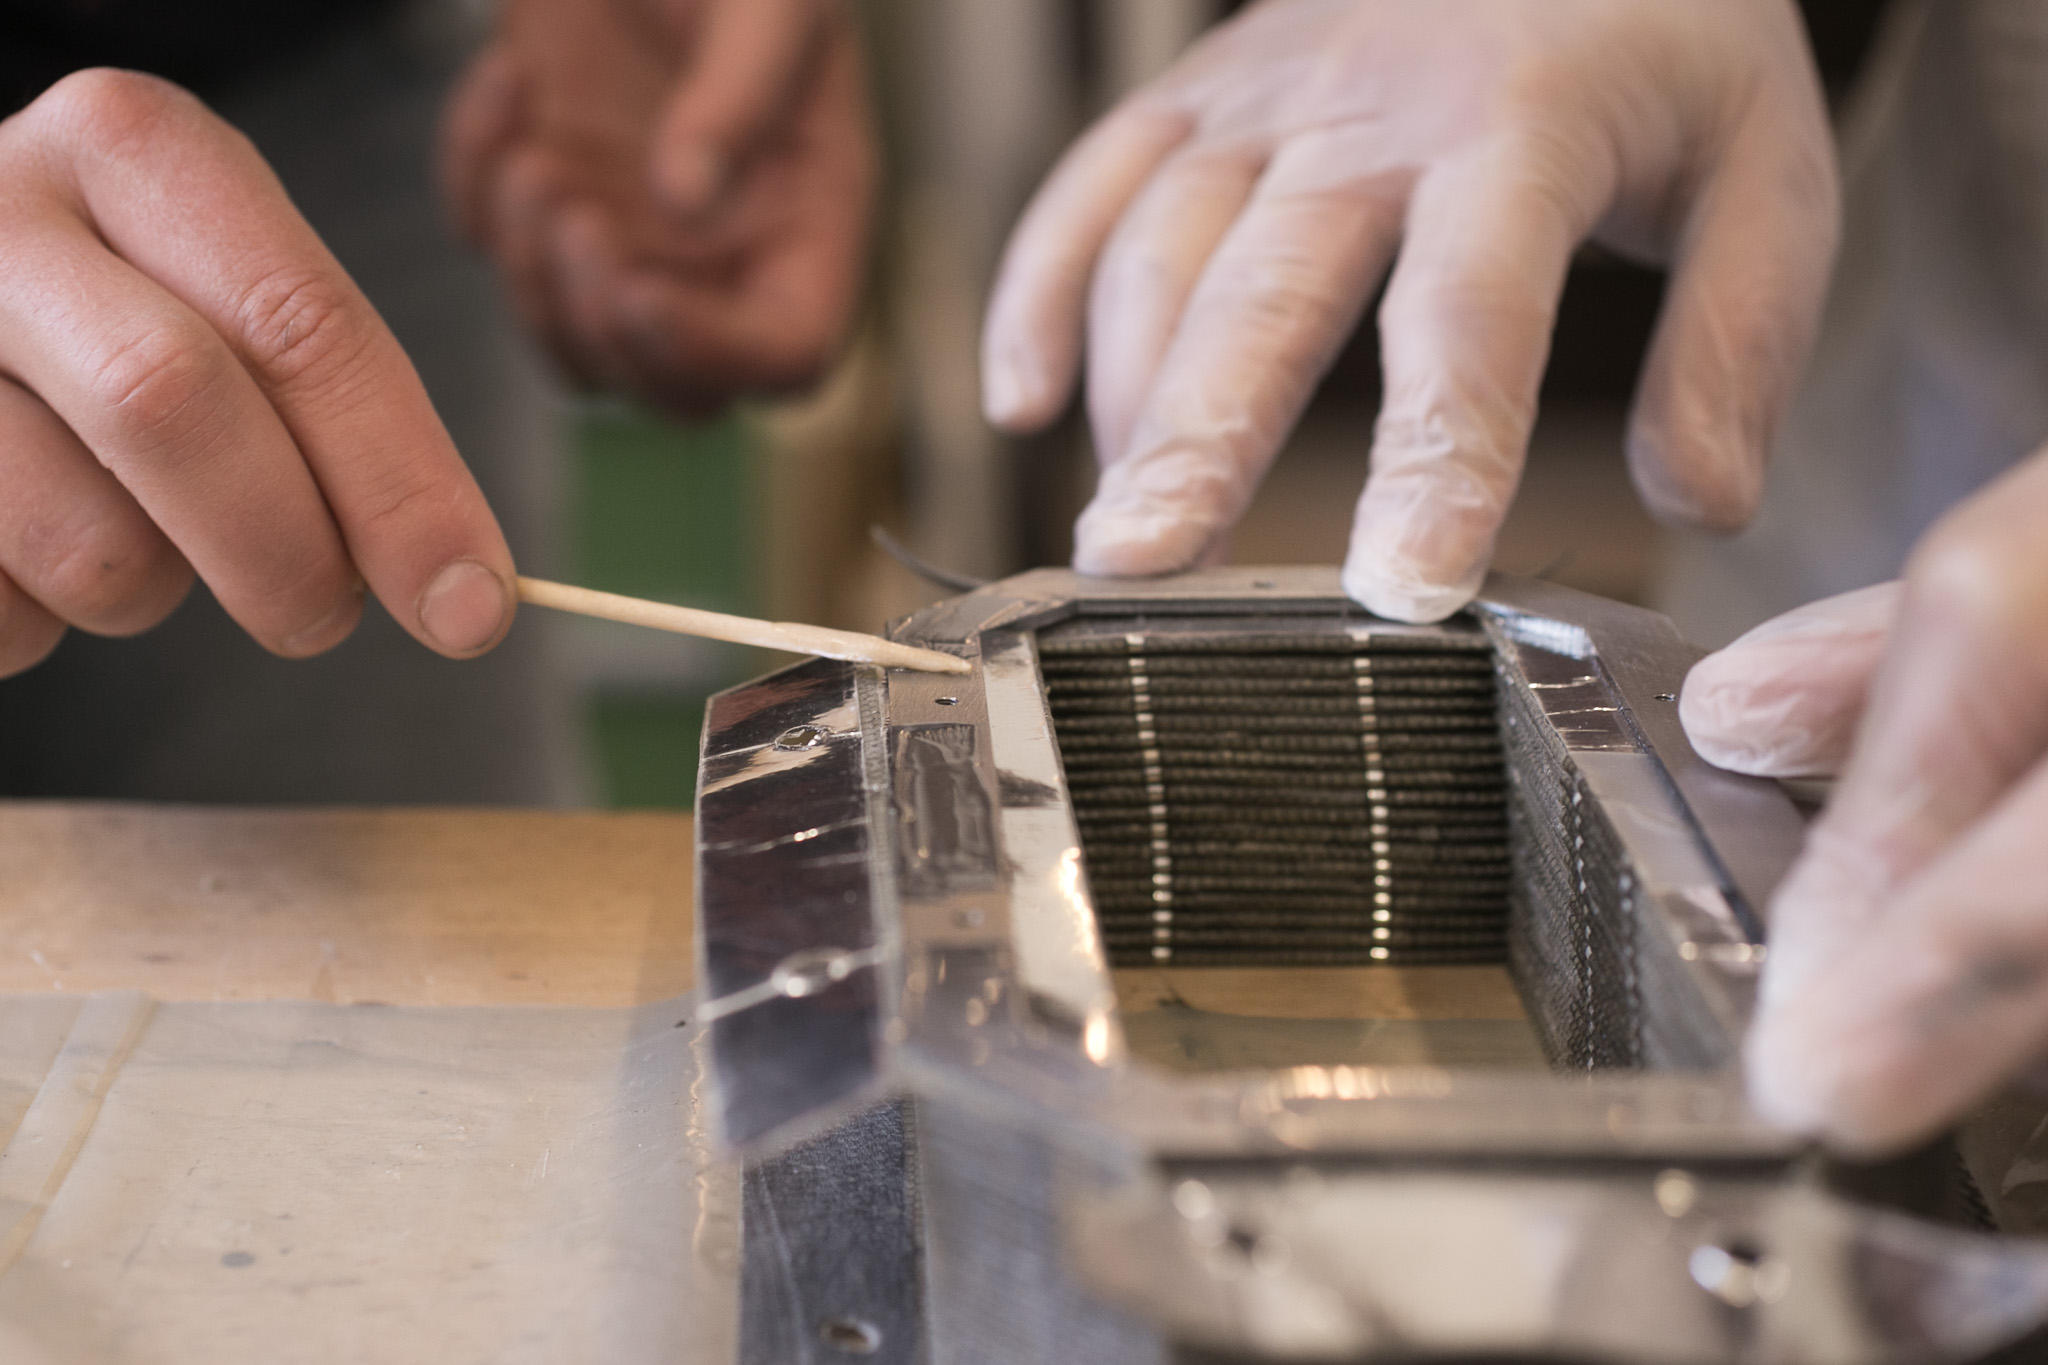 Put metal frame inside the last fold of the bellow, make sure that the holes are in the same positions as in the bellow and apply a thin layer of epoxy in between the holes. Leave 1 cm space between holes and epoxy to make sure that no glue will go into the female screw thread.
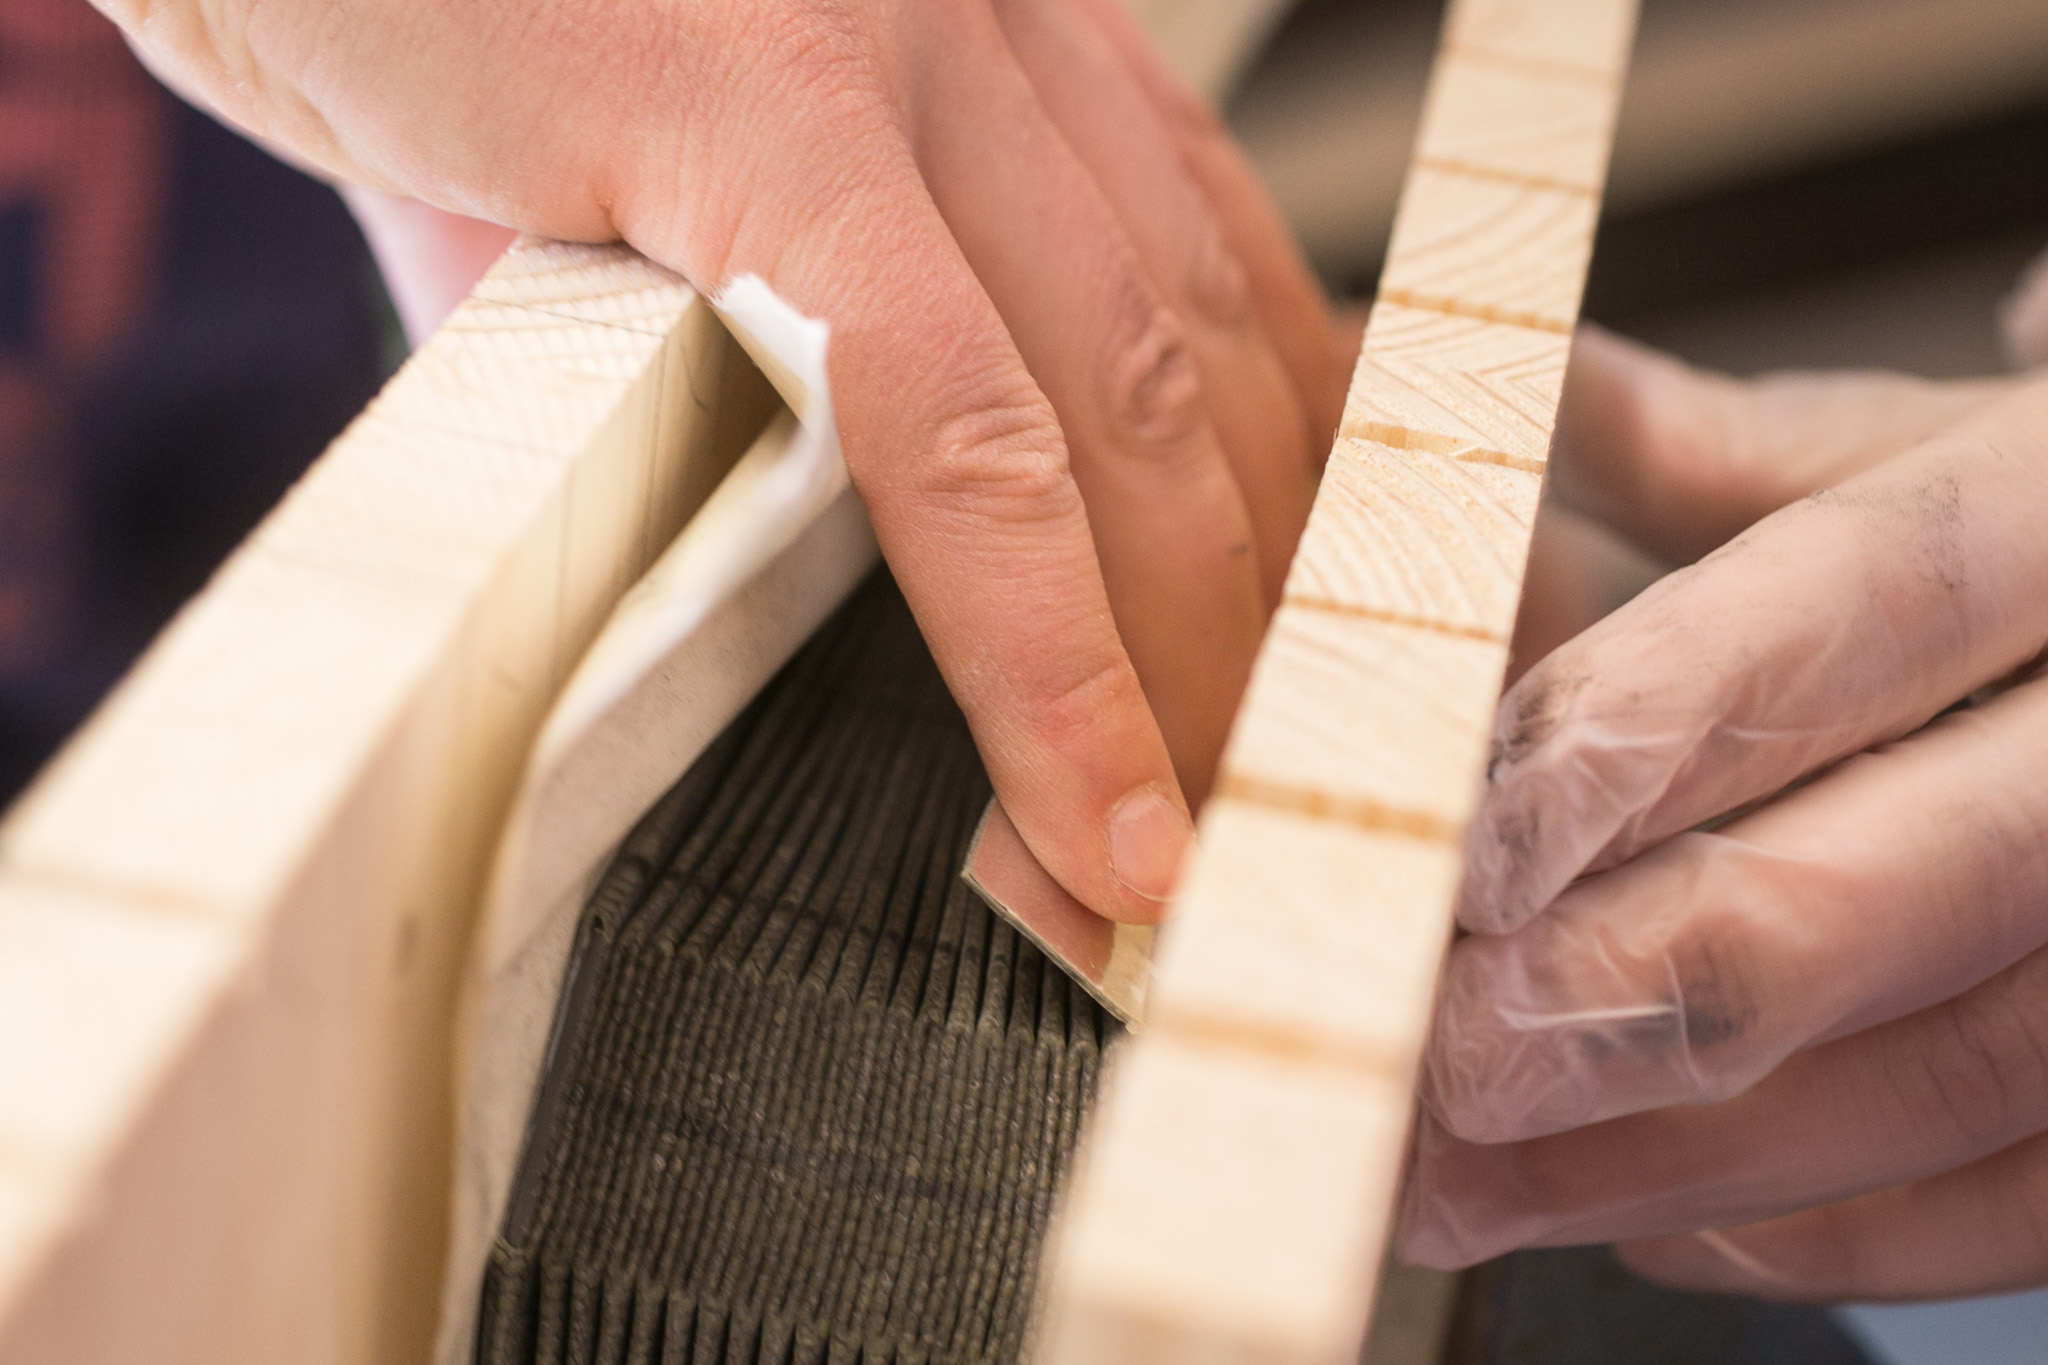
 Fold the end of the bellow around the metal.
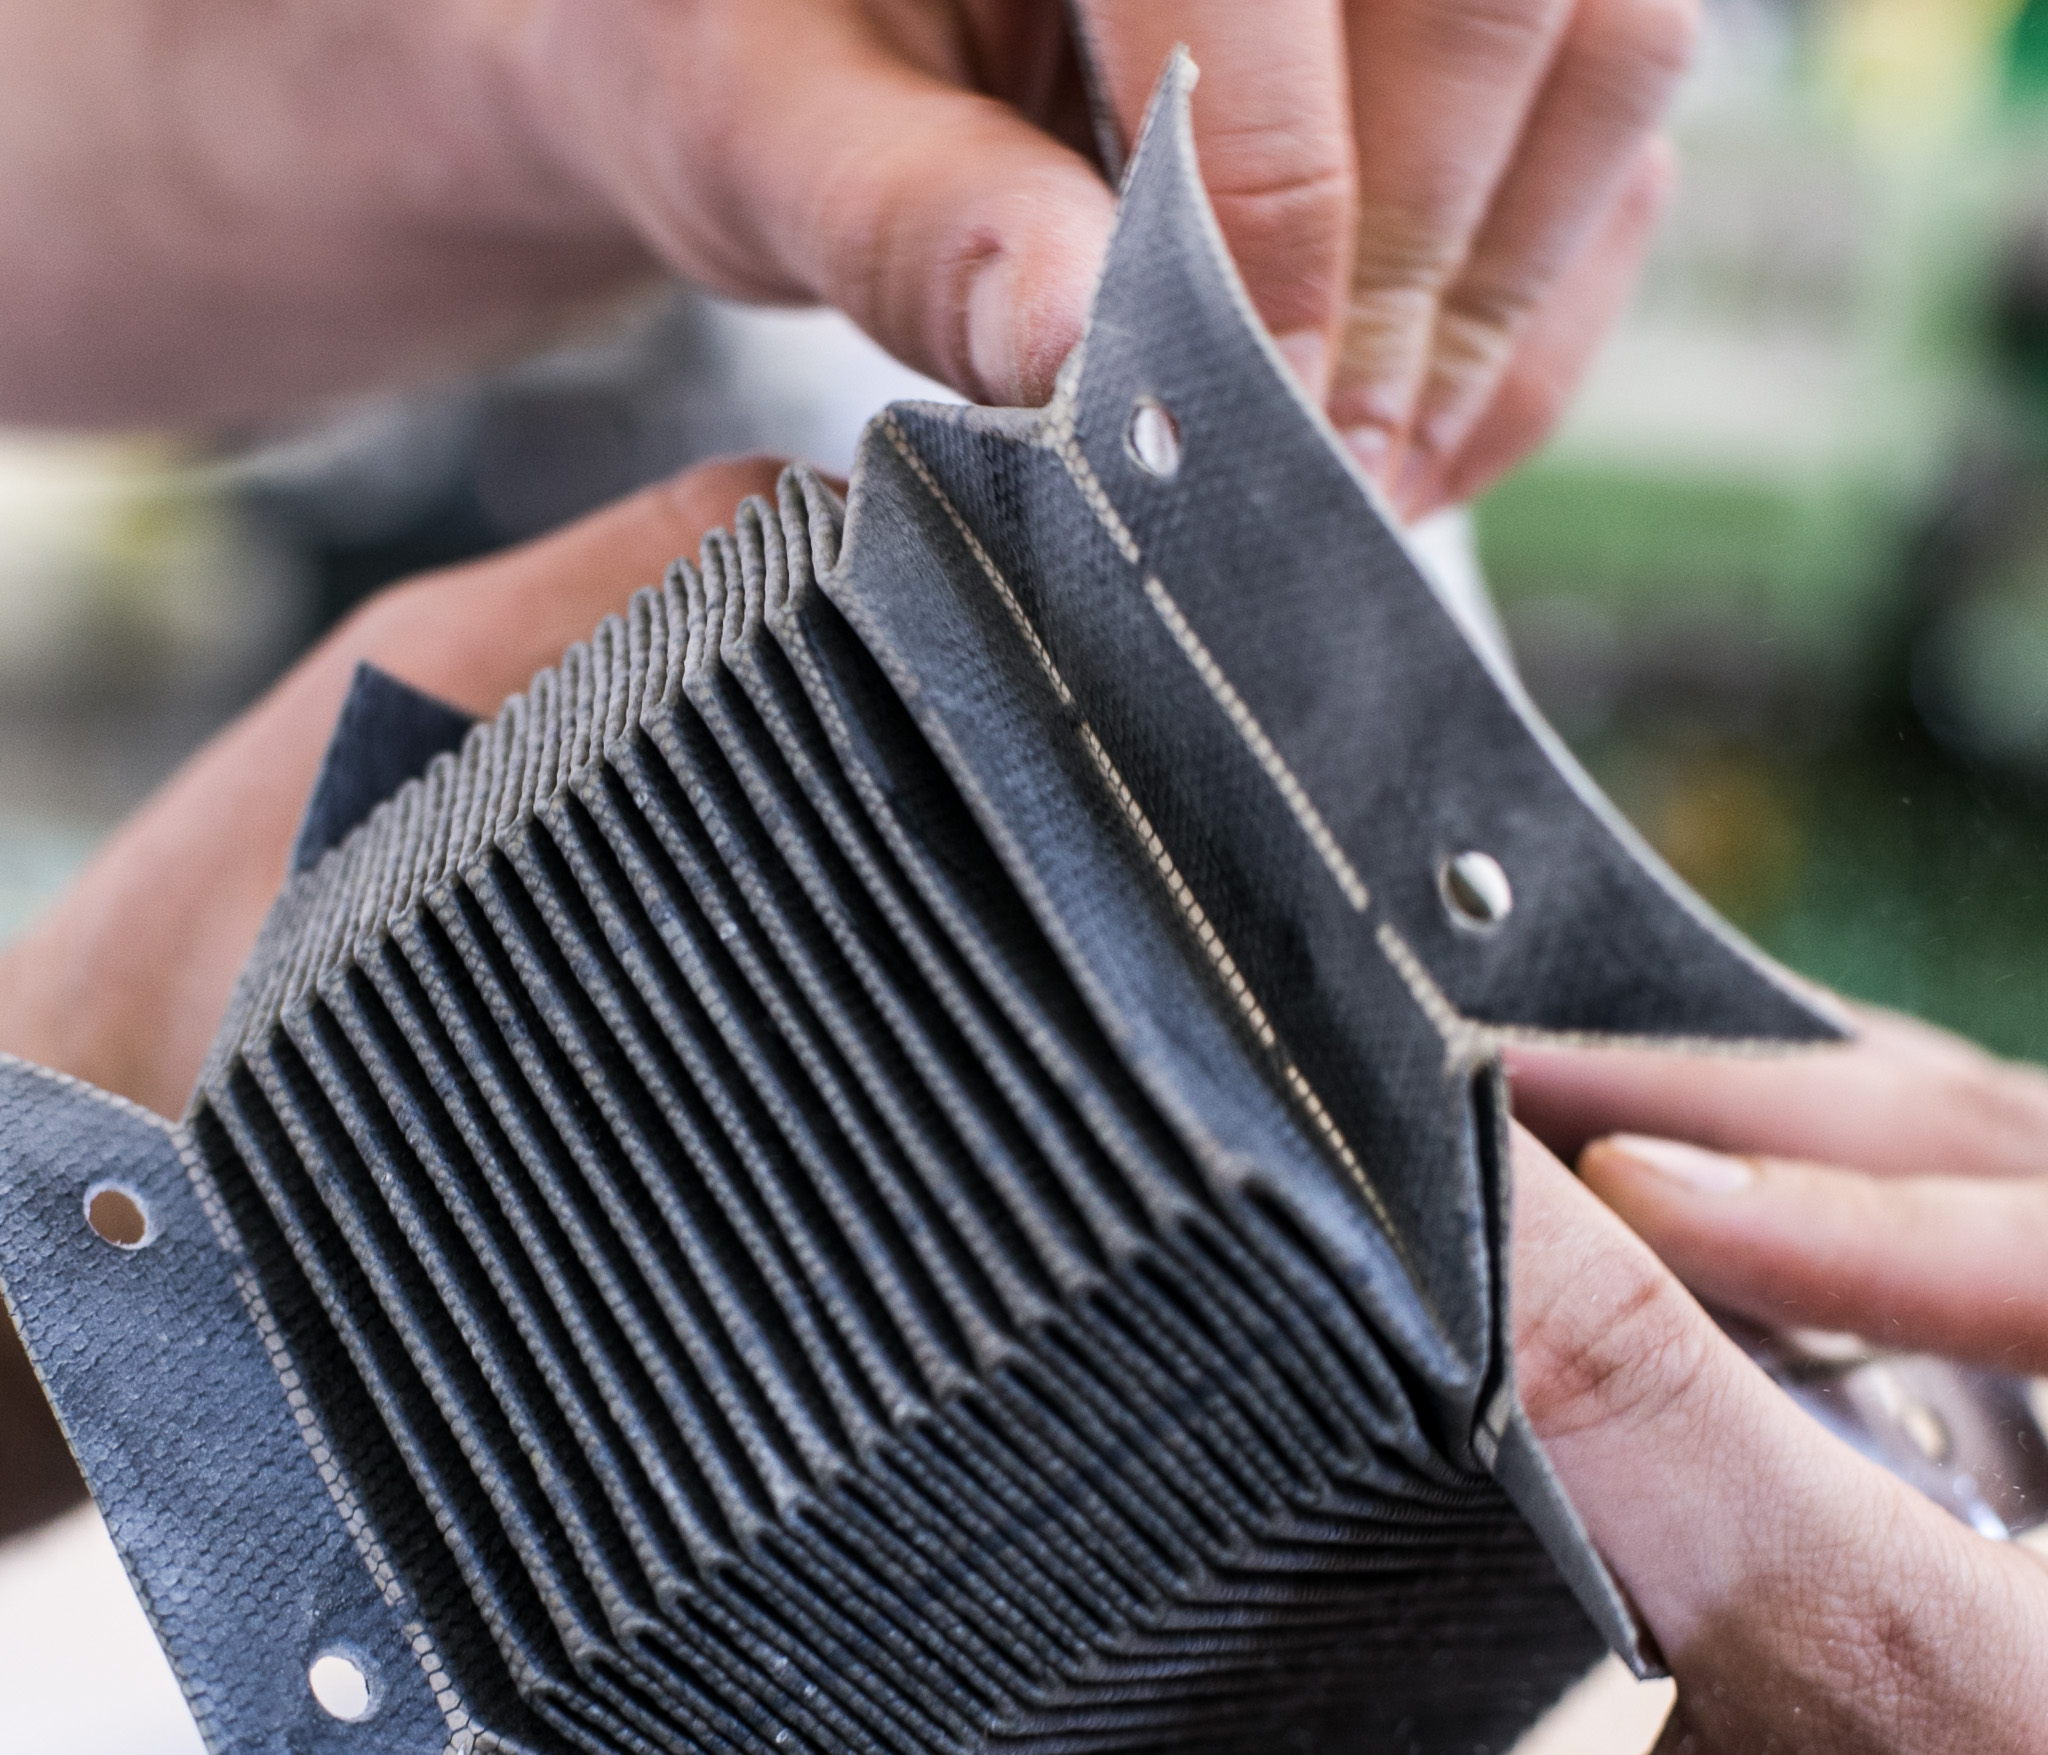
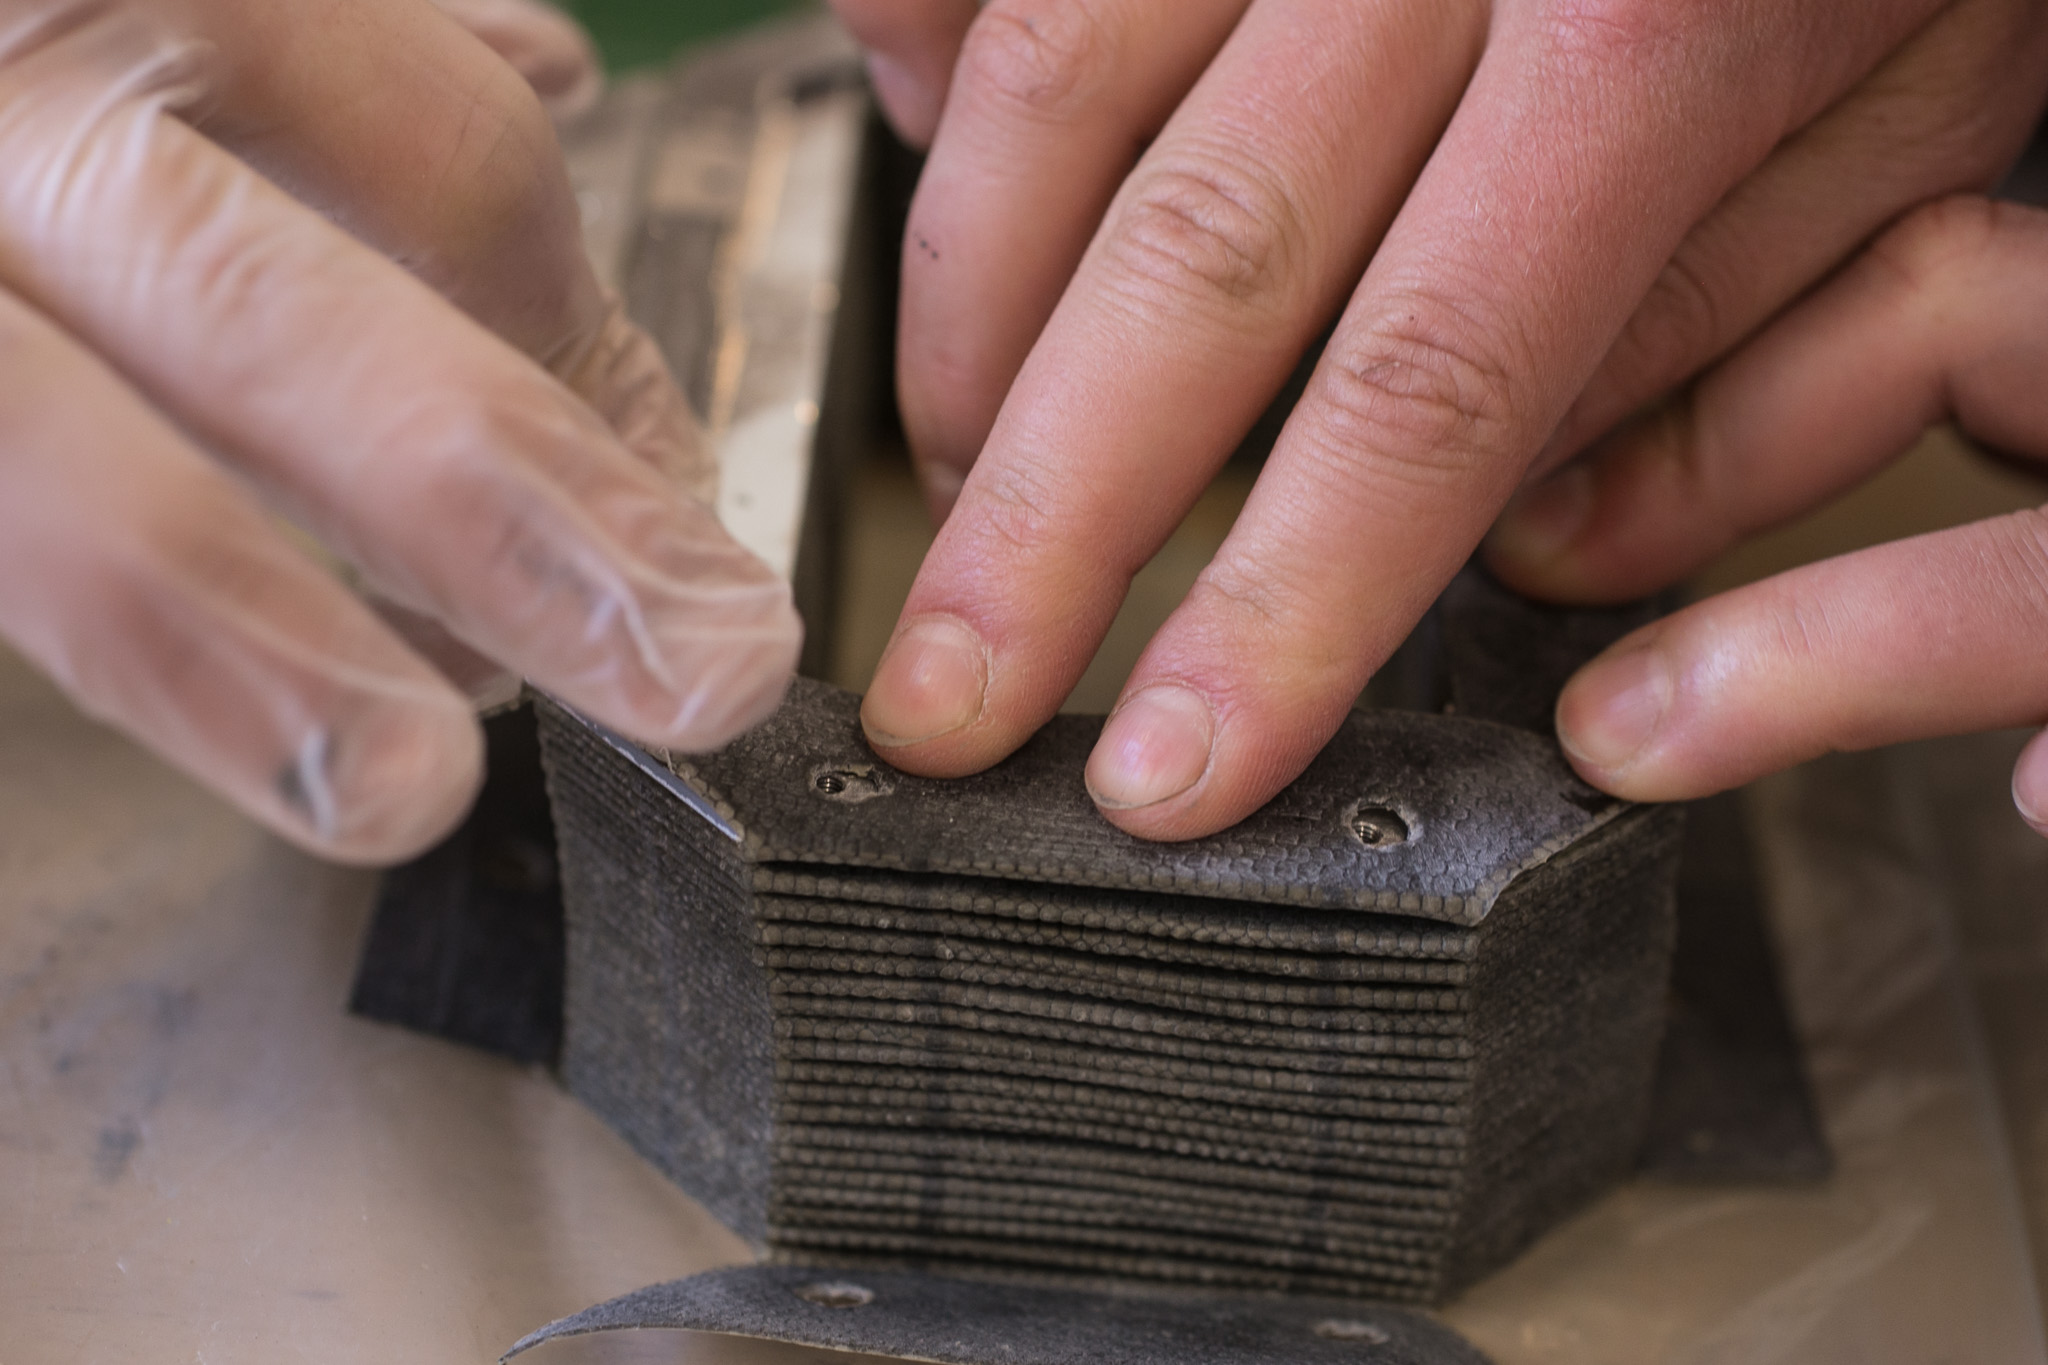 take care that holes of metal frames and below are aligned.
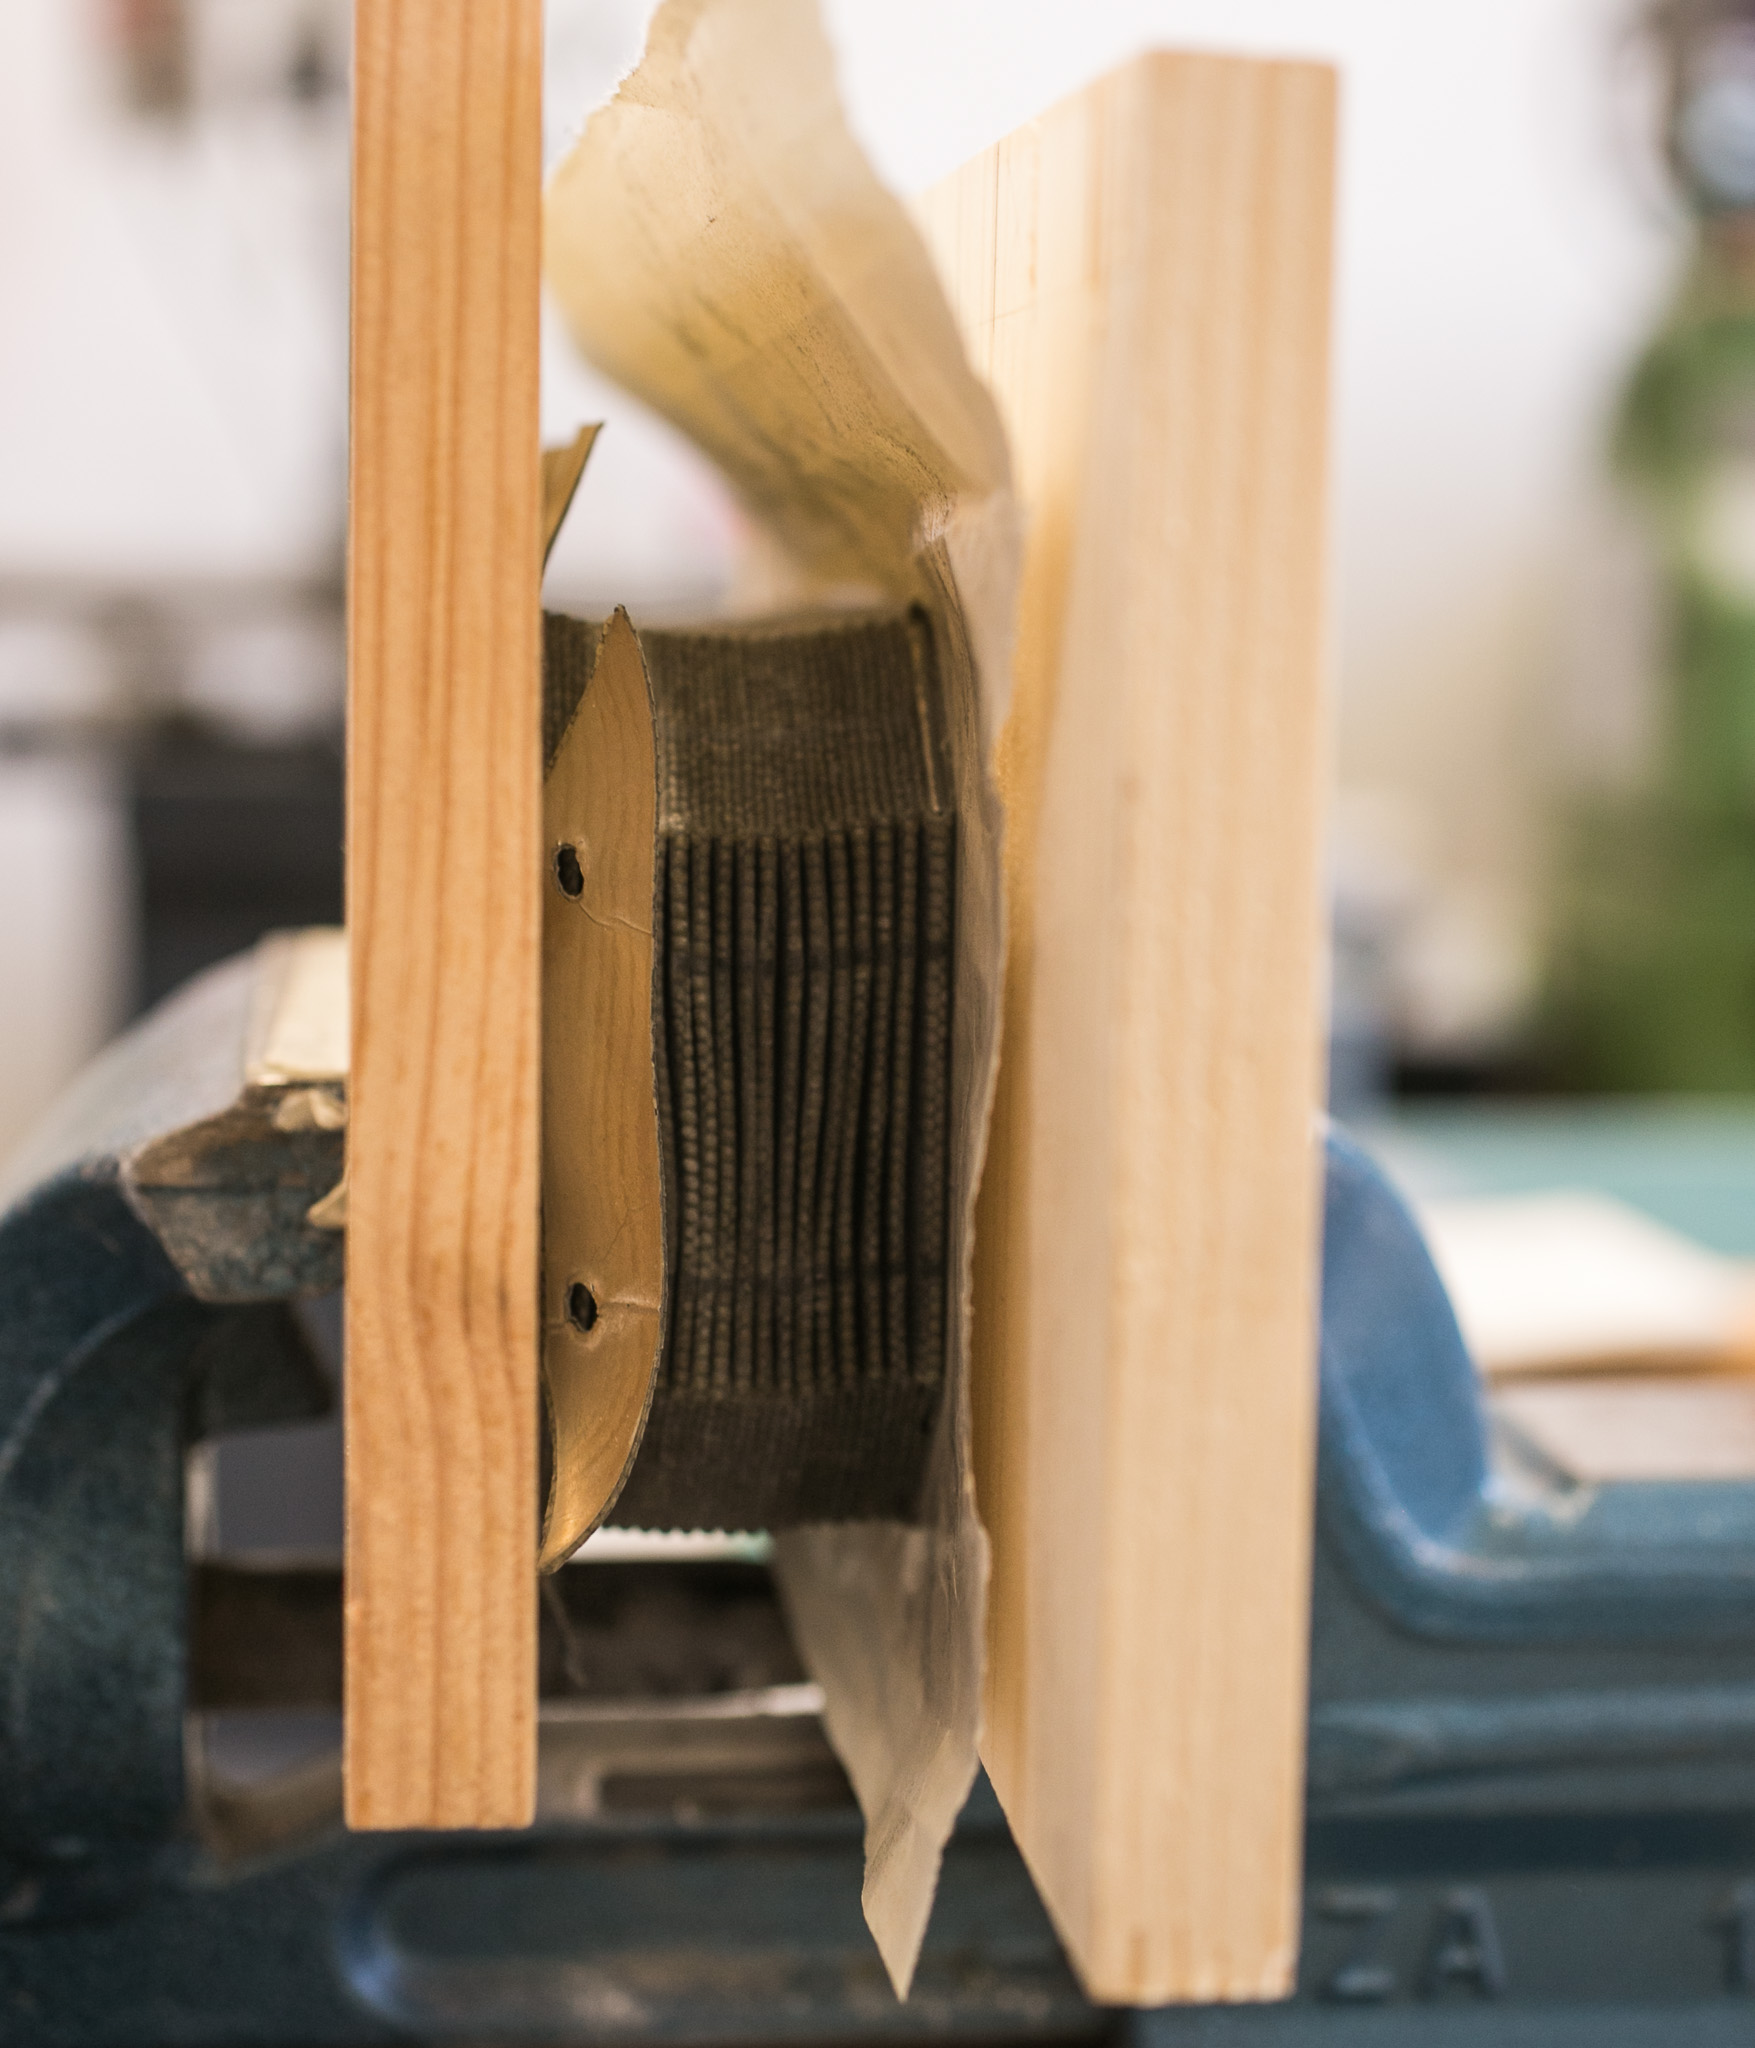
 Clamp bellow, not to apply a lot of pressure, rather to stabilise the last foldings of the bellow
 let it sit until epoxy is hardened
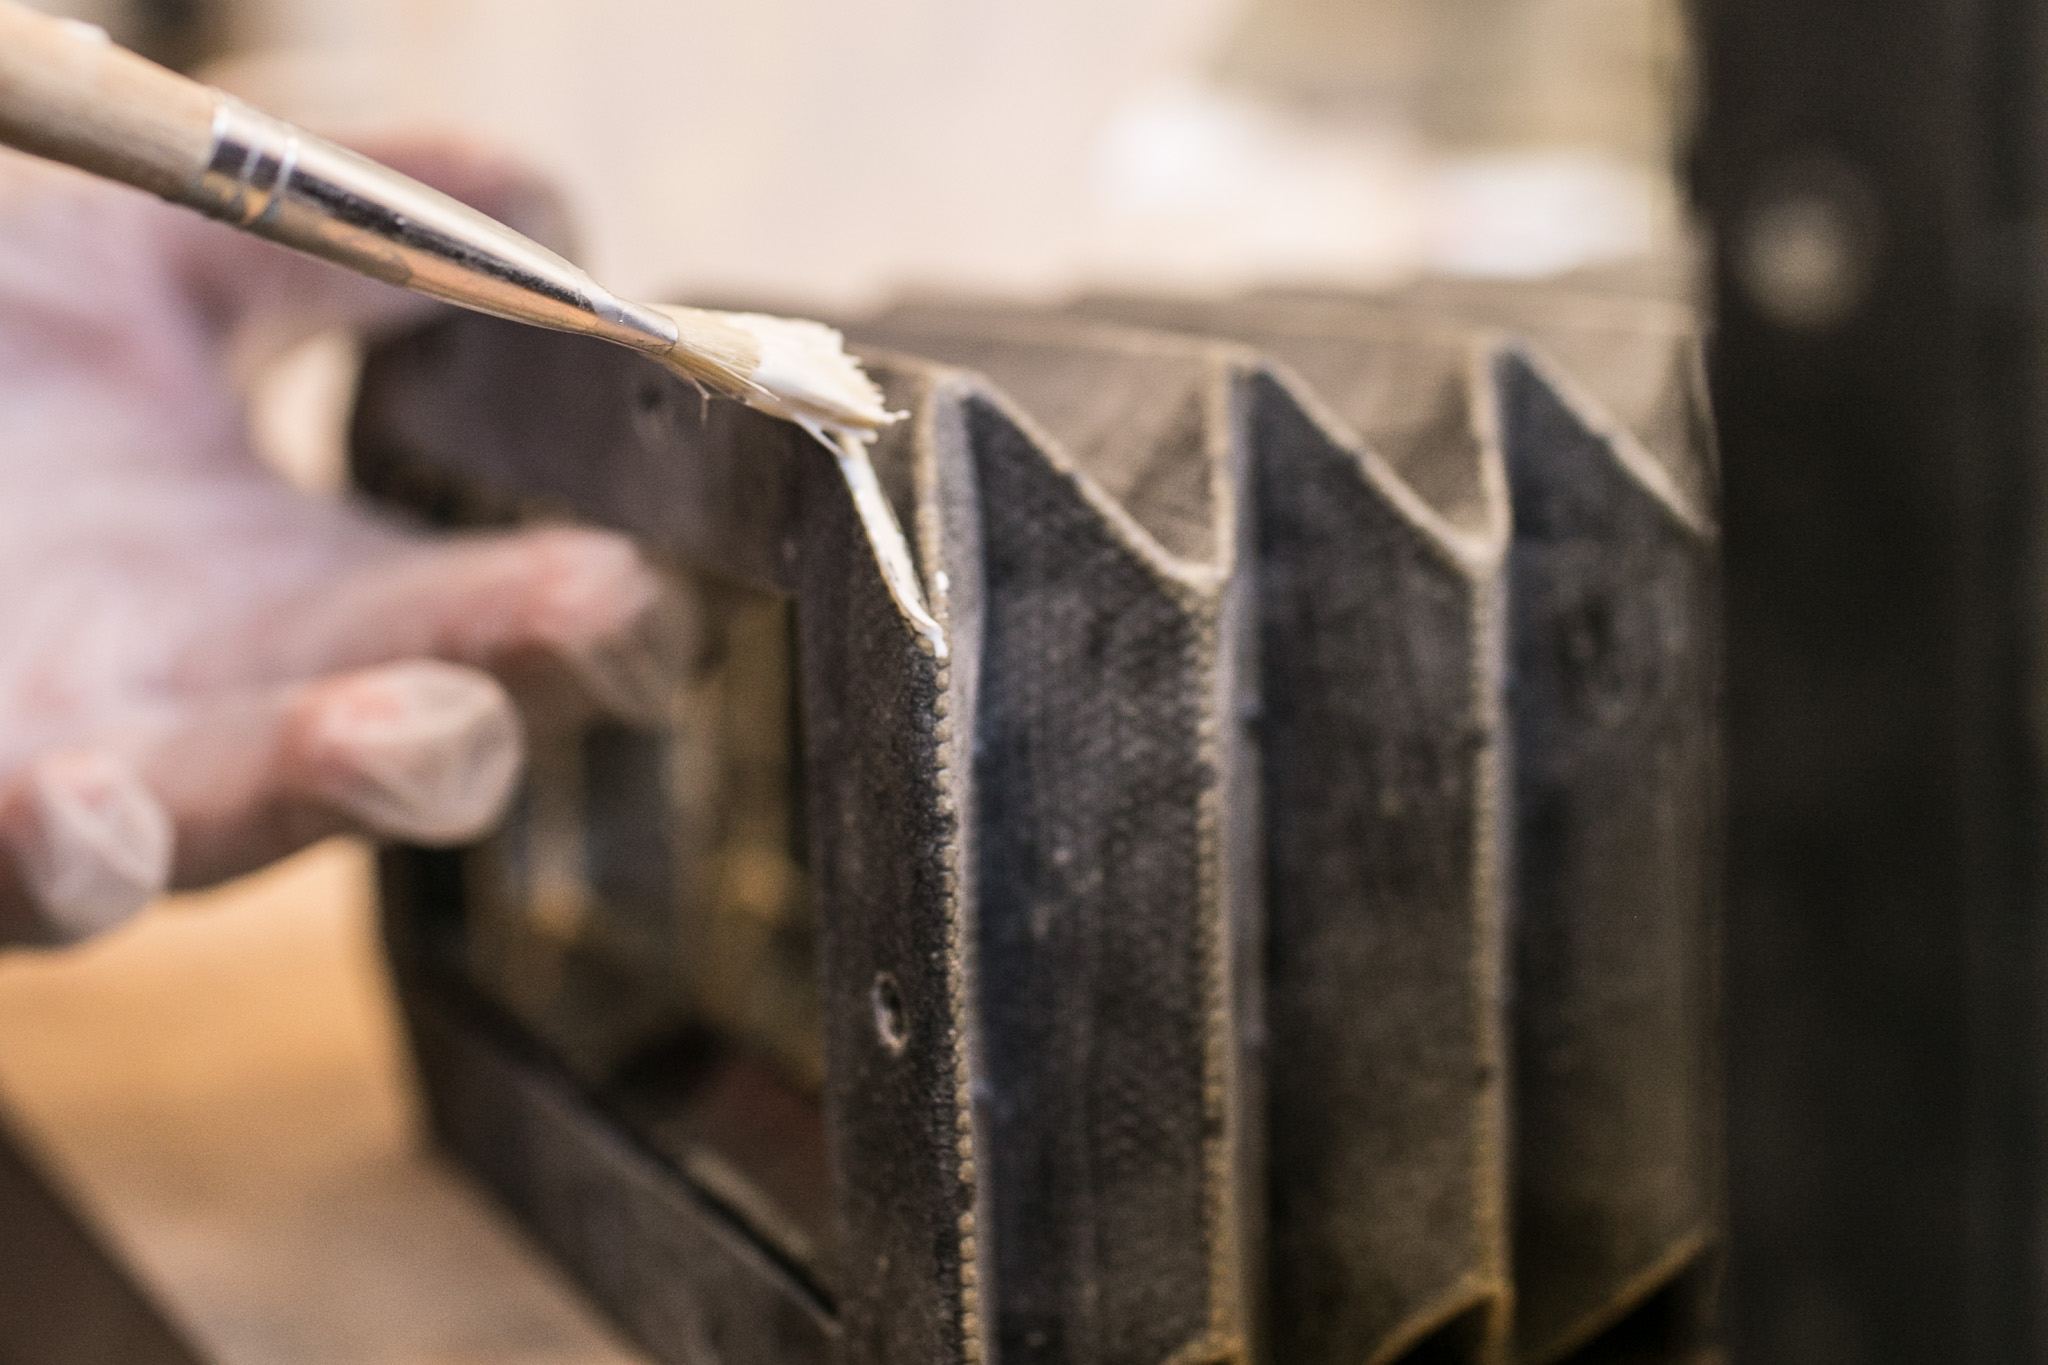 apply latex on the naked metal edges at each end of the bellow
 done!
done!