Material
 The soldered preamp will be attached to the bellow.
### End result
The soldered preamp will be attached to the bellow.
### End result
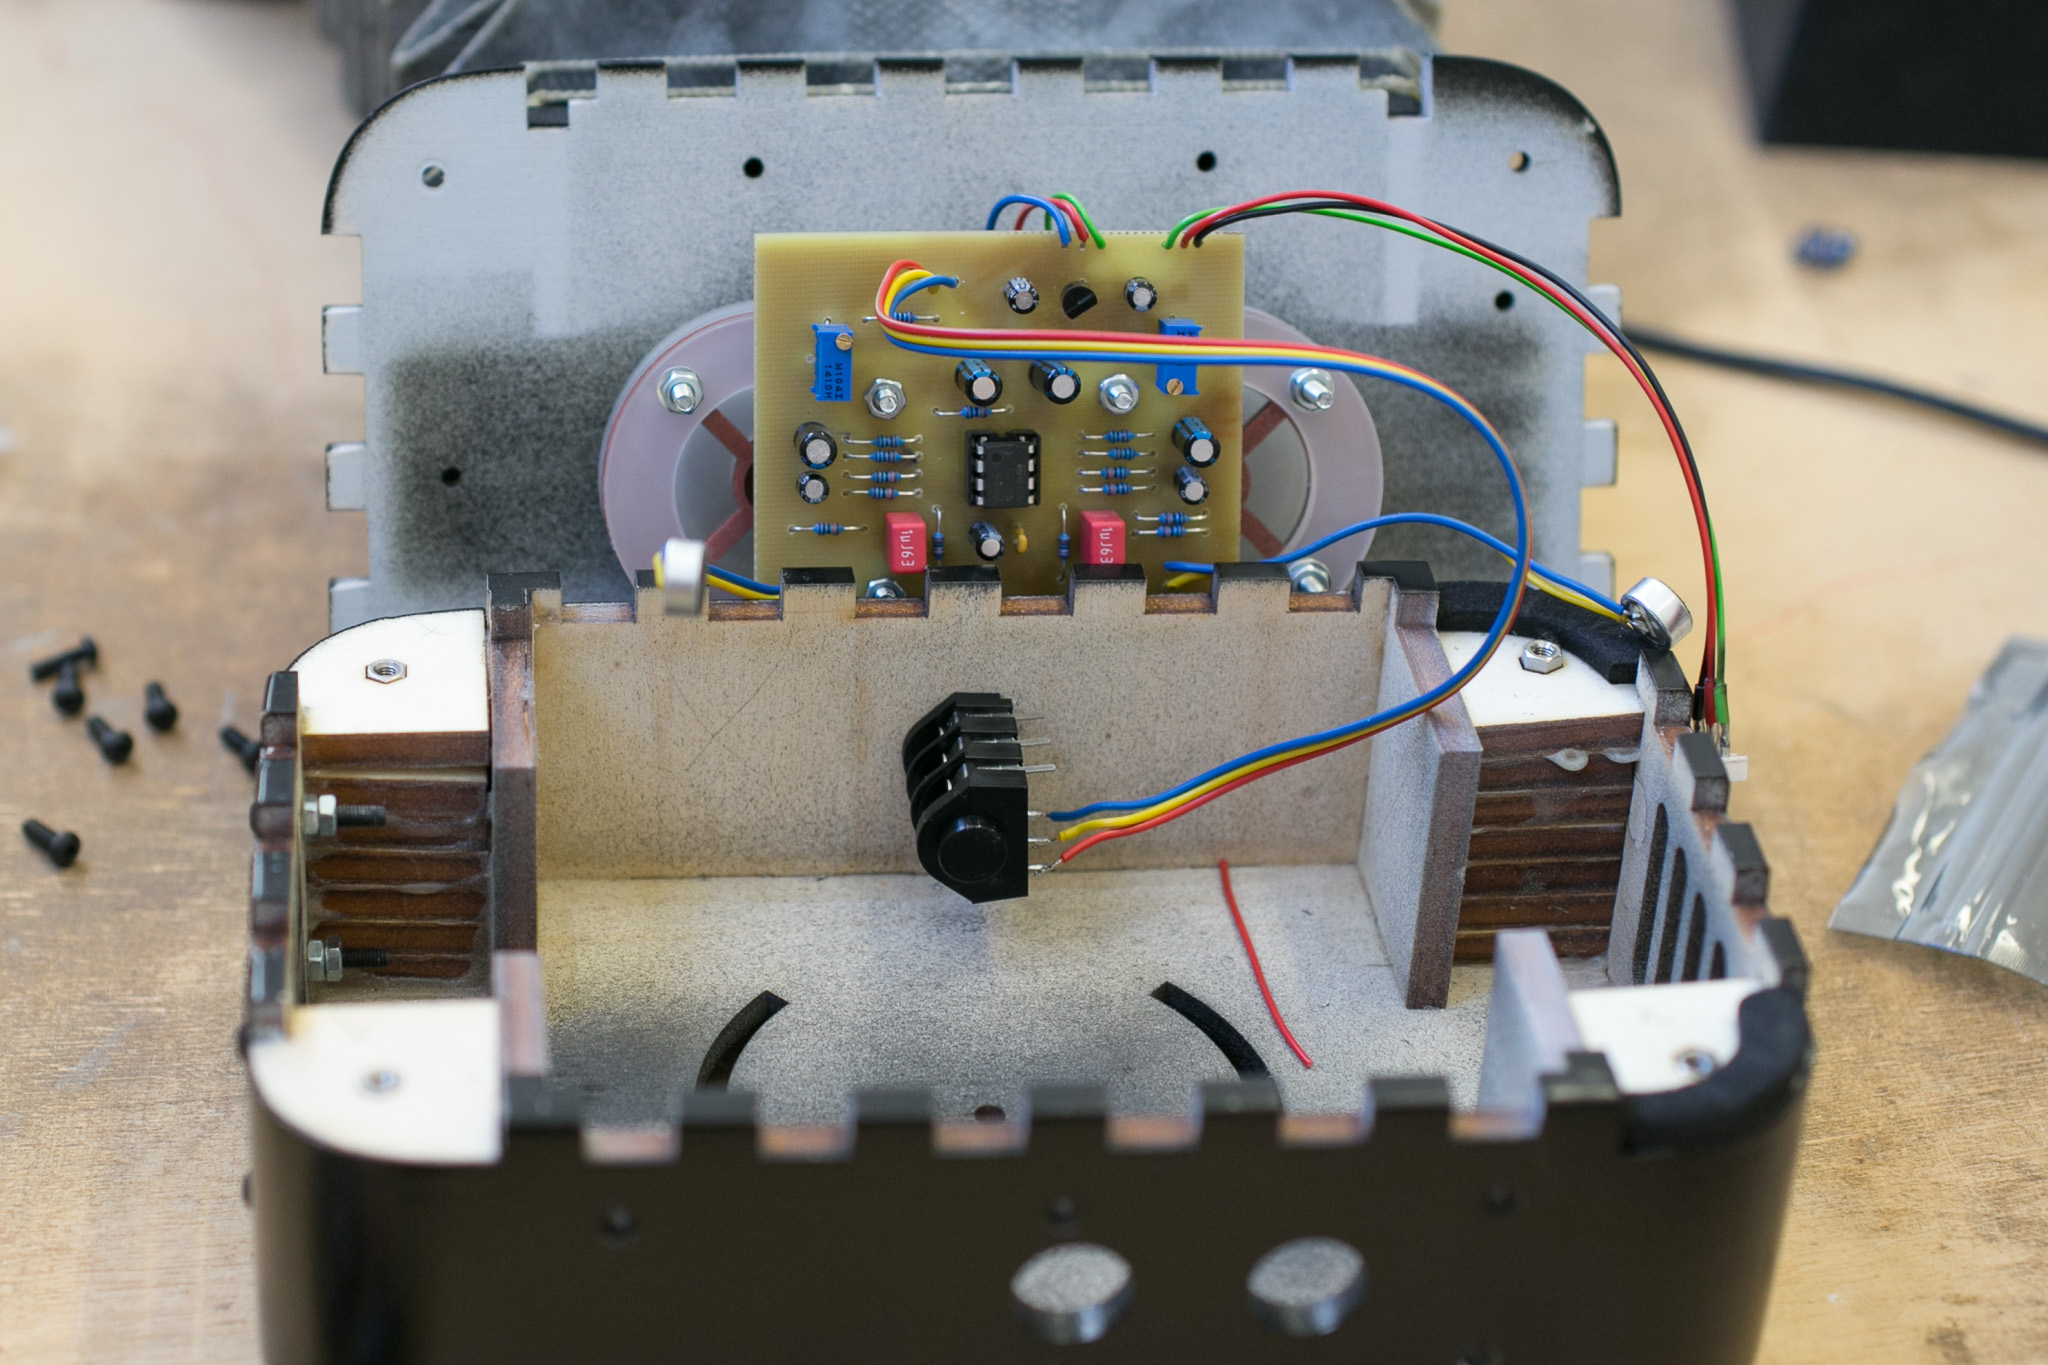 Preamp board with attached TRS jack integrated into PushPull box.
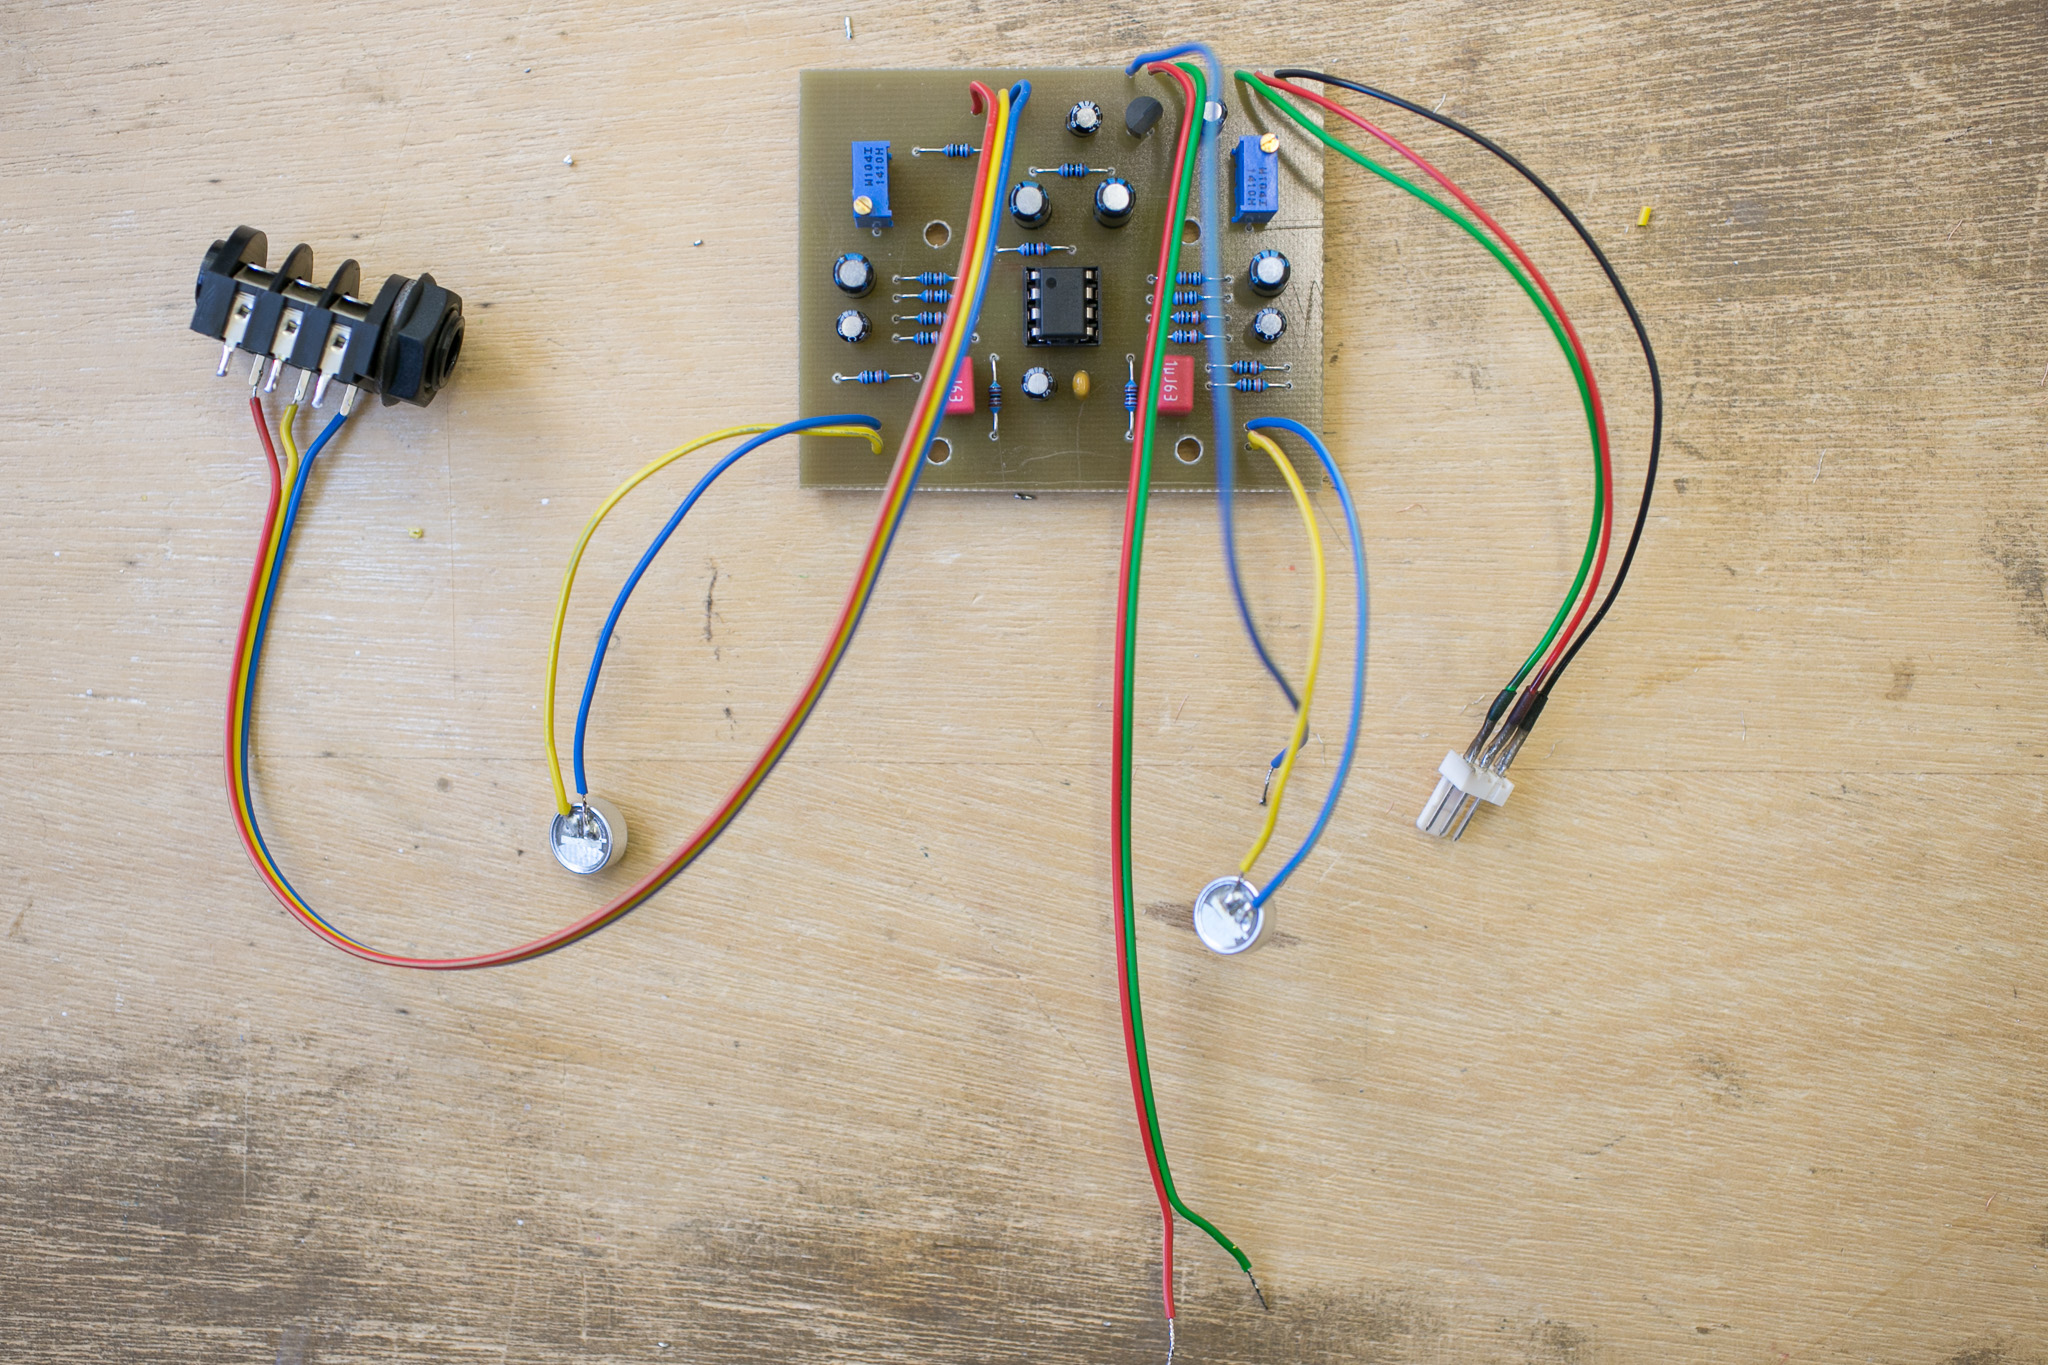
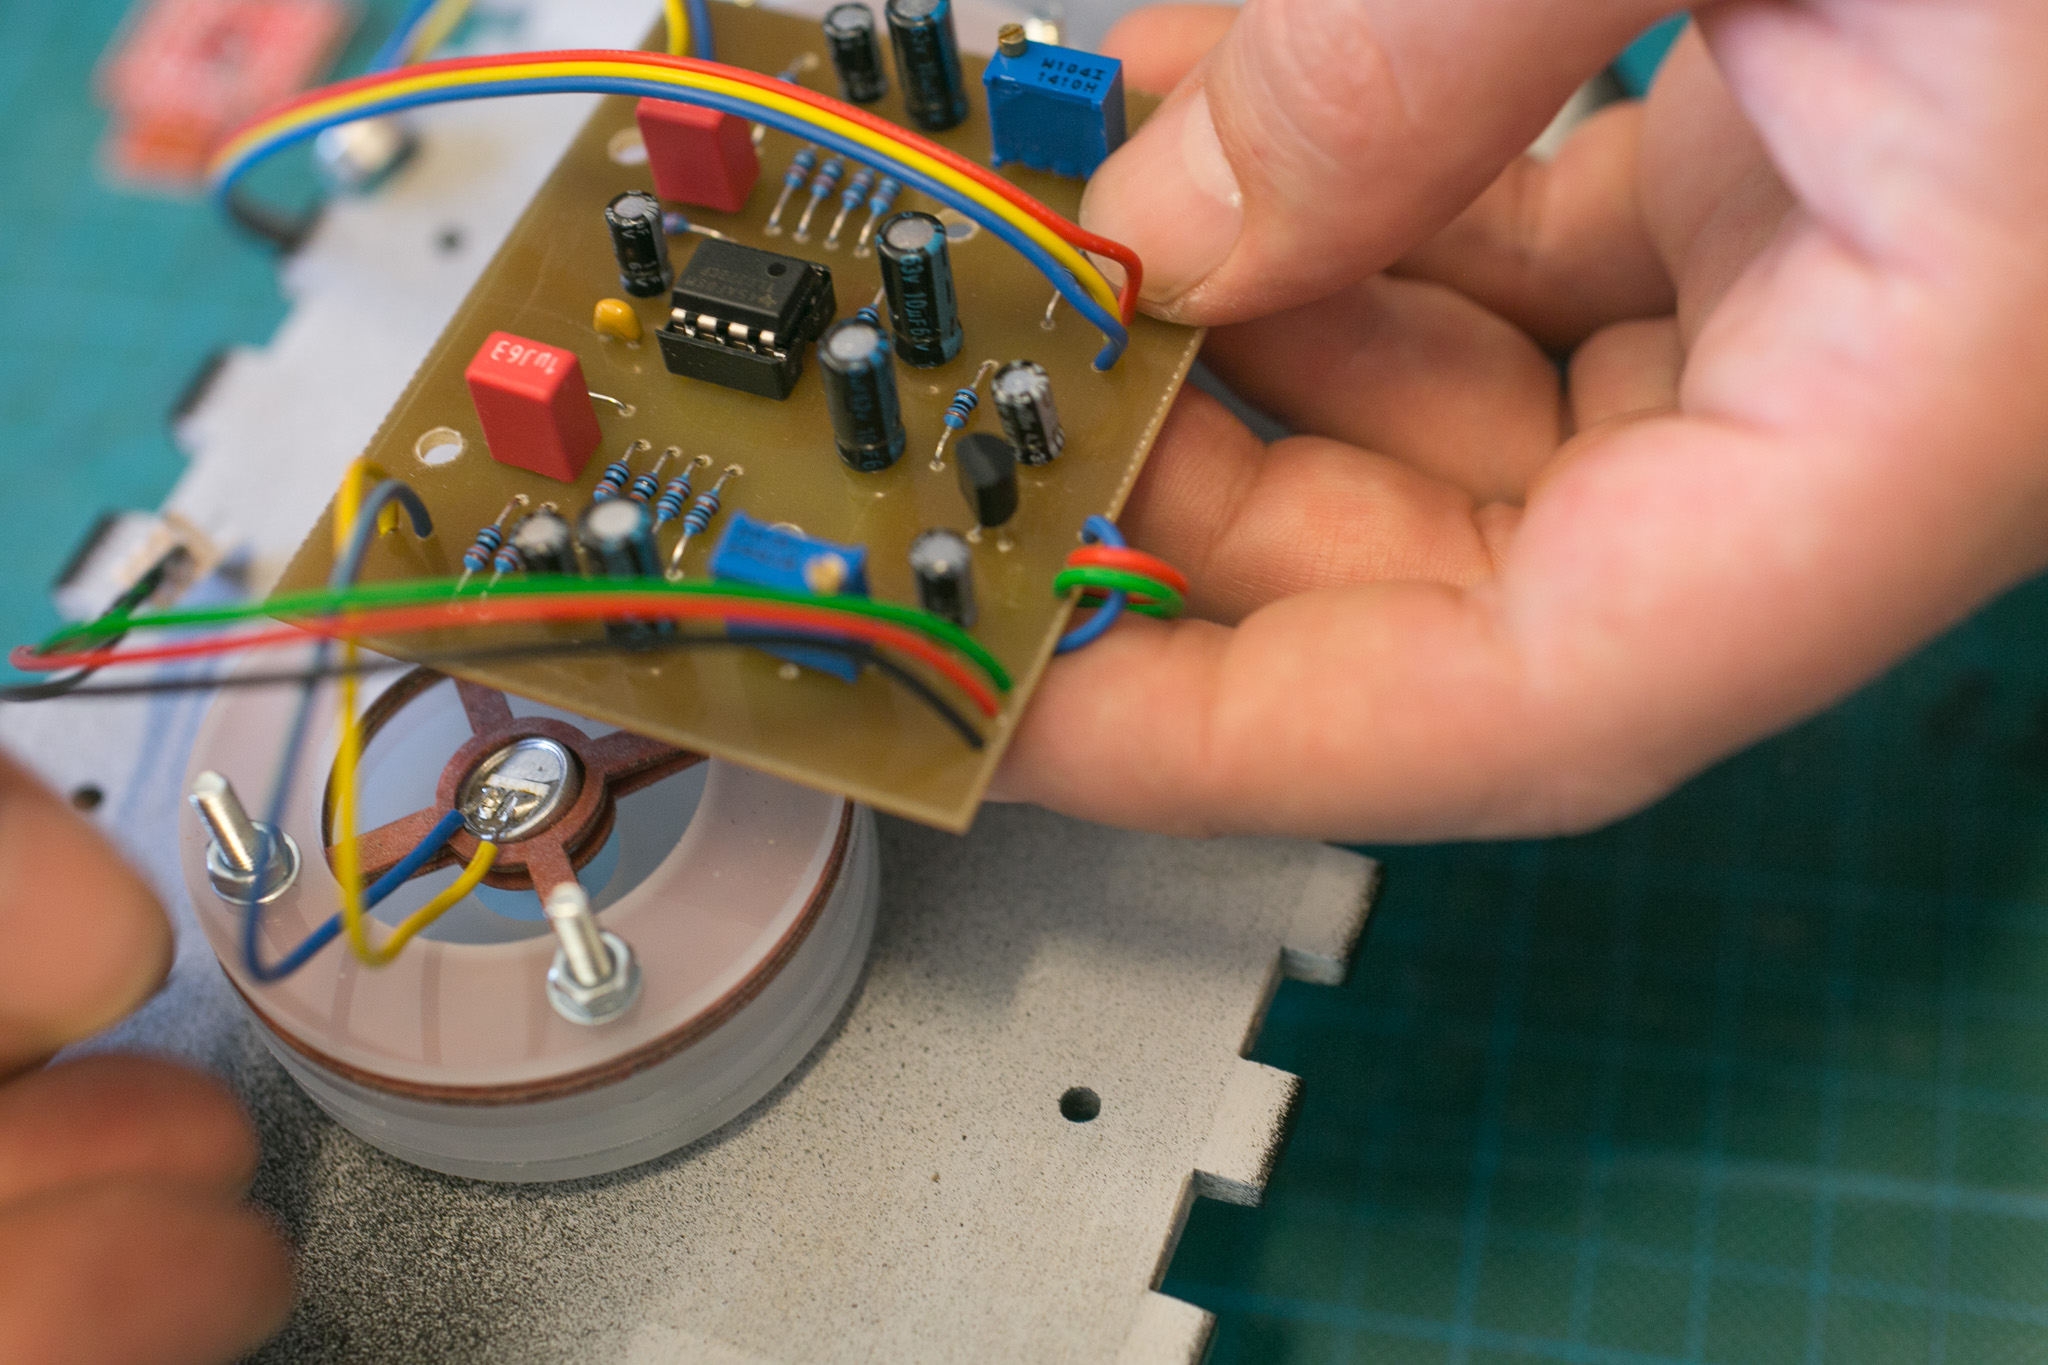
Attaching wires
Attach the TRS plug to the preamp with a 3-core wire.
Ribbon cable works best.
Attach microphones and a male-header in a similar fashion.
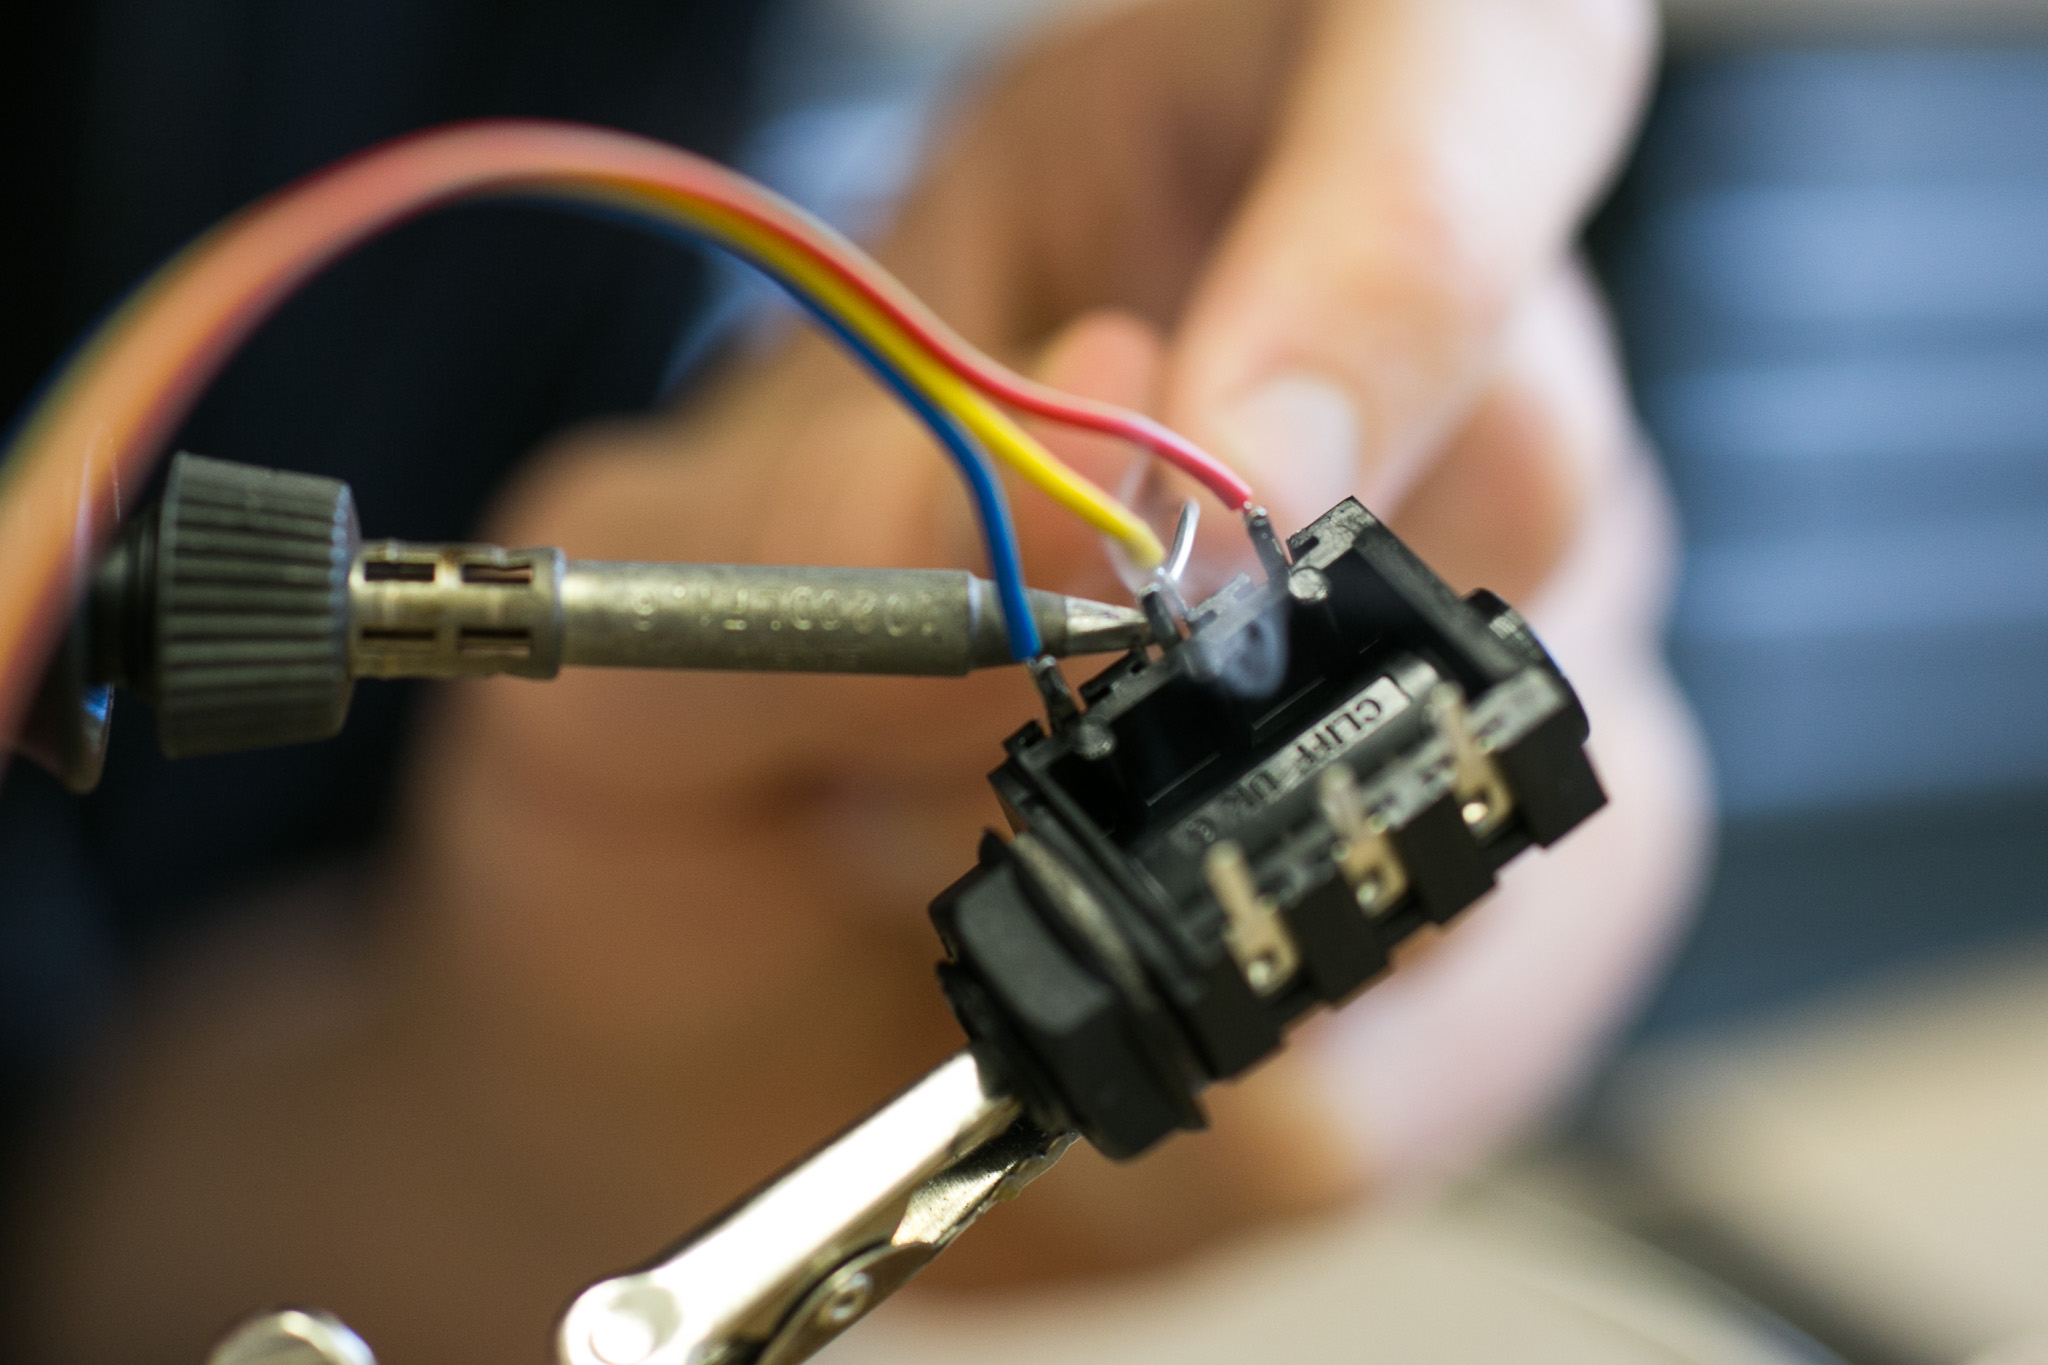 TRS jack soldering.
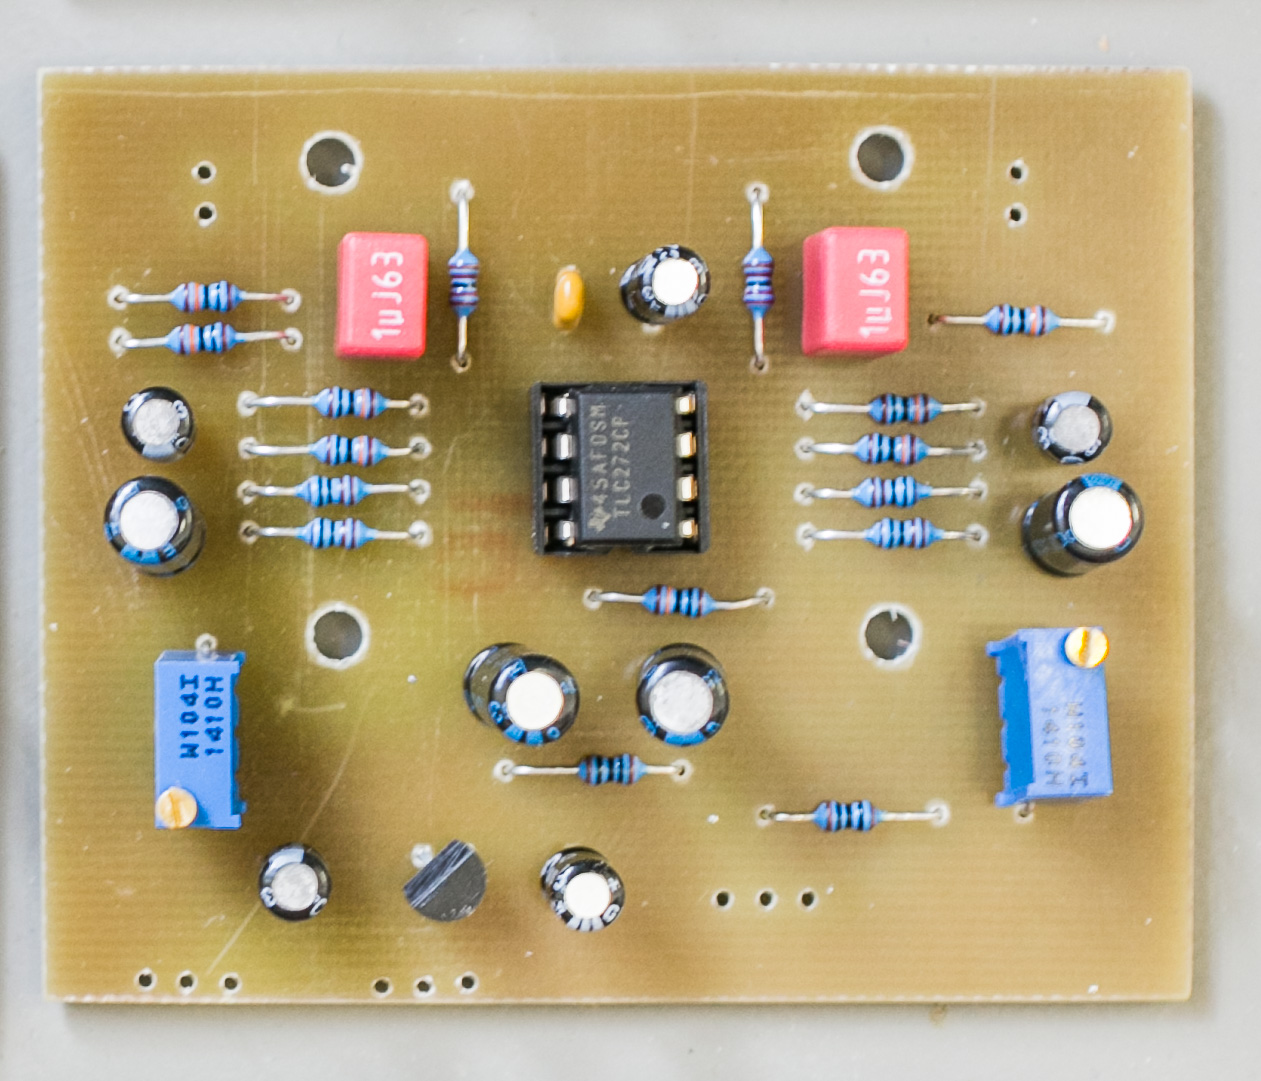
 The fully assembled cirquit board.
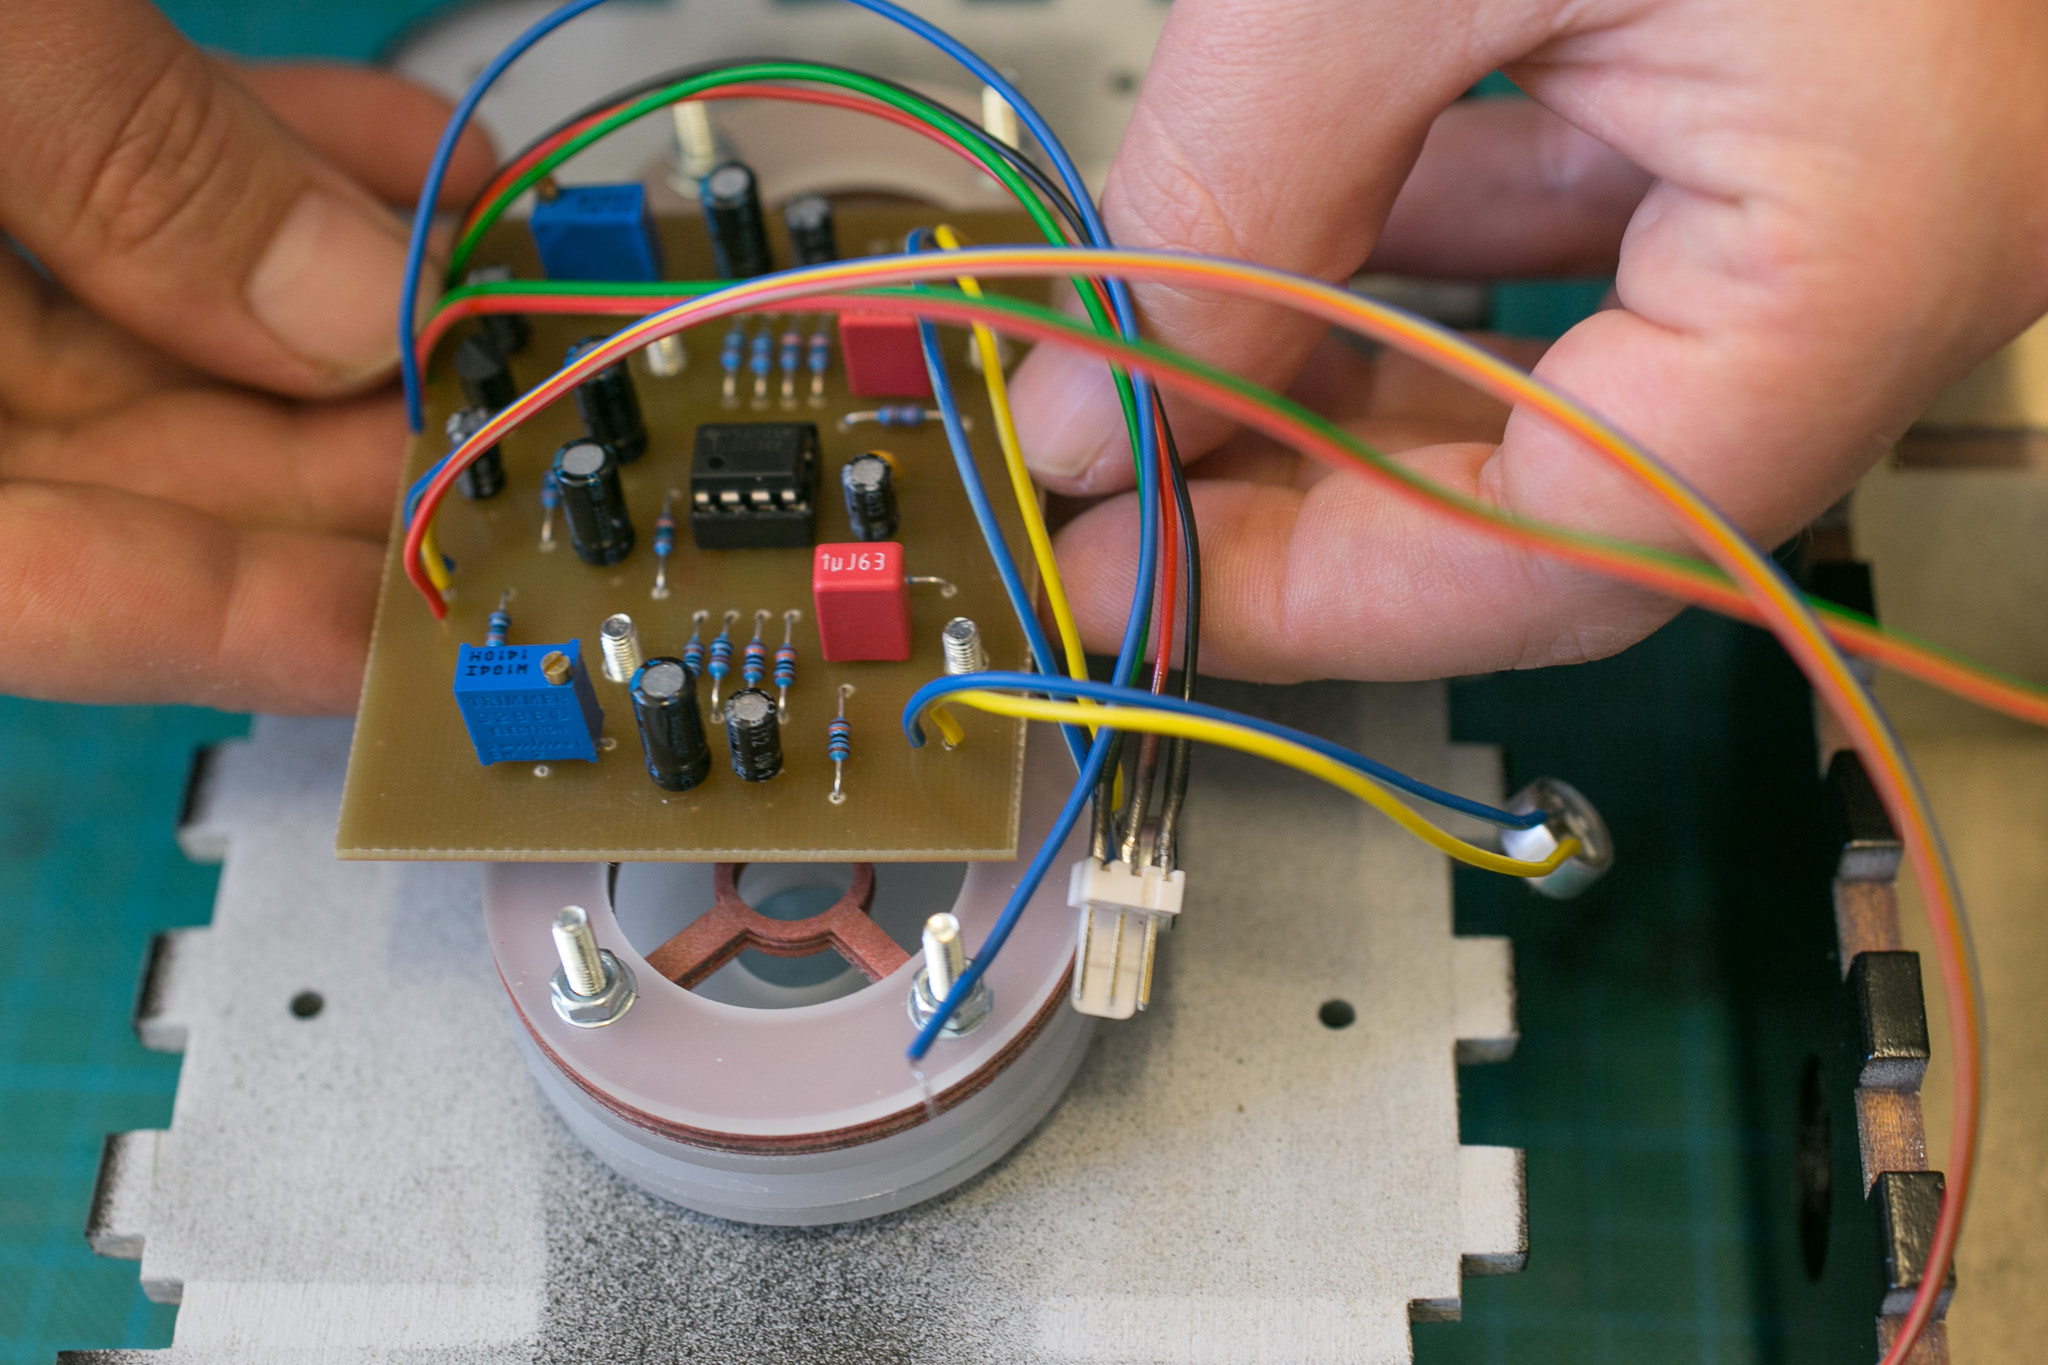
Board mounting
Carefully insert the microphones to their rubber shock-mount.
Mount the preamp with the M3 nuts to the four screws of the valves system.
It might be needed to add some tape to increase their diameter for them to sit reasonably tight.
 Insert the microphones to their rubber shock-mount.
 Mounting the preamp to the valve system.
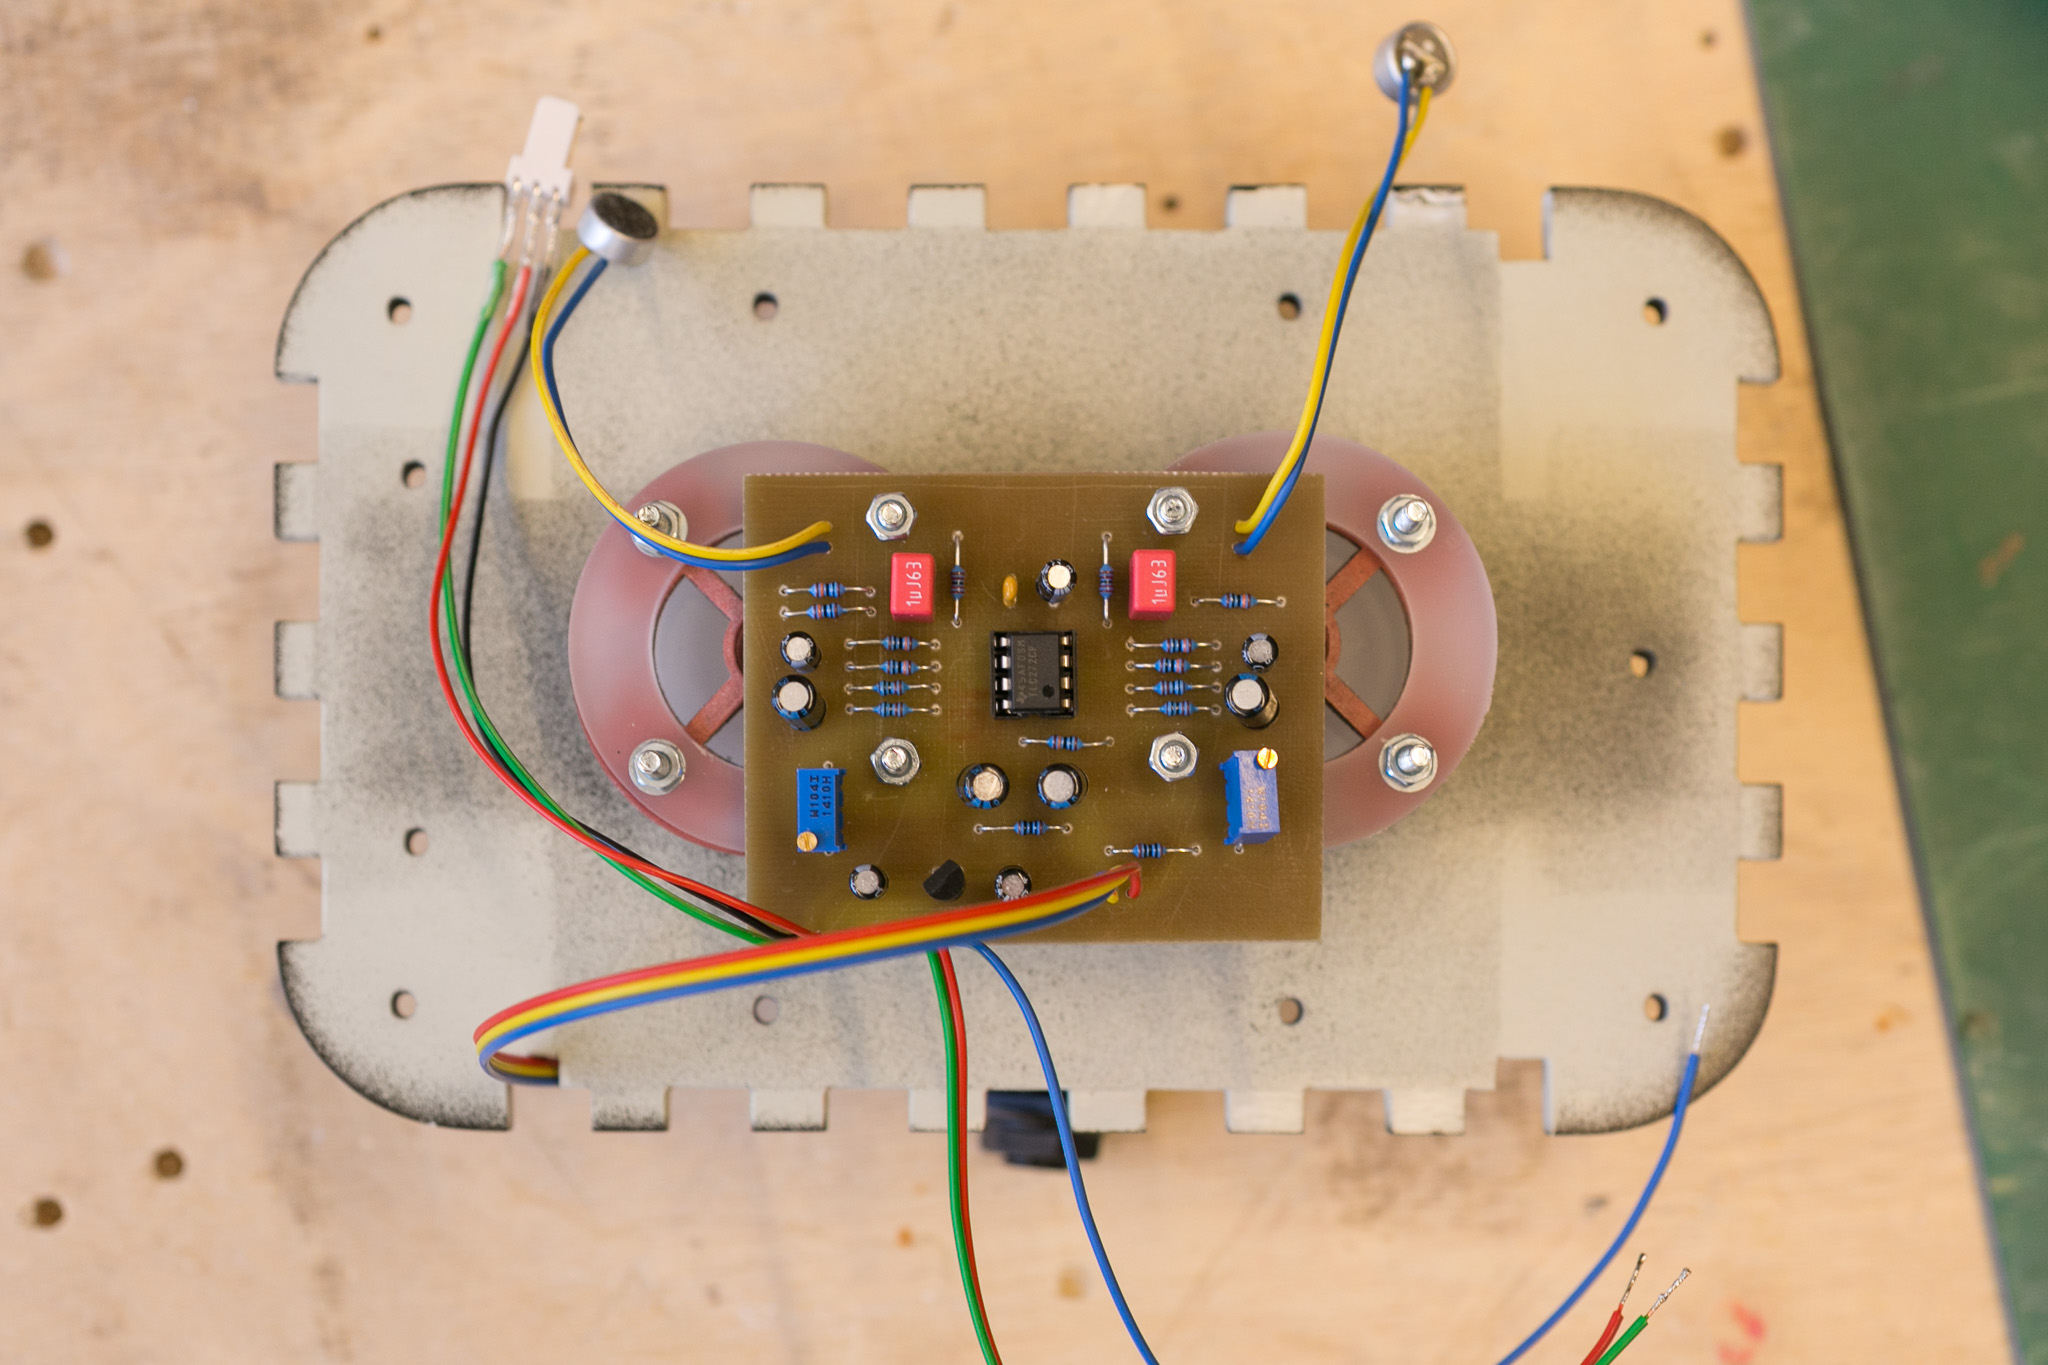 The mounted board (microphones should be in the shock mounts but are not in this photo).
 The complete setup.