Workspace
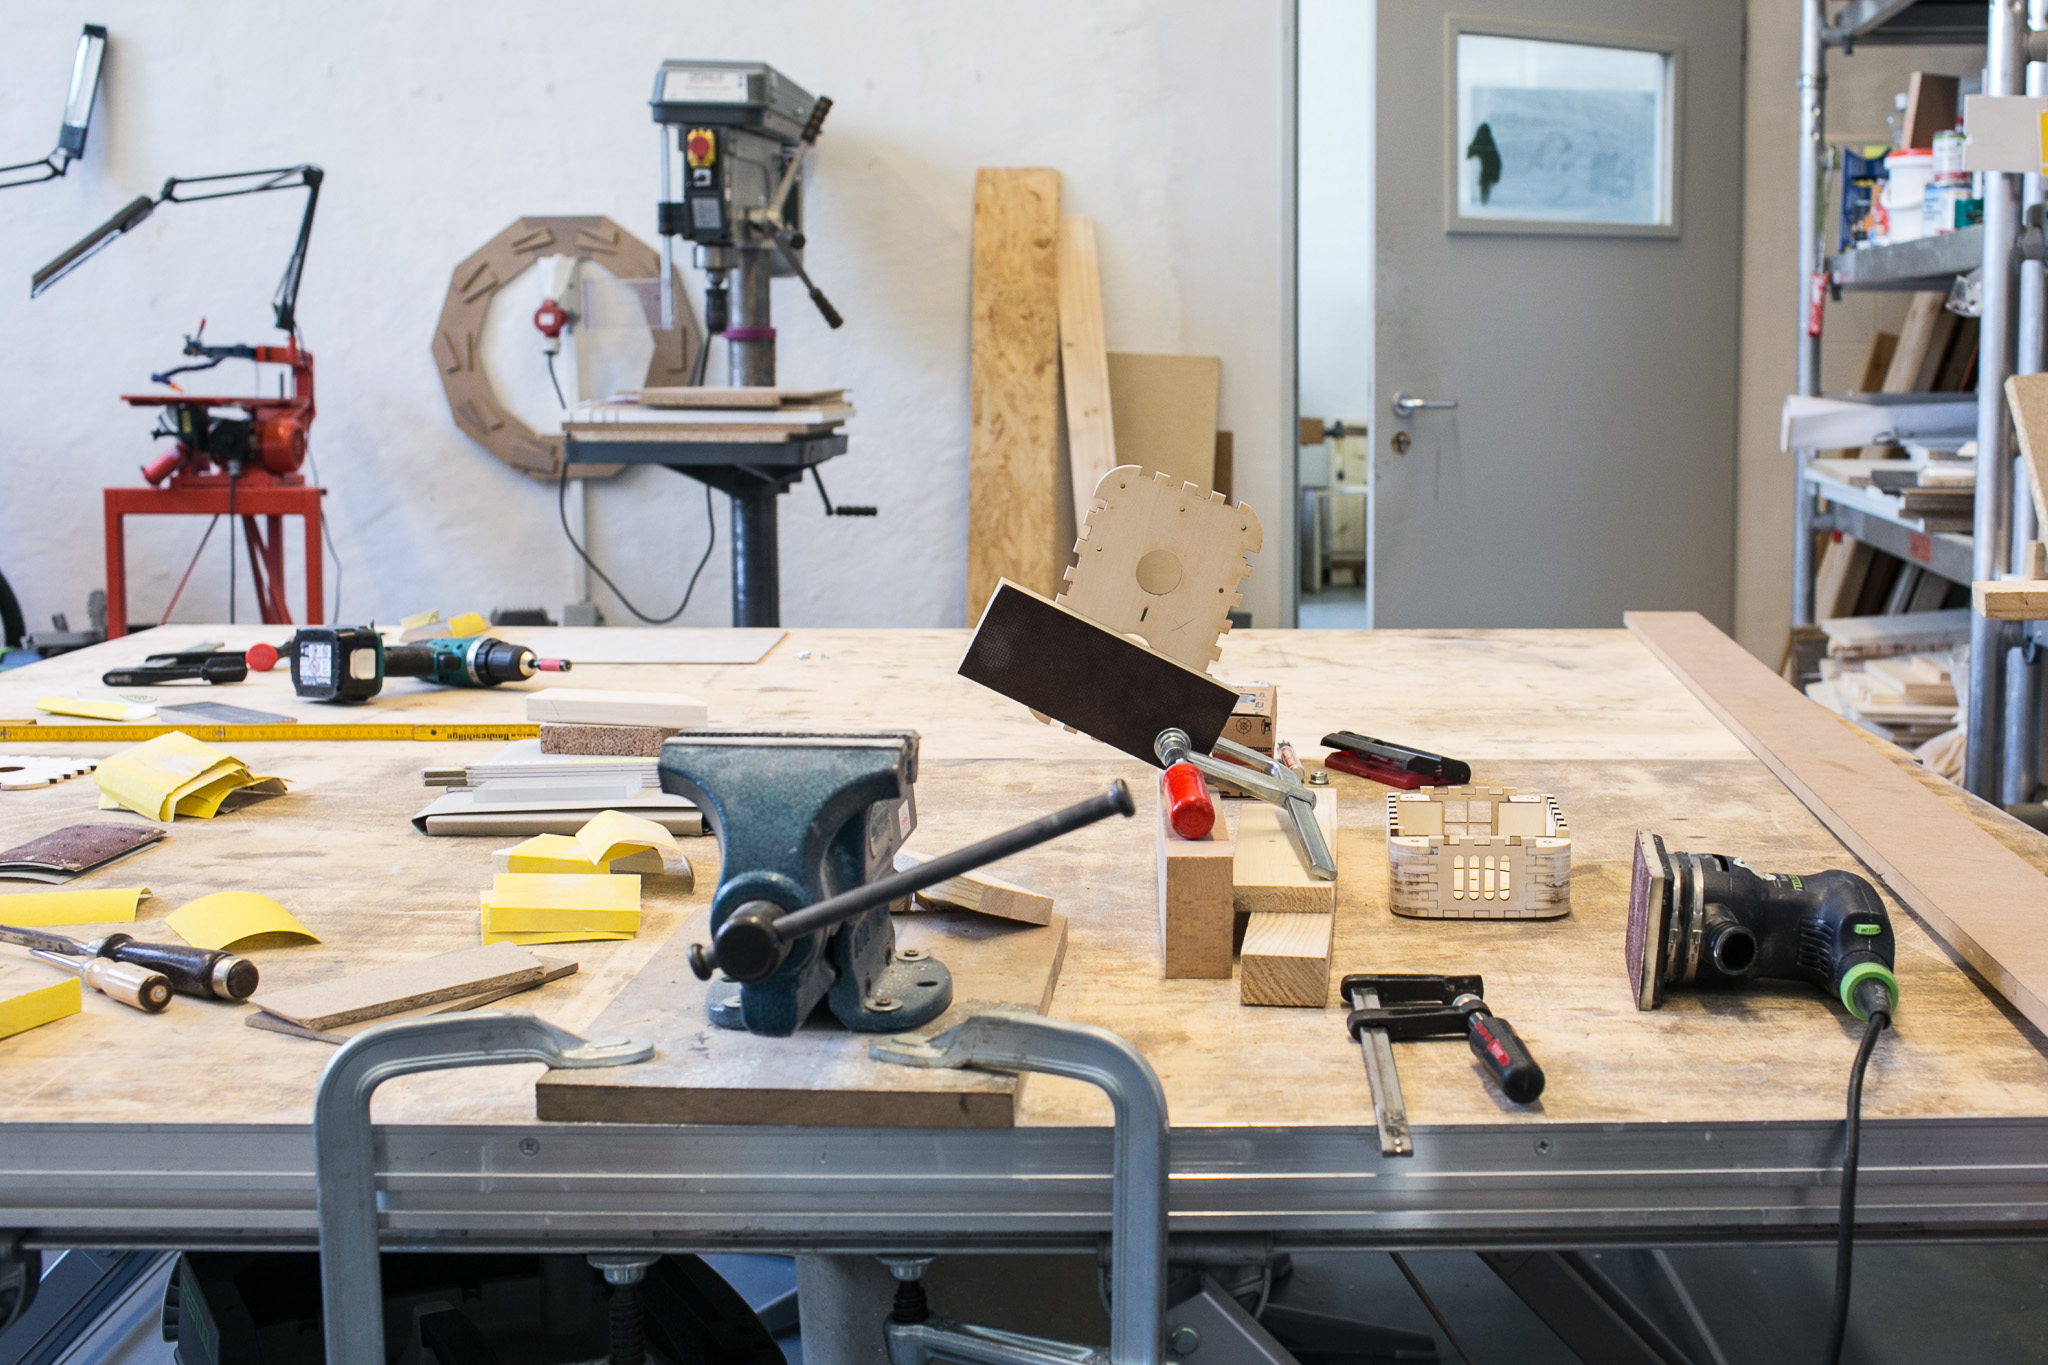 Tabletop with vise
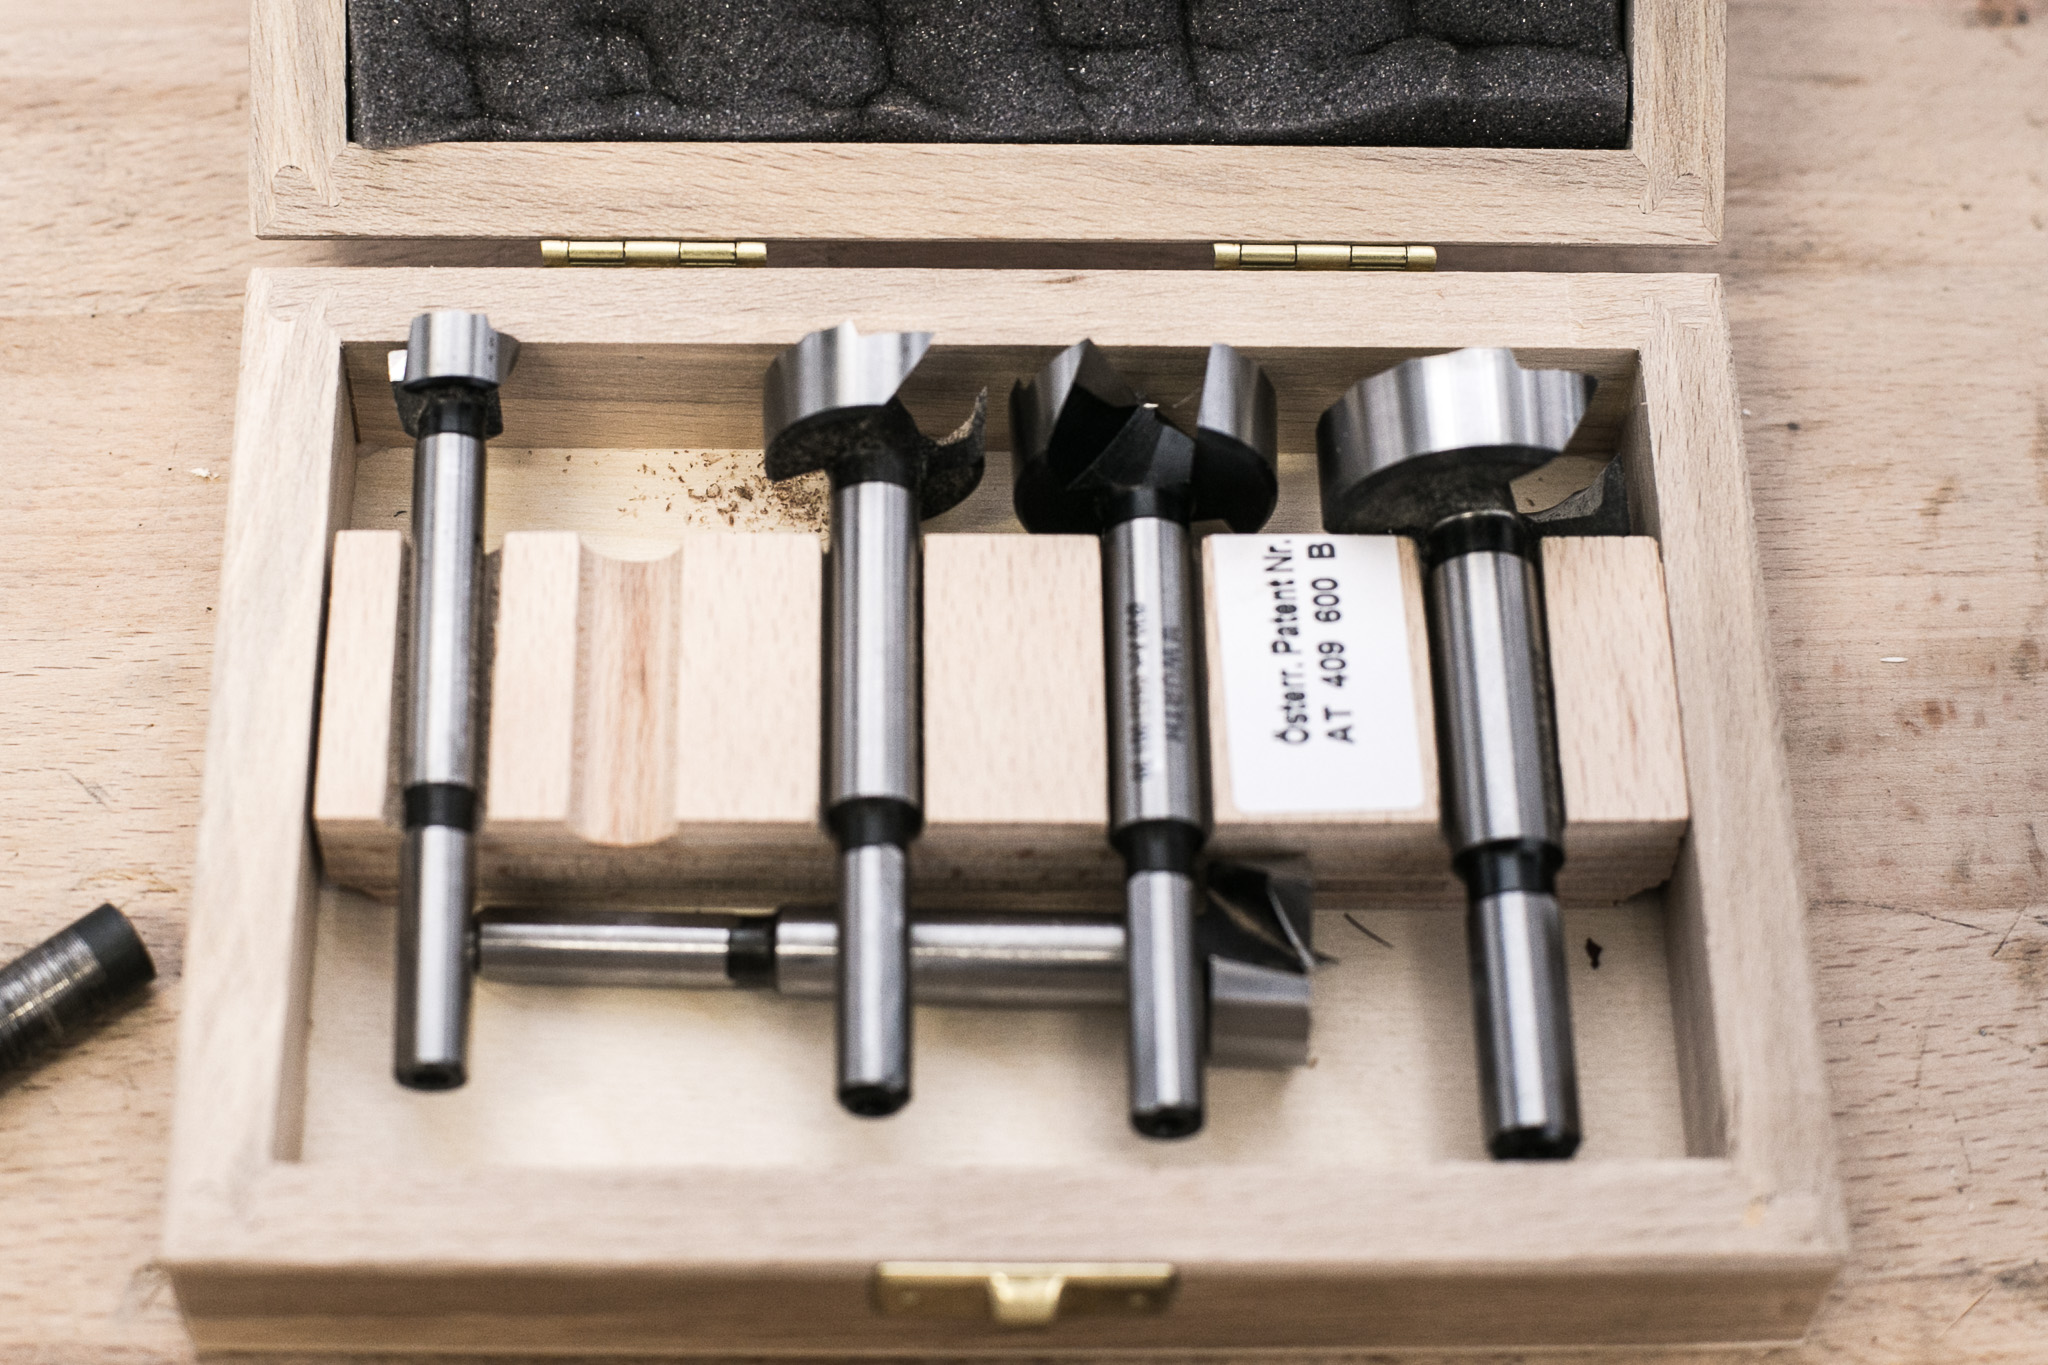 Forstner drill
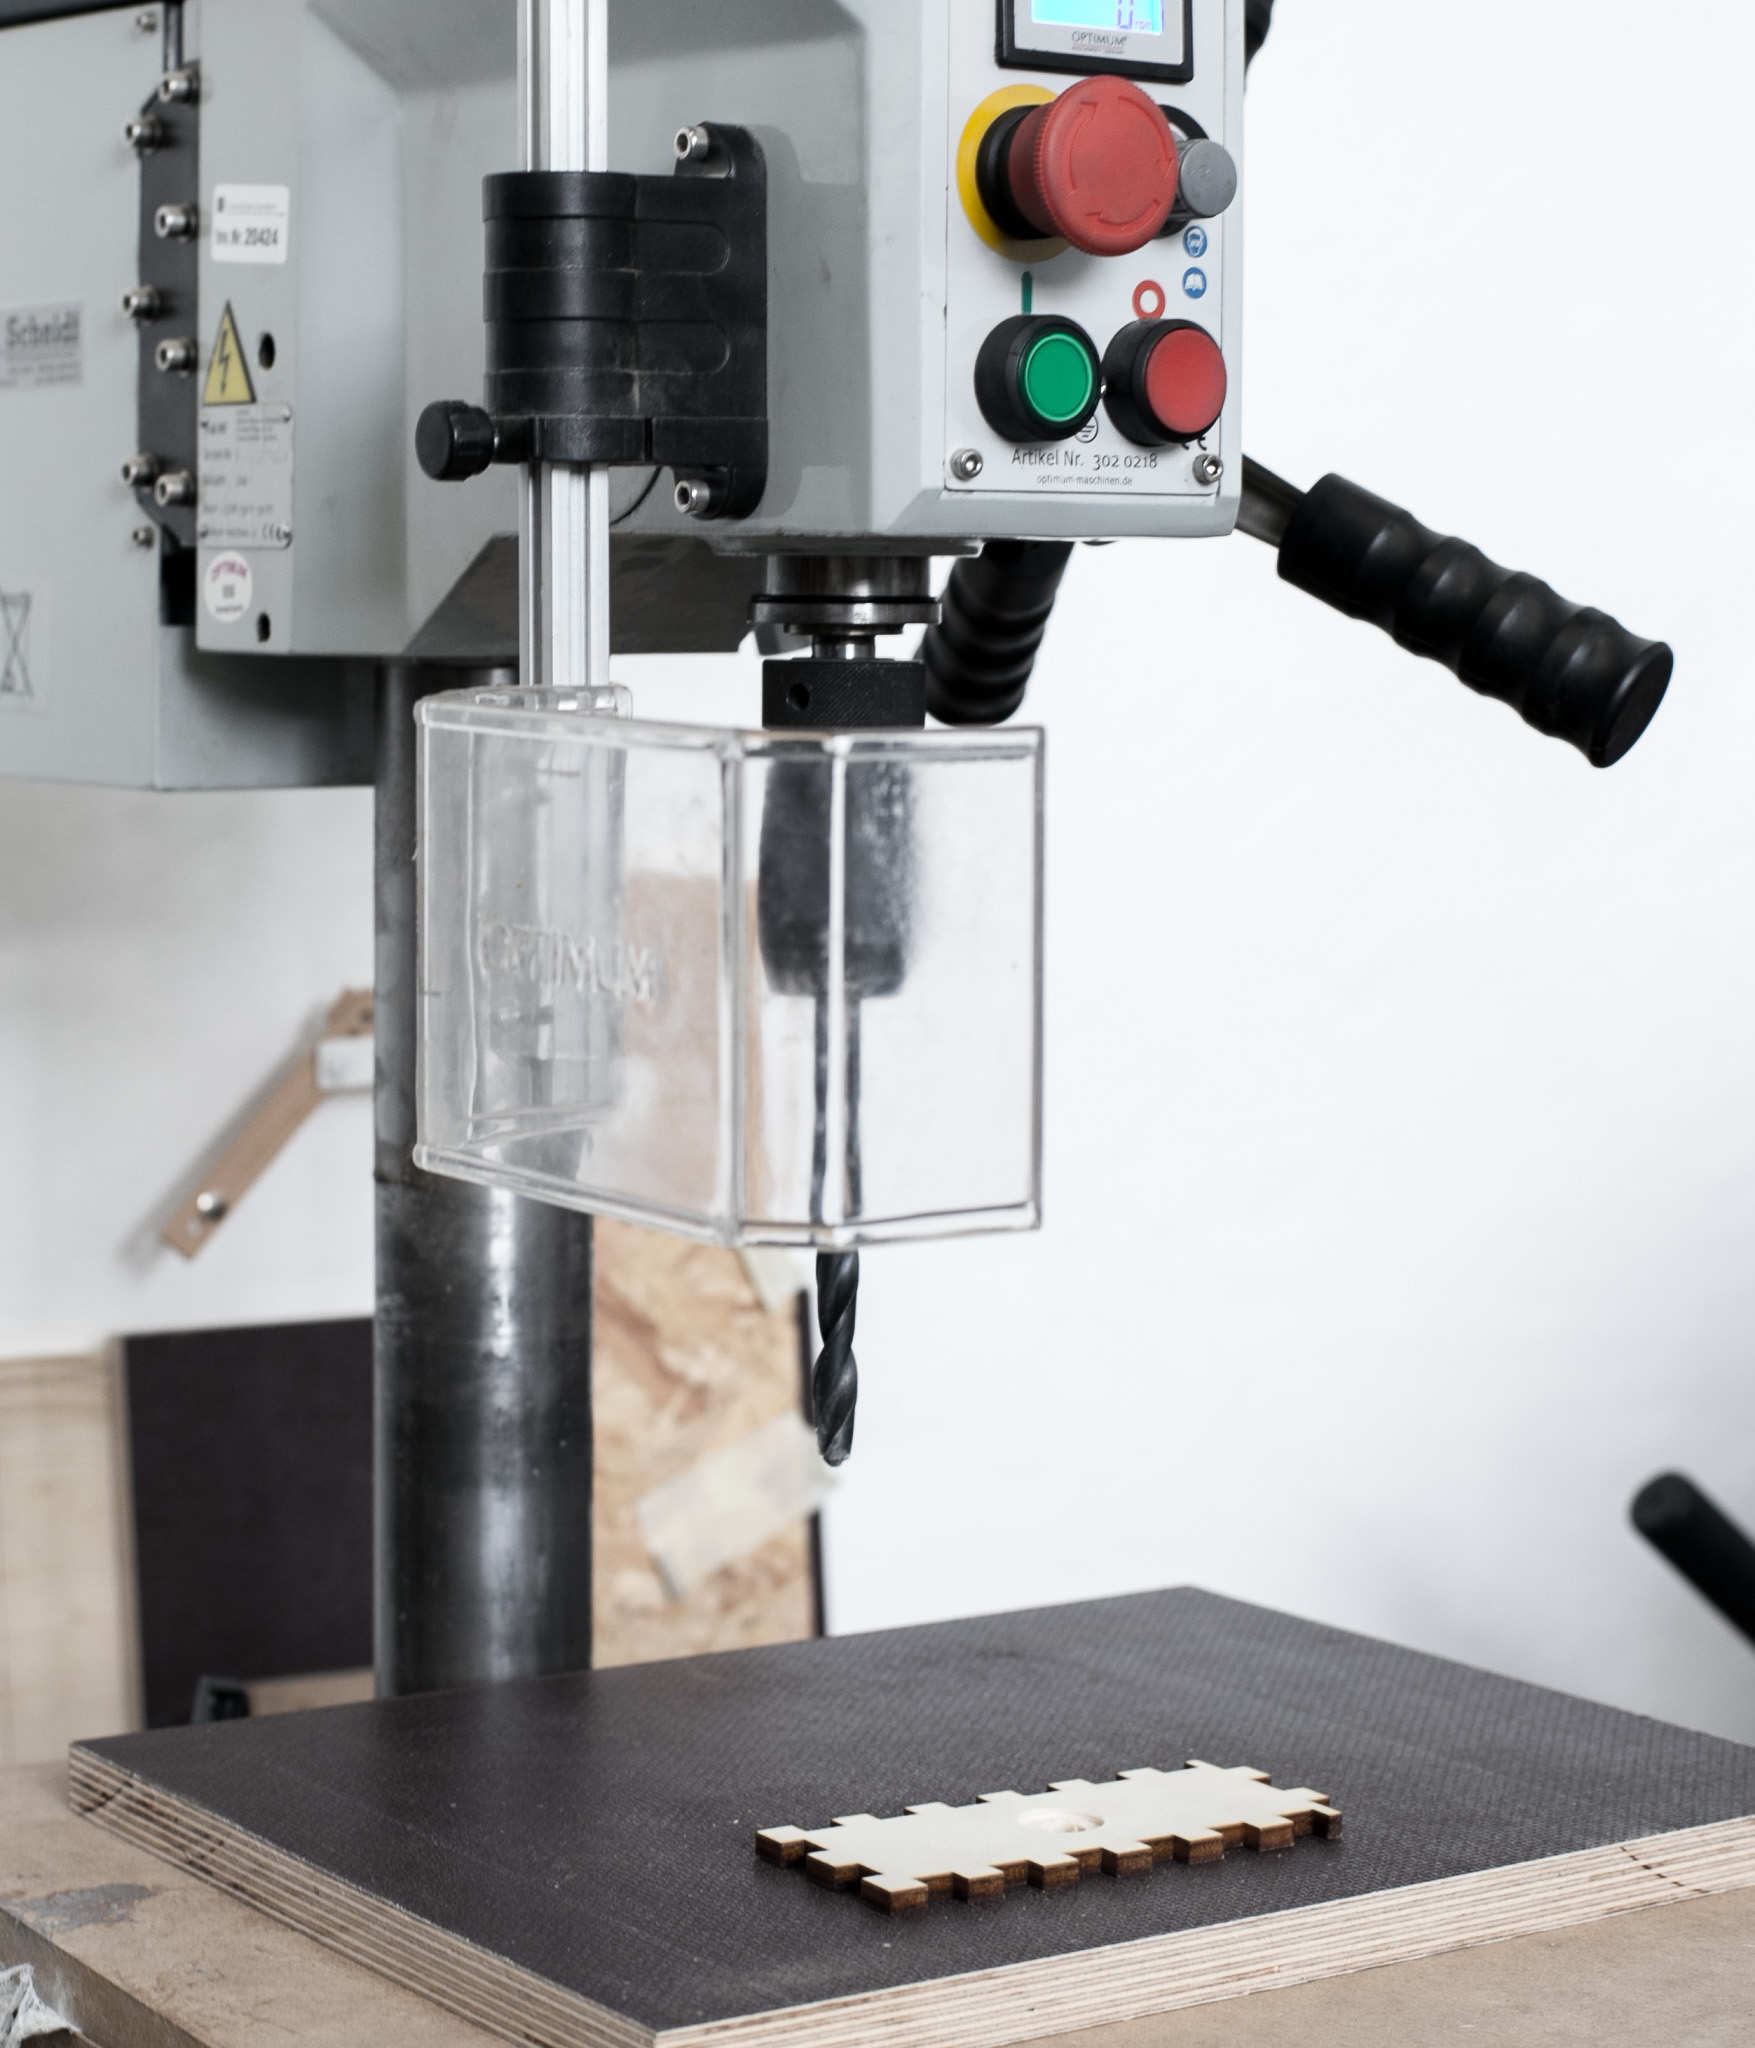 Drilling machine with installed drill
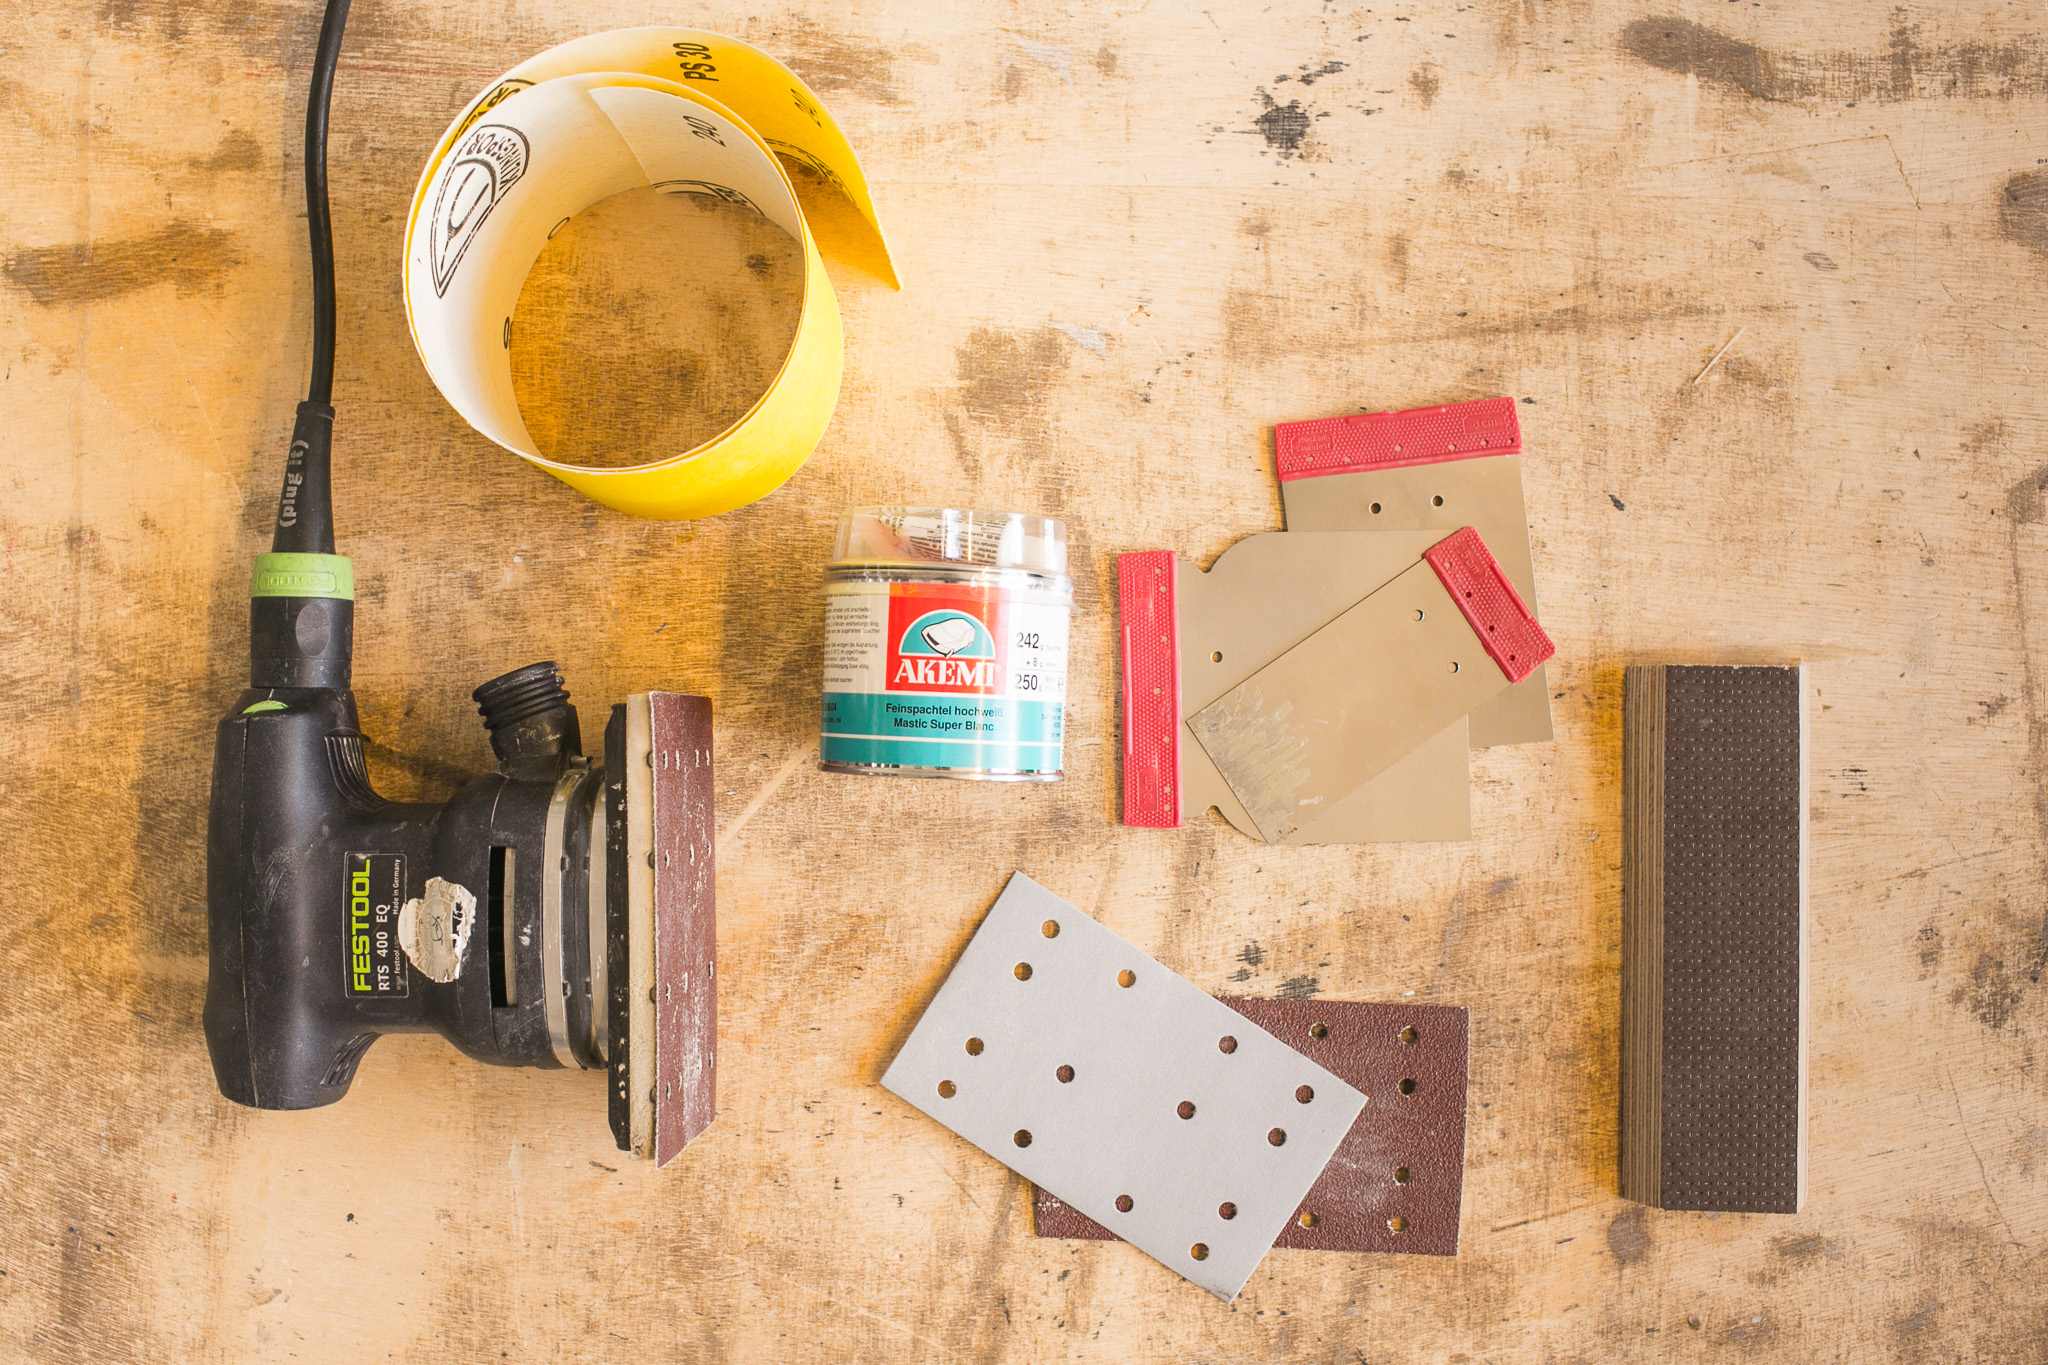 Sanding equipment, filler
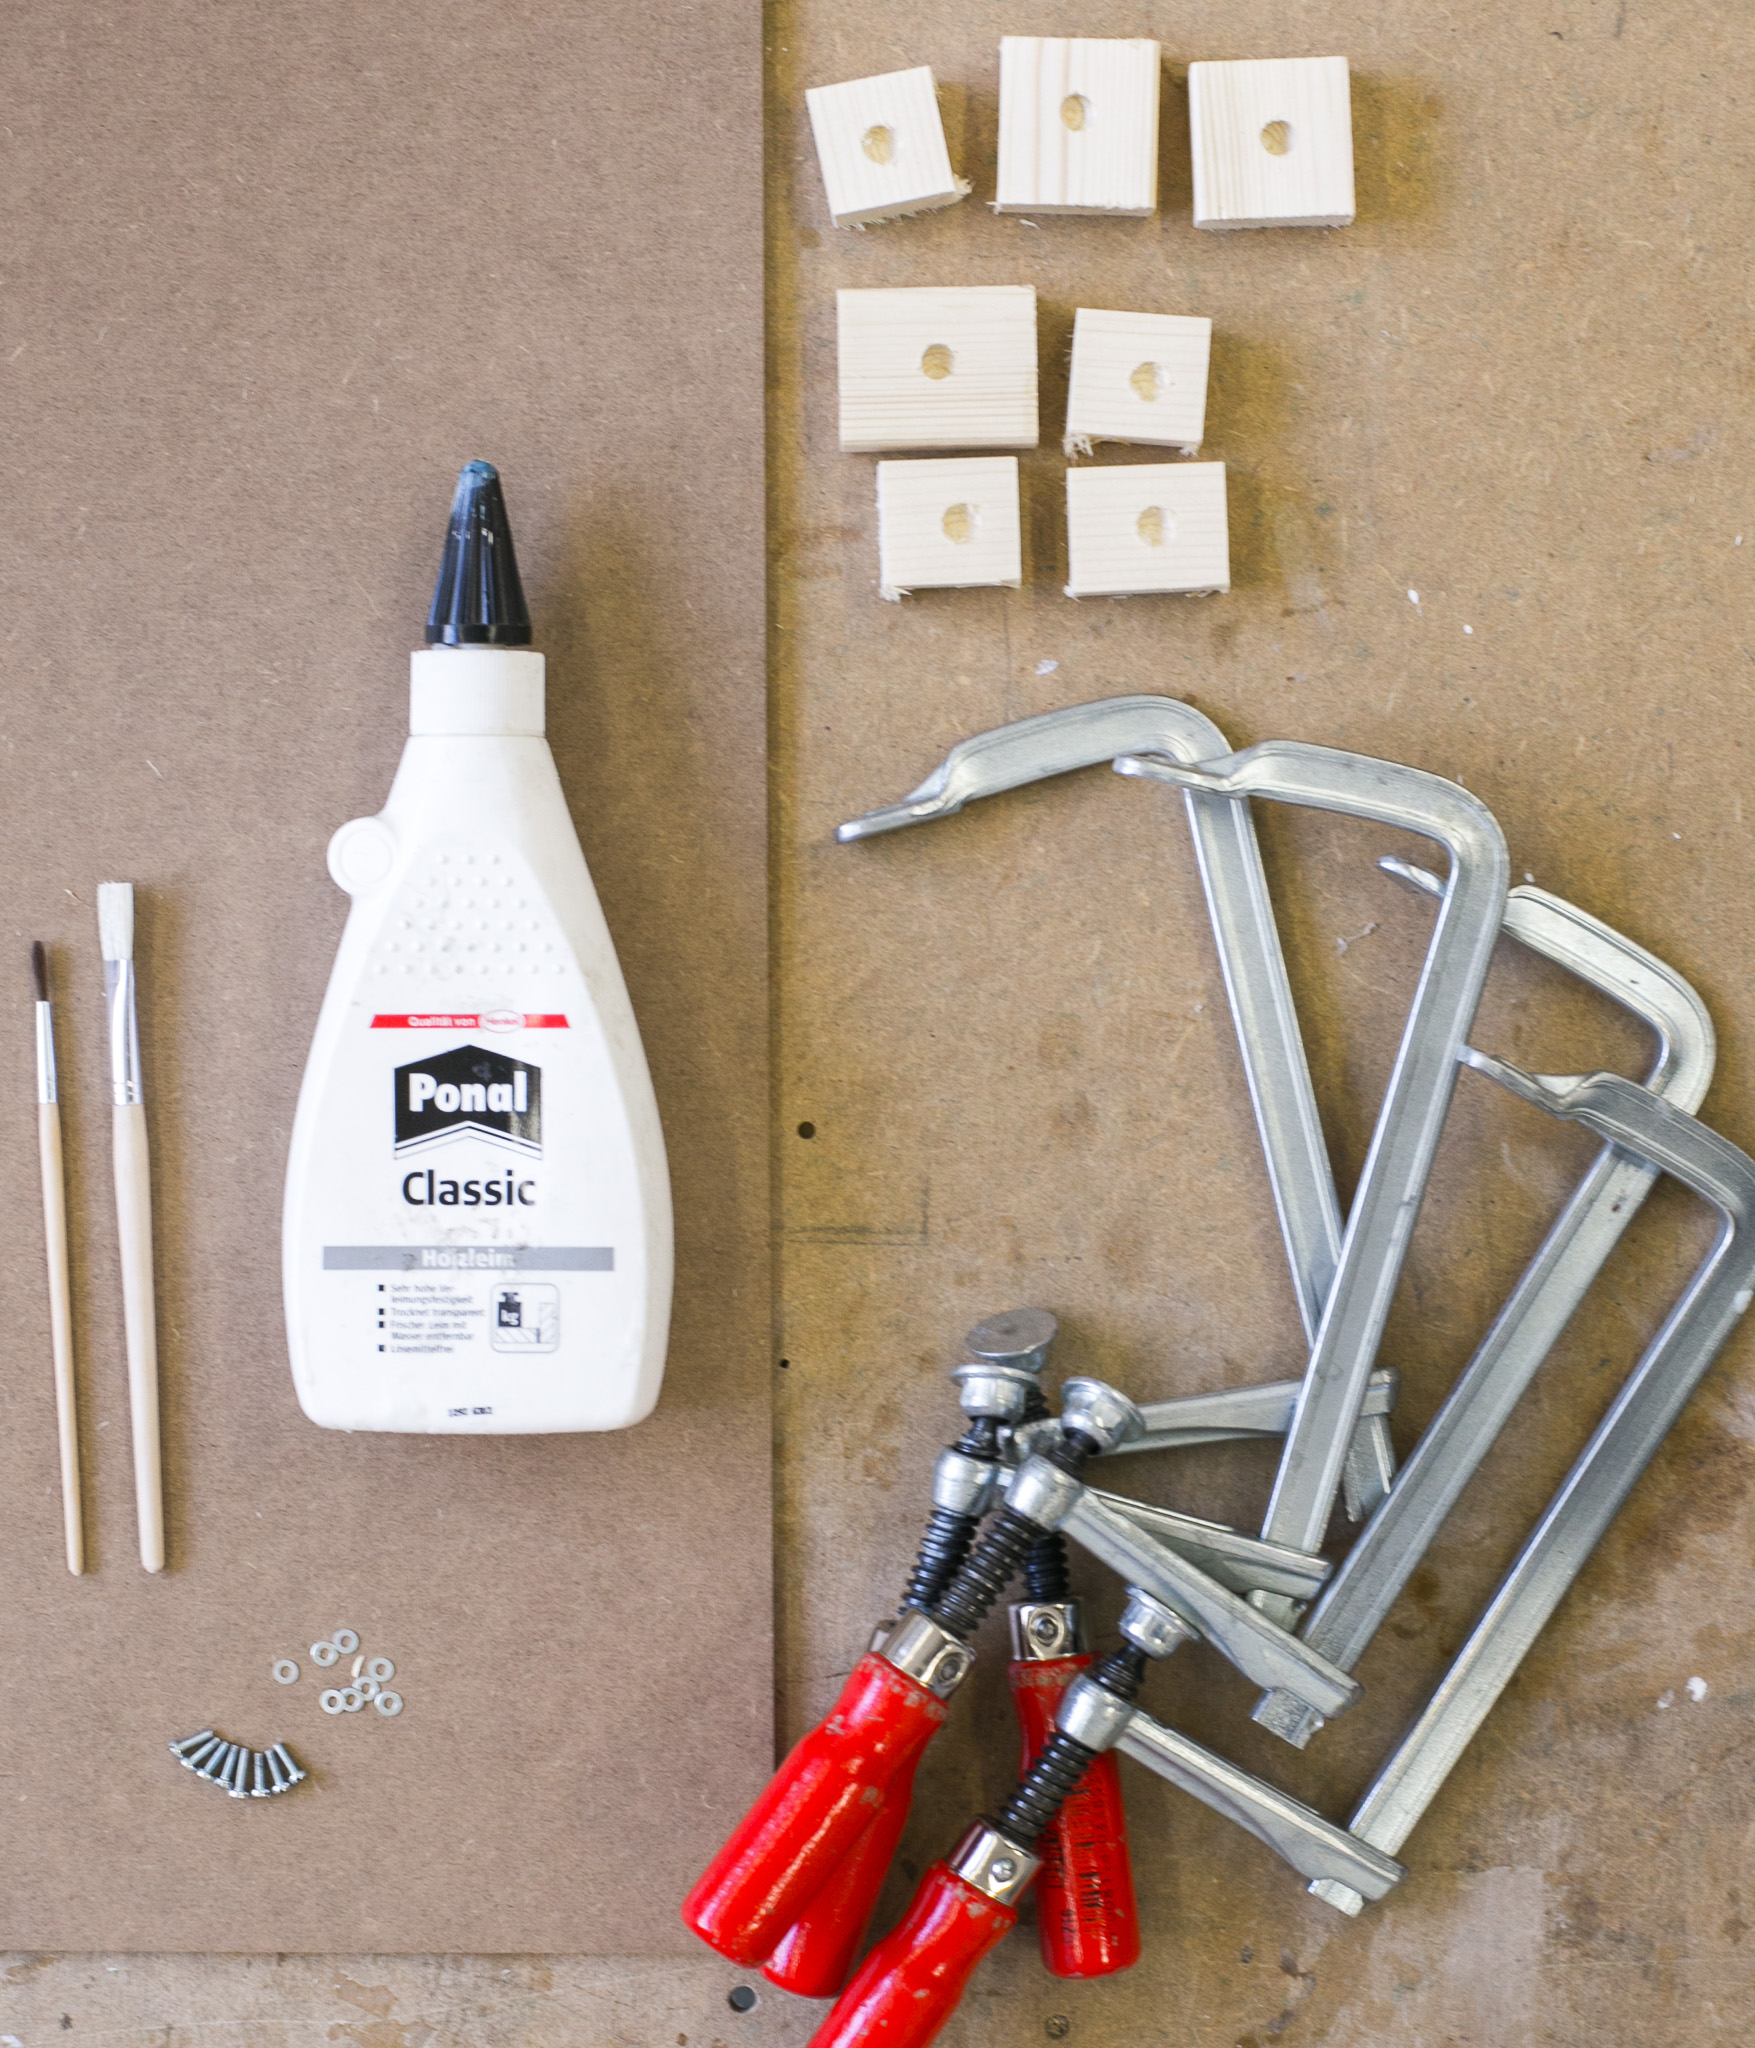 Wood glue, C-clamps, brushes, screws
End Result
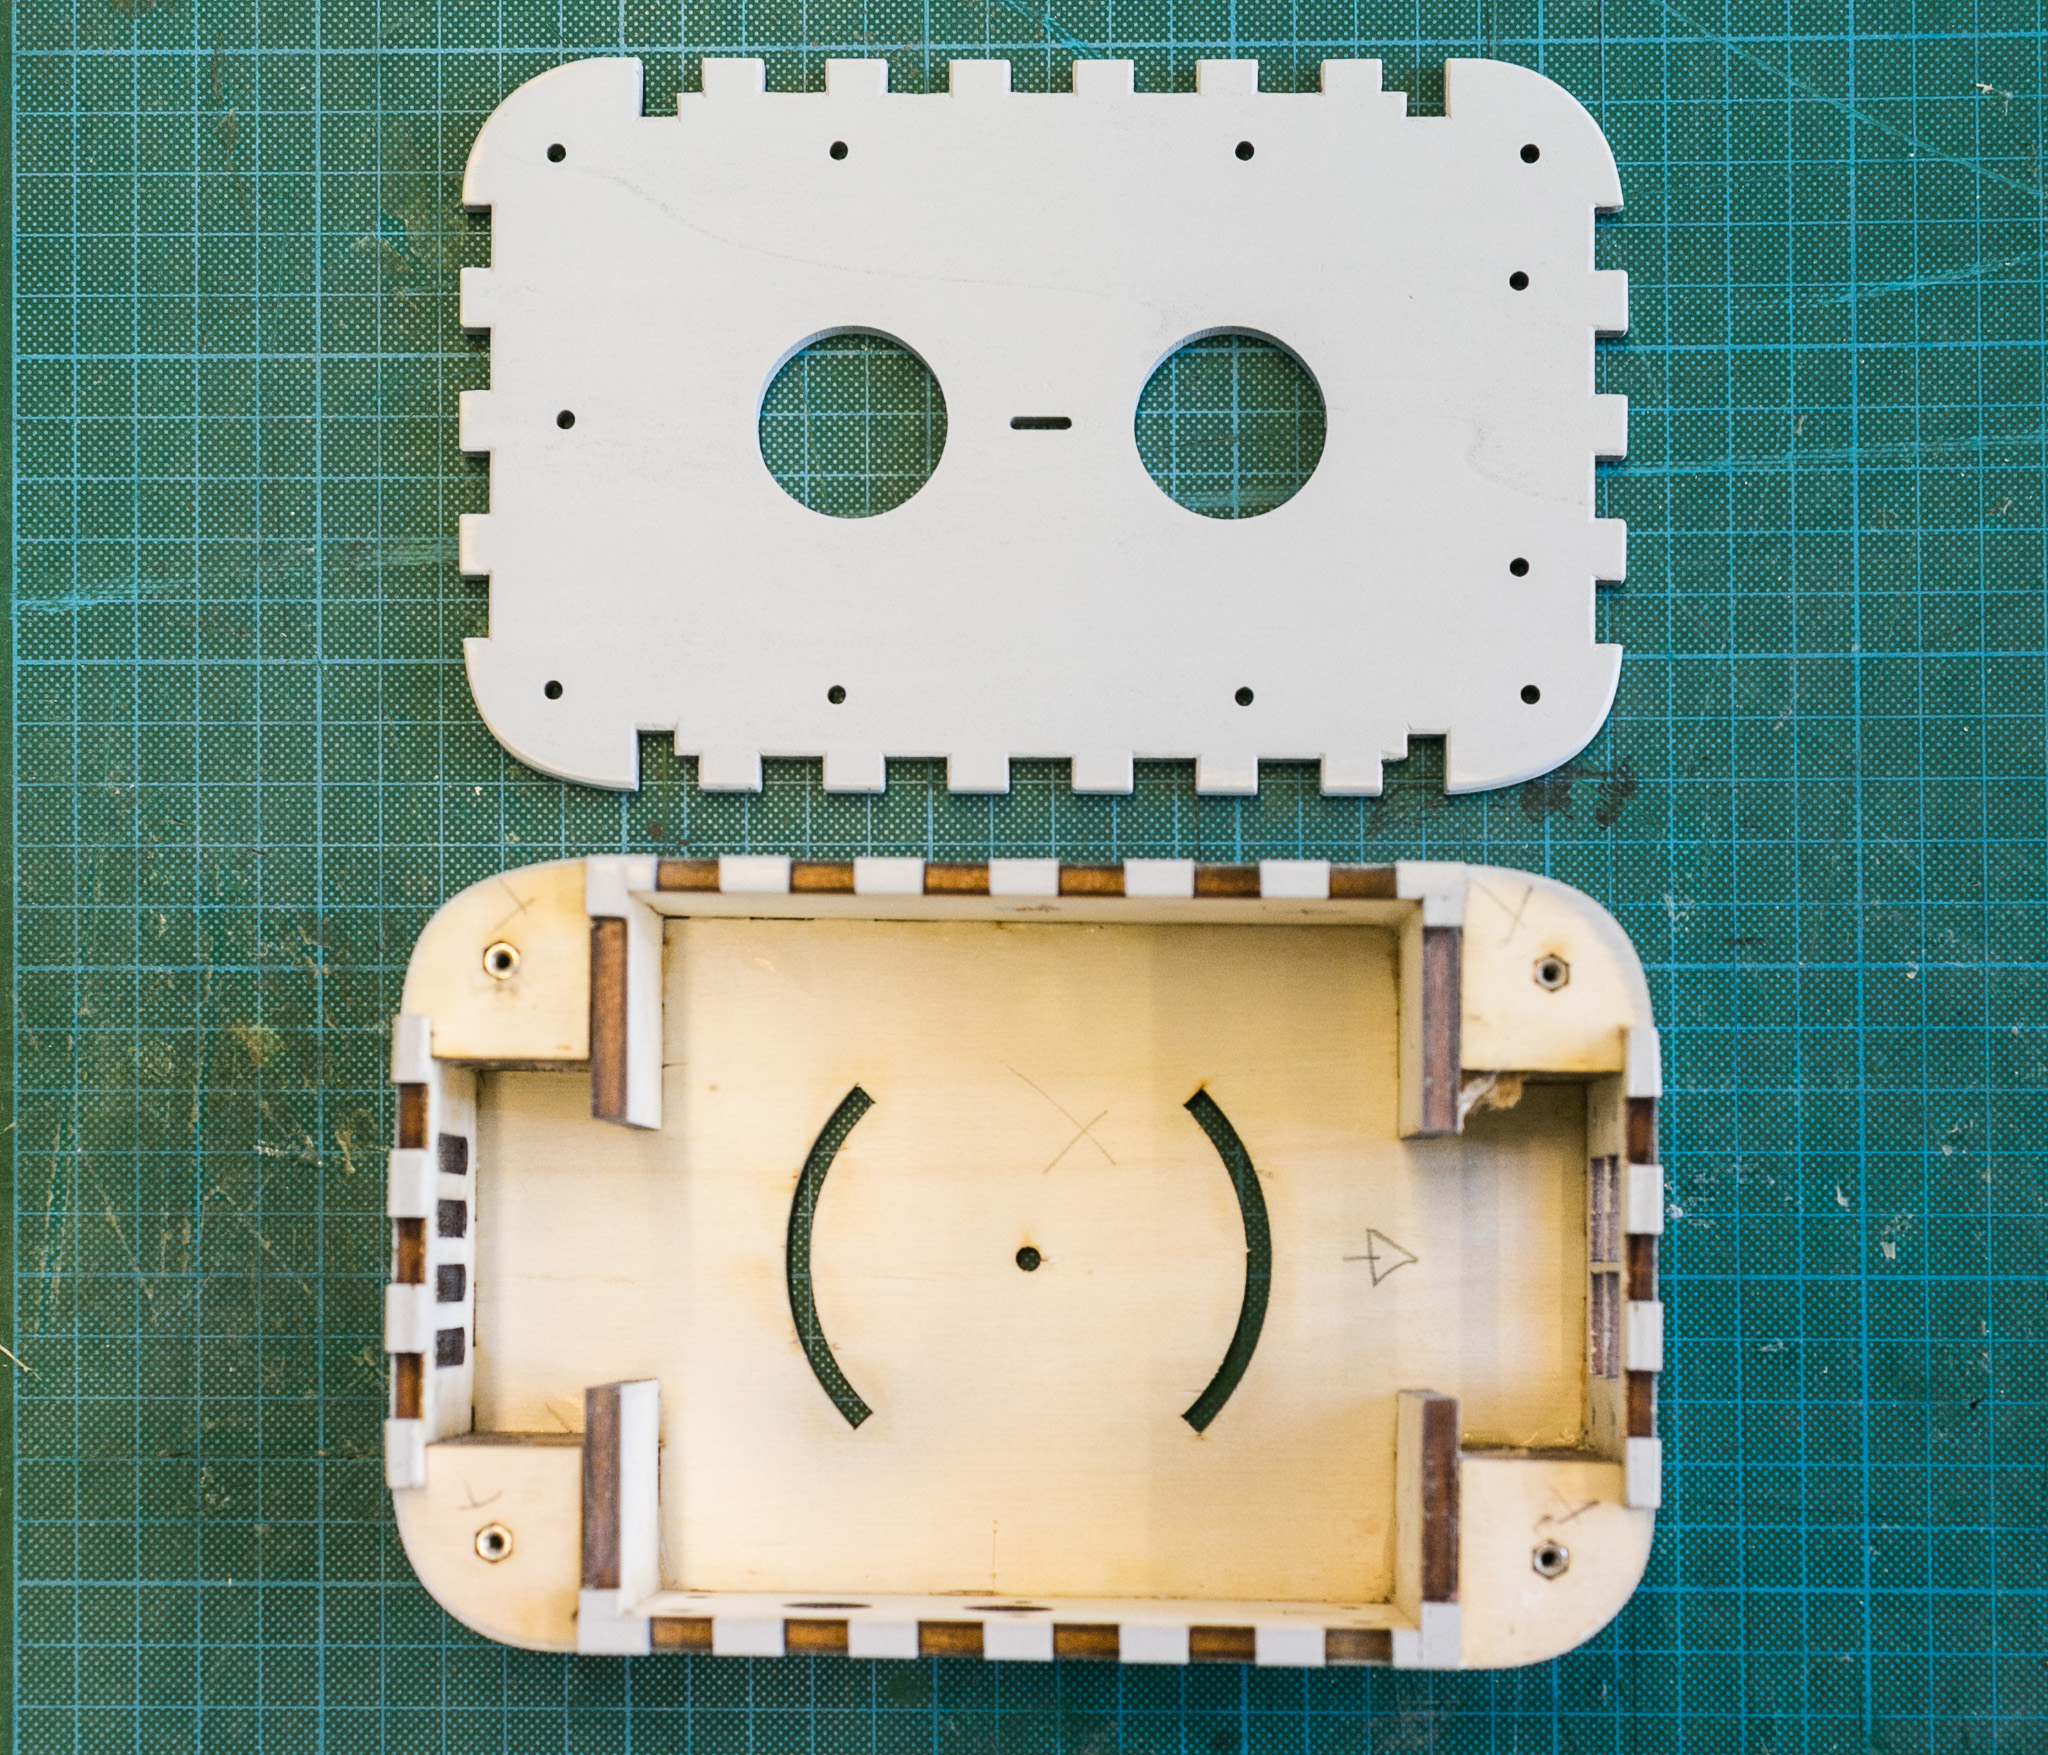 Glued, sanded and filled box from top
Laser-cutting
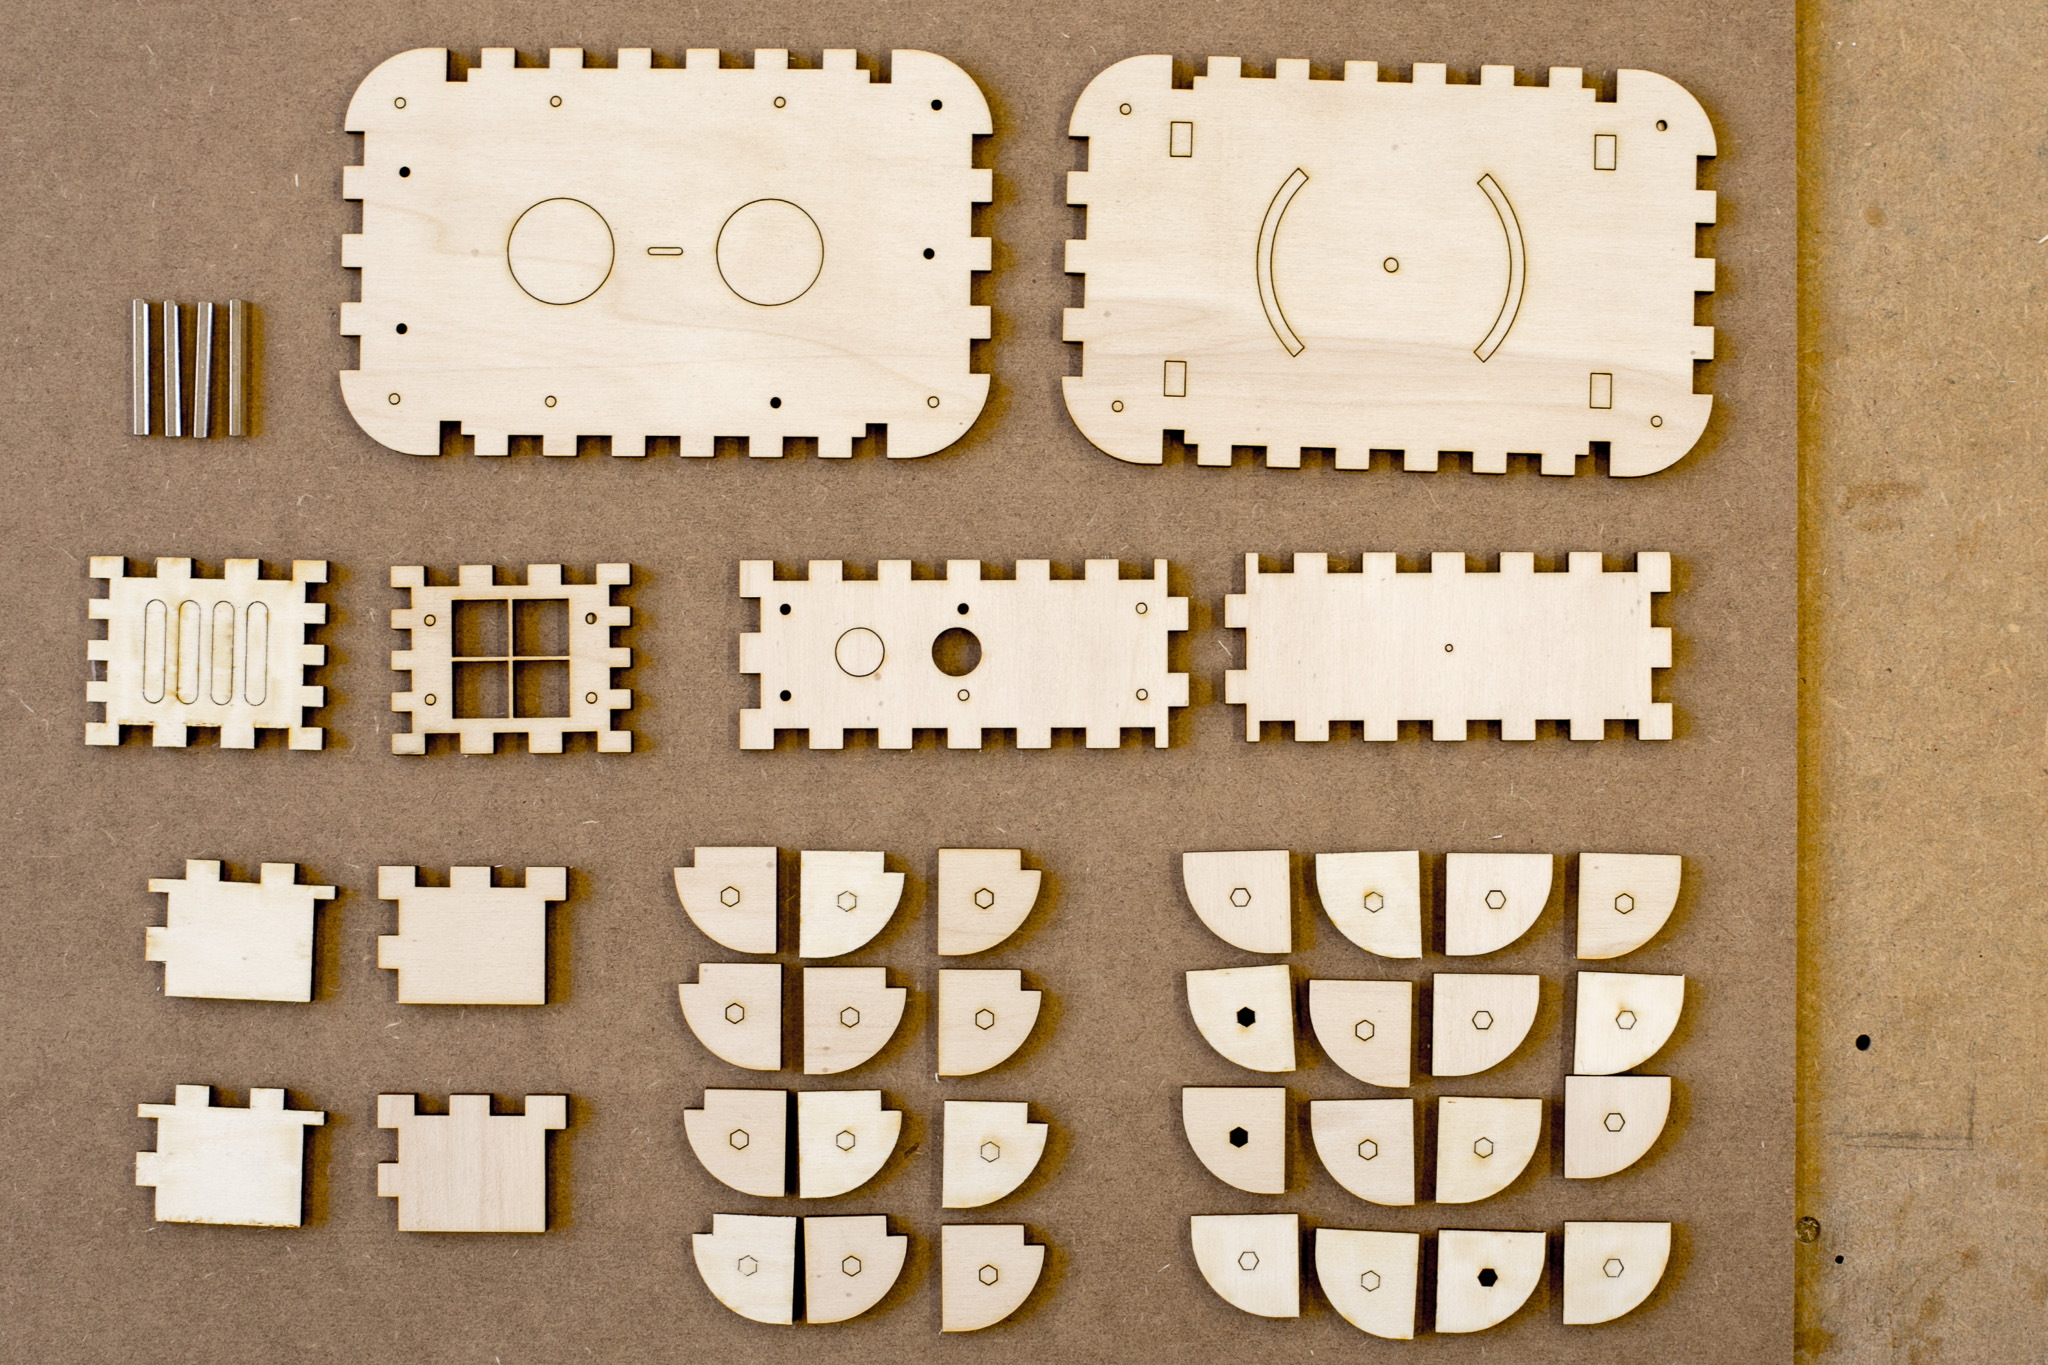 laser-cut wooden parts and spacer bolts
Use the illustrator file (link above) to laser-cut the parts from the plywood piece.
Before using your actual material, try the laser-cutter and its settings with a piece of plywood scrap.
Drilling
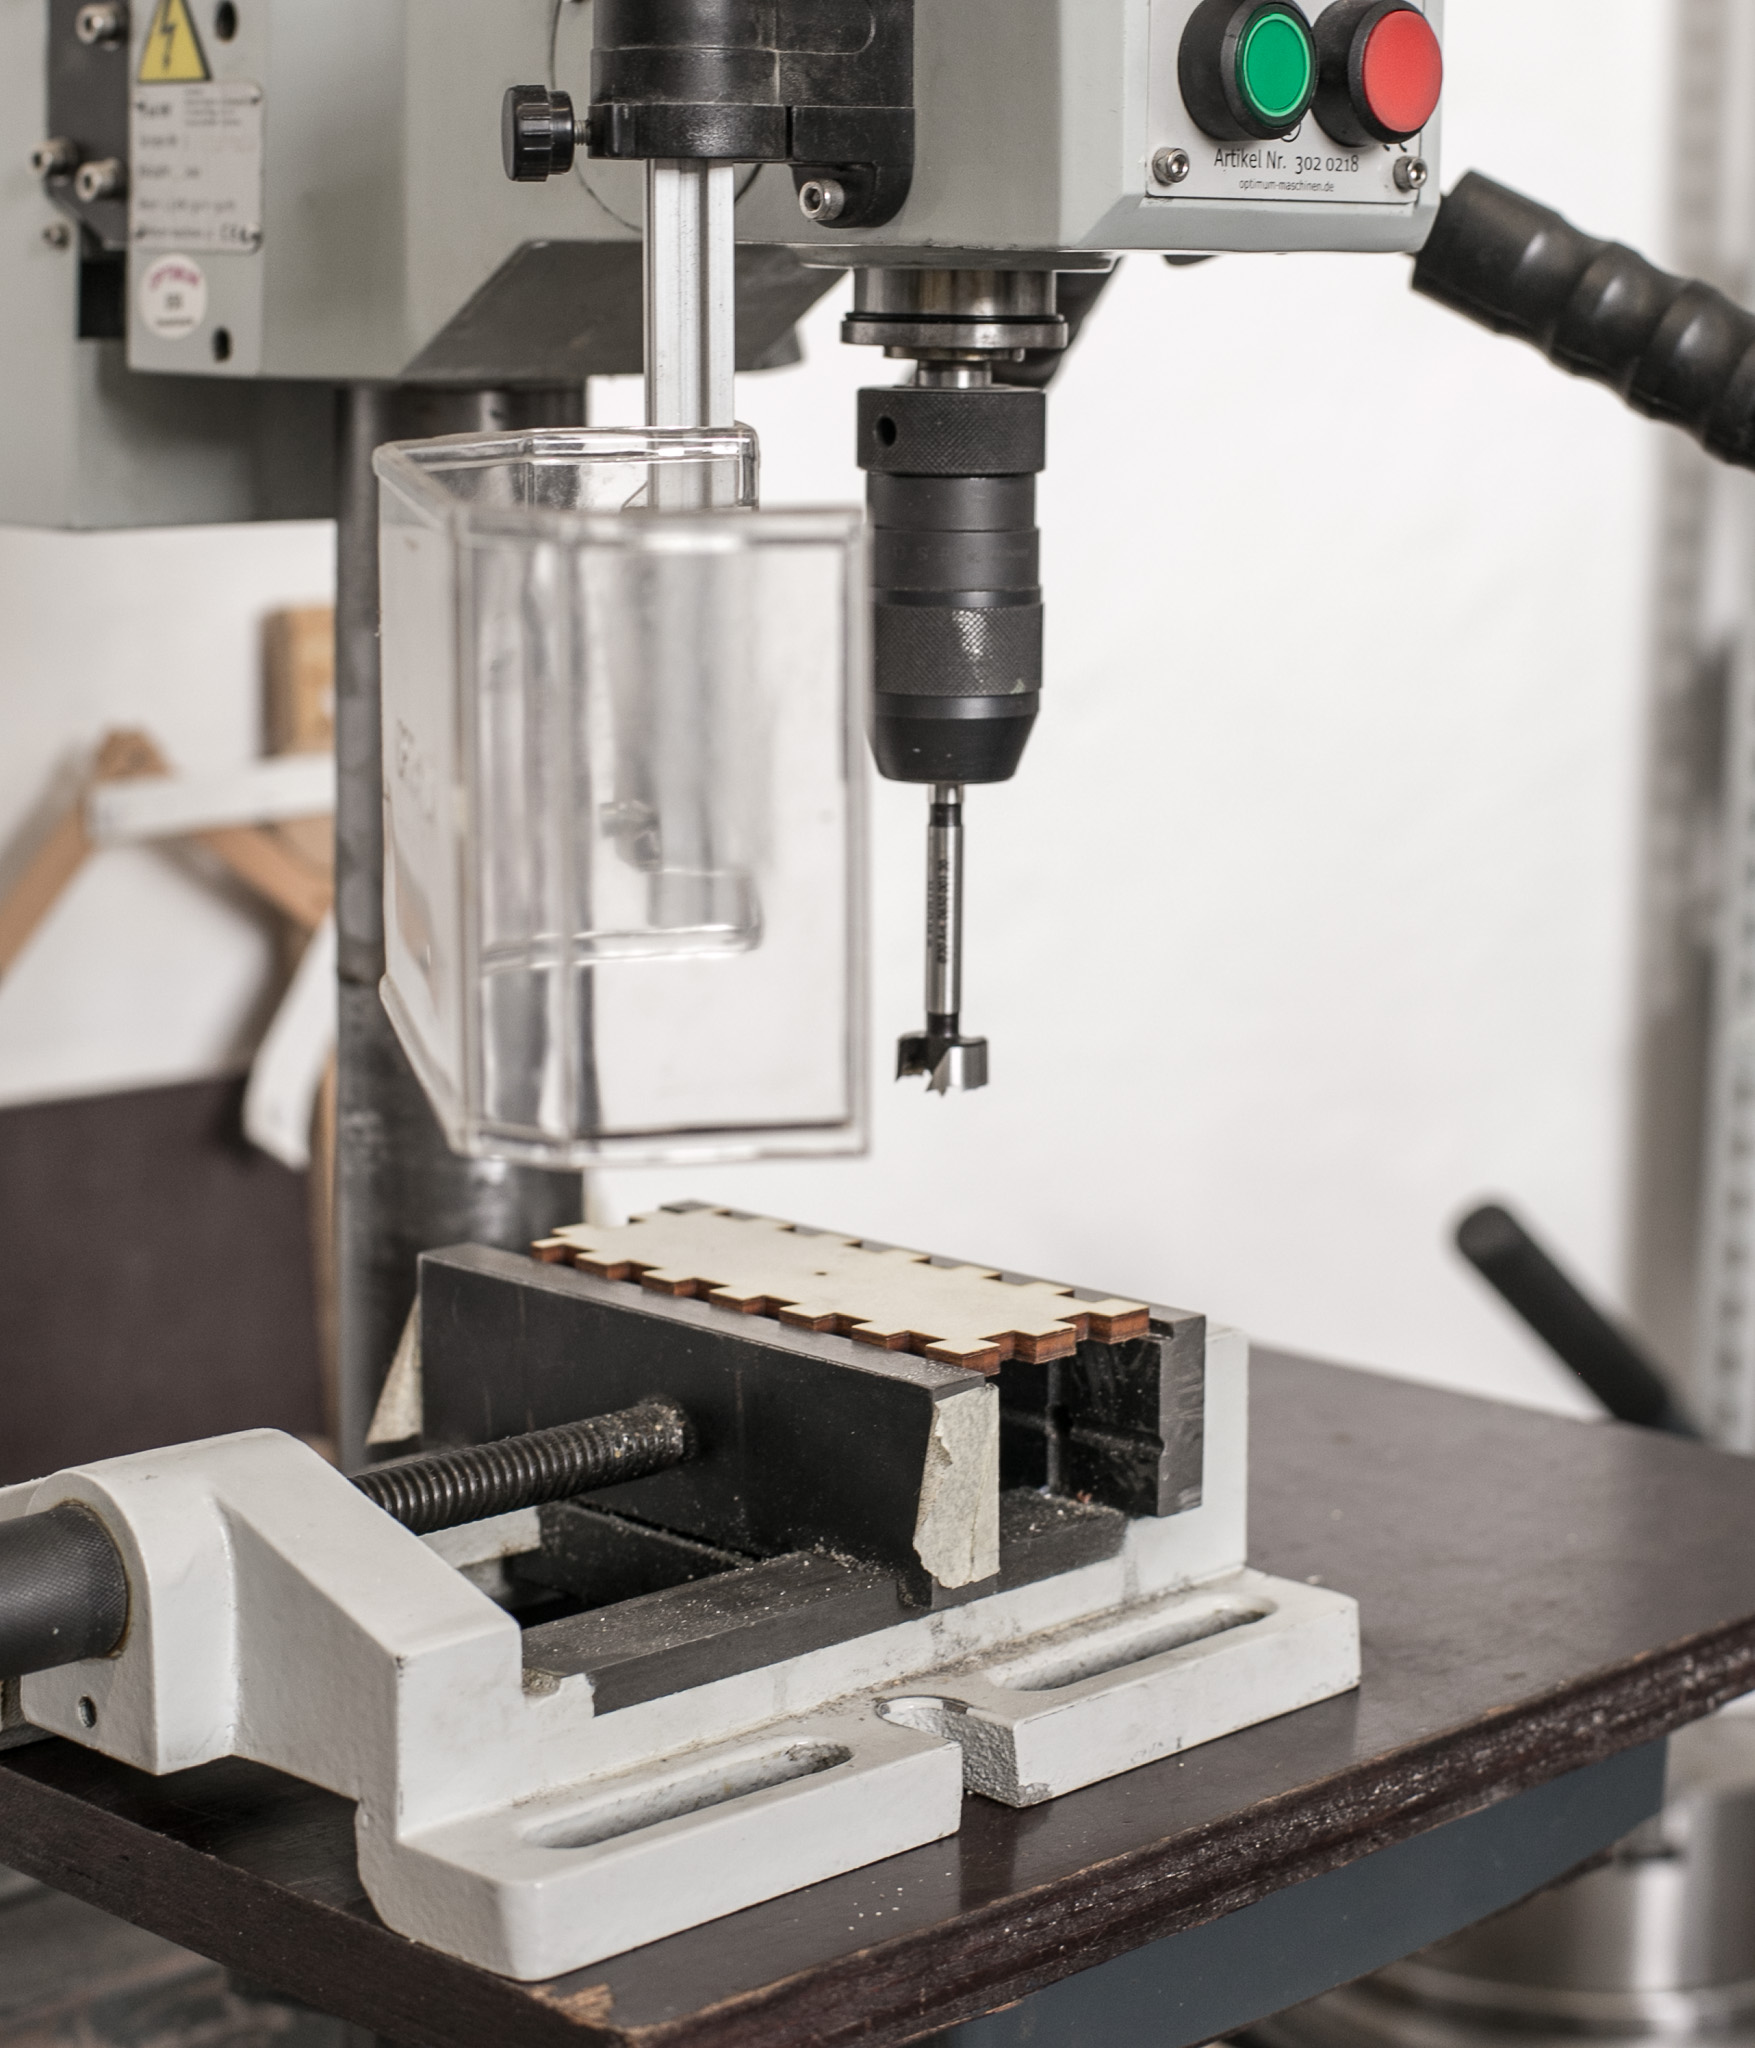 Fix the left wall in a drilling vise.
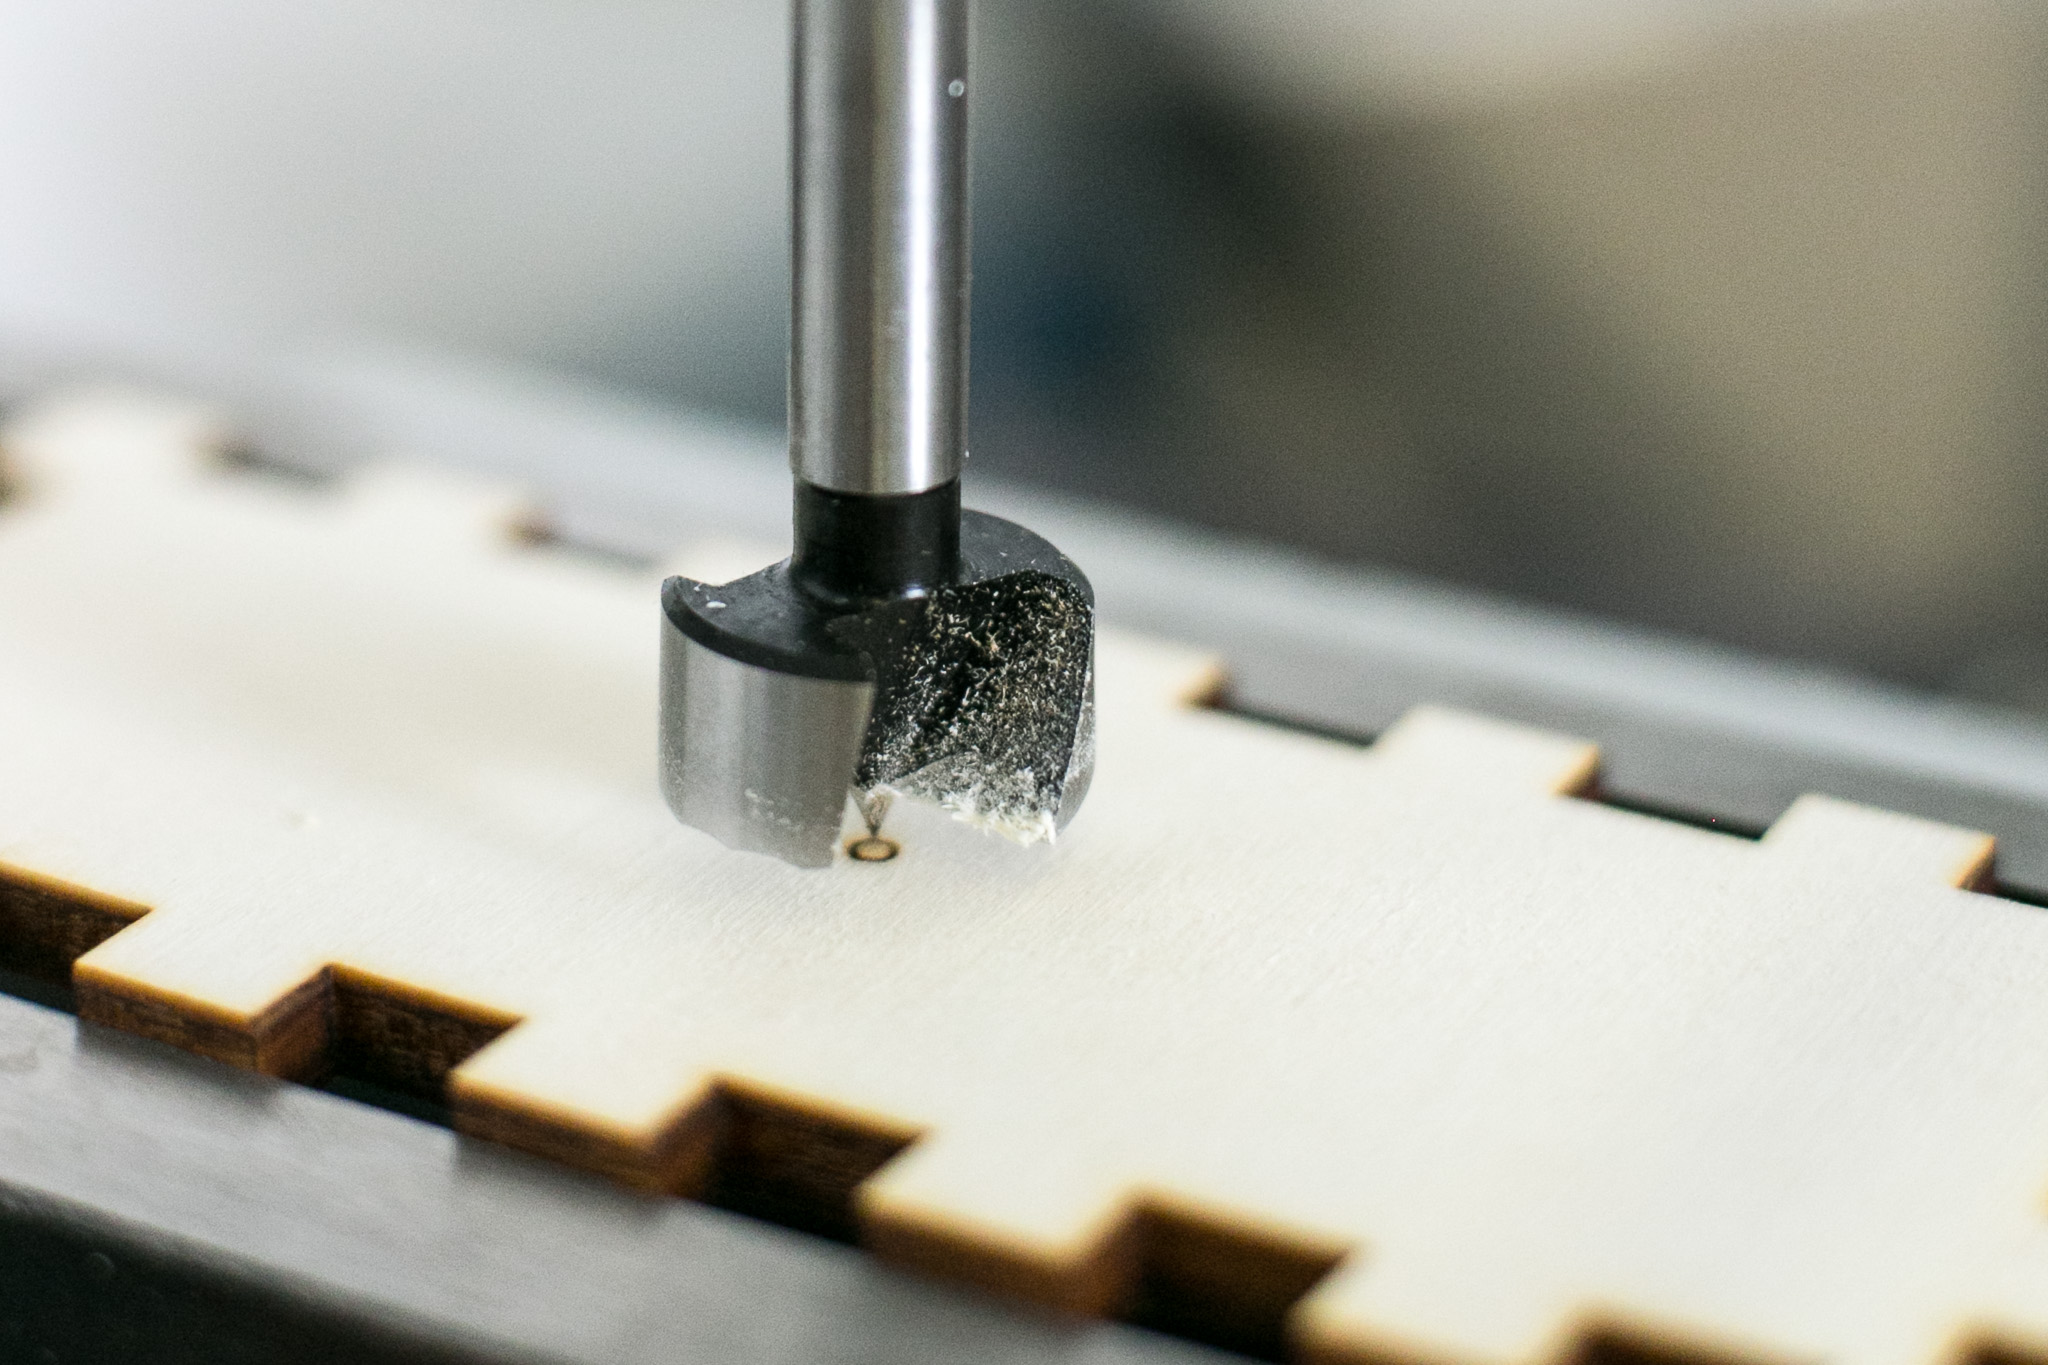 Centre the Forstner drill to the centre hole.
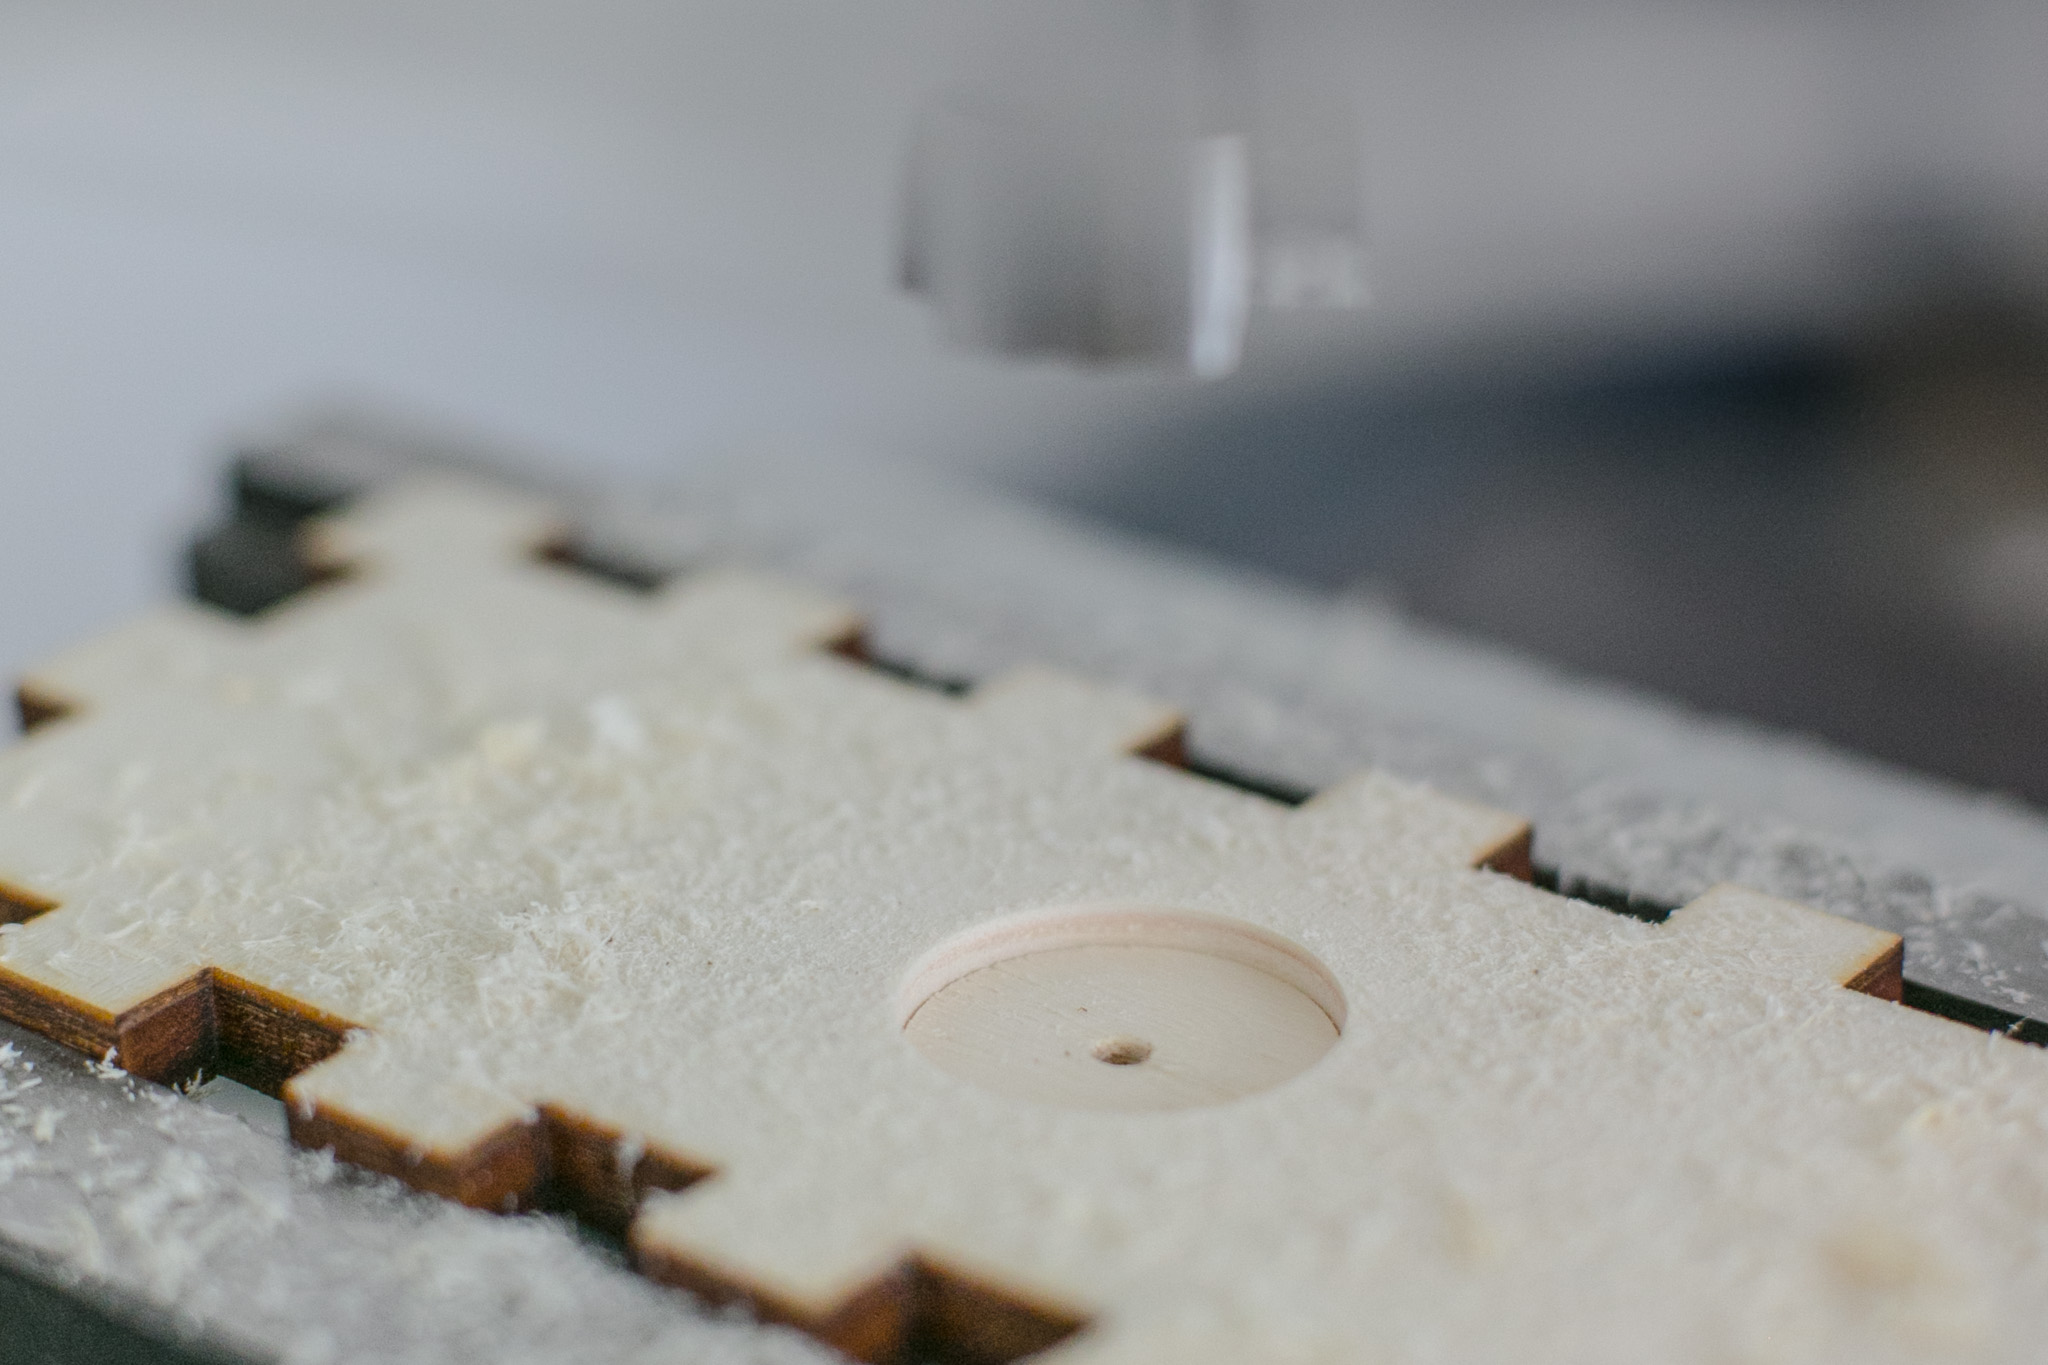 Drill 1.5mm into the material.
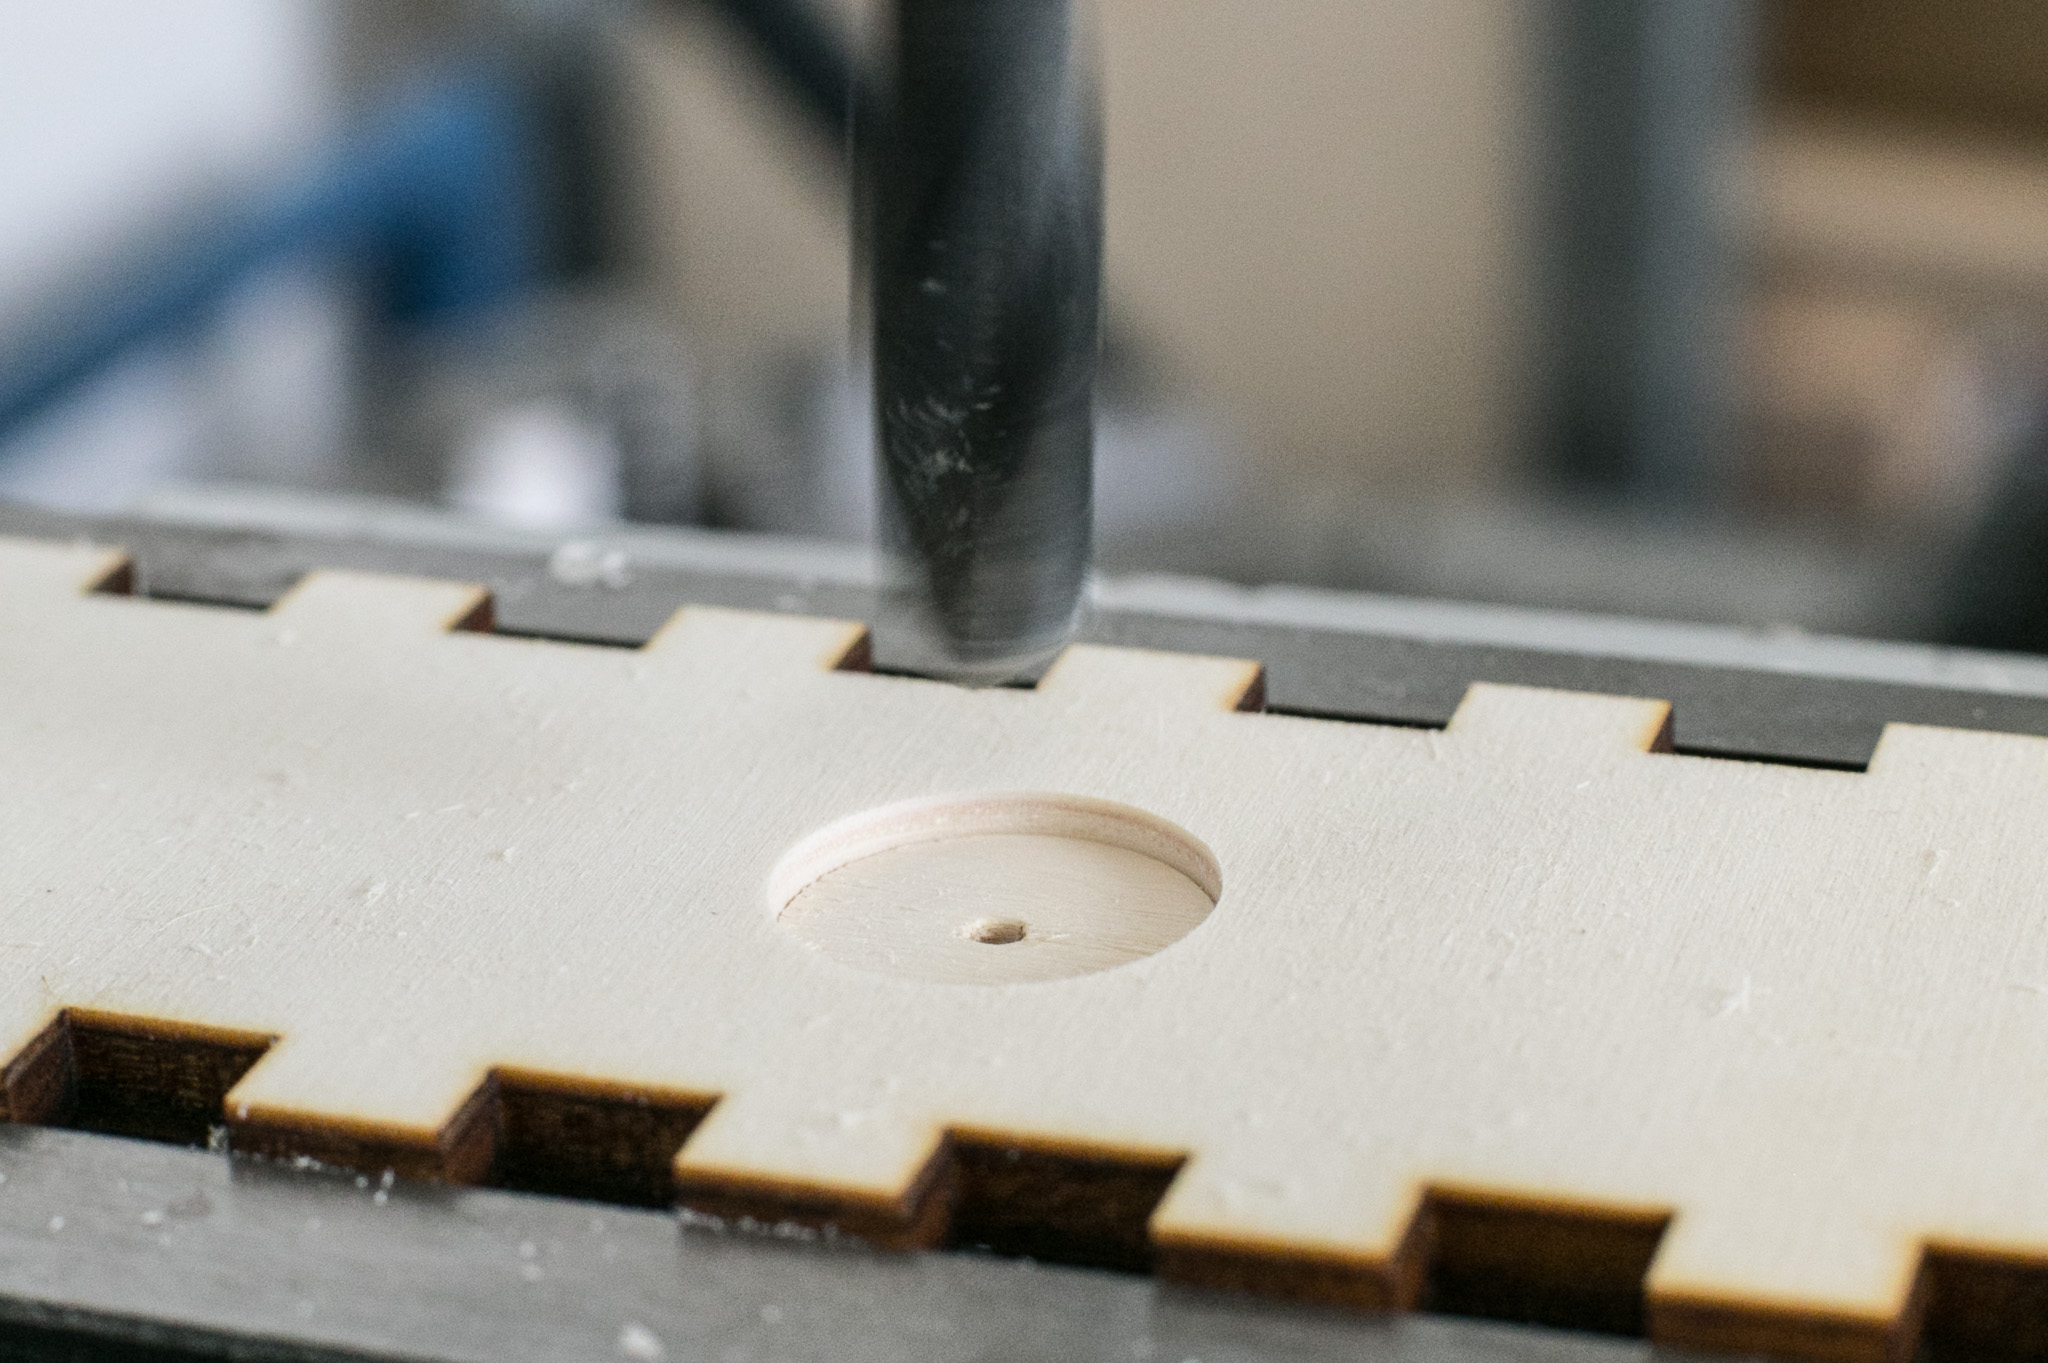 Change to a 20mm wood drill and make a hole at the centre of the pit.
Dry run assembly
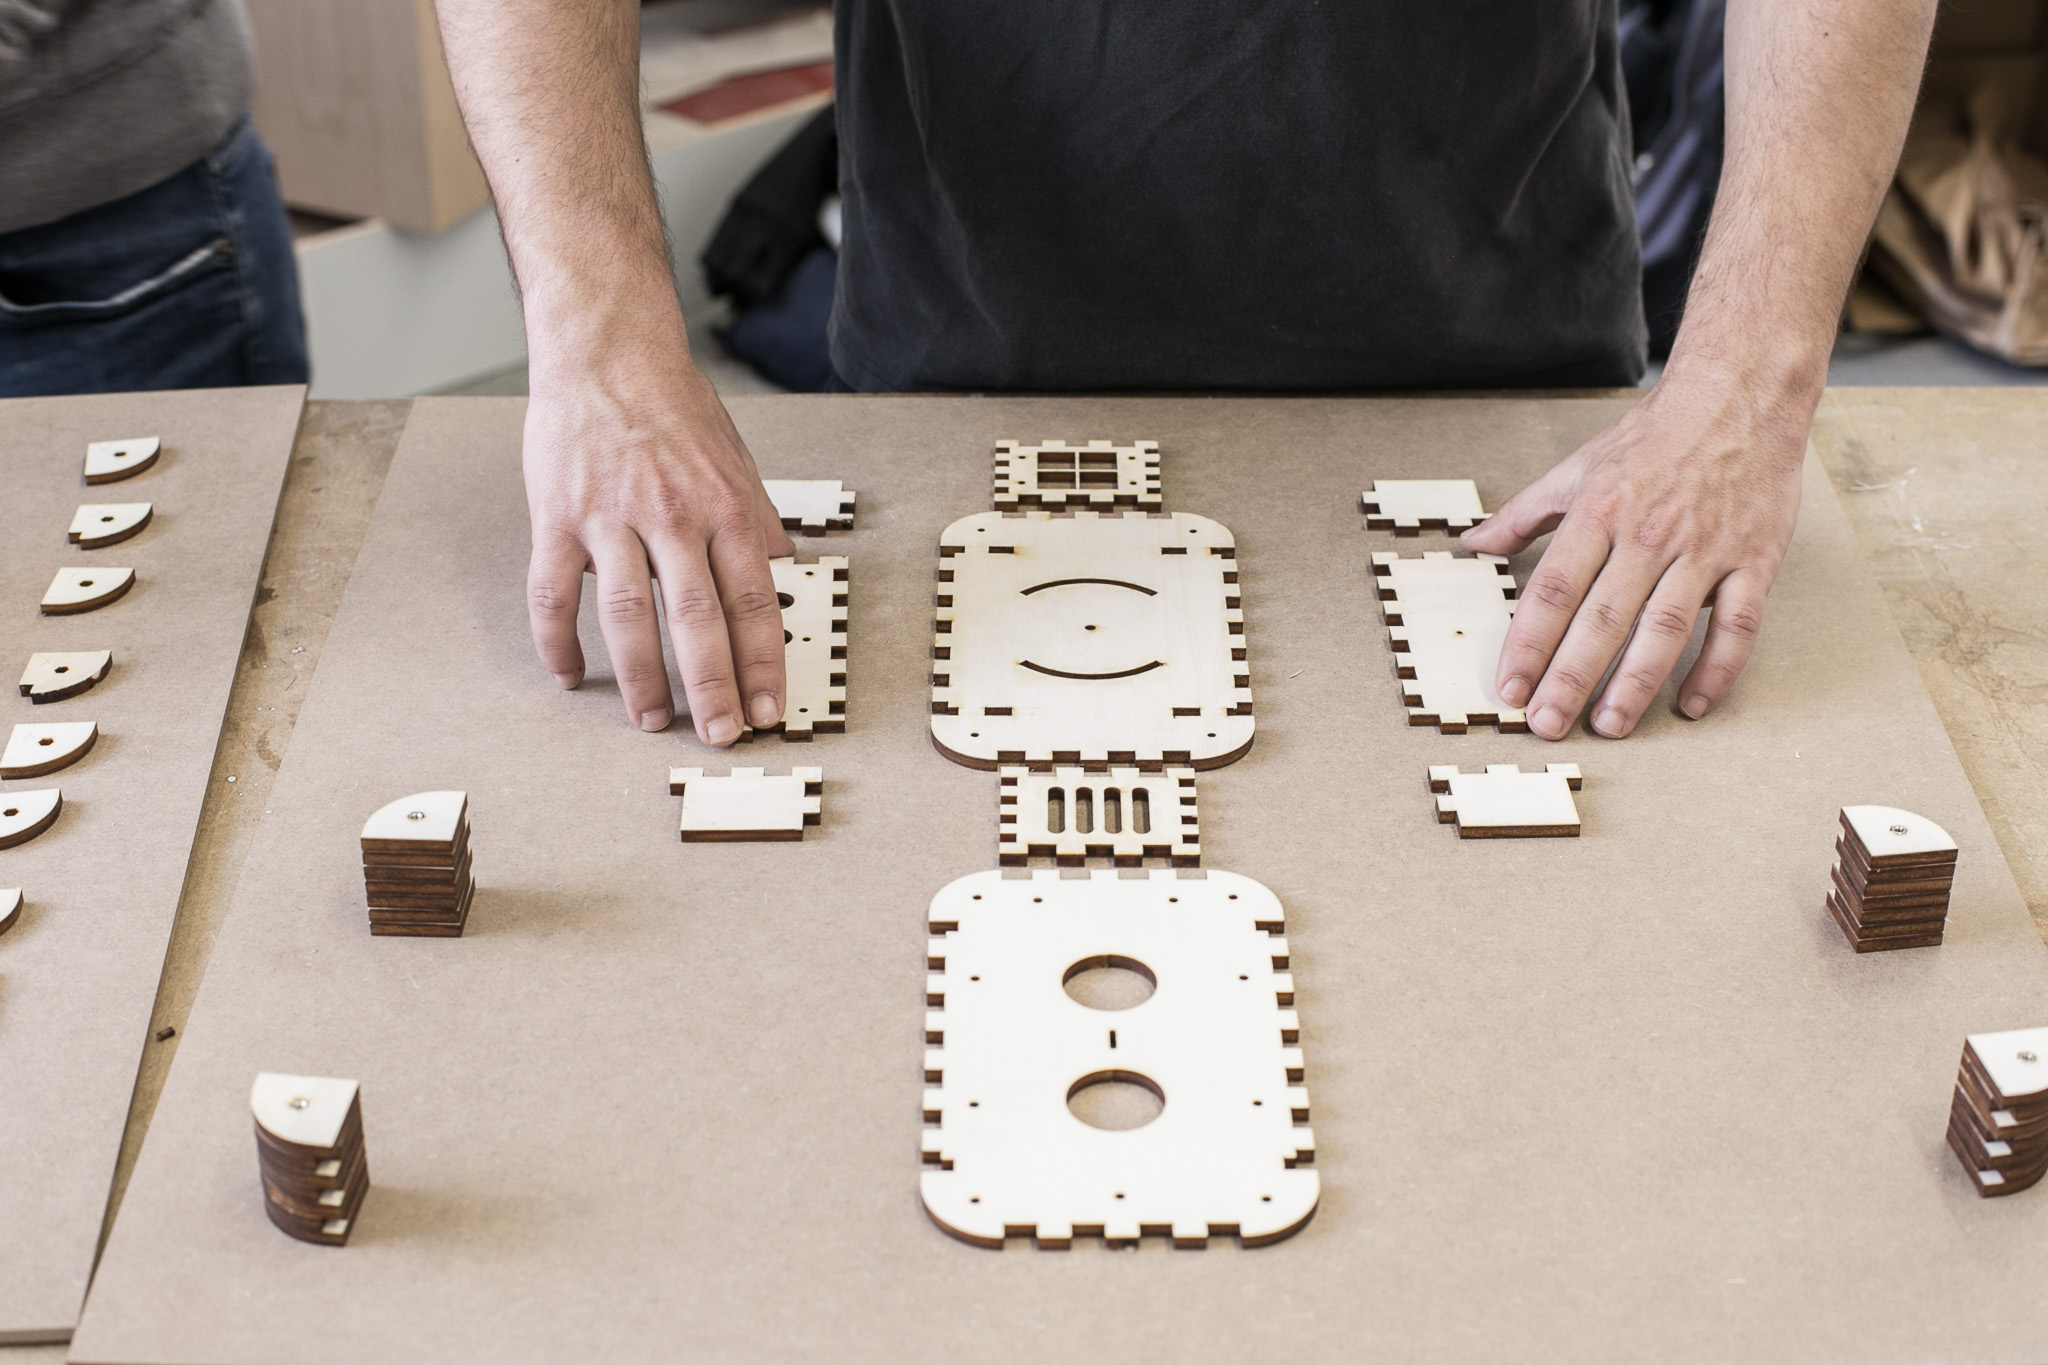
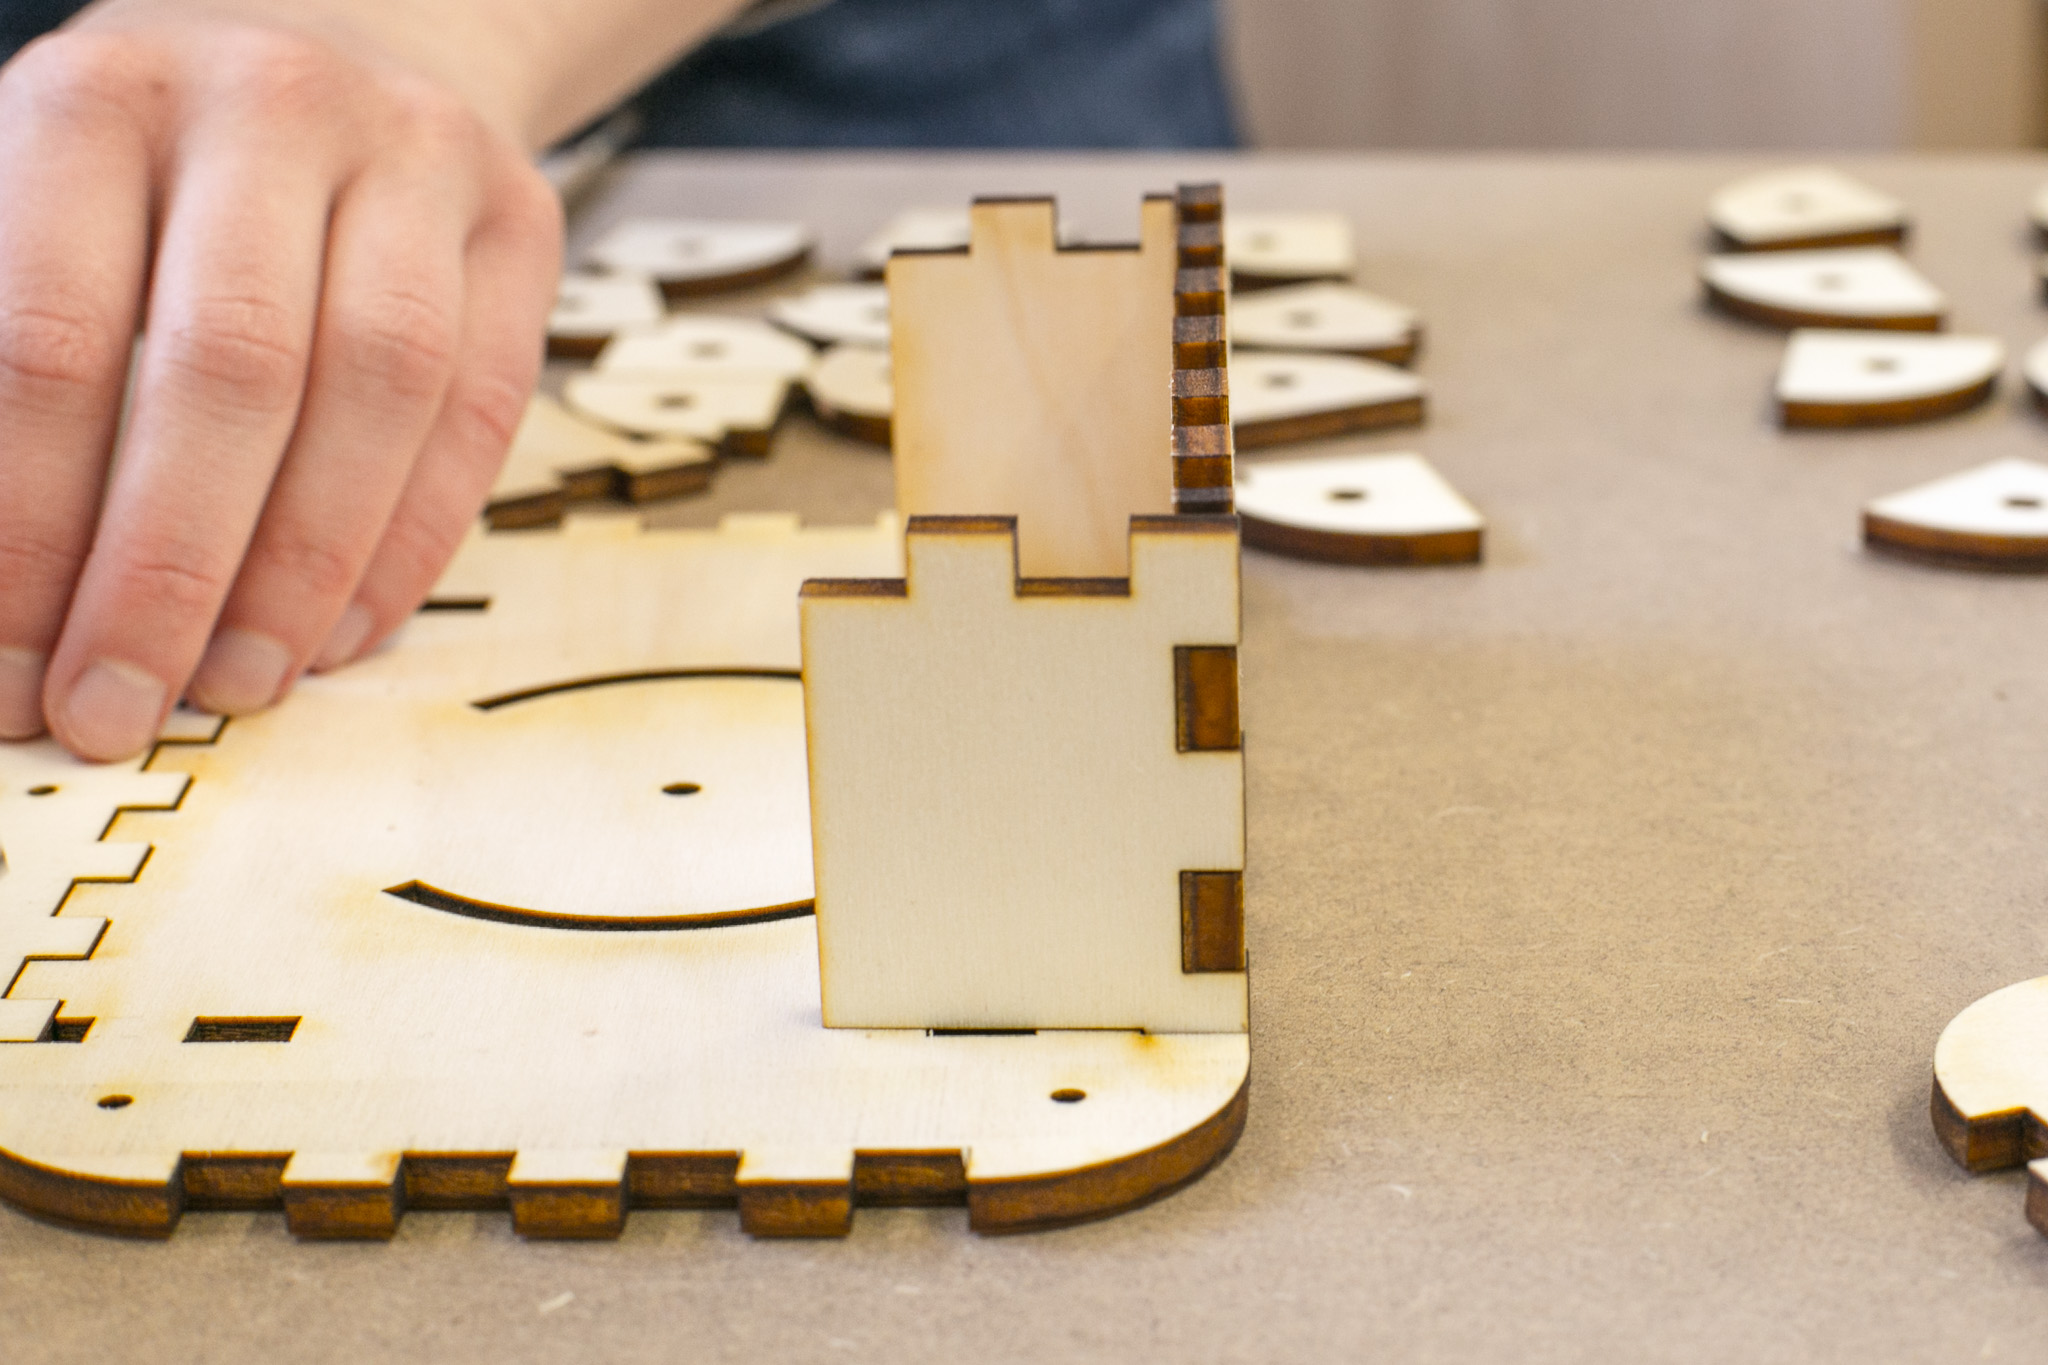 Before gluing the pieces into the box, put them together without glue to check if everything fits.
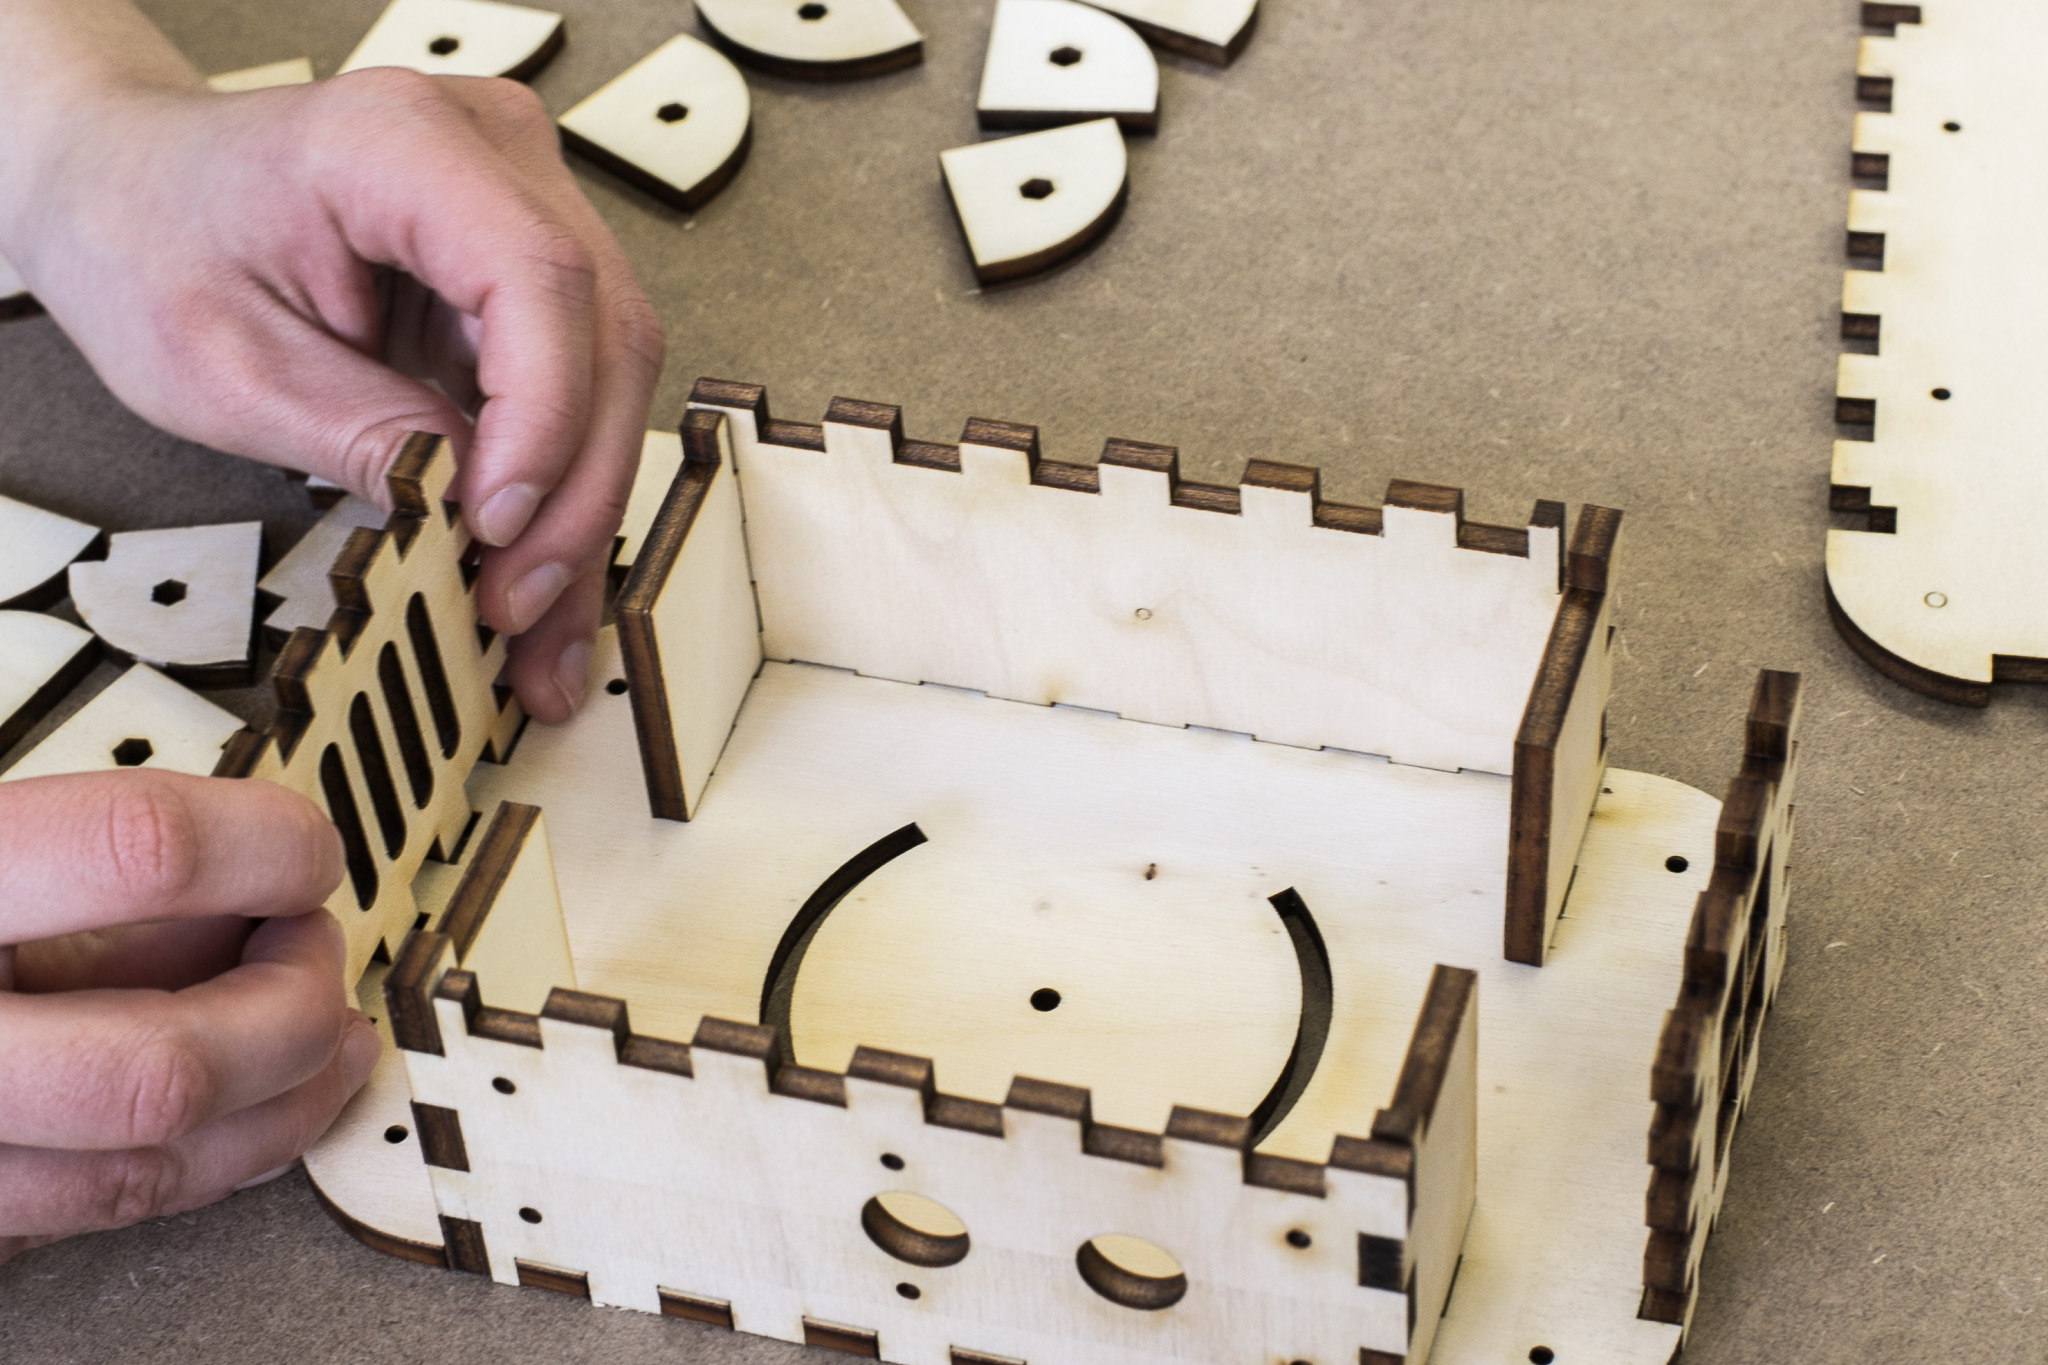
Note that the shape of the elements does allow more than one way to create a box. Be careful to not swap elements or put them in inside-out.
The back element has four slits, whereas the front has four squares.
The left side has a centre hole and the right side two holes which should be located on the front-right side of the box.
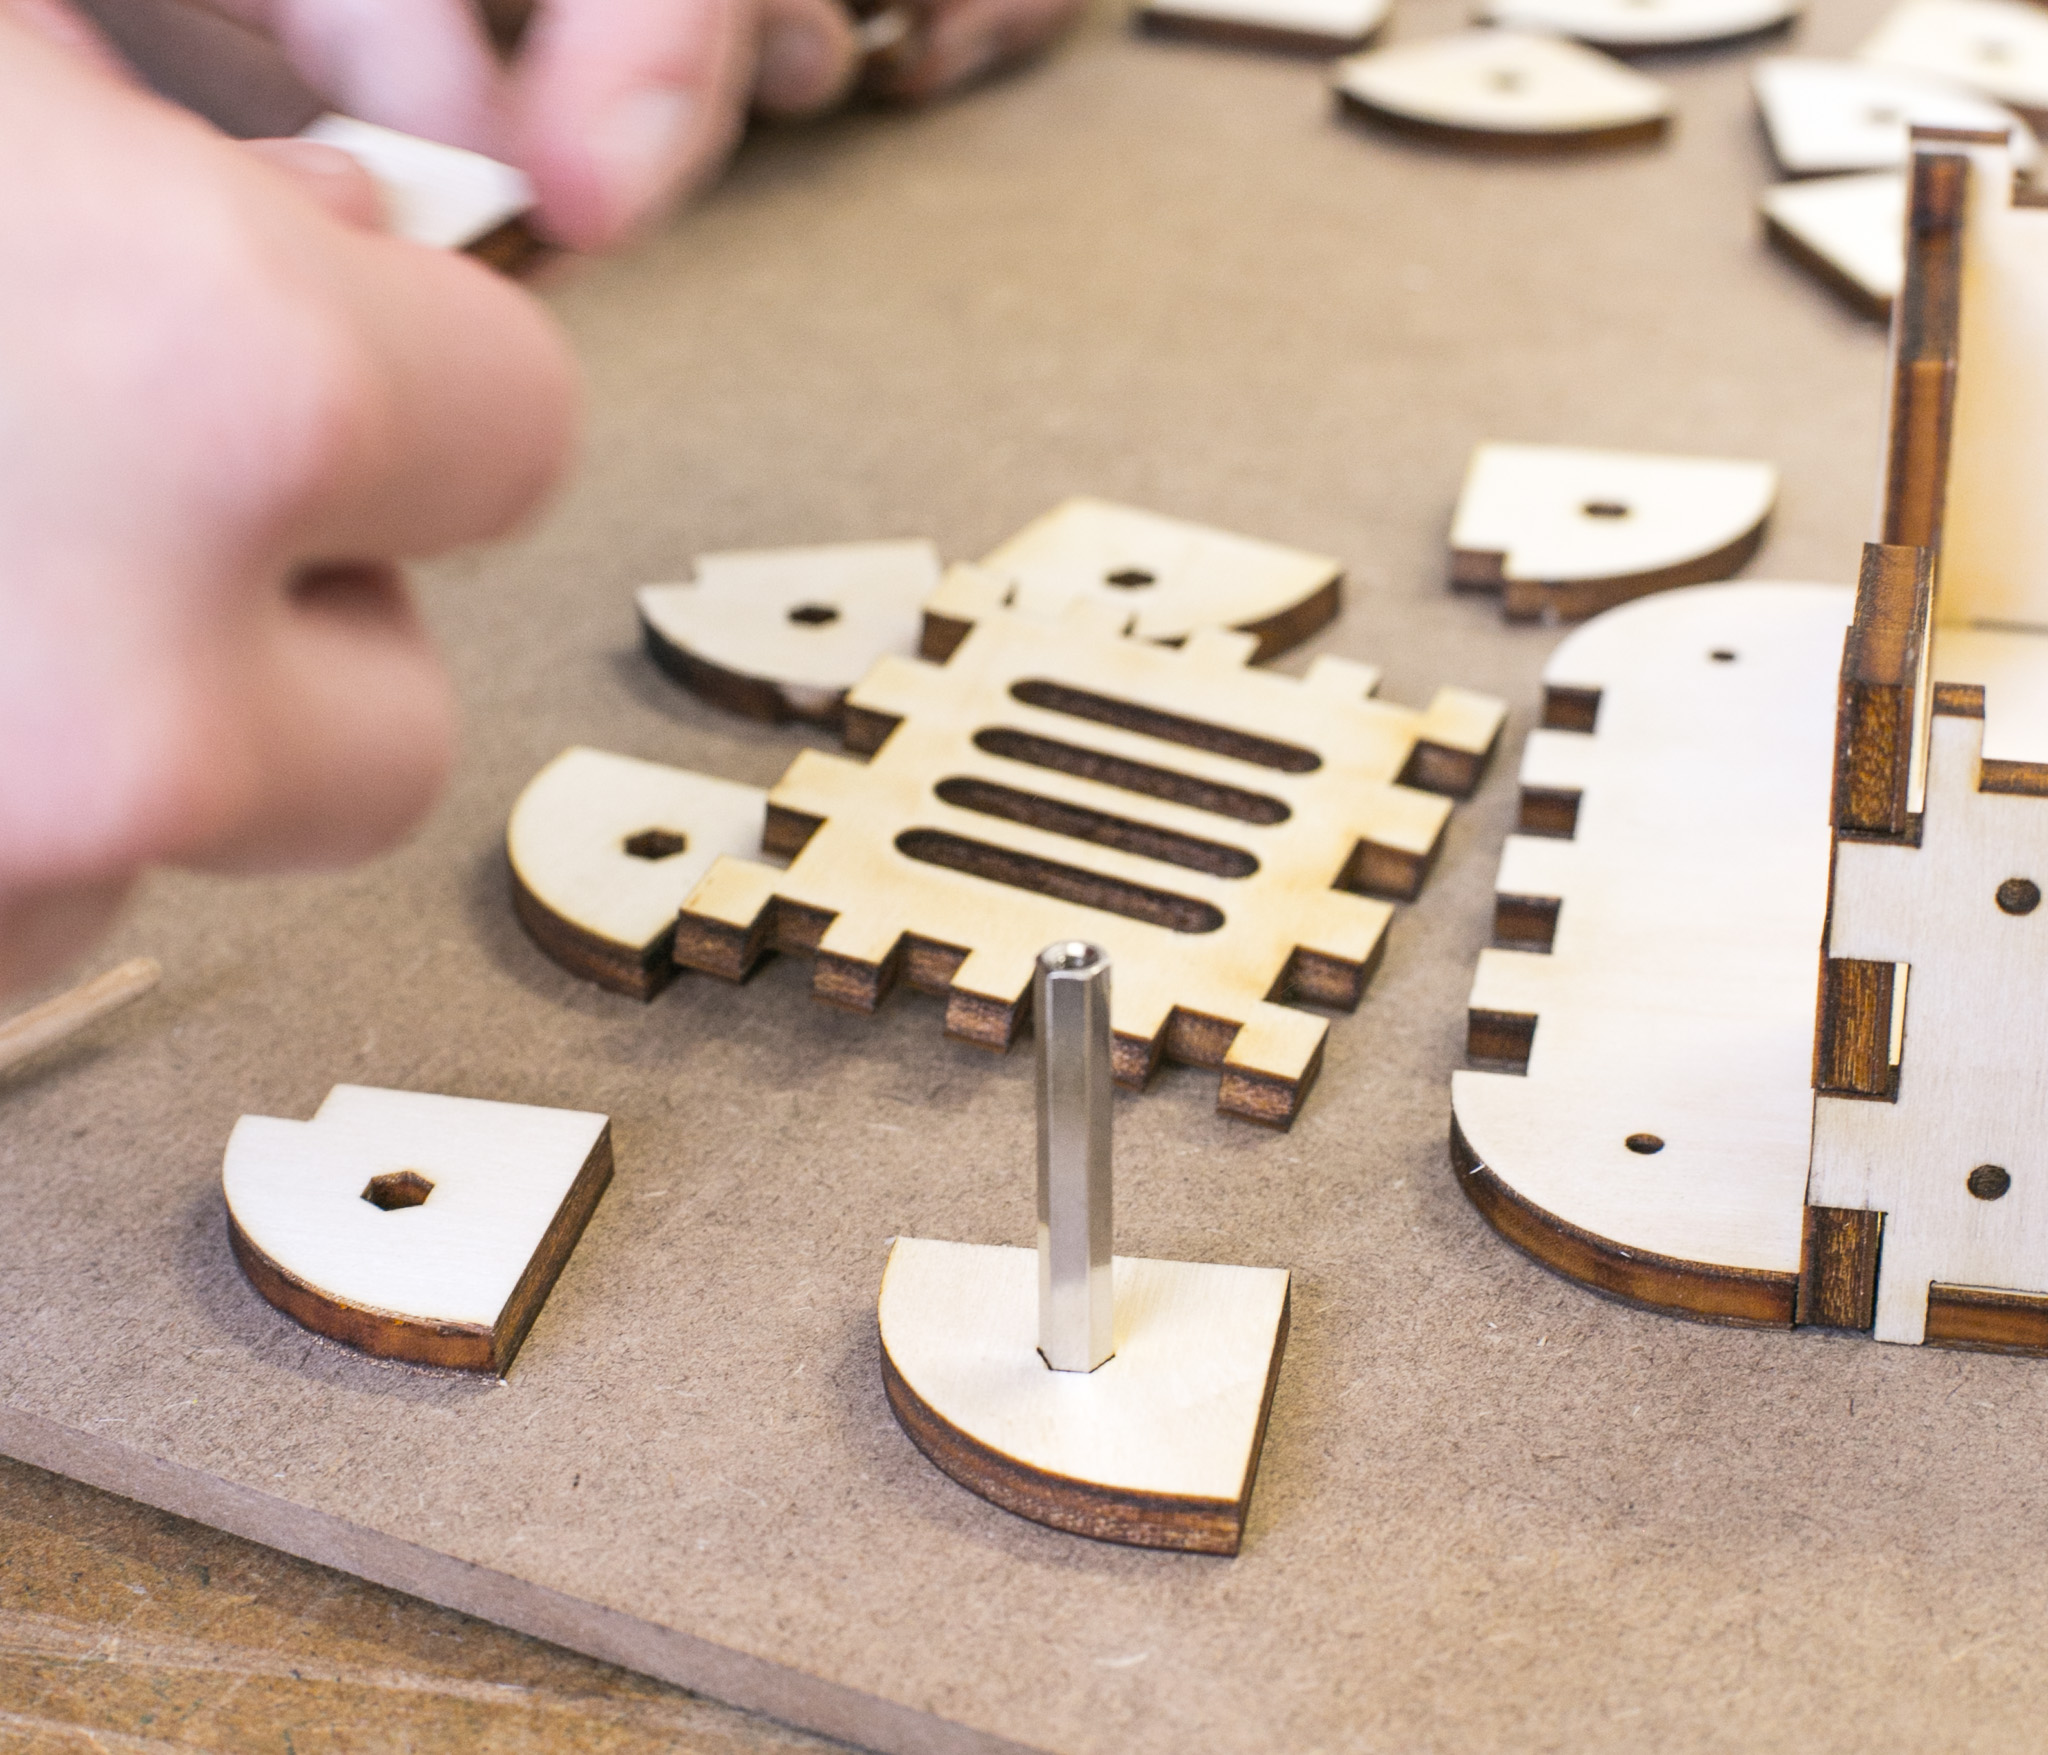
Seven Tower pieces (3 with cutaways, 4 without cutaways) stacked to a tower with a hole in the middle for the hexagonal spacer bolts.
Use a hexagonal spacer bolt for the stacking, this way you make sure to put them in the right direction.
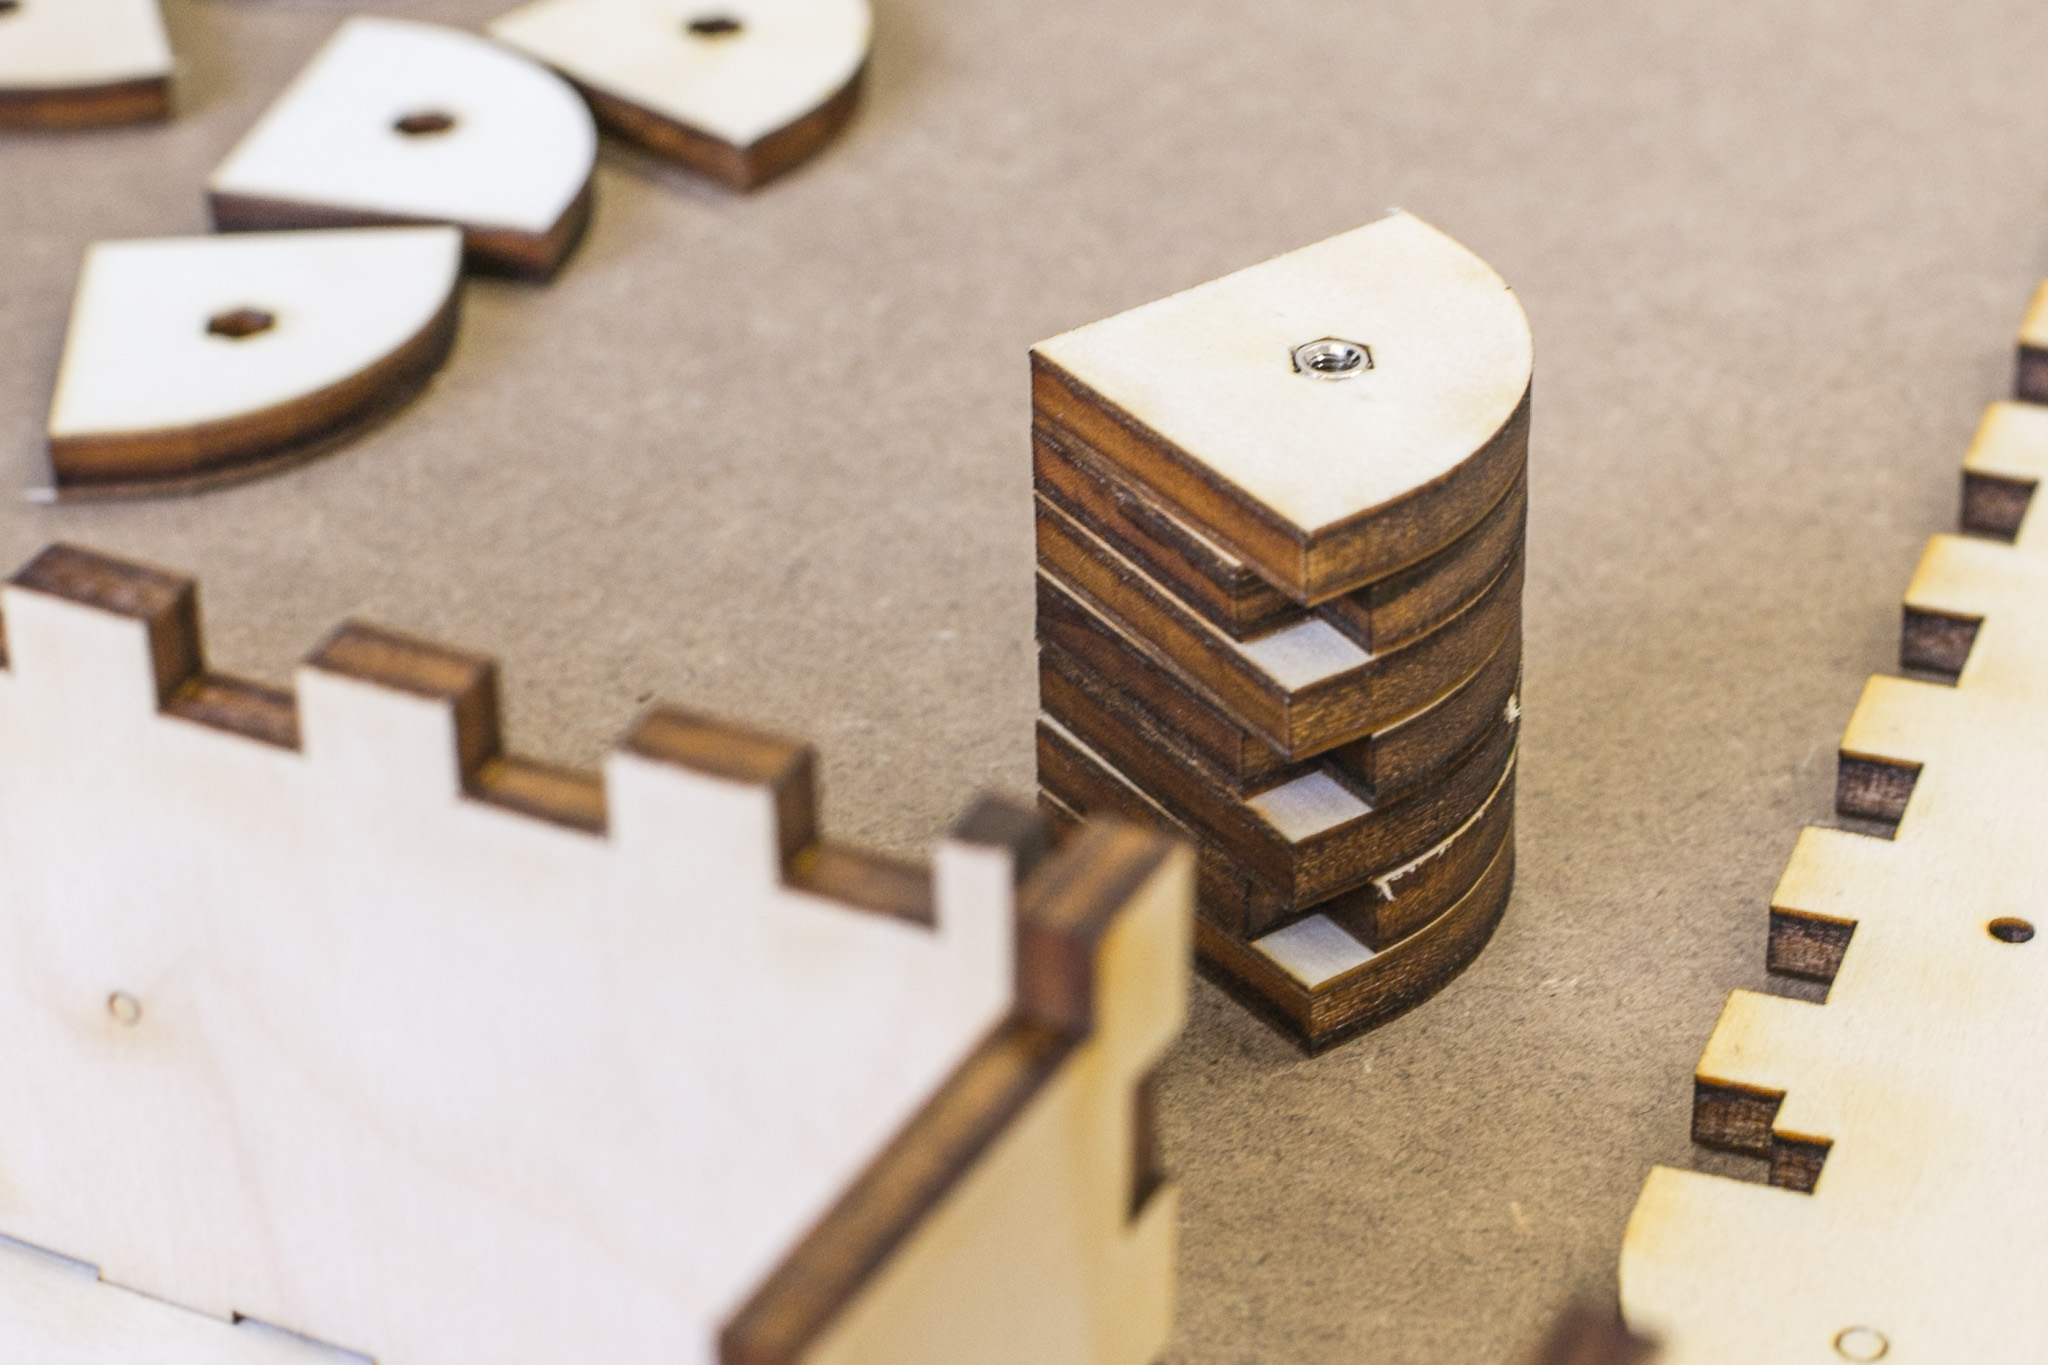 Tower pieces stacked with the hexagonal spacer bolt inside
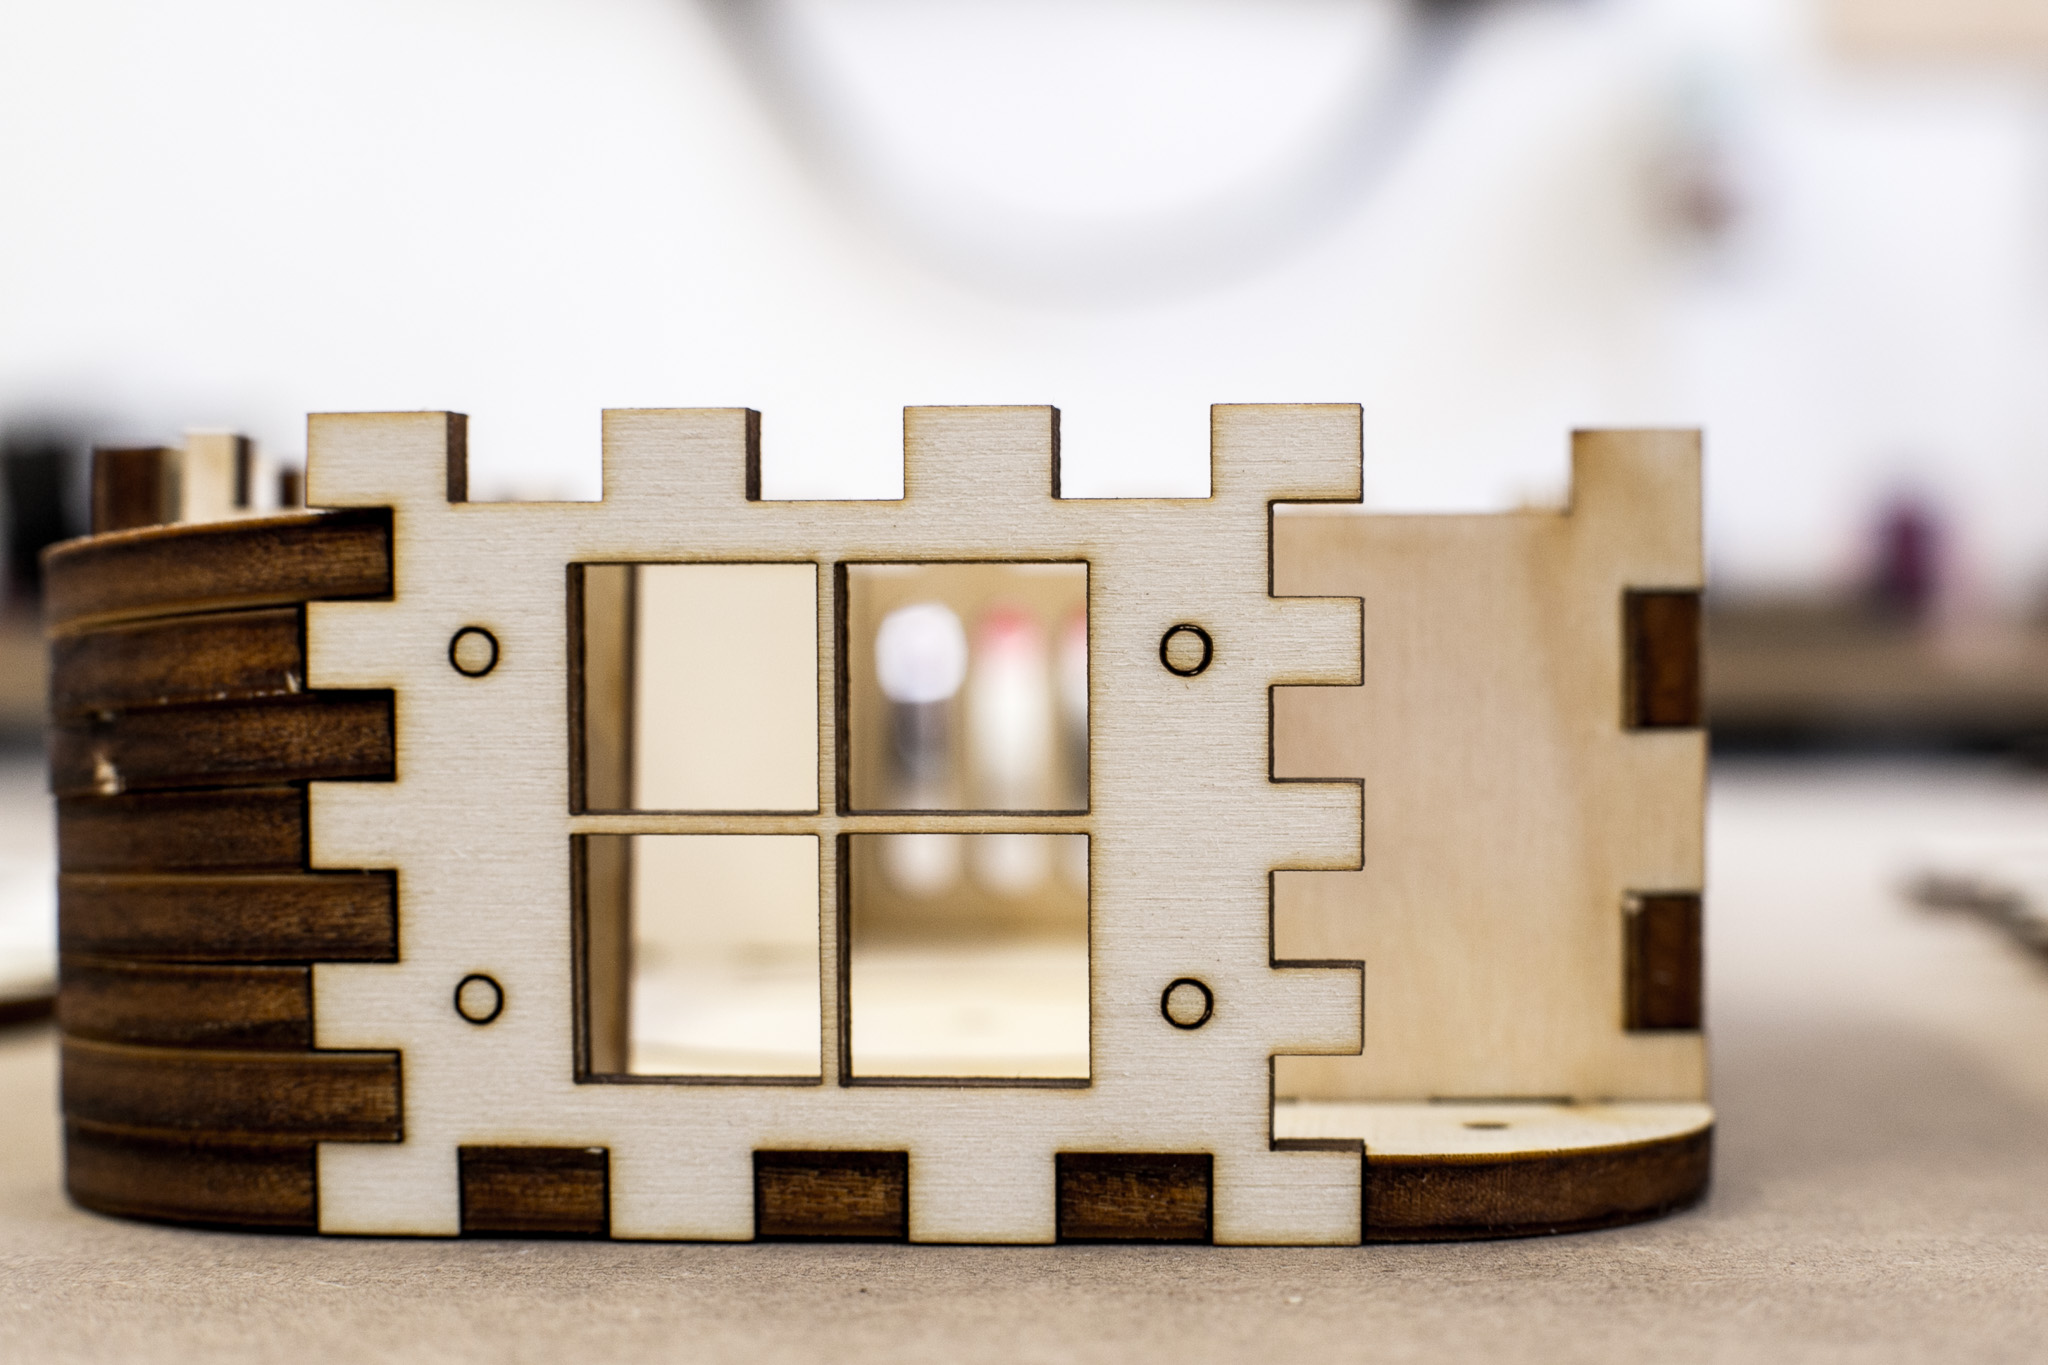 Front view with right tower assembled.
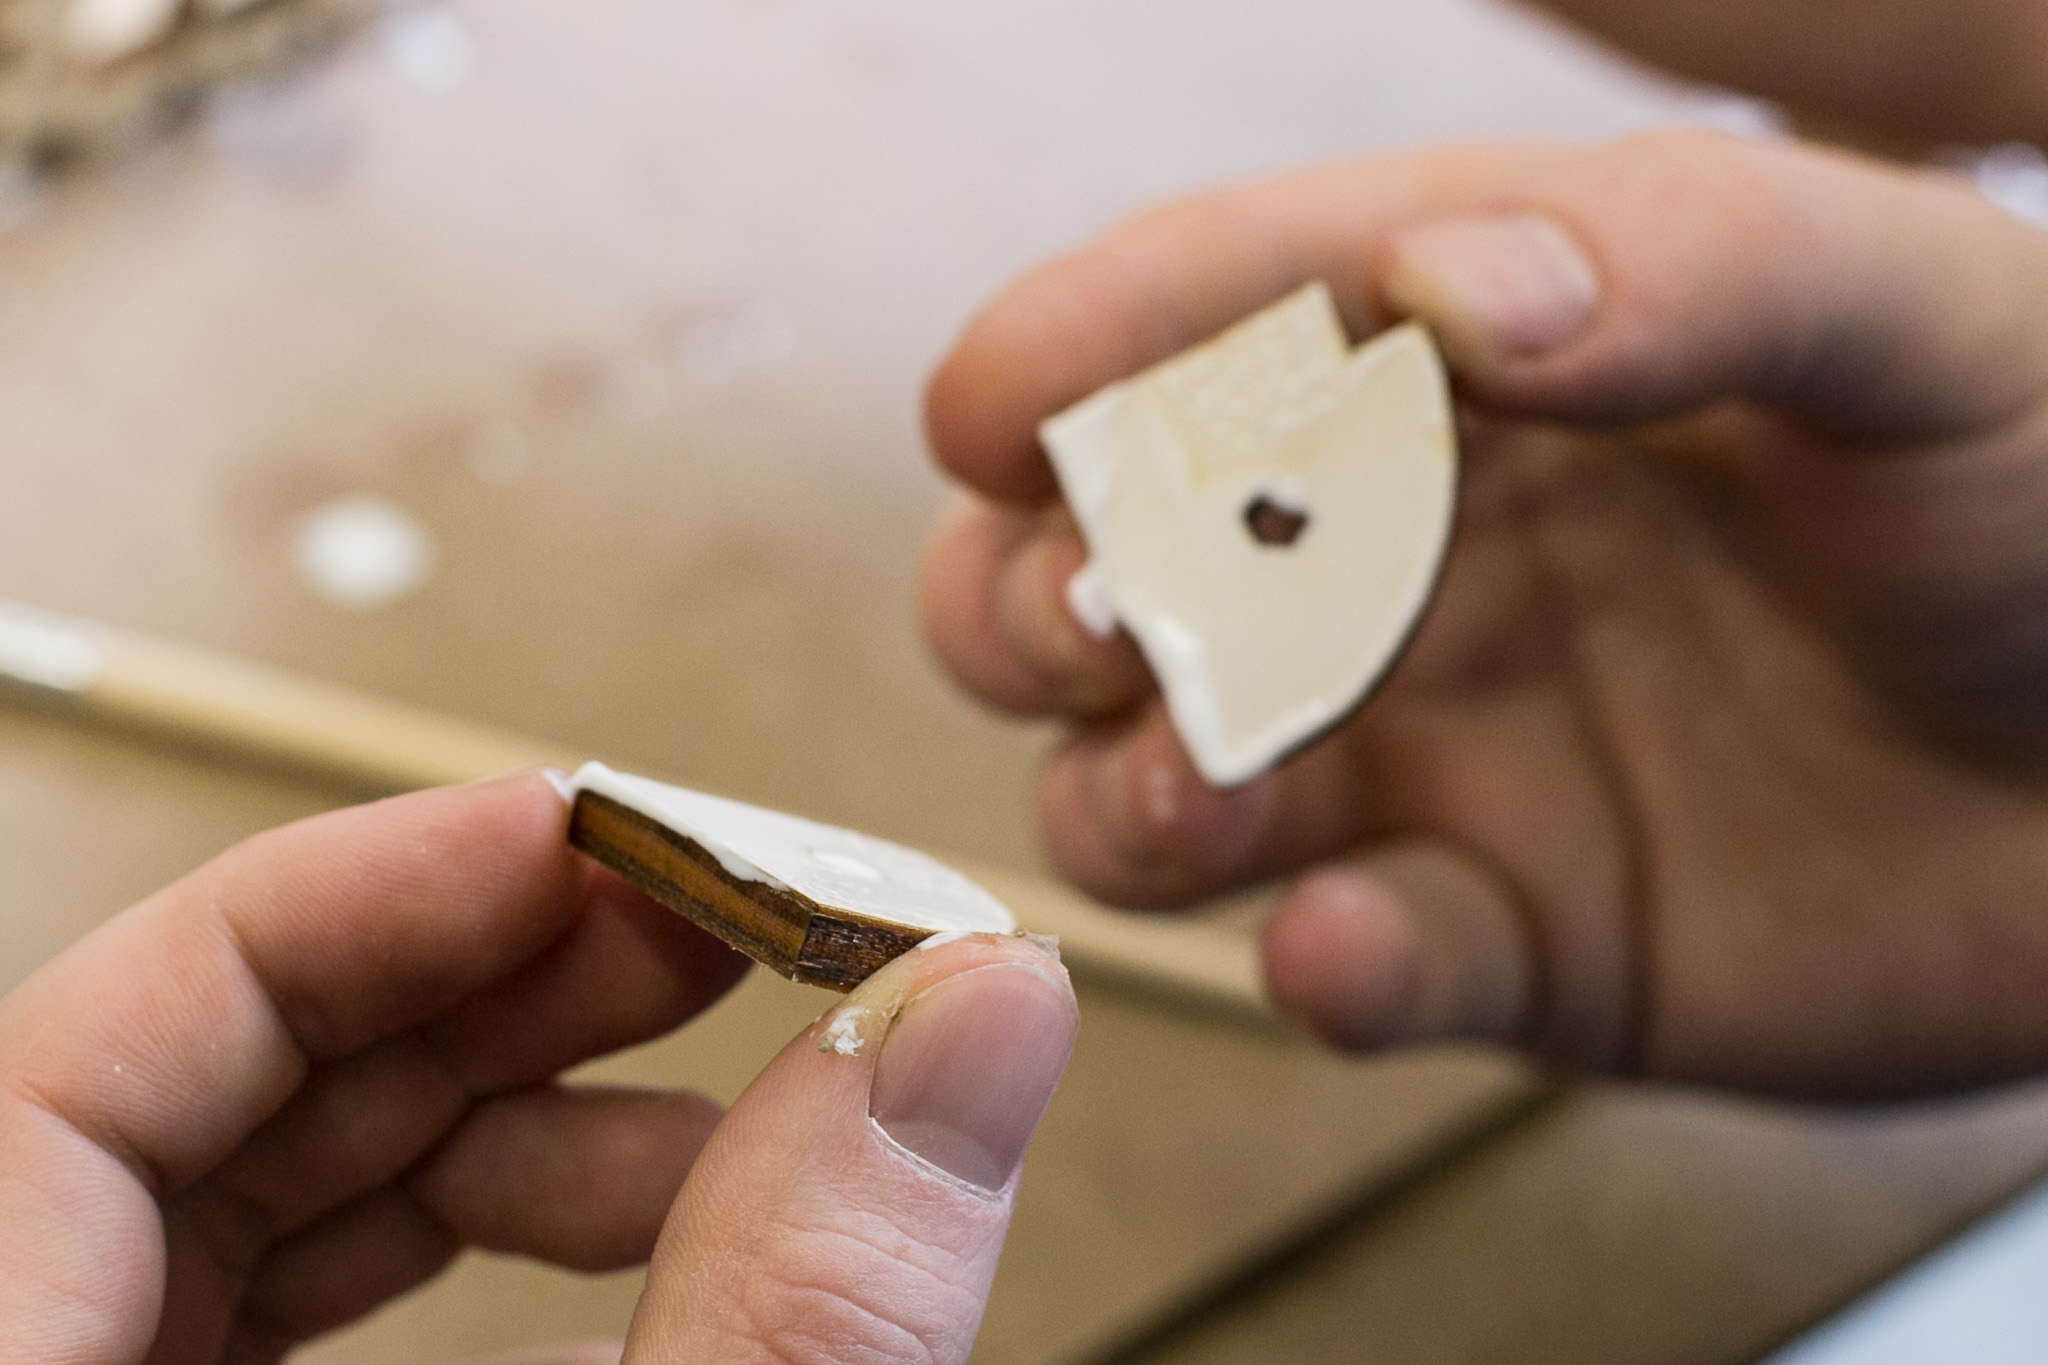
The jigsaw shape of the towers should fit neatly into the corresponding front and back elements. However, depending on quality and source, plywood can be more or less thick. If yours is too thick (>0.6mm), sand down the Tower pieces such that they fit into the teeth of the sides.
If the plywood is too thin, you can fill the gaps later with filling material or, if you know what you are doing, by adding sawdust to the glue you put between the tower elements.
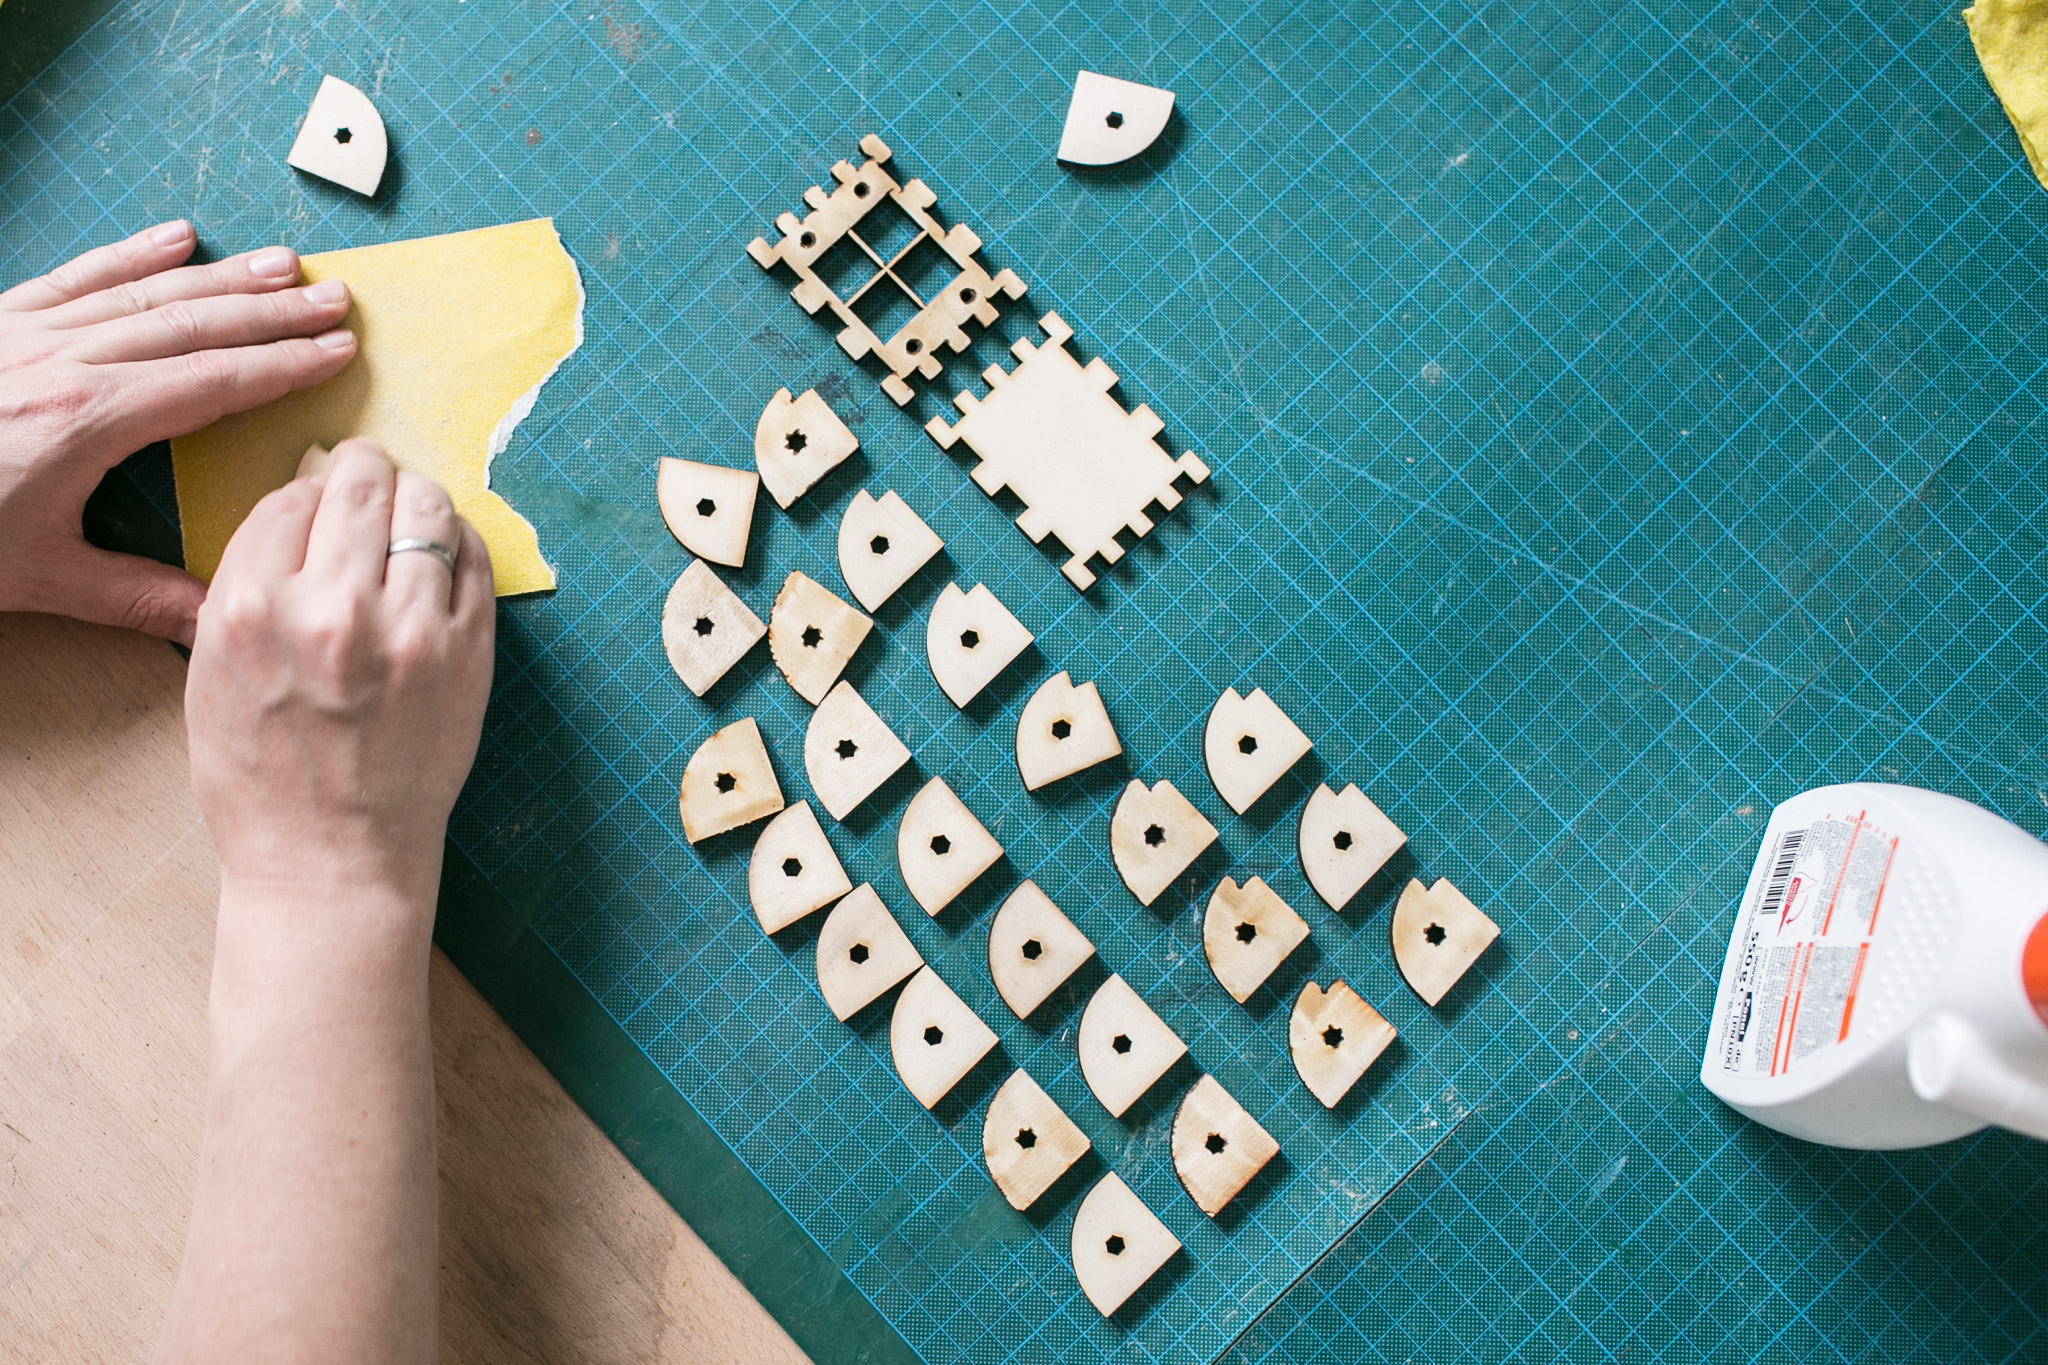 Sand down Tower pieces.
When you completely assembled the box, it is time to prepare the pieces such that you will be able to easily put them together for the glueing.
For this, mark all parts of the box facing inwards with a cross. and then disassemble it piece by piece and put its elements on the table, their insides (or top in case of the bottom, top and tower elements) facing upwards.
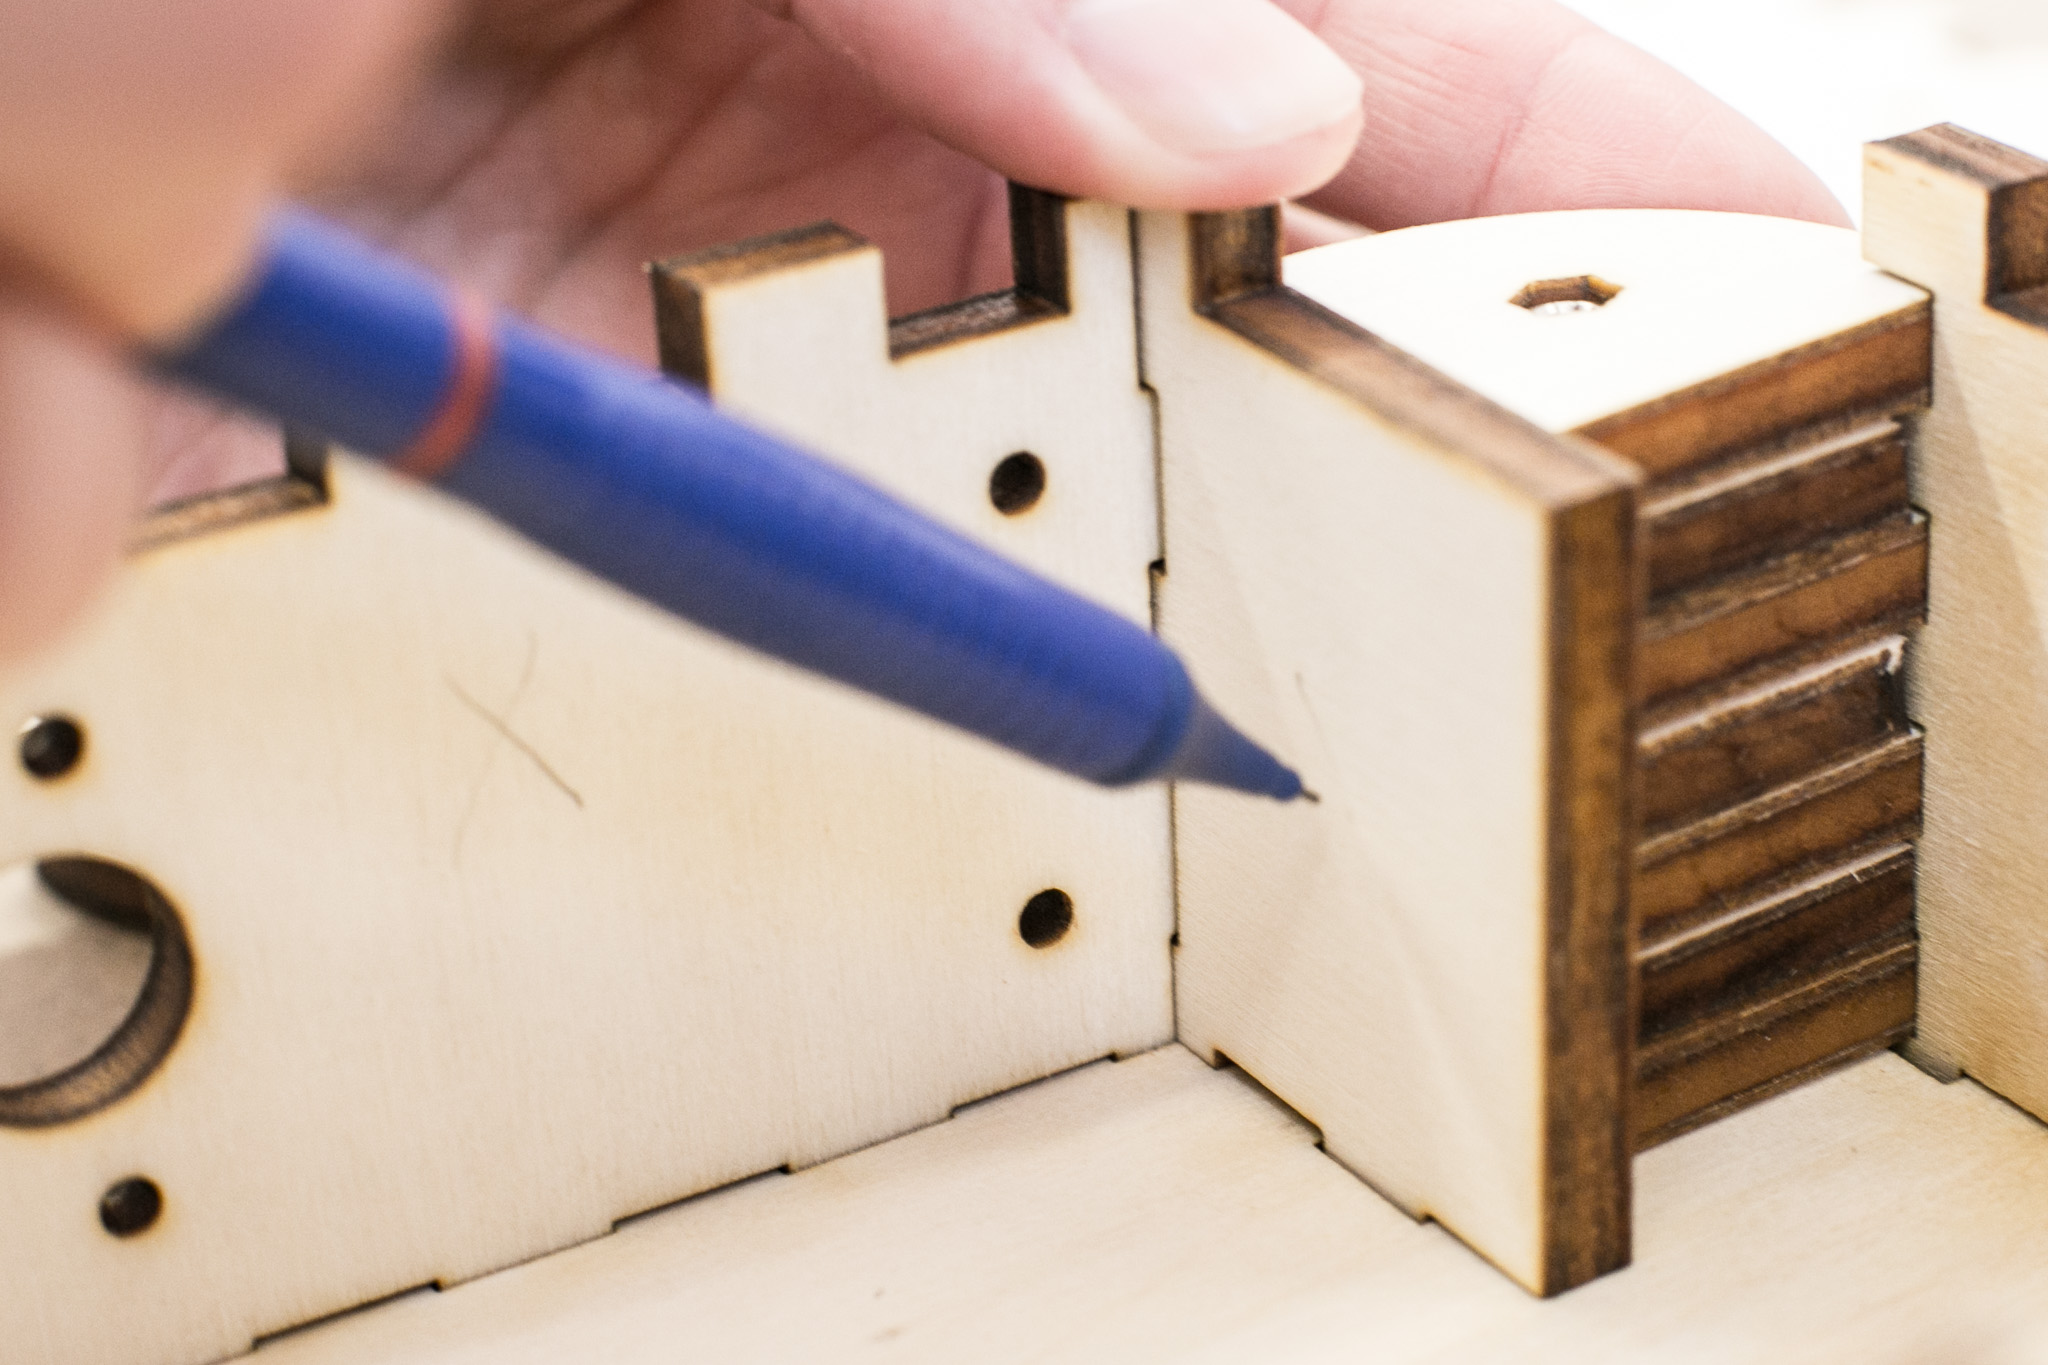 Mark all parts of the box facing inwards with a cross.
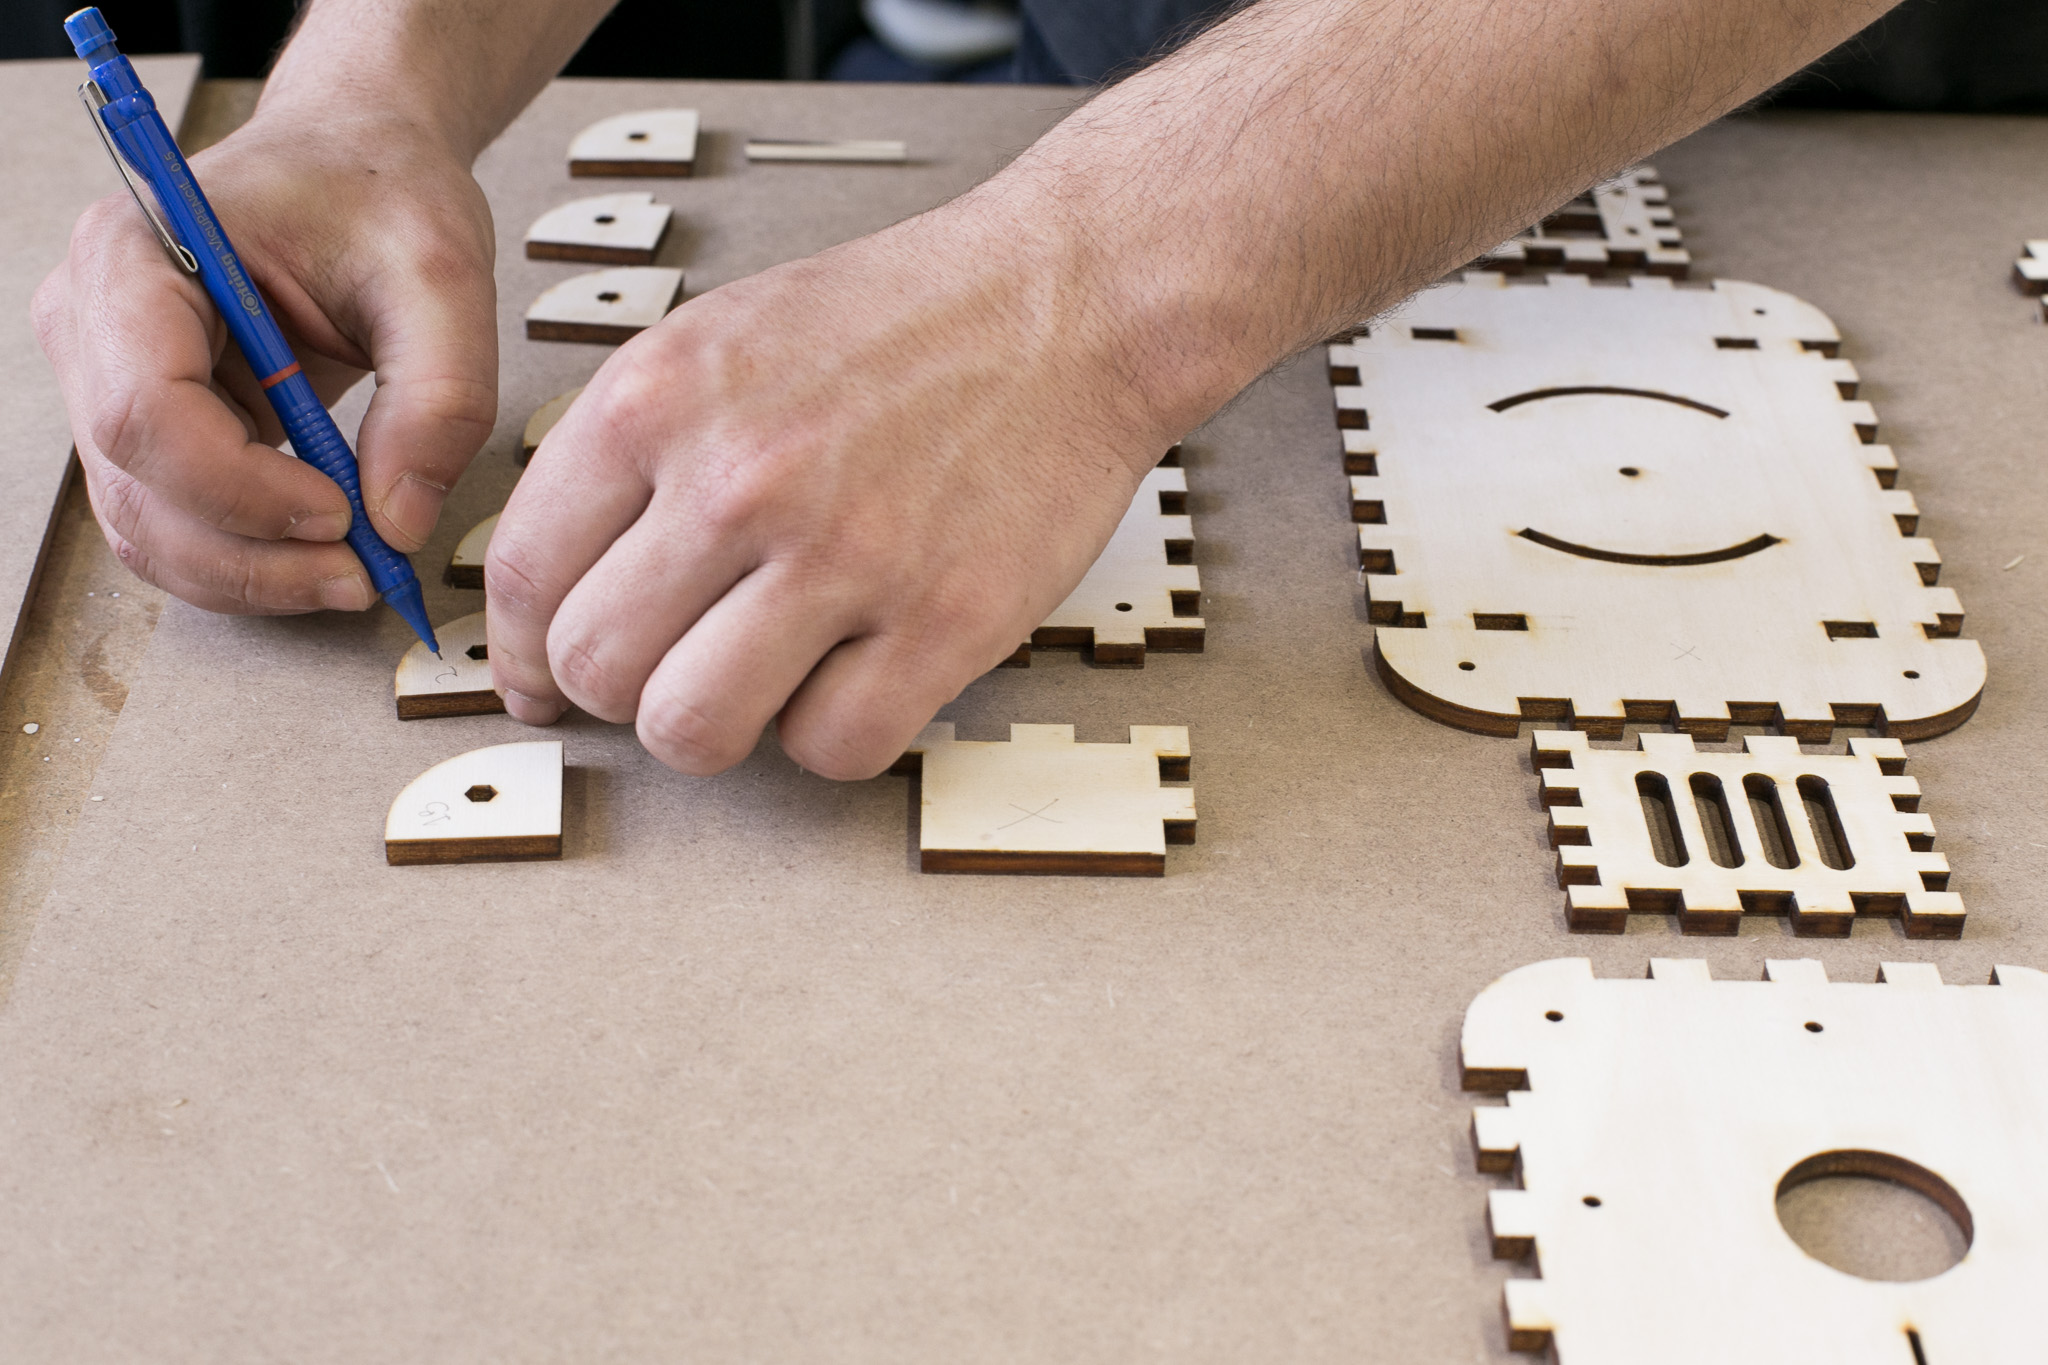
 Disassemble with insides facing upwards. Tower elements are put in their sequence to the four corners of the bottom element.
Mark the top sides of the tower elements with numbers 1–7 to ensure them being glued in the same order.
 Final layout before glueing
Glueing
Glueing is best done with two people. While one puts the pieces together, the other prepares them with glue.
The process of glueing should take you no more than 10 minutes, otherwise you risk the wood glue to dry and harden without the needed pressure. When done with the glueing, immediately continue with clamping the box.
Put glue to all the places that will stick to each other.
Spread it with a brush if necessary.
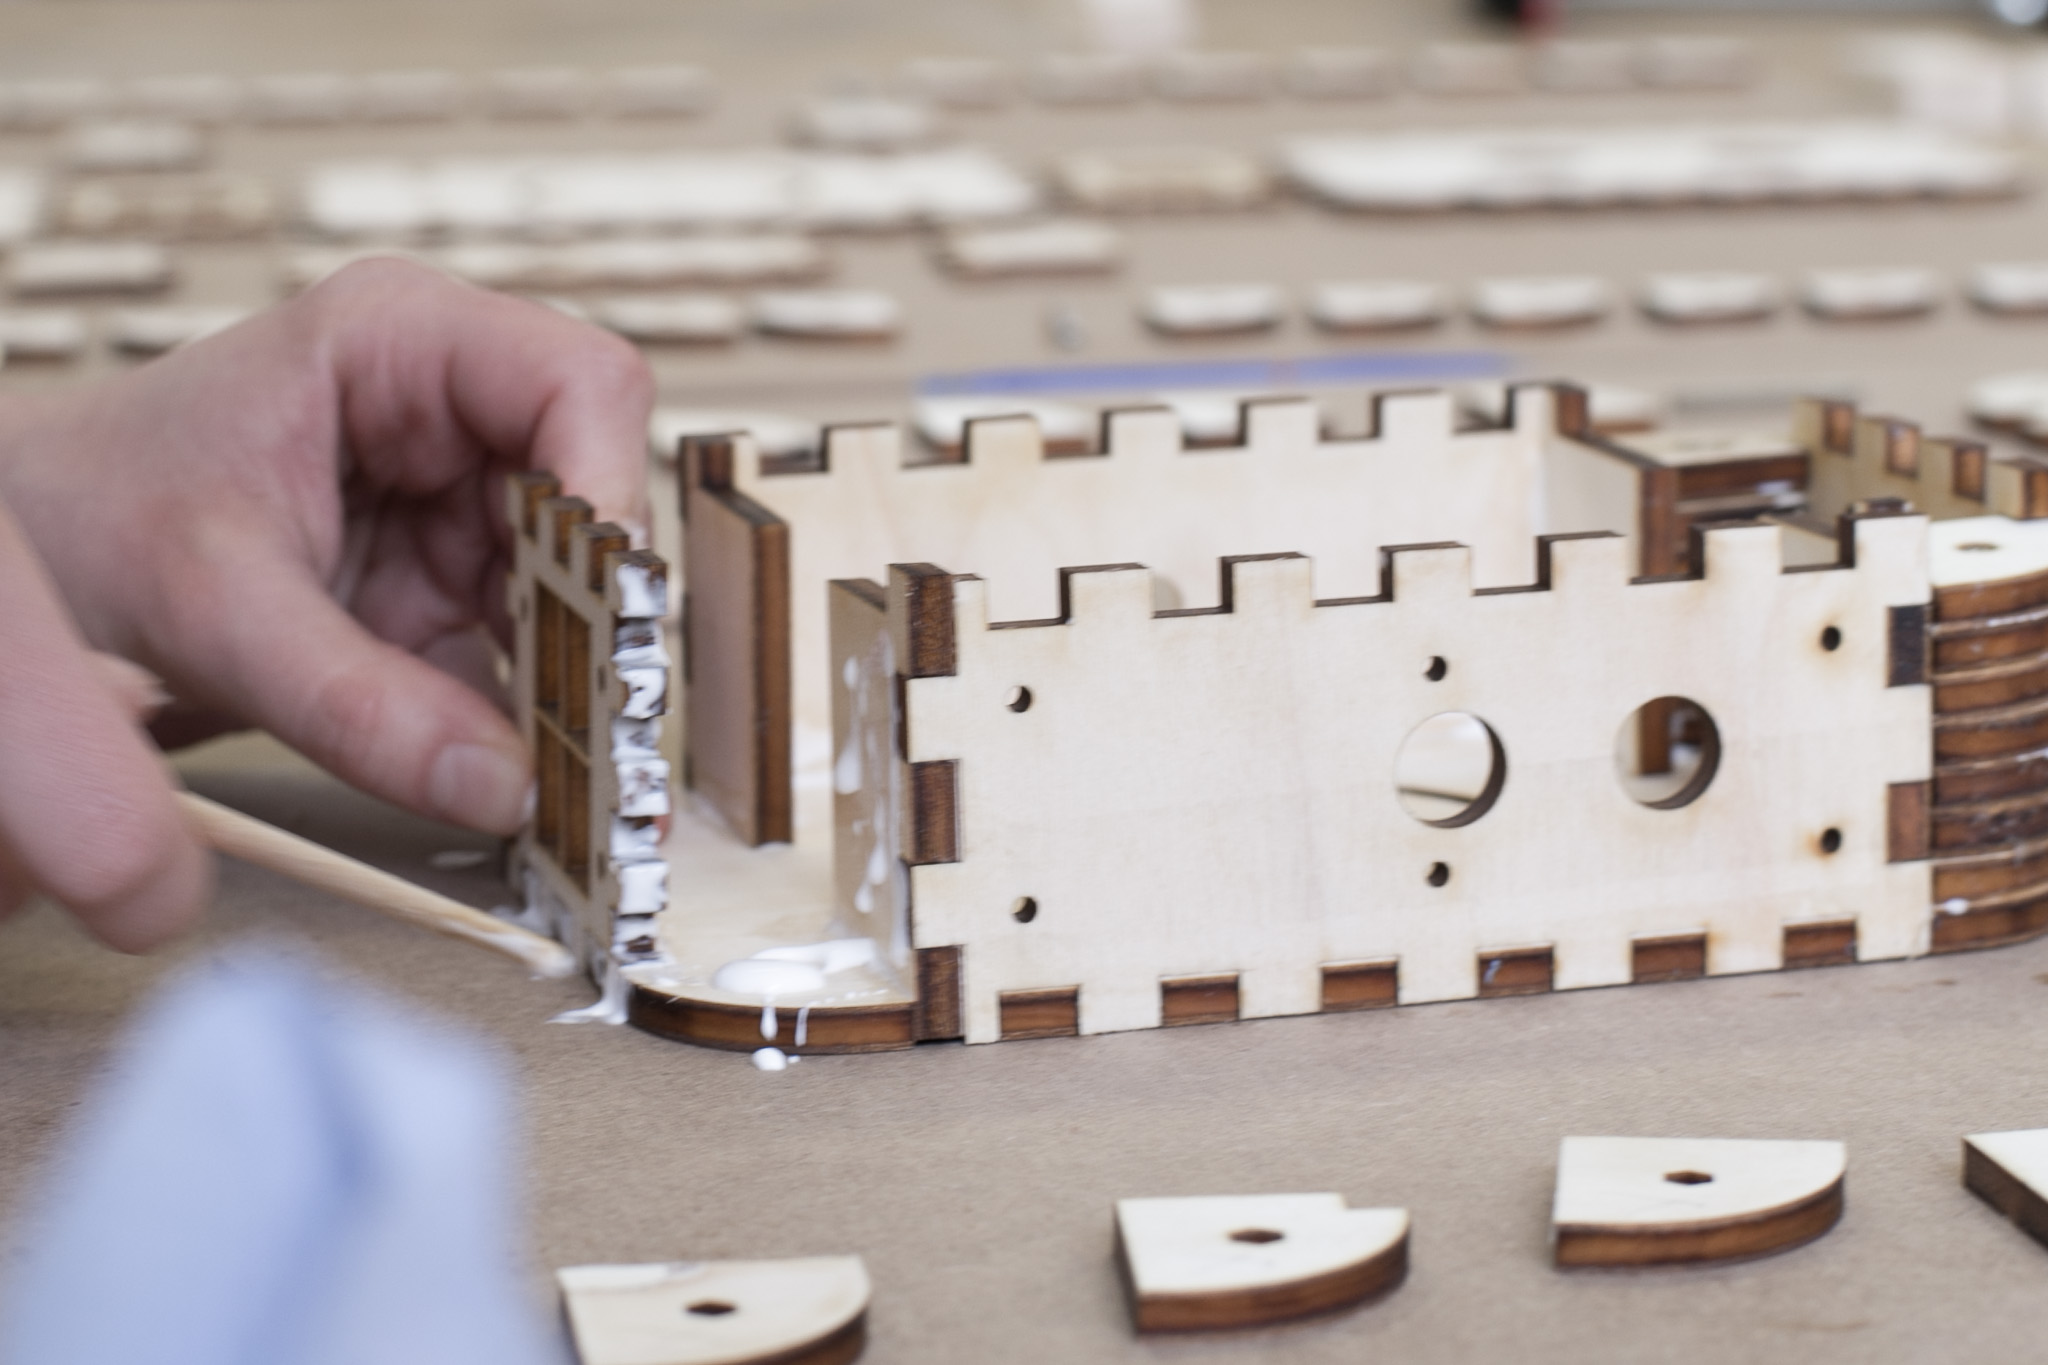
Start with the base and first add left and right elements, followed by front and back walls.
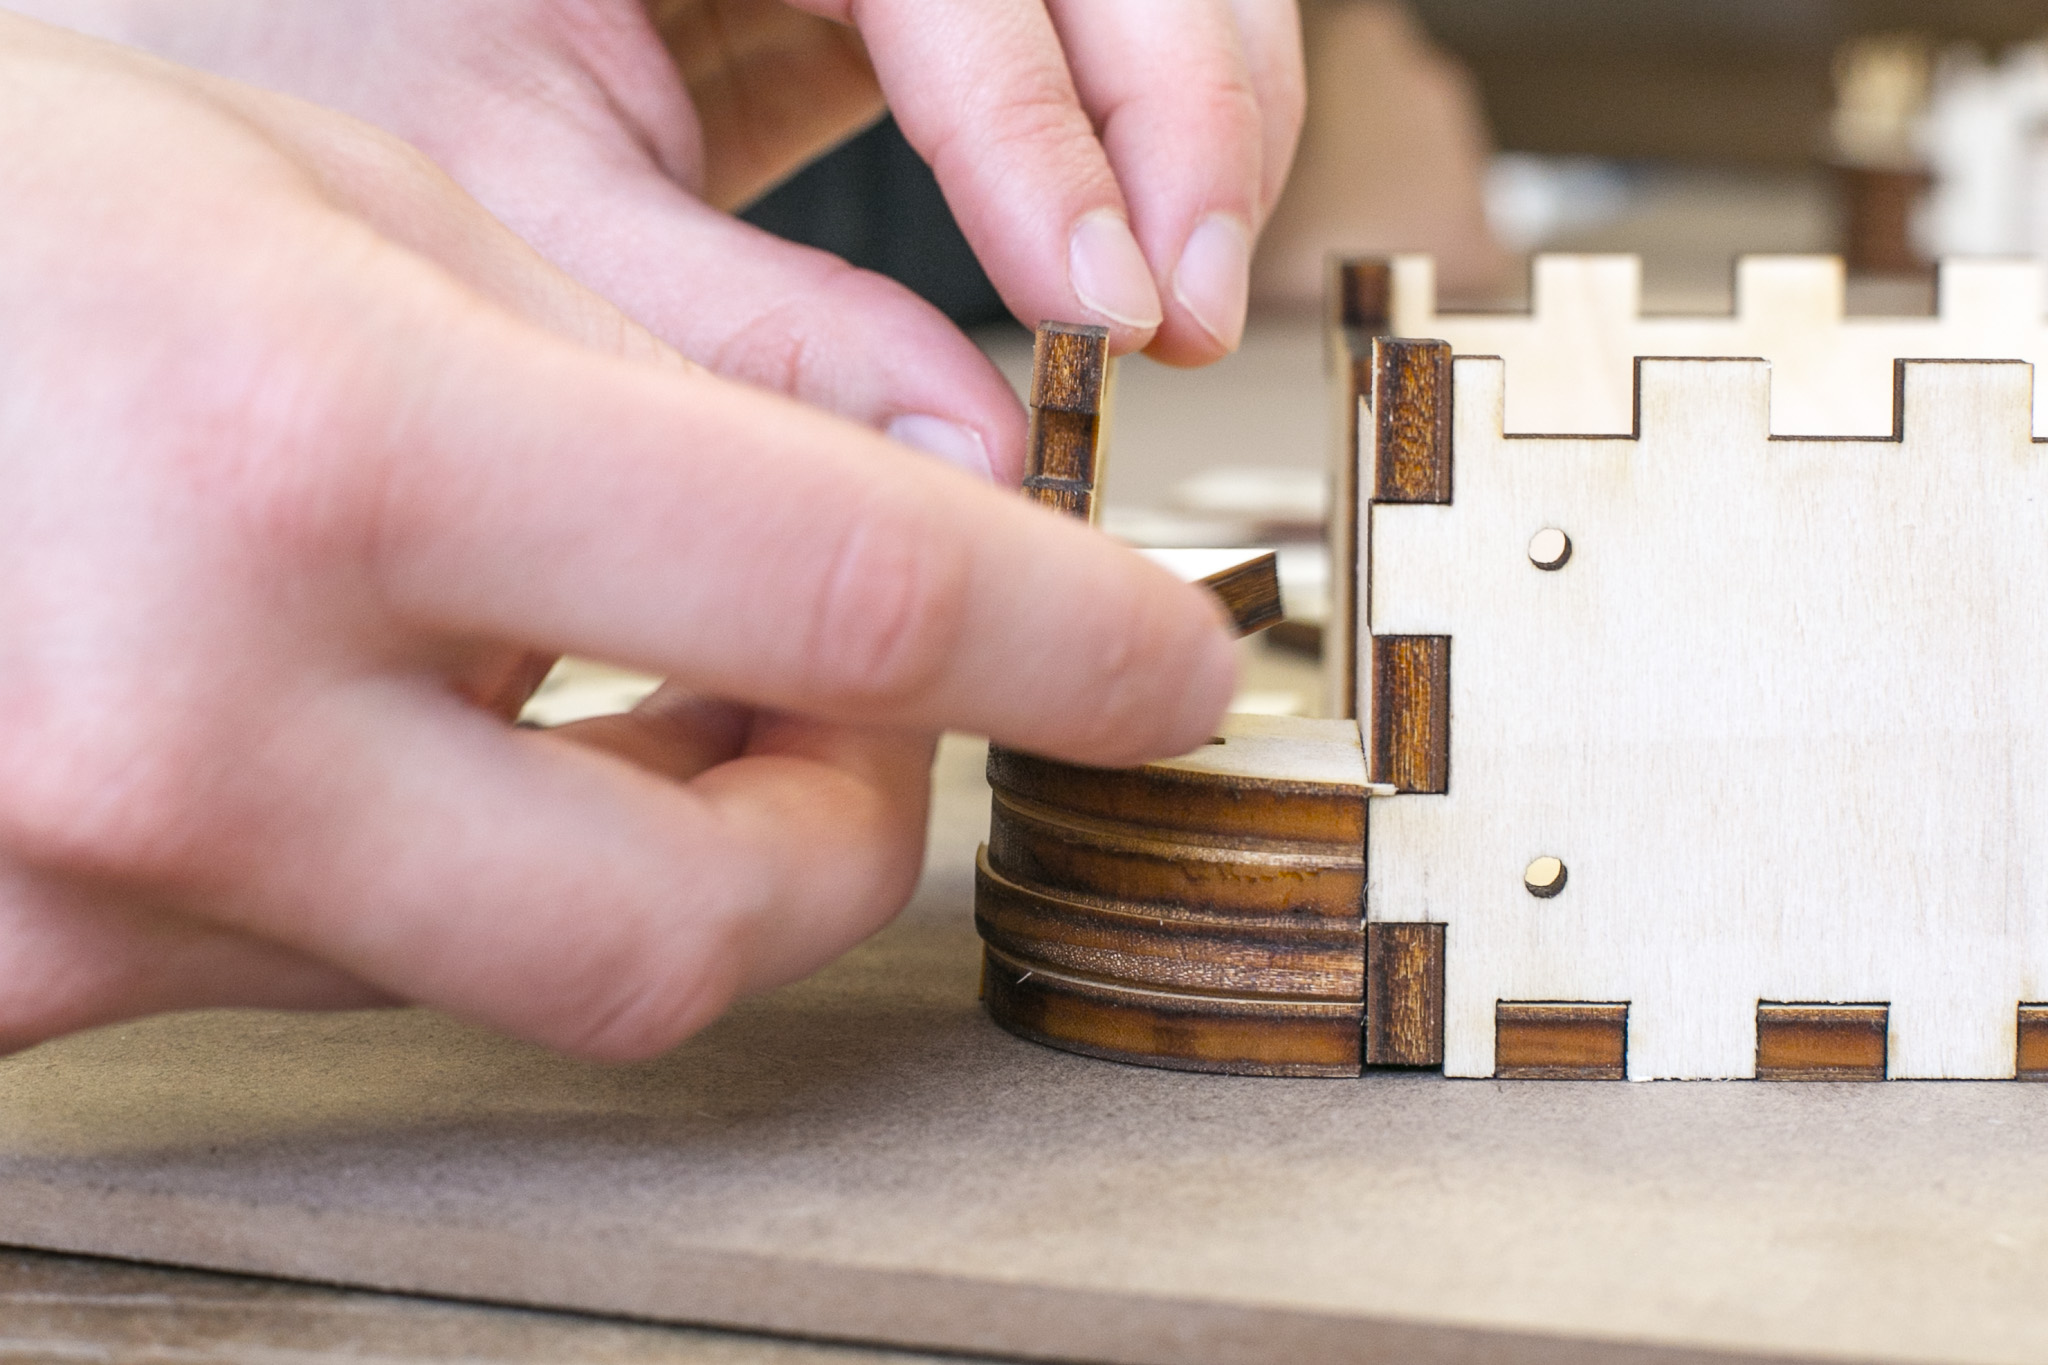
Then, one by one, put the Tower pieces into place.
They need to be attached to the front/side parts, too, so they need glue applied there as well.
Take care to stack its pieces in the right order and with the marked side facing up (otherwise the hexagonal bolt will not fit).
When finished one tower, push a hexagonal spacer bolt through its hole.
Do not glue the top element to the box!
During glueing, wipe away excess glue with a damp cloth. Everything you do not remove now will be difficult to remove once the glue is hardened.
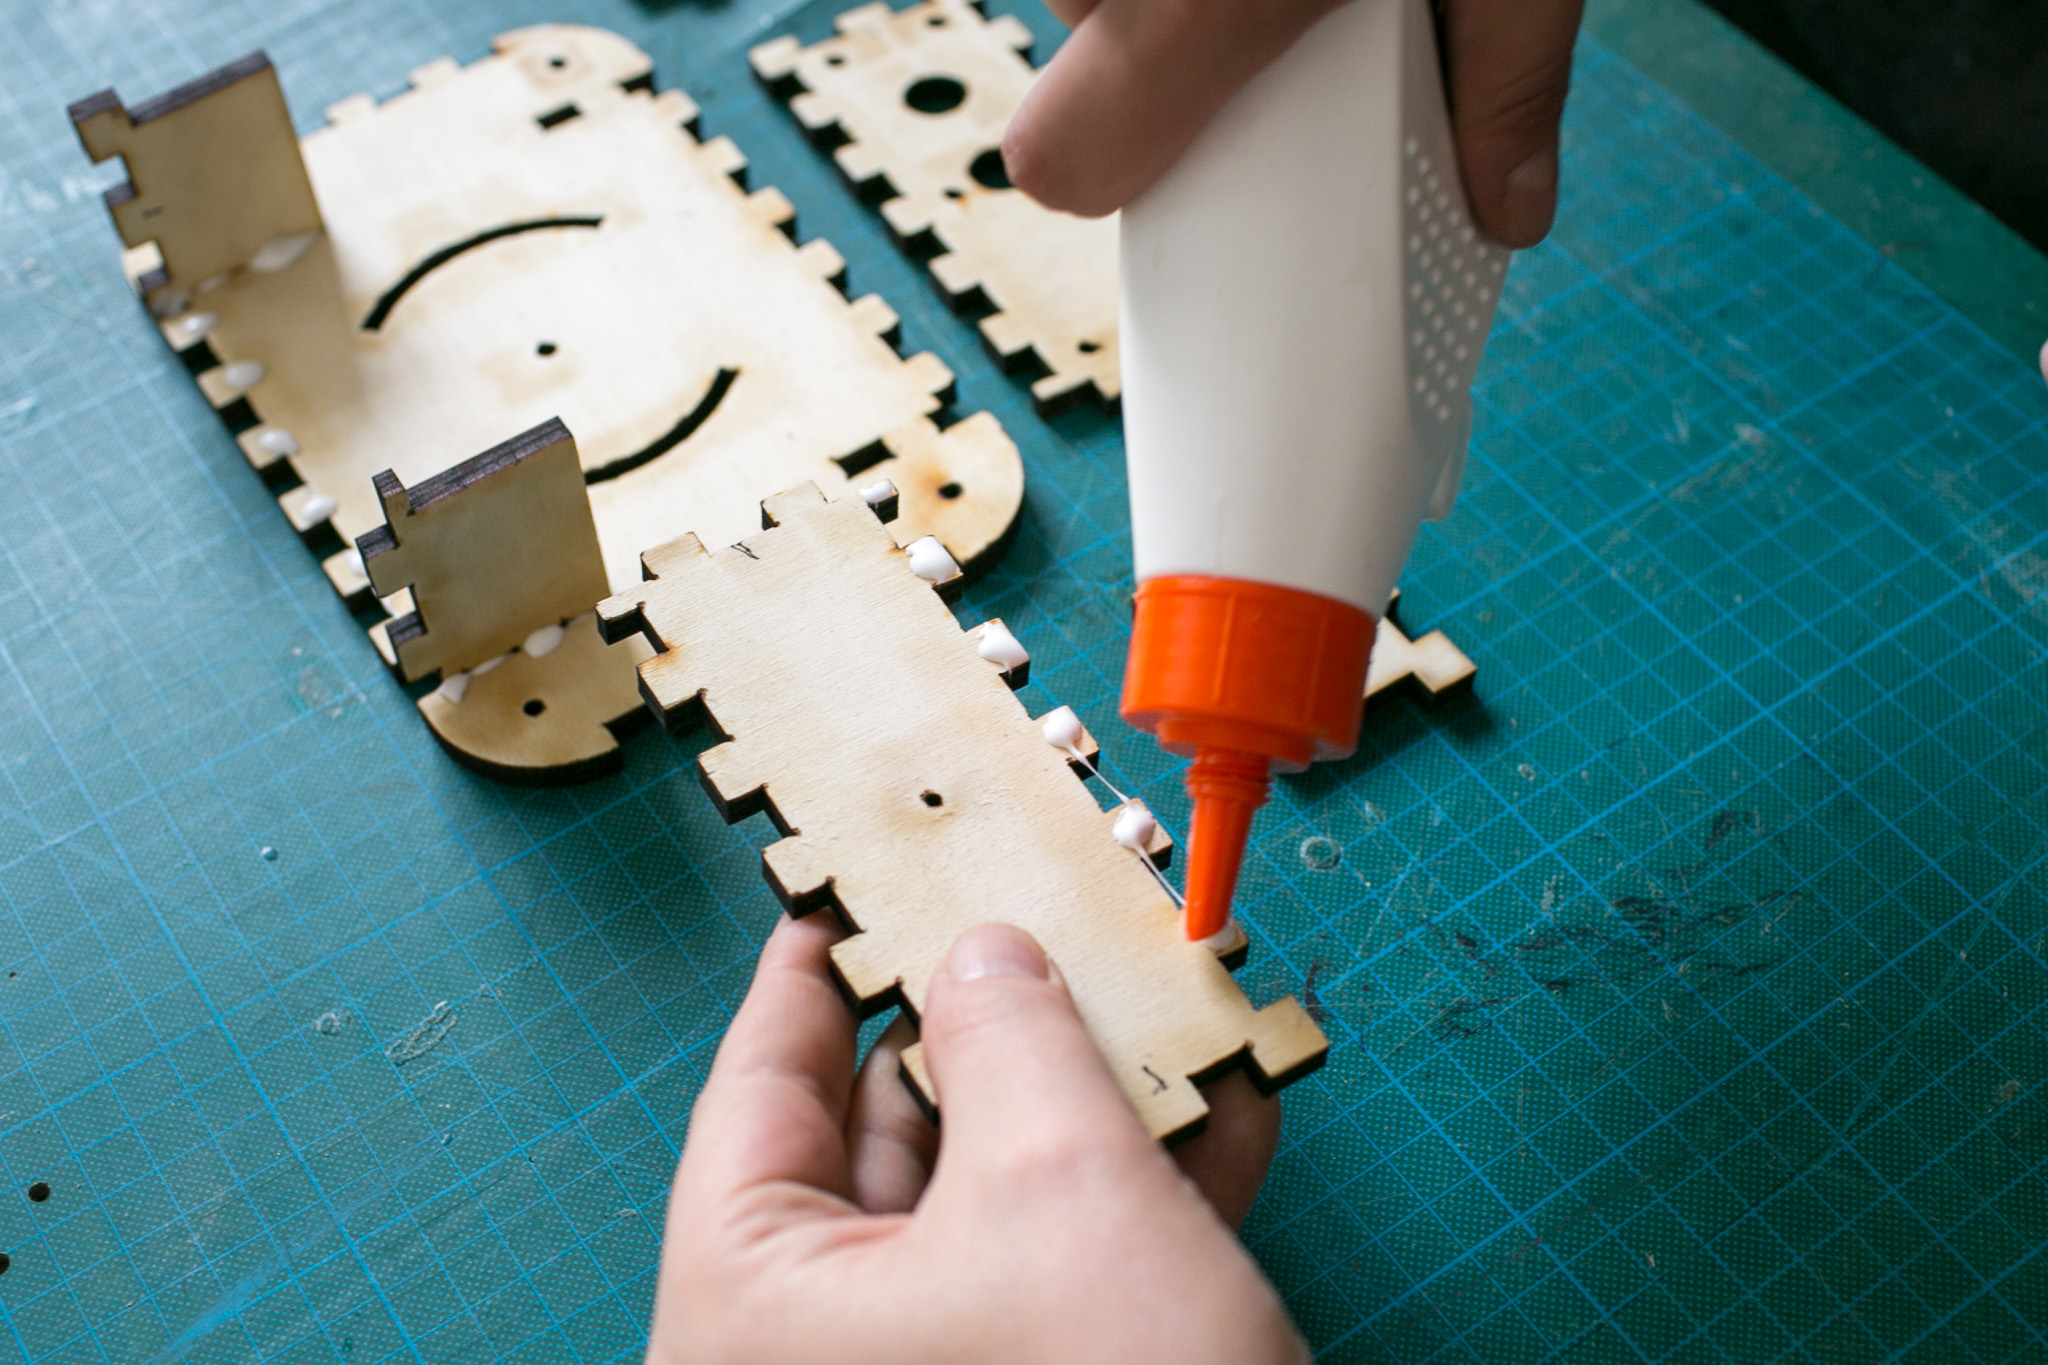 Put glue to all the places that will stick to each other. spread with a brush if necessary.
 The corner towers need to be attached to the front/side parts, too.
 For an even spread of the glue, apply it first to one side, then rub it carefully to the next piece.
 When building the towers, take care to stack its pieces in the right order and with the marked side facing up. Otherwise the hexagonal bolt will not fit.
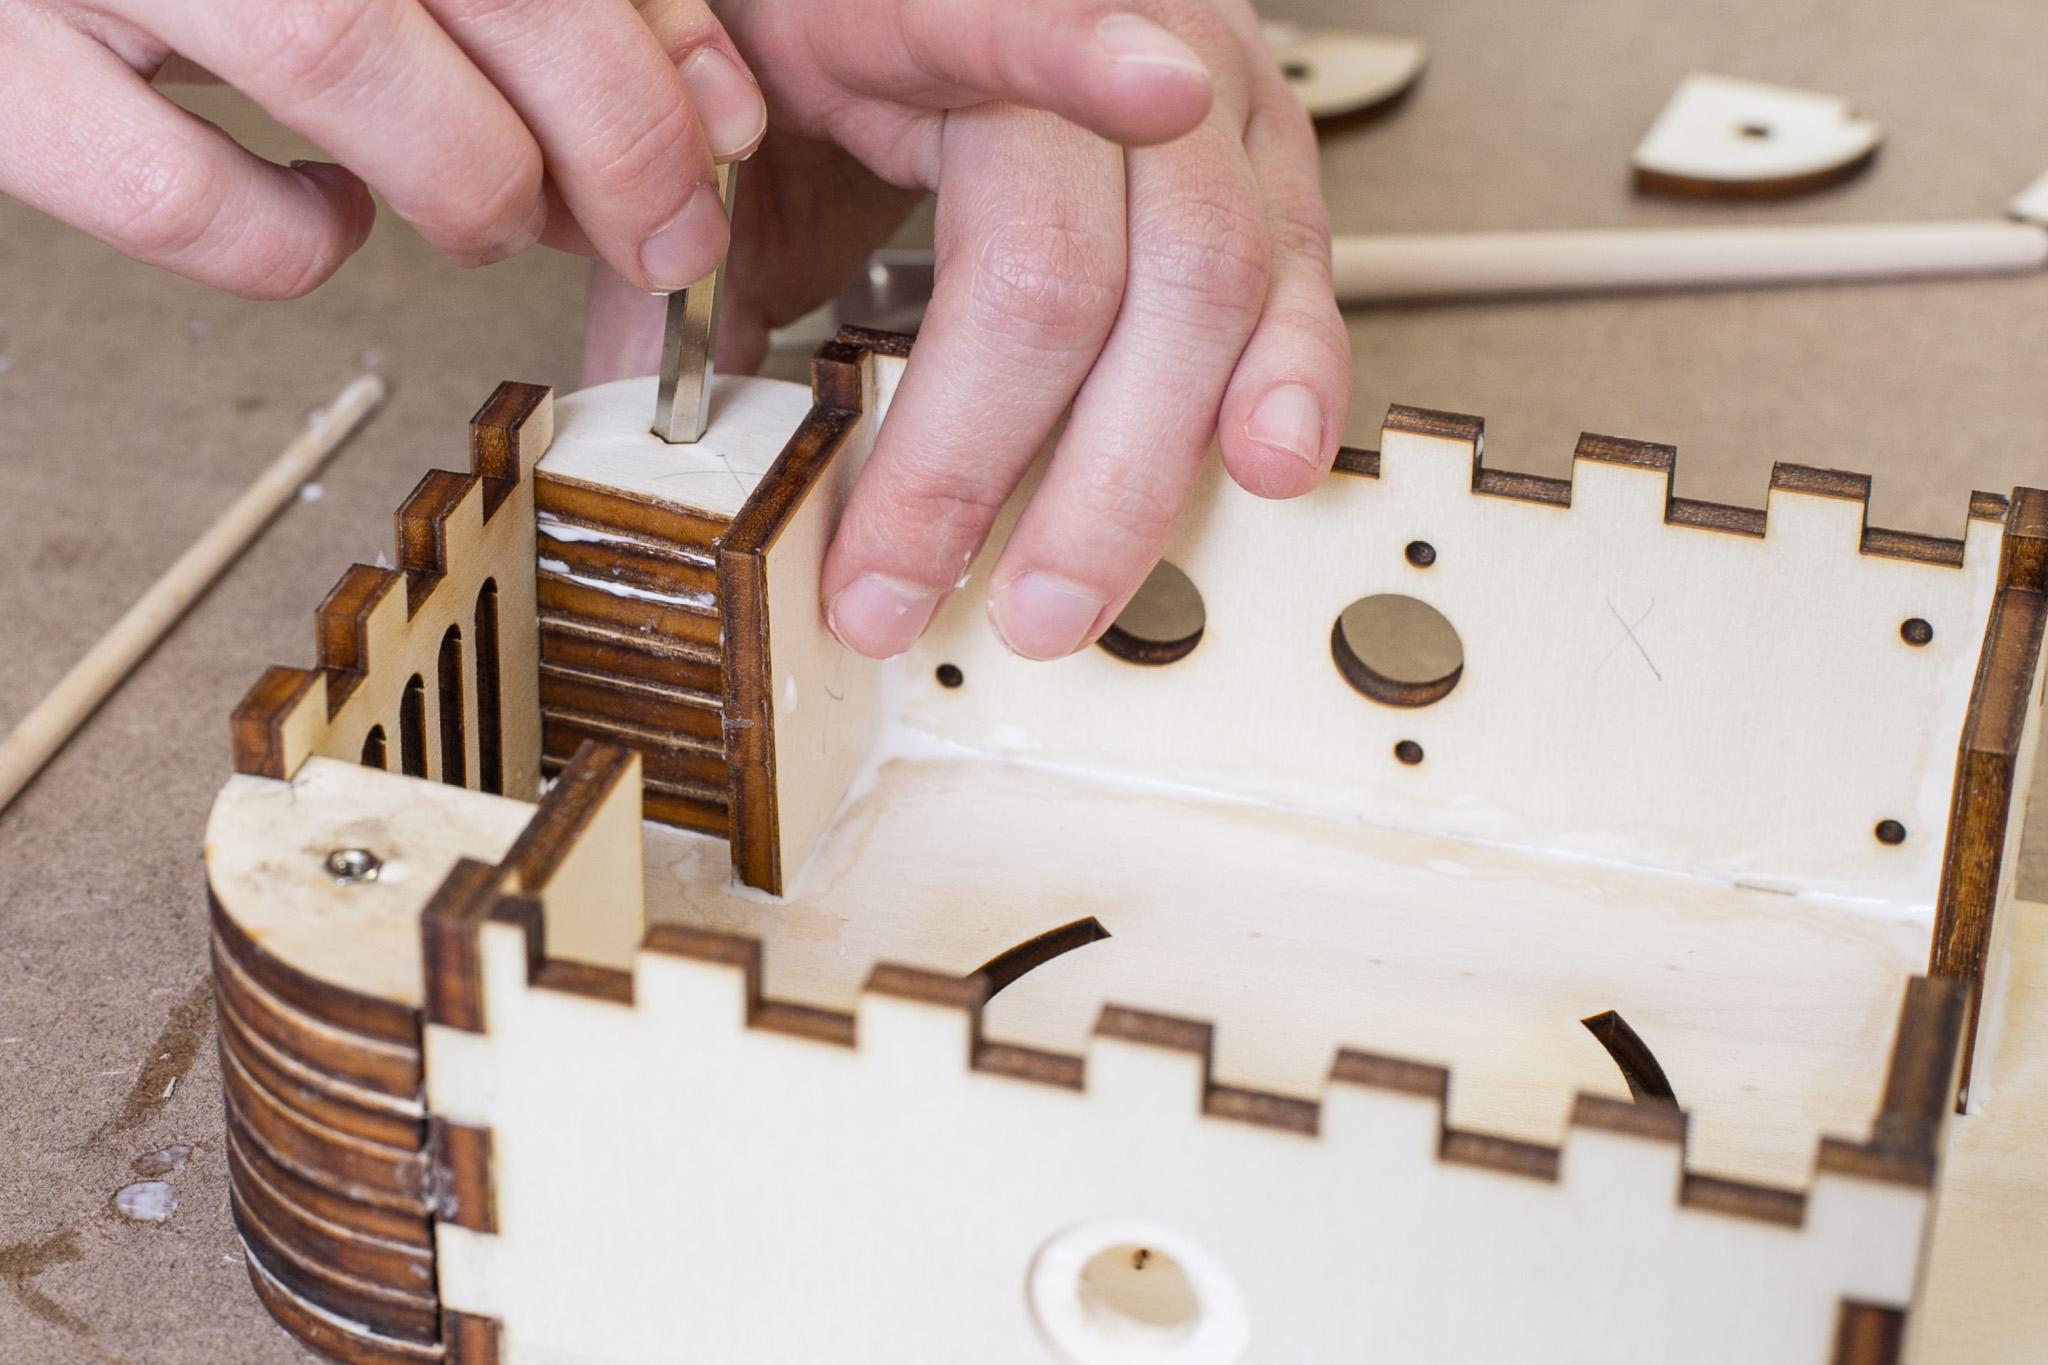 Push the bolt into place.
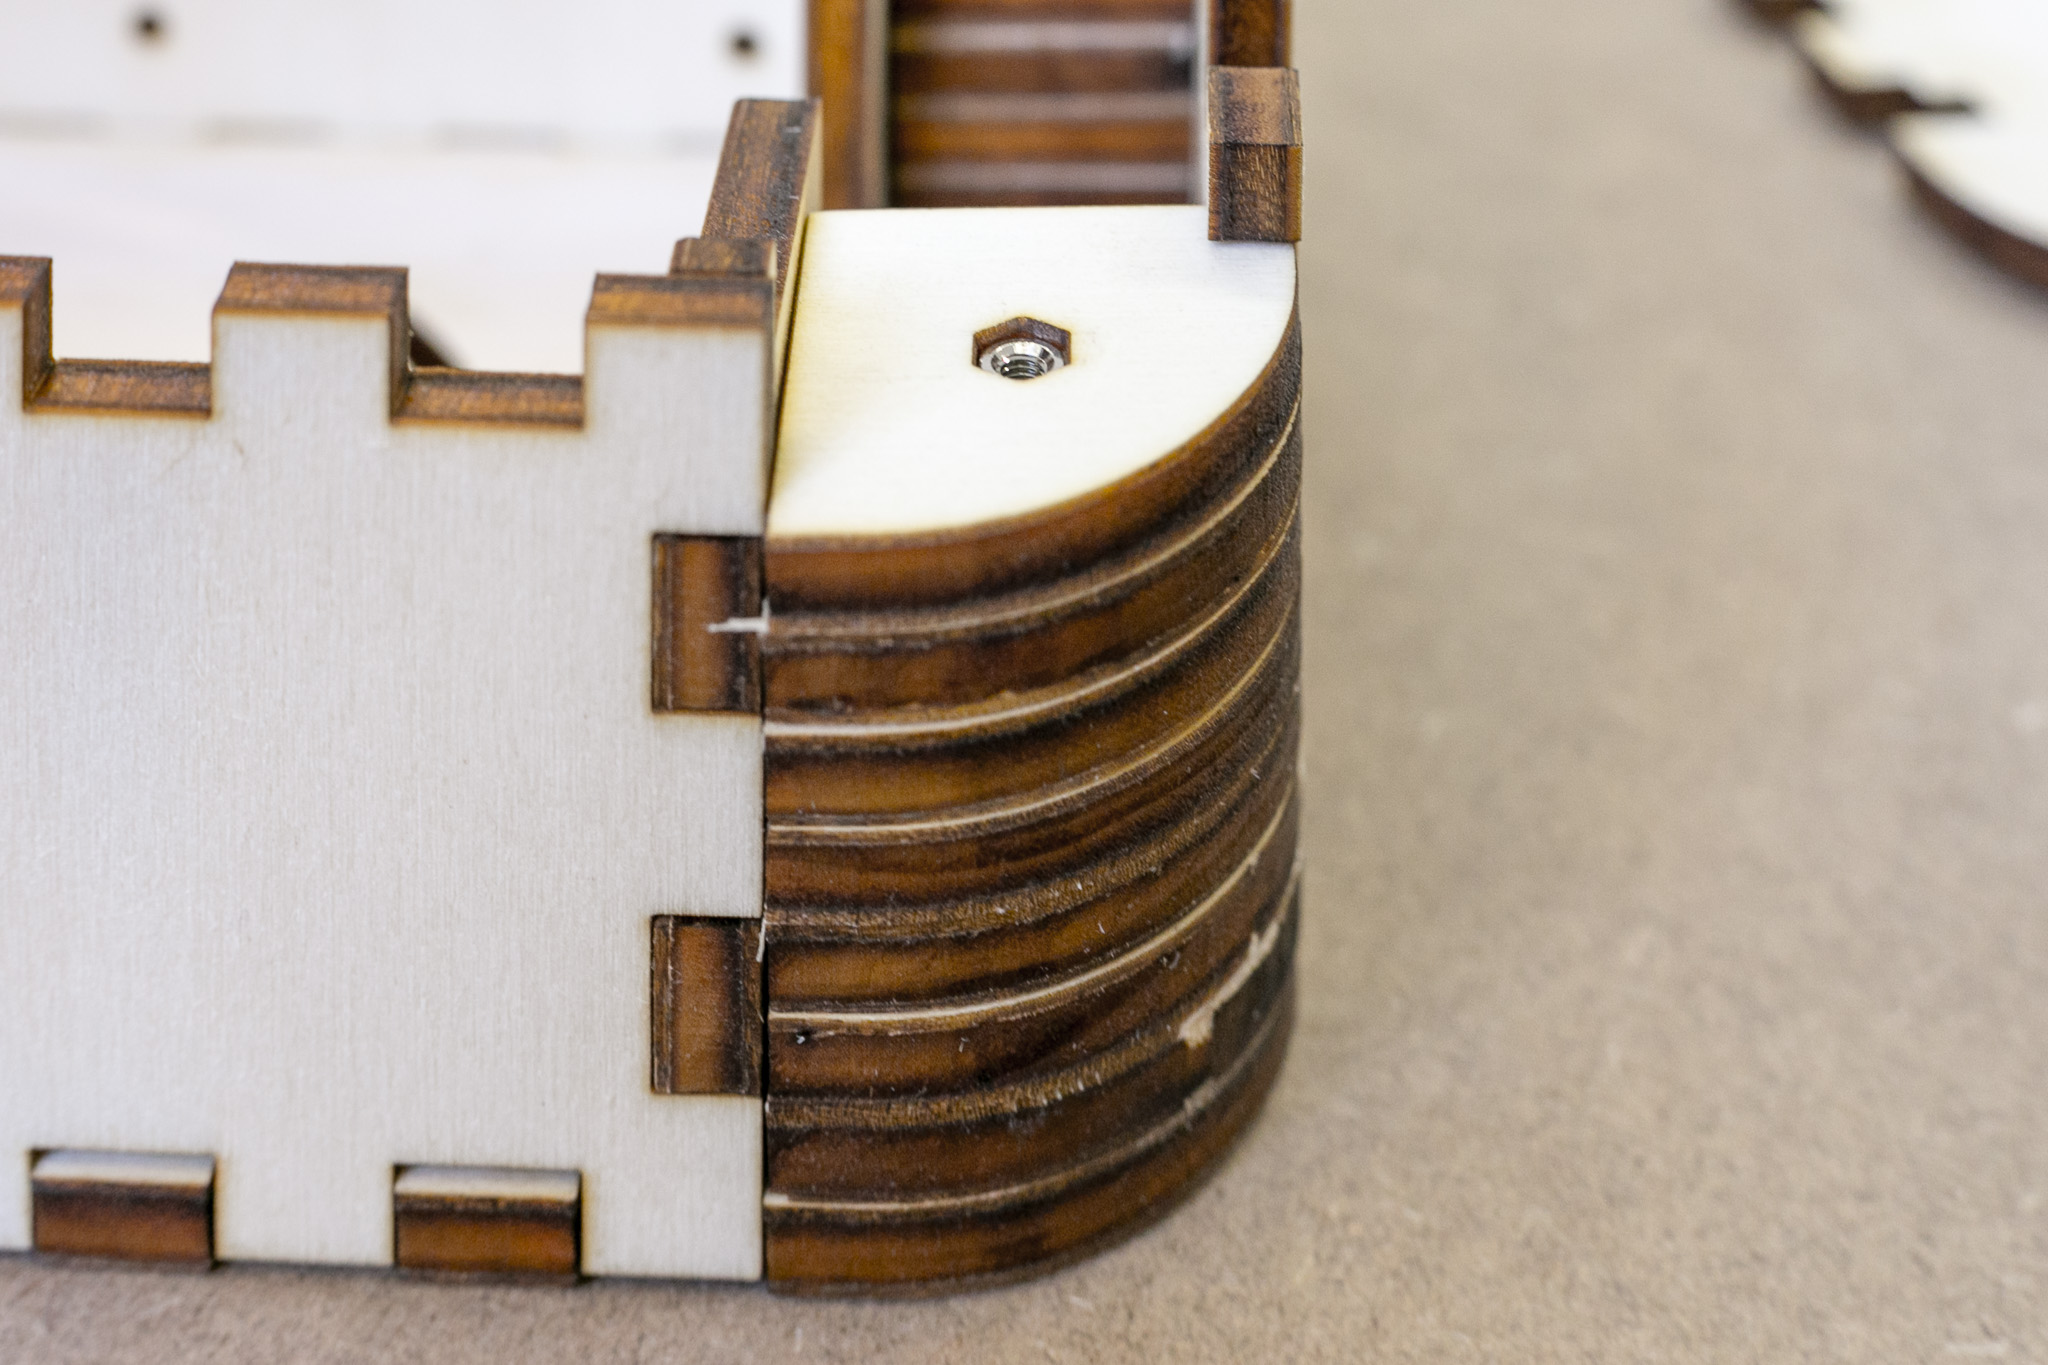 An assembled corner
Drying and clamping
For the glue to hold, the assembled structure needs to be clamped down for at least on hour. To apply pressure evenly, the lid is added to the structure without applied glue.
After adding the lit, screw the parts firmly (but not too tightly) together by fitting the screws into the spacer bolds. Use one washer on each screw to prevent markings in the wood.
Fix the structure with c-clamps and wood blocks. To keep the wooden blocks from attaching to the box (e.g. because of additional excess glue), put newspaper pieces between them and the box.
After about one hour, release the C-clamps. Your box should now be assembled.
Wait at least one hour before continuing to work on of with the box.
 Clamped part, top view.
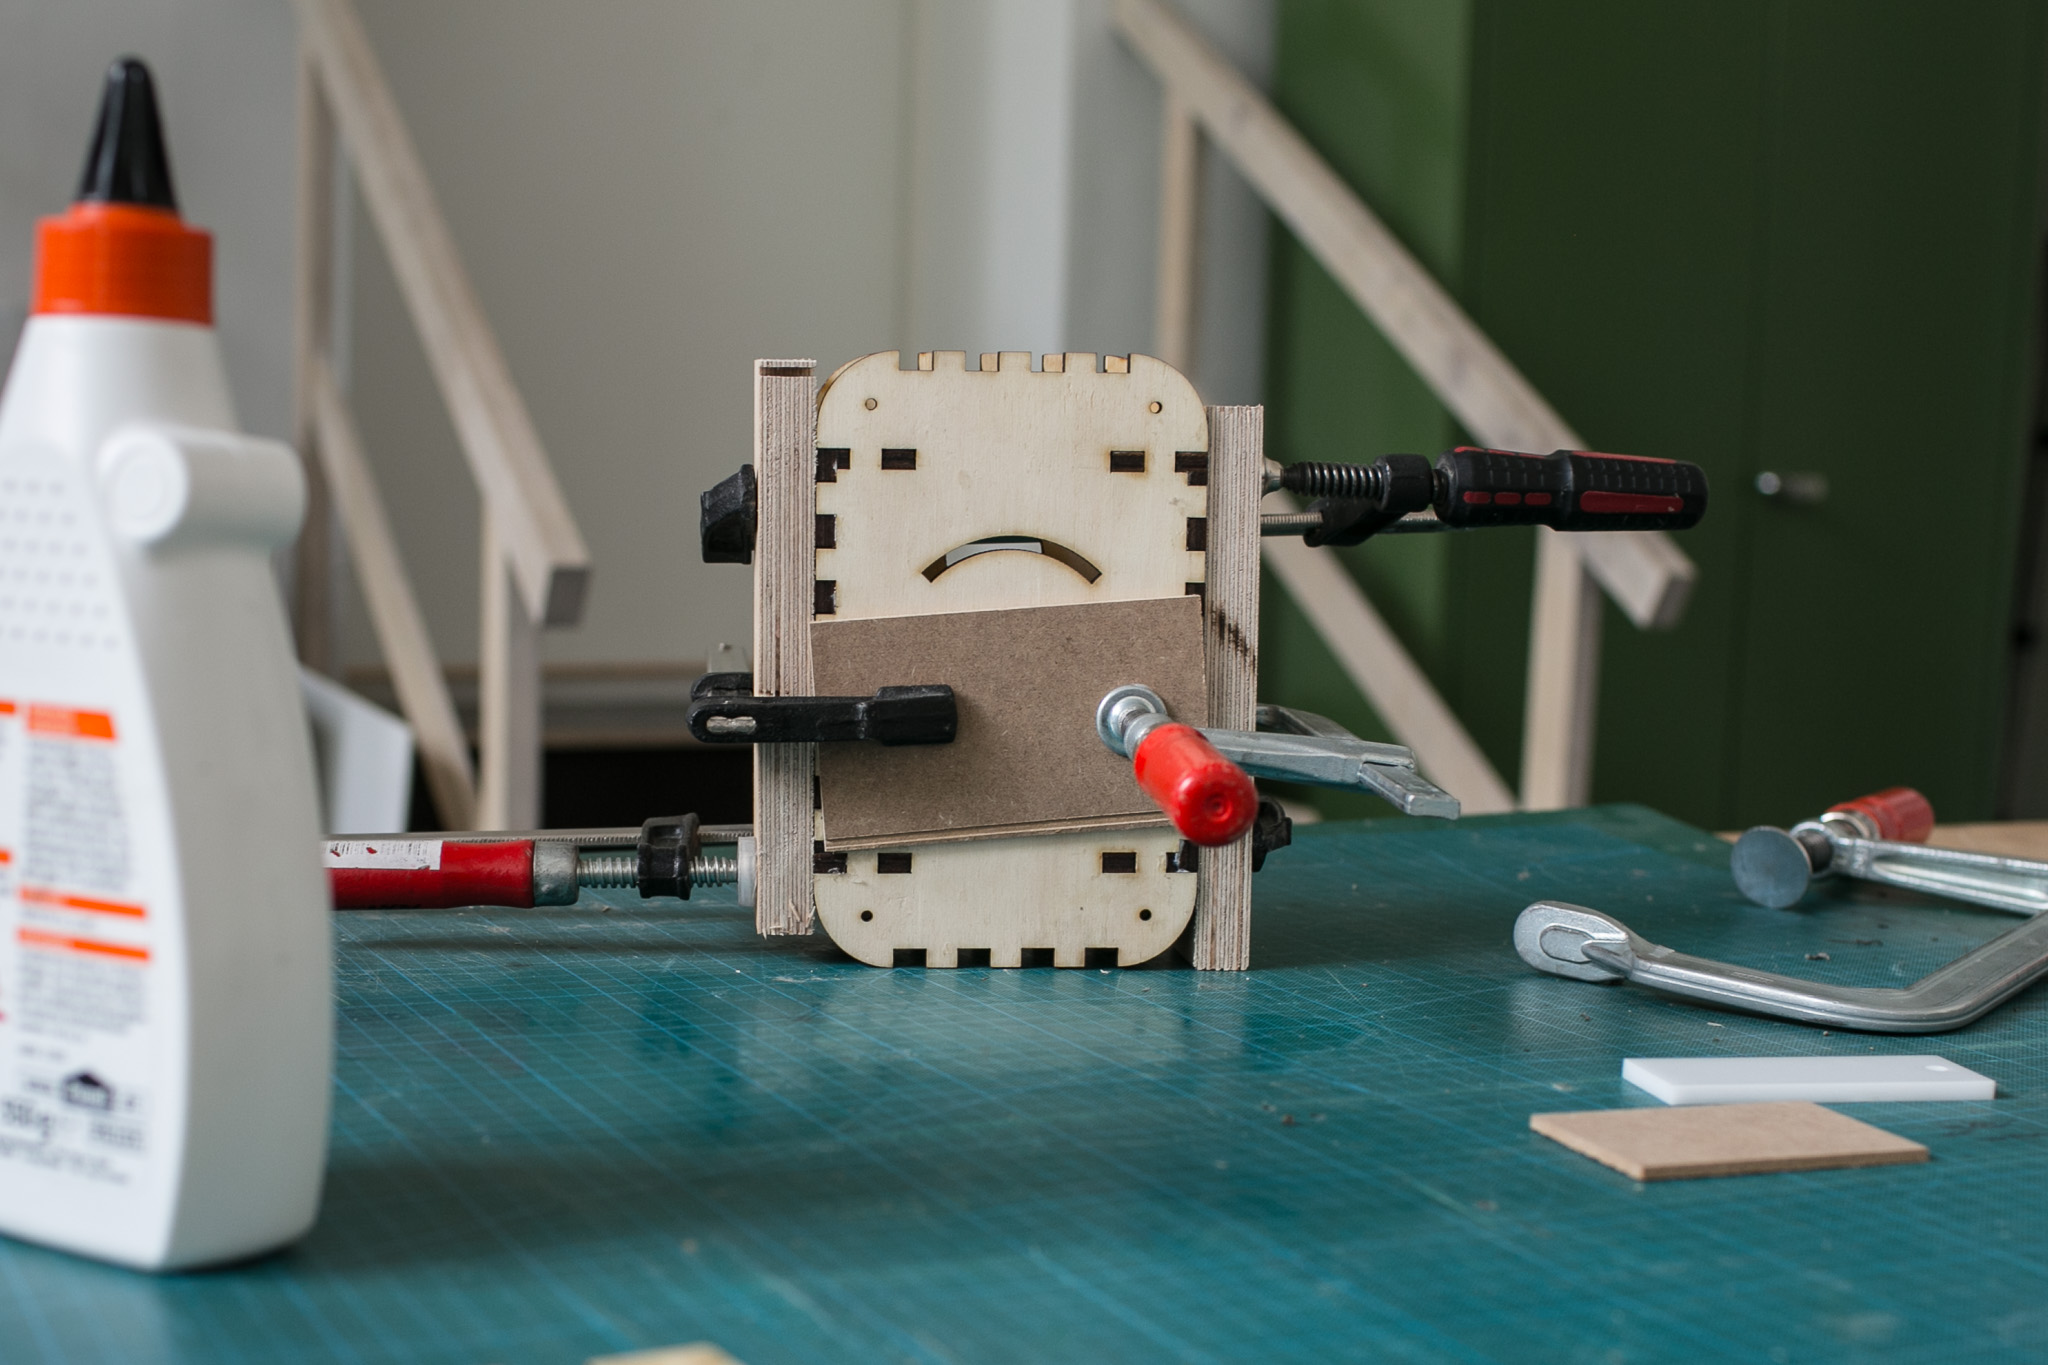 Clamped part, side view.
Sanding
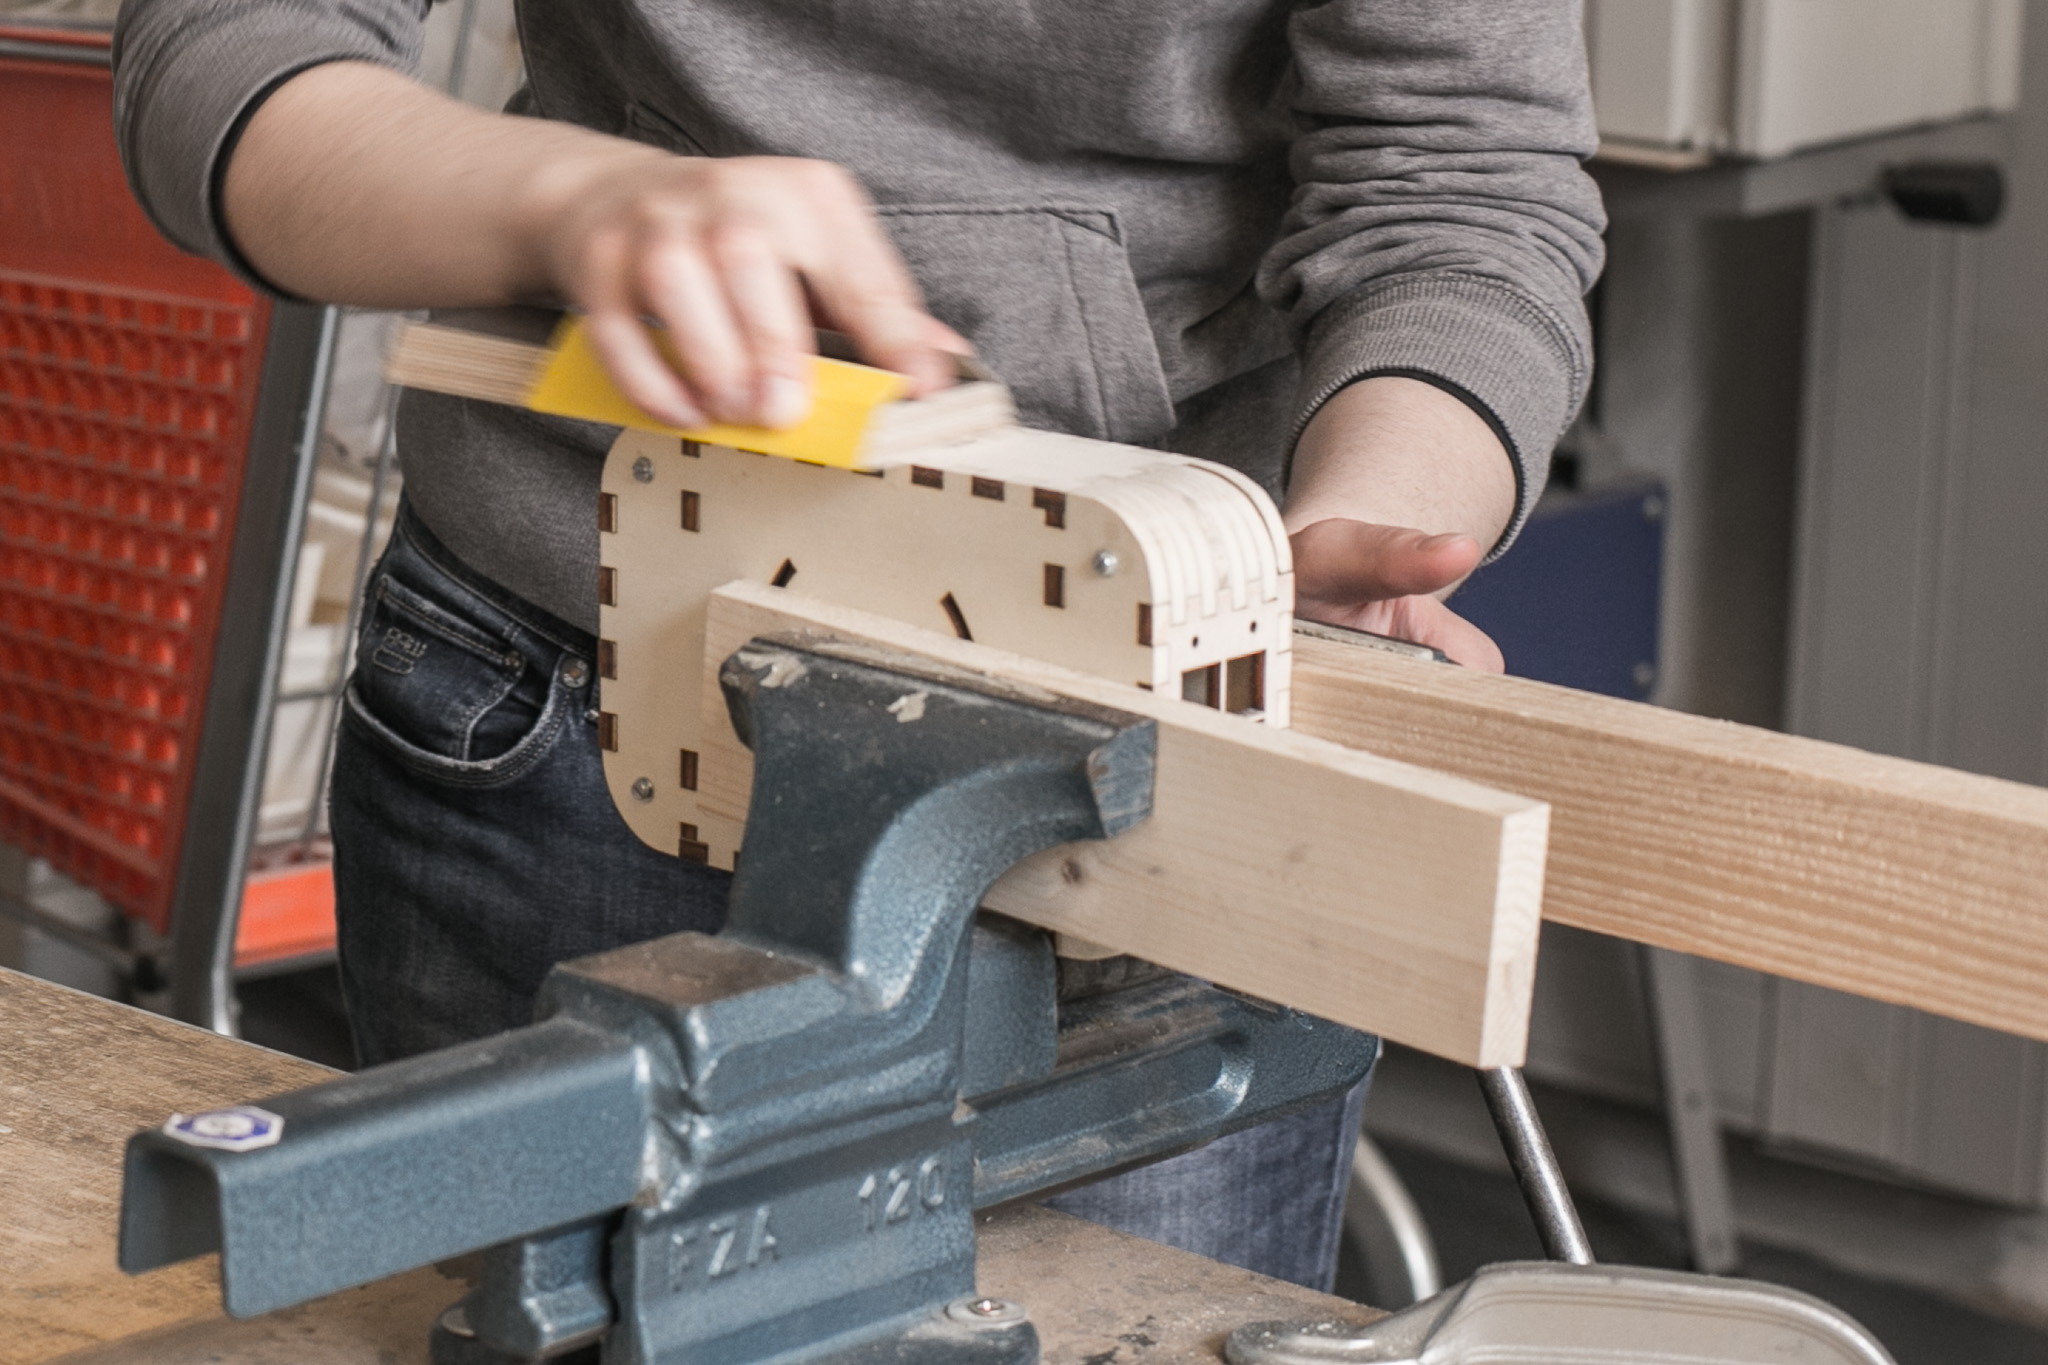
To prepare for the surface finish, e.g. painting or oiling, the box needs to be sanded.
For this, fix it to a vise using wooden spare parts to protect it from the metal.
Sand it from all sides with P100 sanding paper, either by hand or with a machine.
Particularly sand away irregularities, there will be some especially at the rounded corners of the box.
To prevent dents and irregularities, use a sanding block at all times and round the corners by hand, not with the sanding machine.
Always start at a flat surface. From there, go over the round corner until you reach the next flat surface.
 To sand a corner, start at a flat surface.
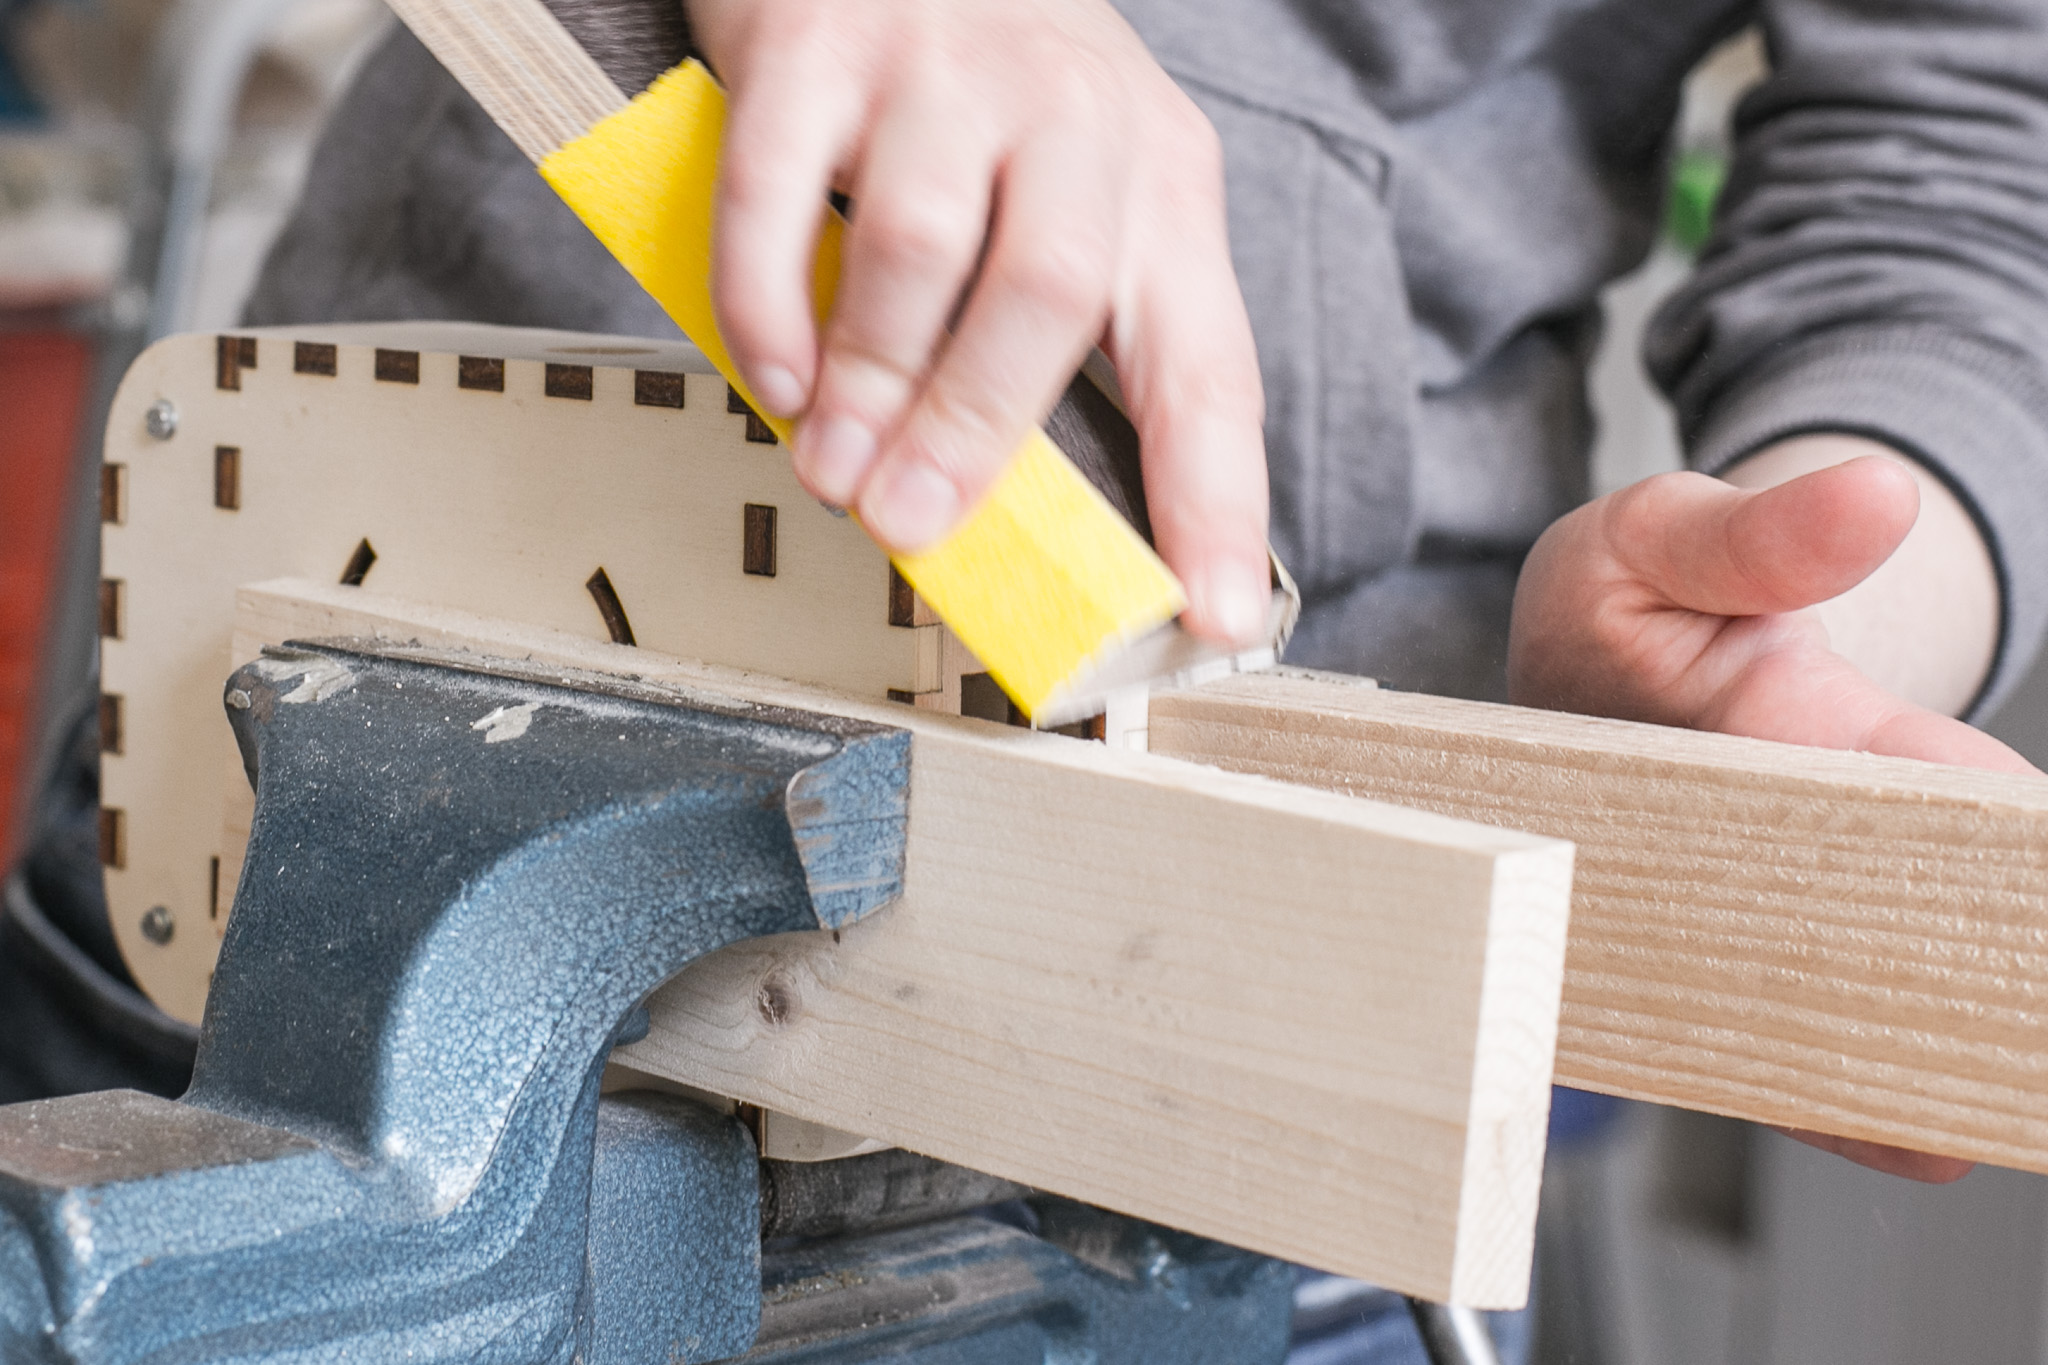 Go smoothly over the round corner until you reach the next flat surface.
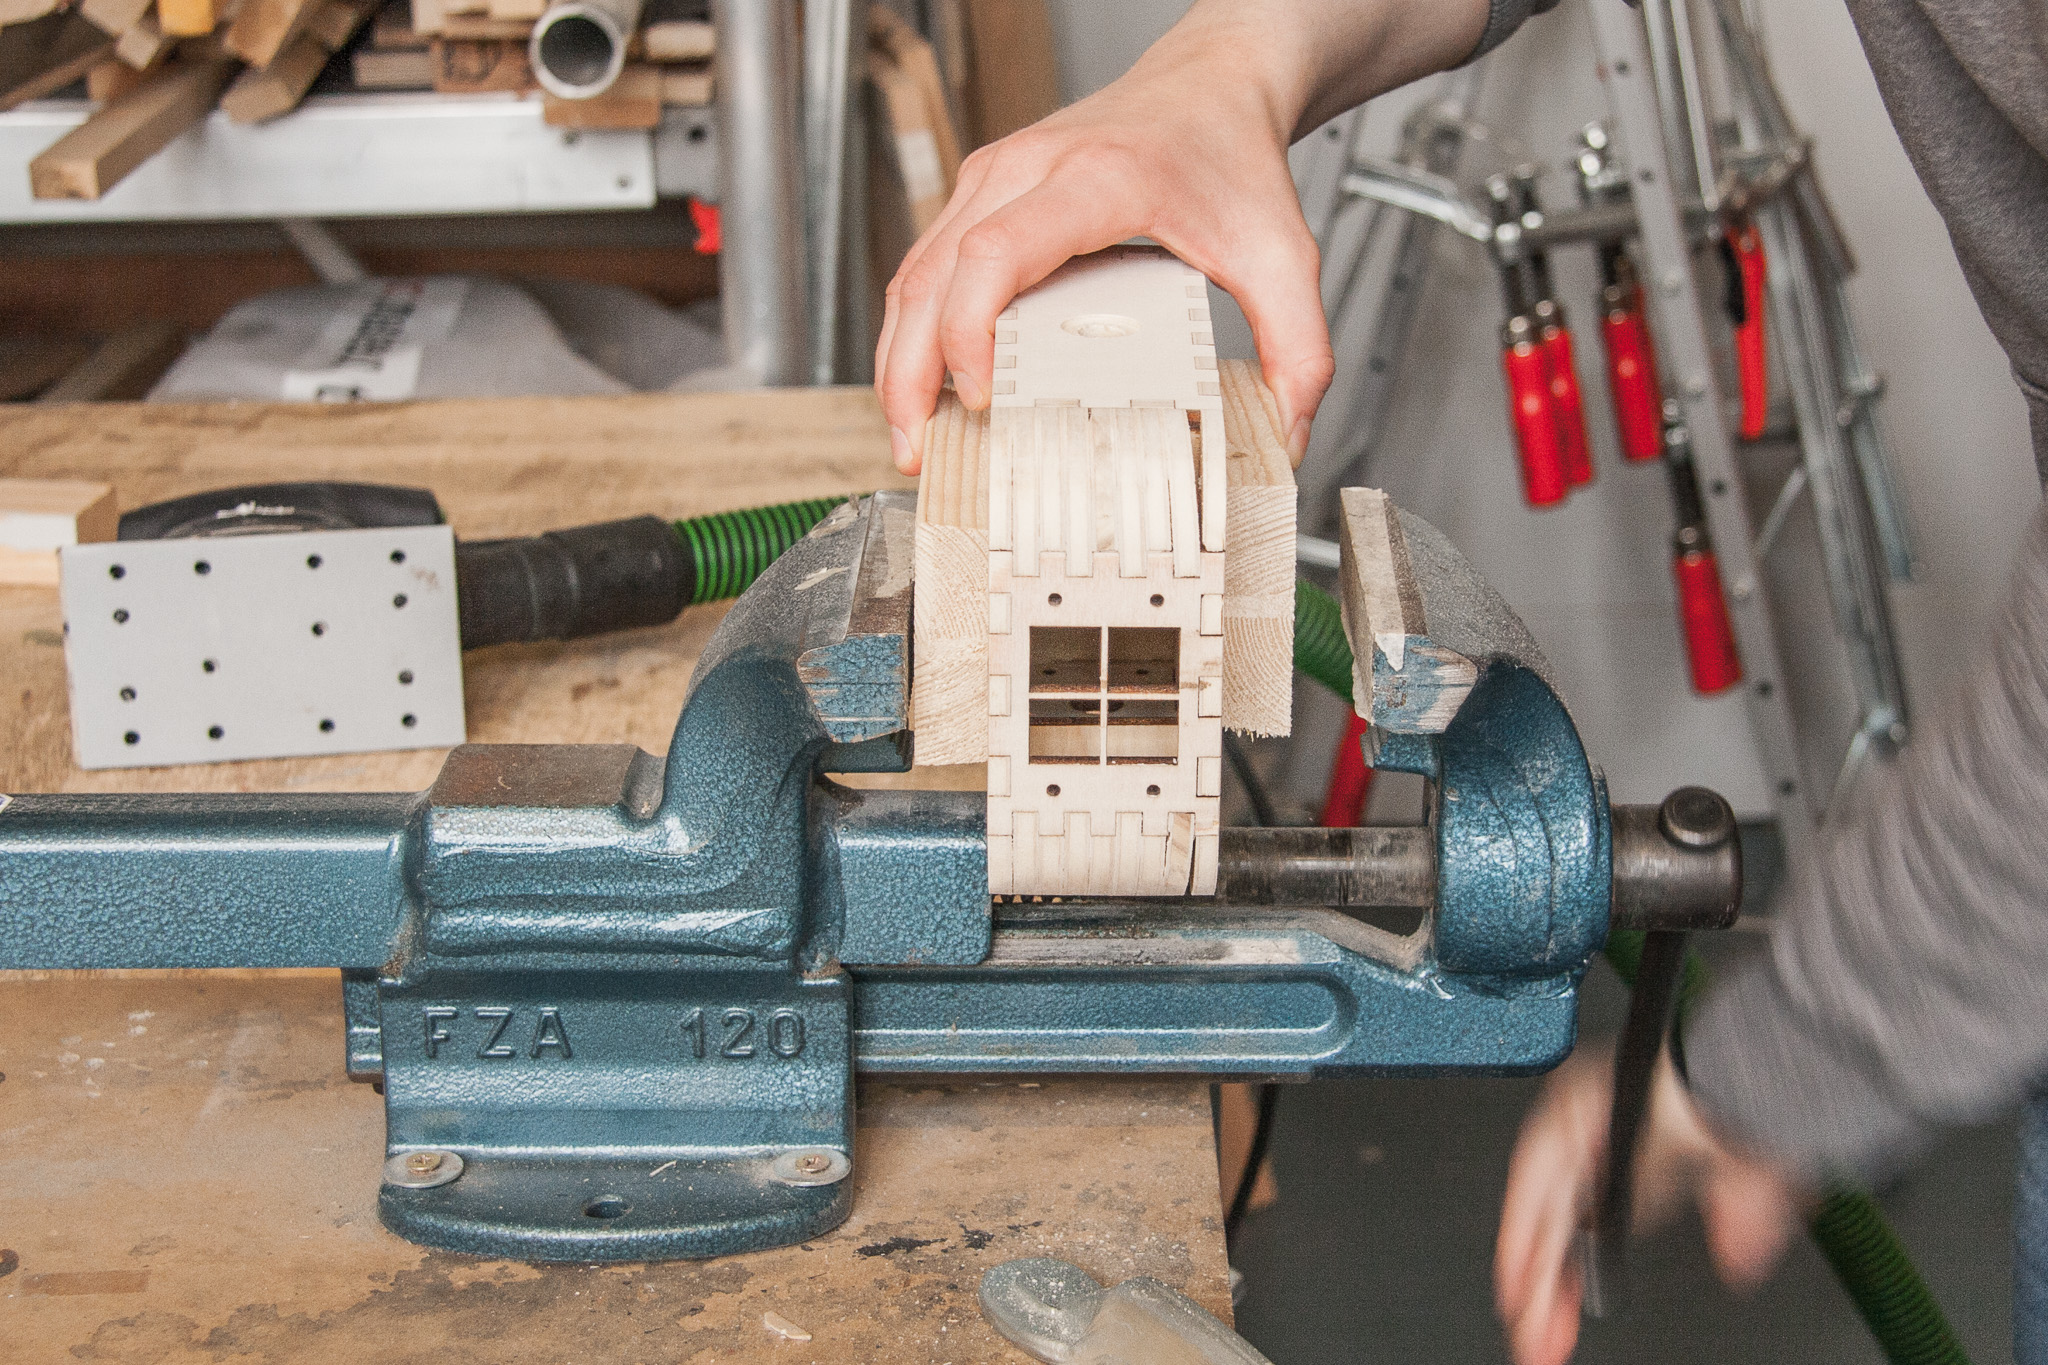 Fix the box in a vise with wooden blocks to protect it from dents.
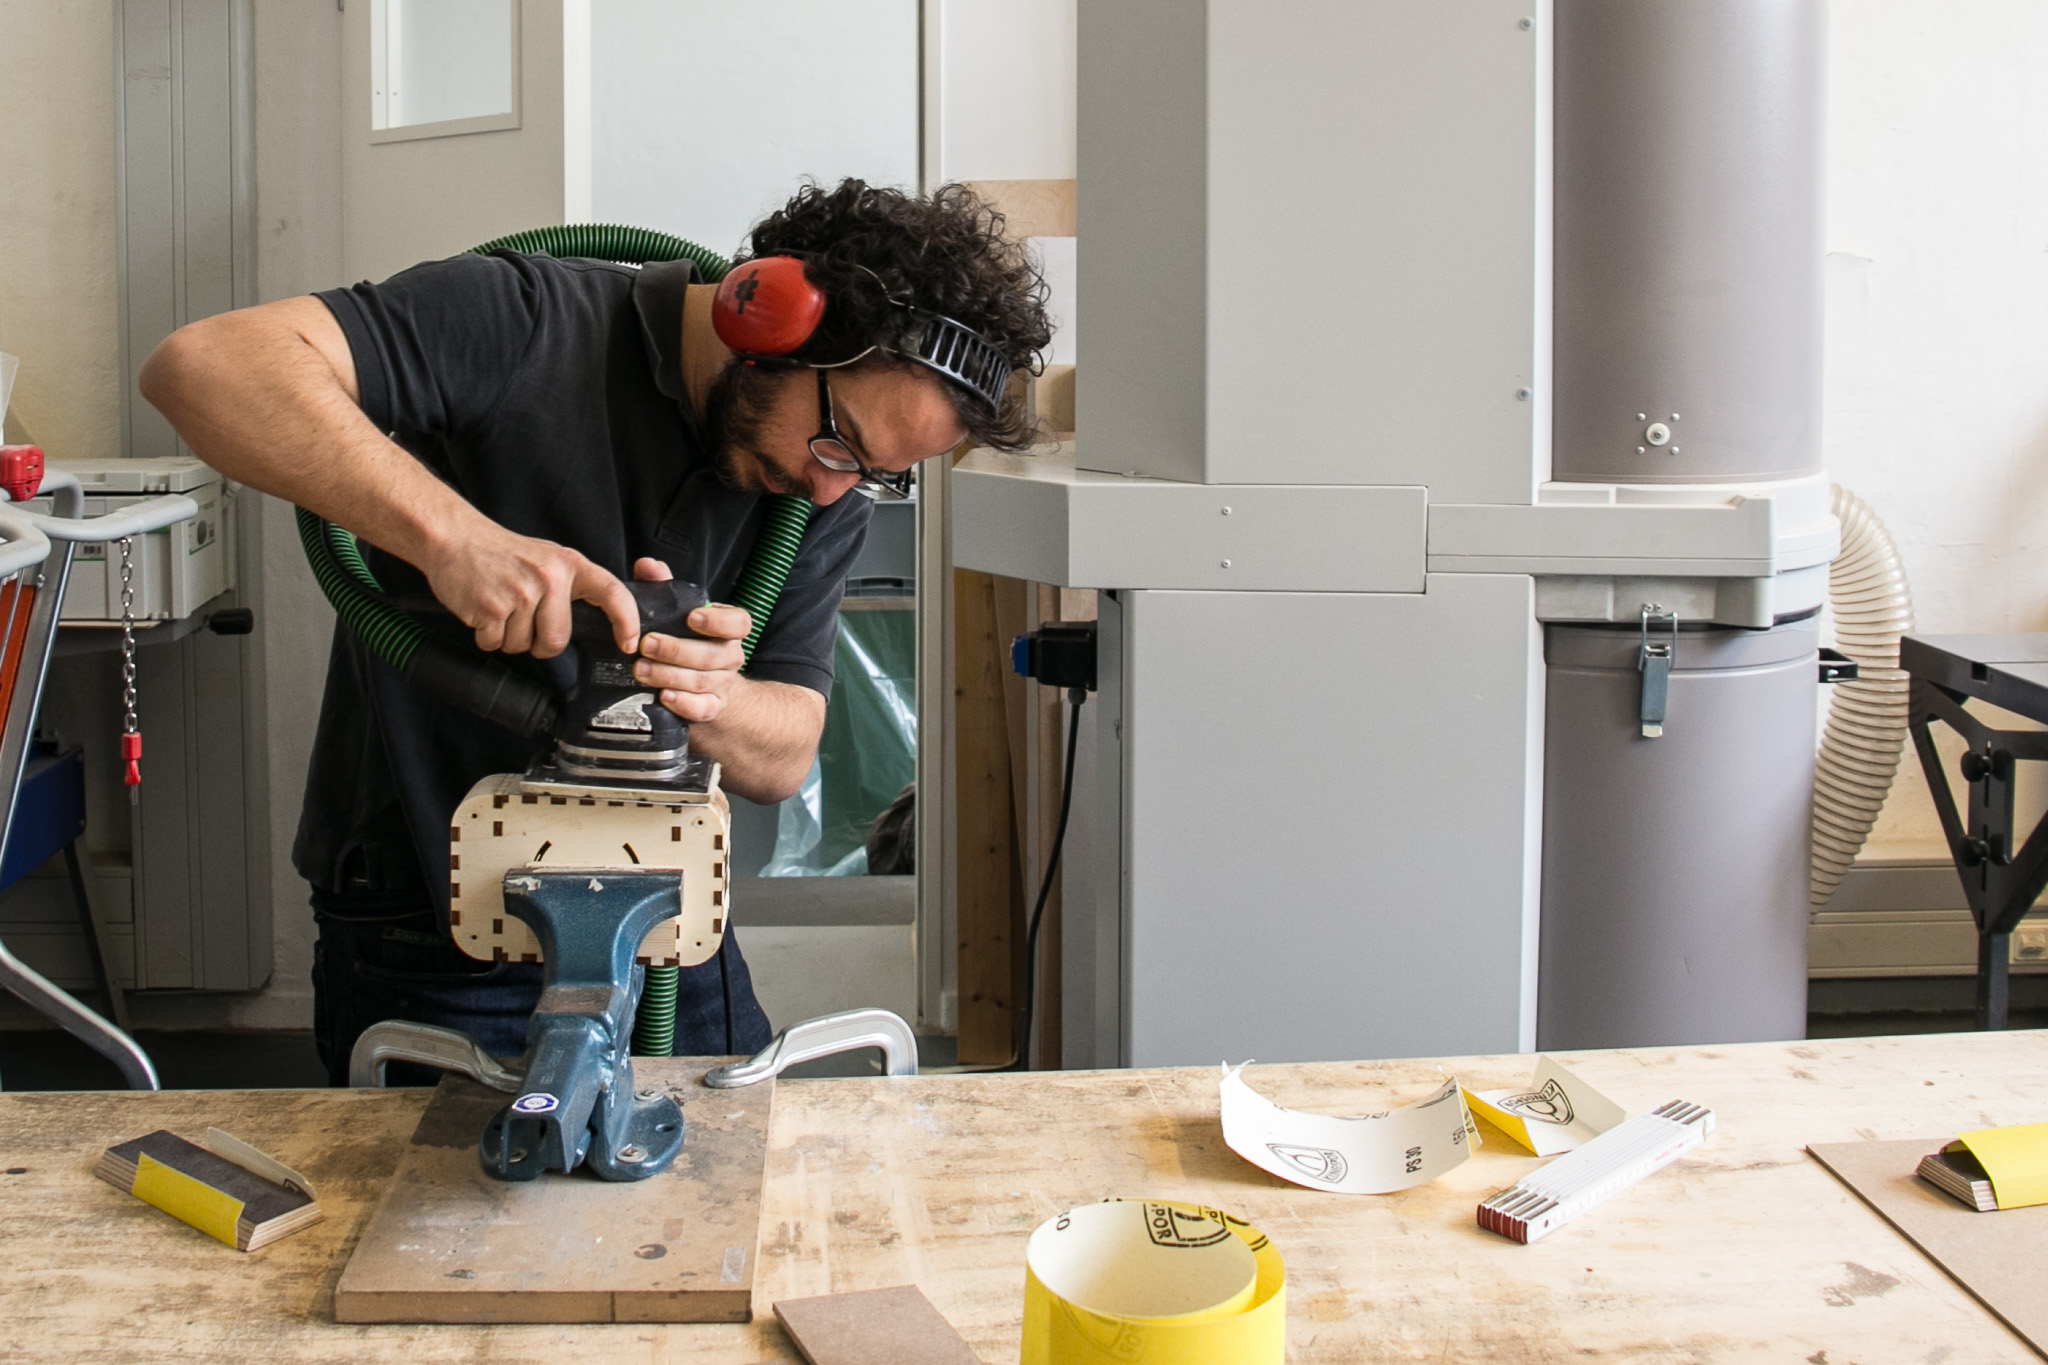
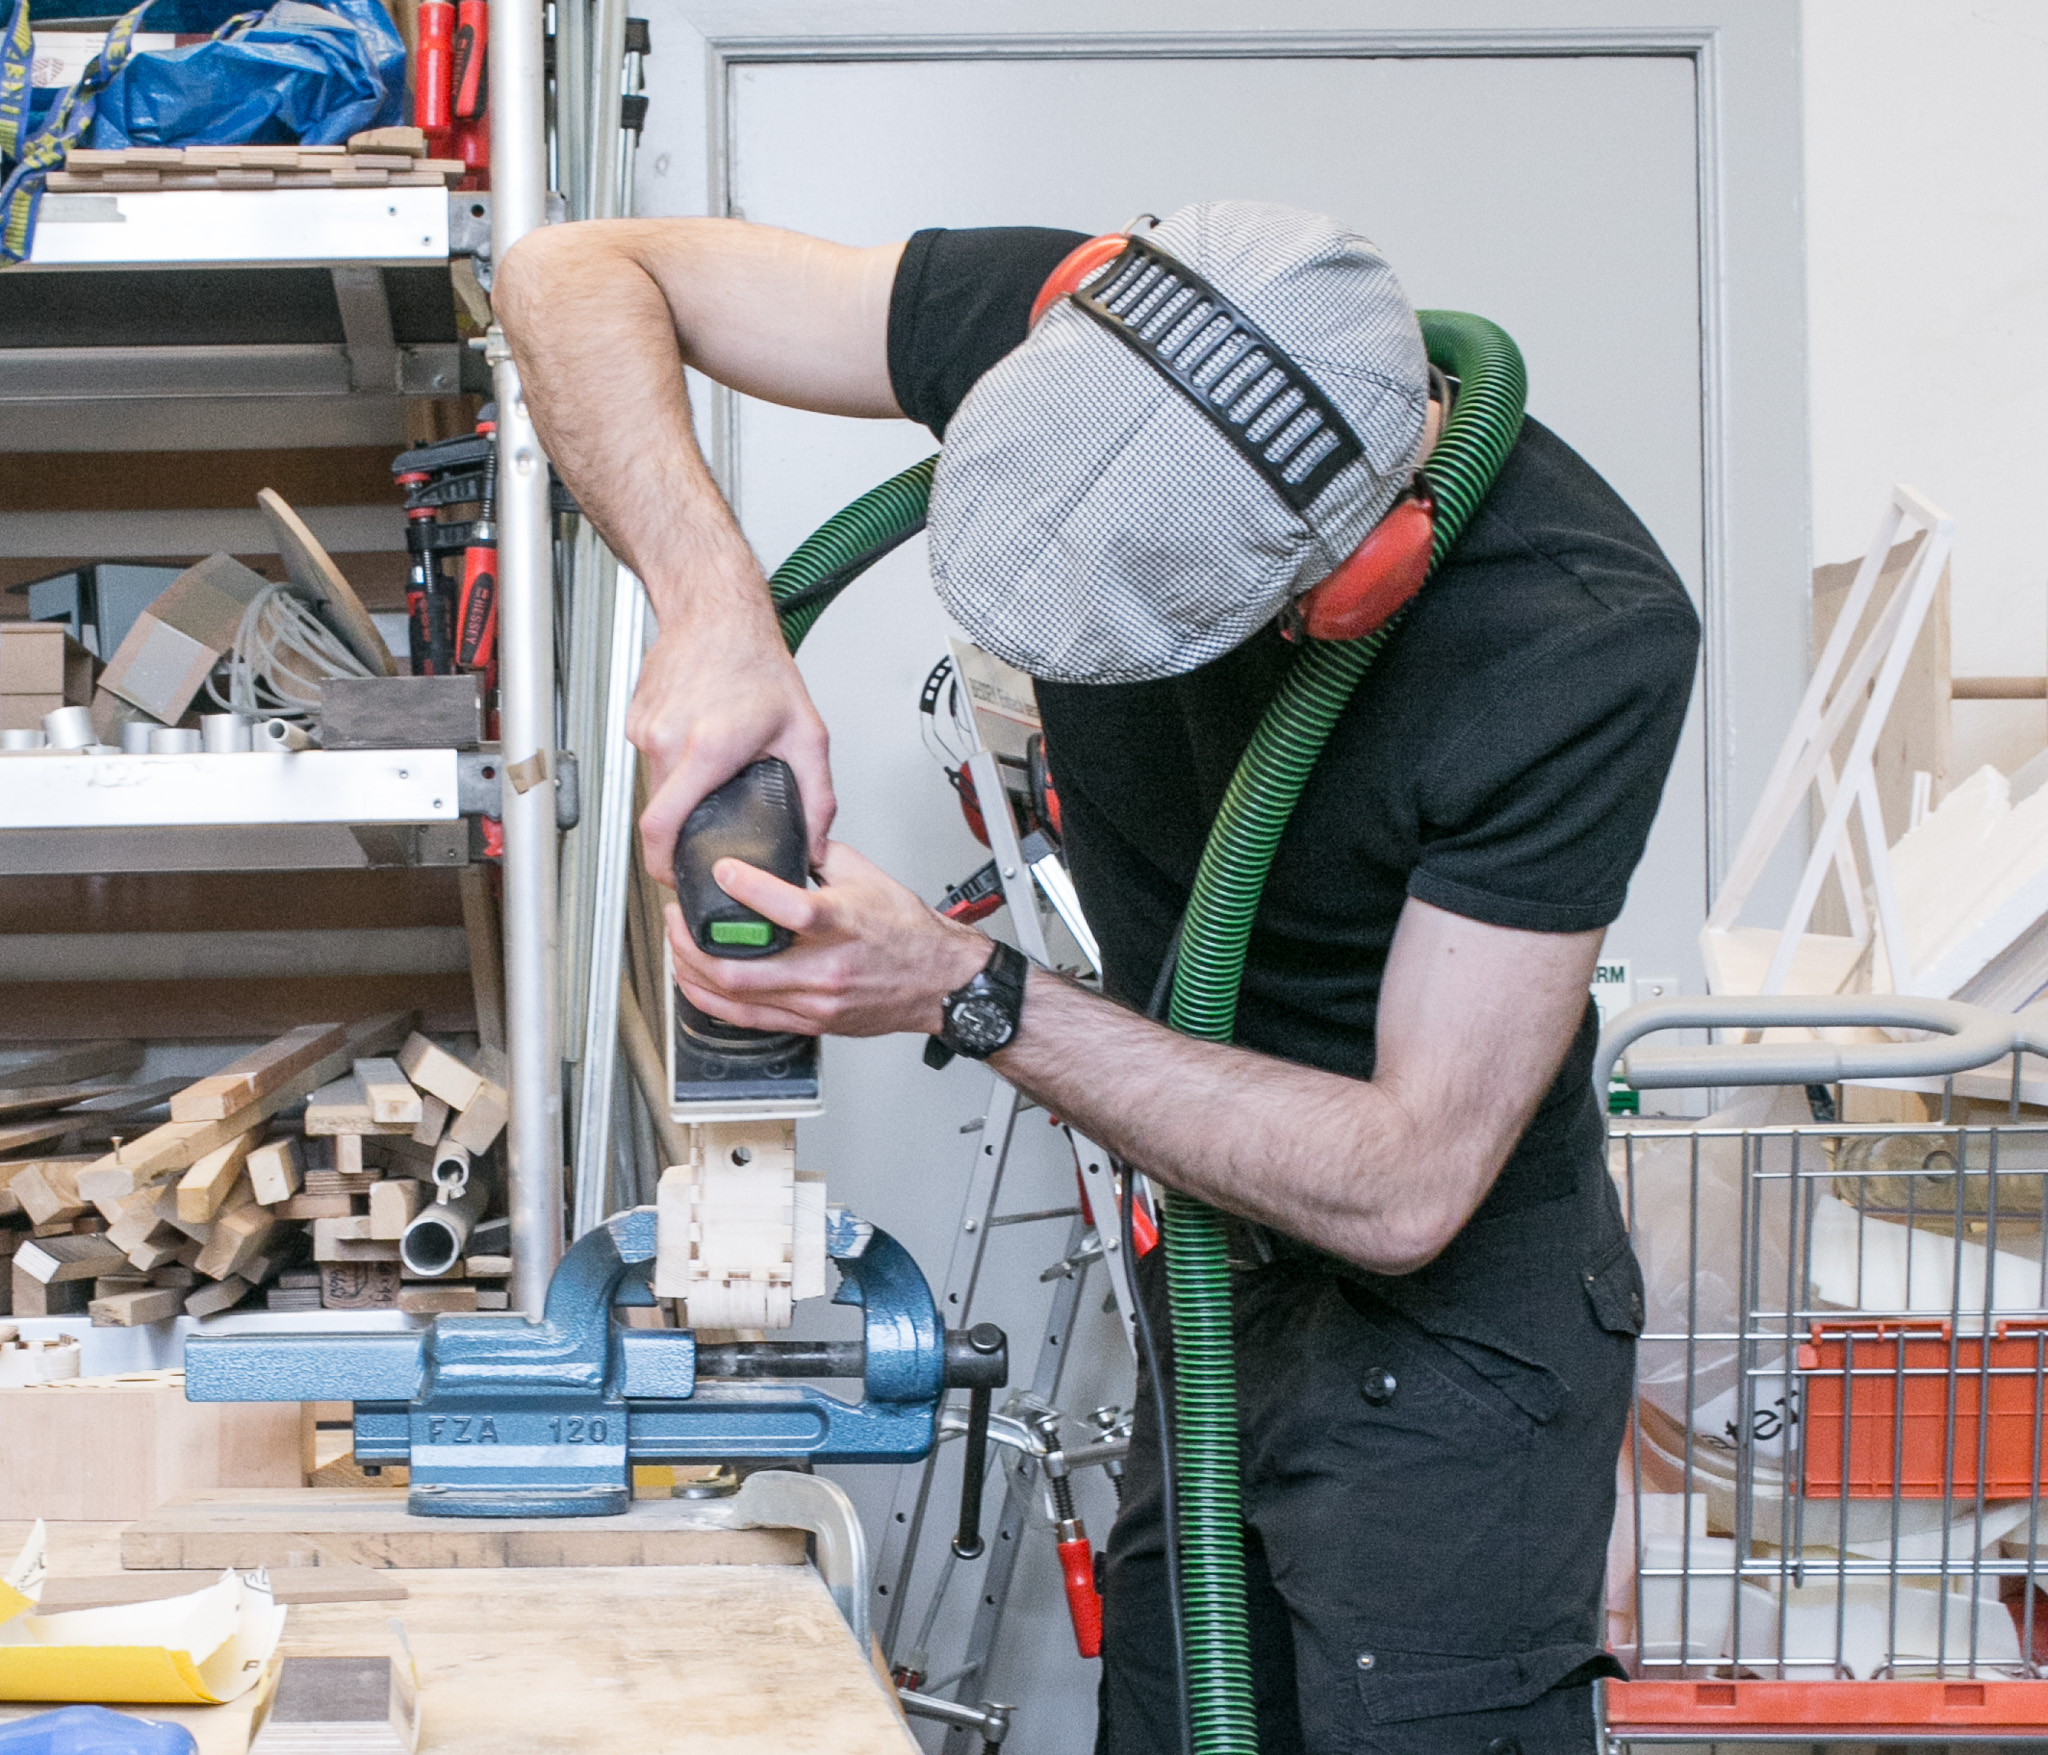

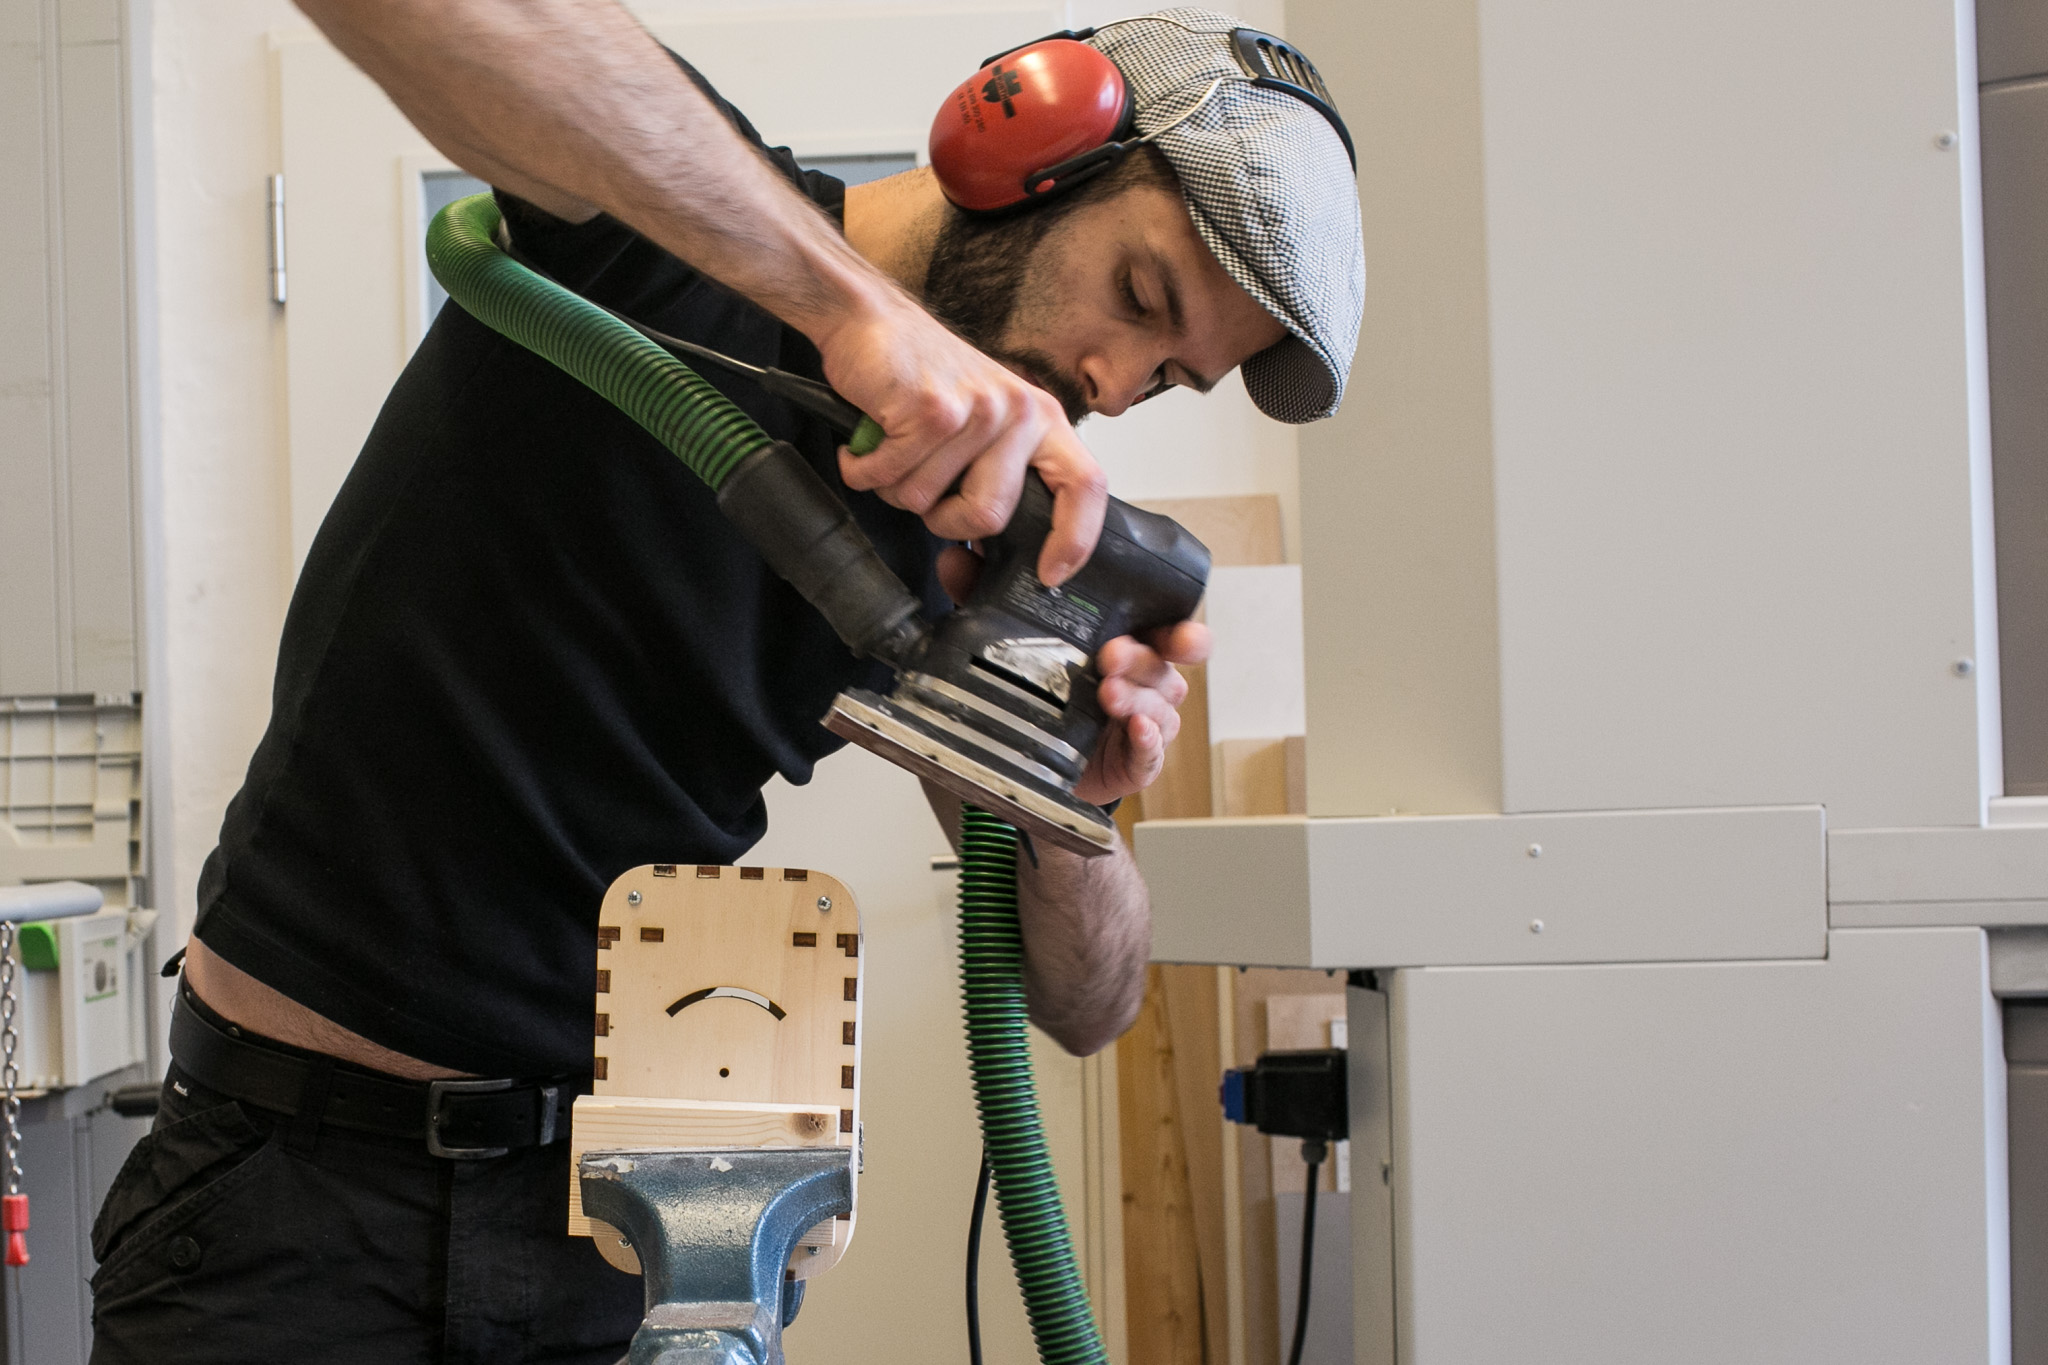 Working with a sanding machine.