Upper frame steps
Tools
- gloves for glueing
- piece of wood to apply glue
Materials
- epoxi glue
- LiPo charger (e.g. Sparkfun PRT-12711)
- painted upper frame
- base plate
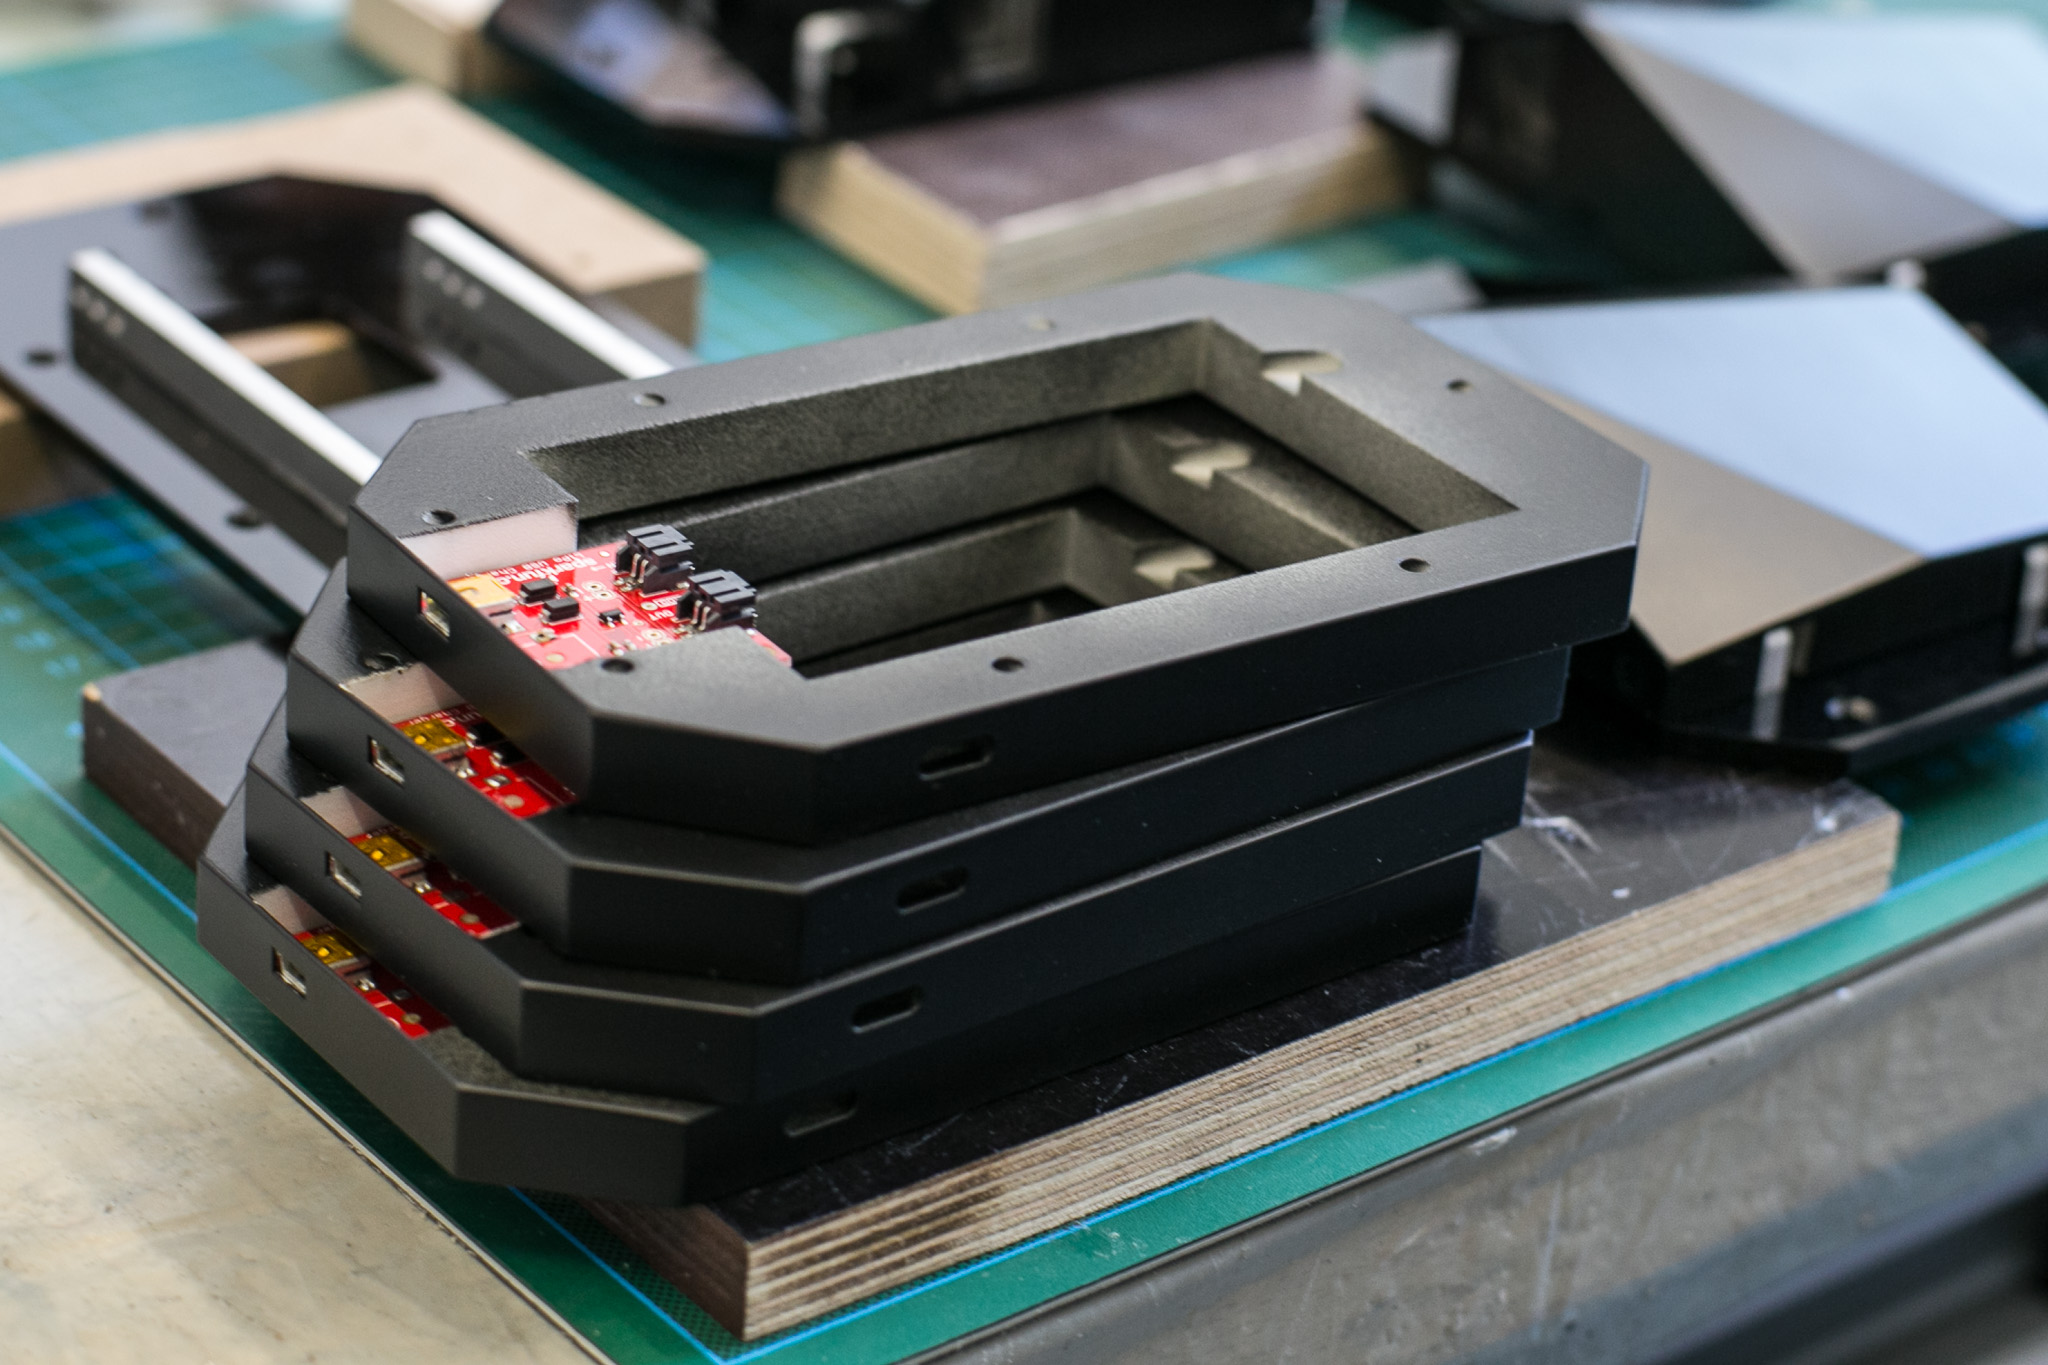 upper frames painted and equipped with battery charger
For a right-hand version of the instrument, assembly is straight forward: Glue the charger into the frame with epoxit glue.
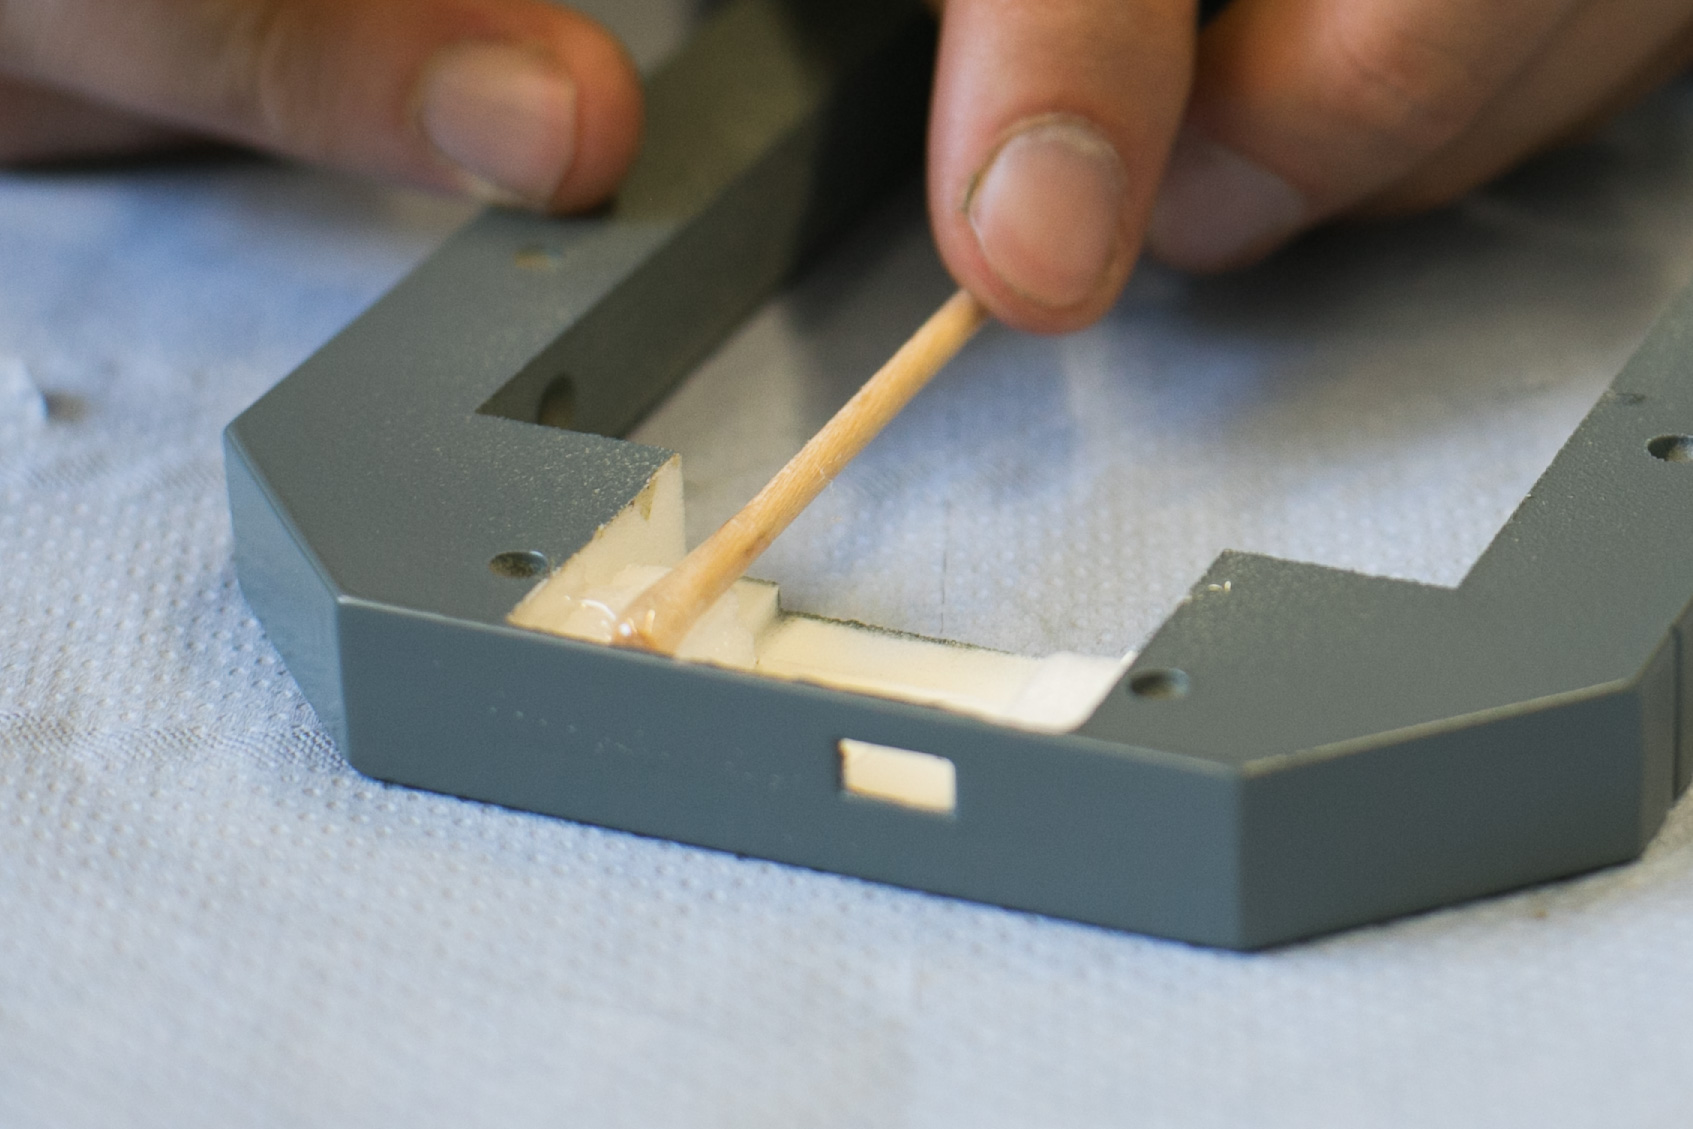 Apply glue evenly.
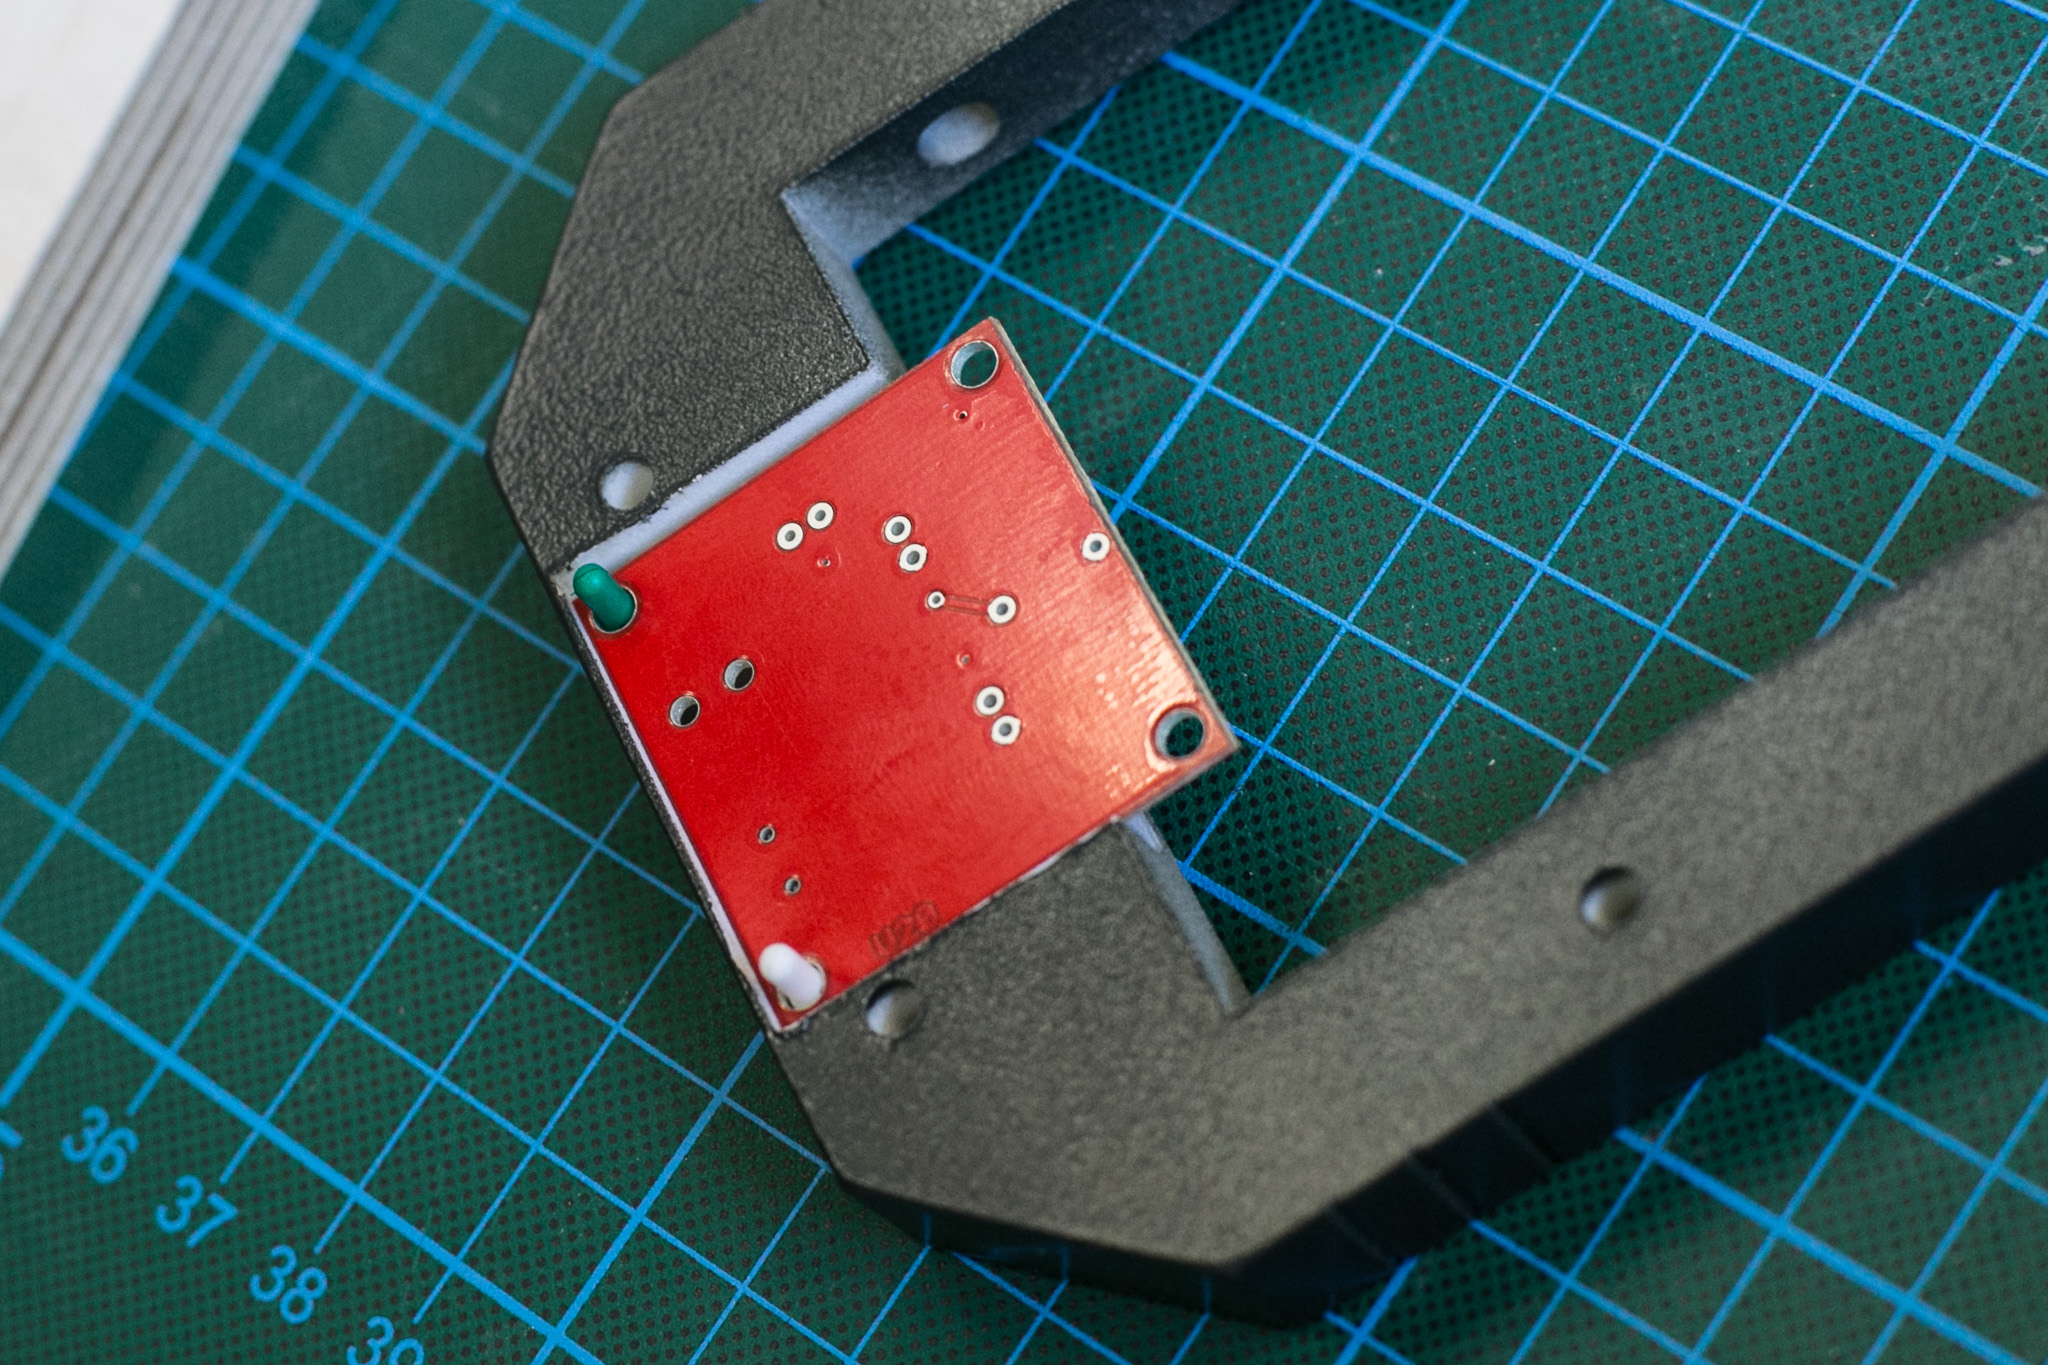
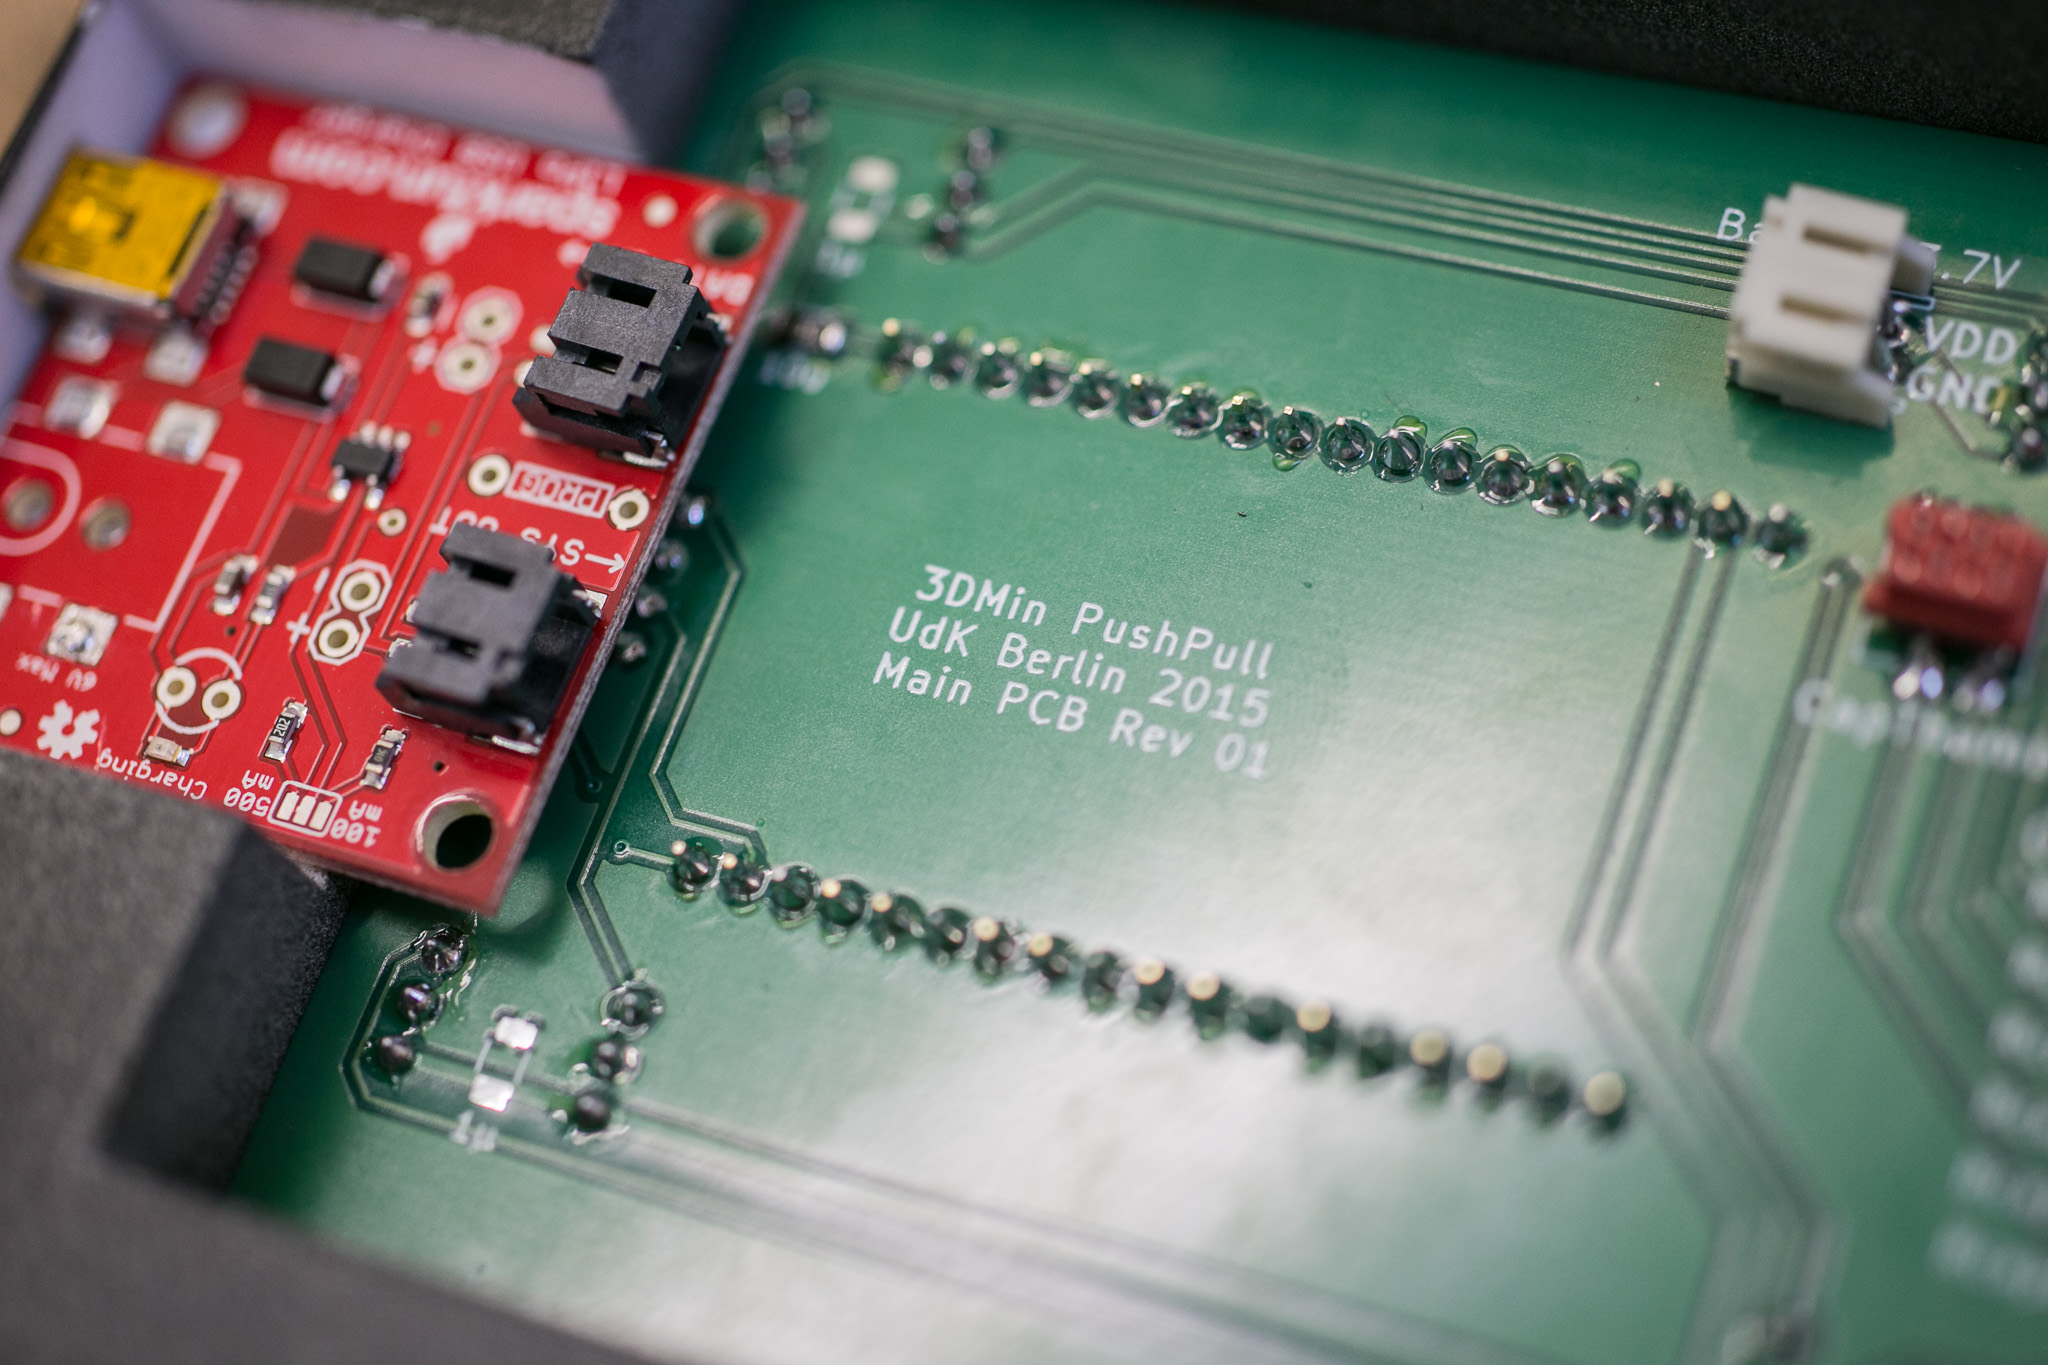 positioning of the charger in the right handed version
for the left hand version, the charging circuit has to be flipped over to fit the hole. Attach nylon circuit board spacers to the circuit board and glue the component in. This ensures a parallel alignment of the socket.
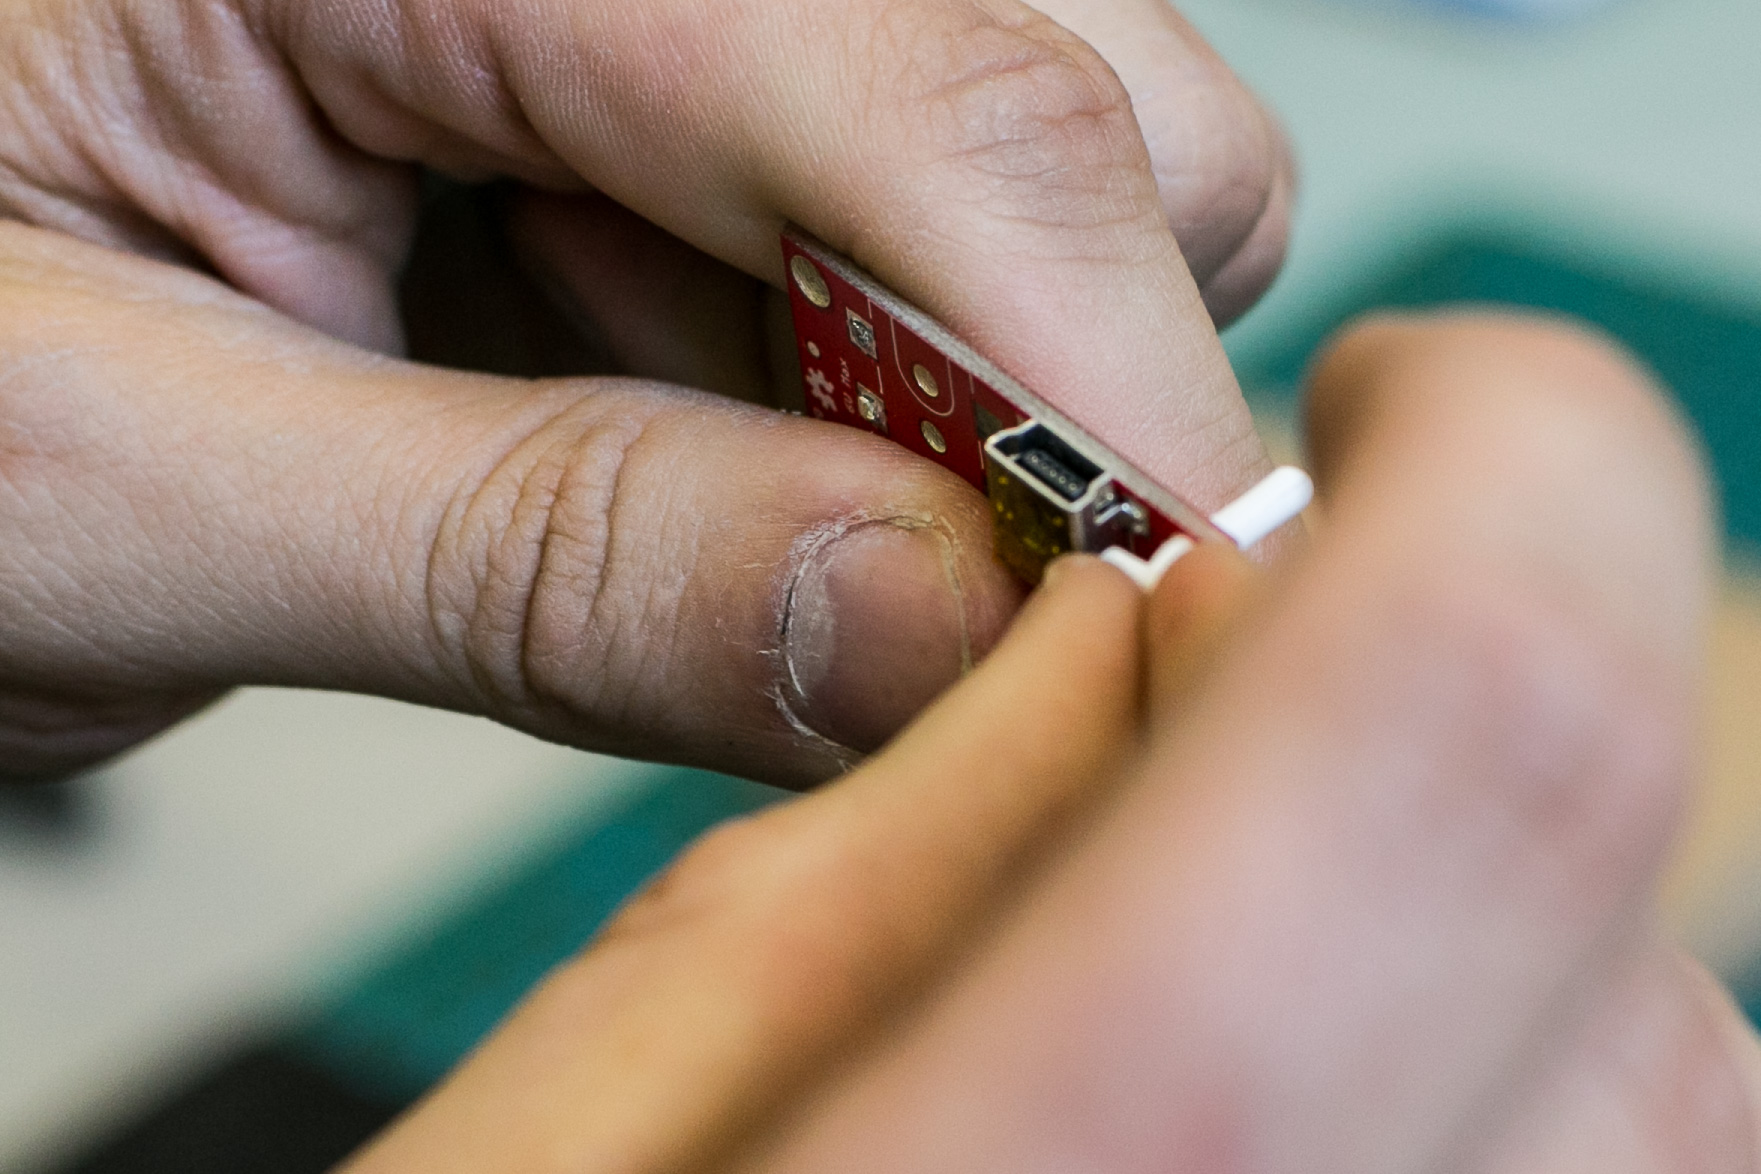 Attaching nylon circuit board spacers to the circuit board.
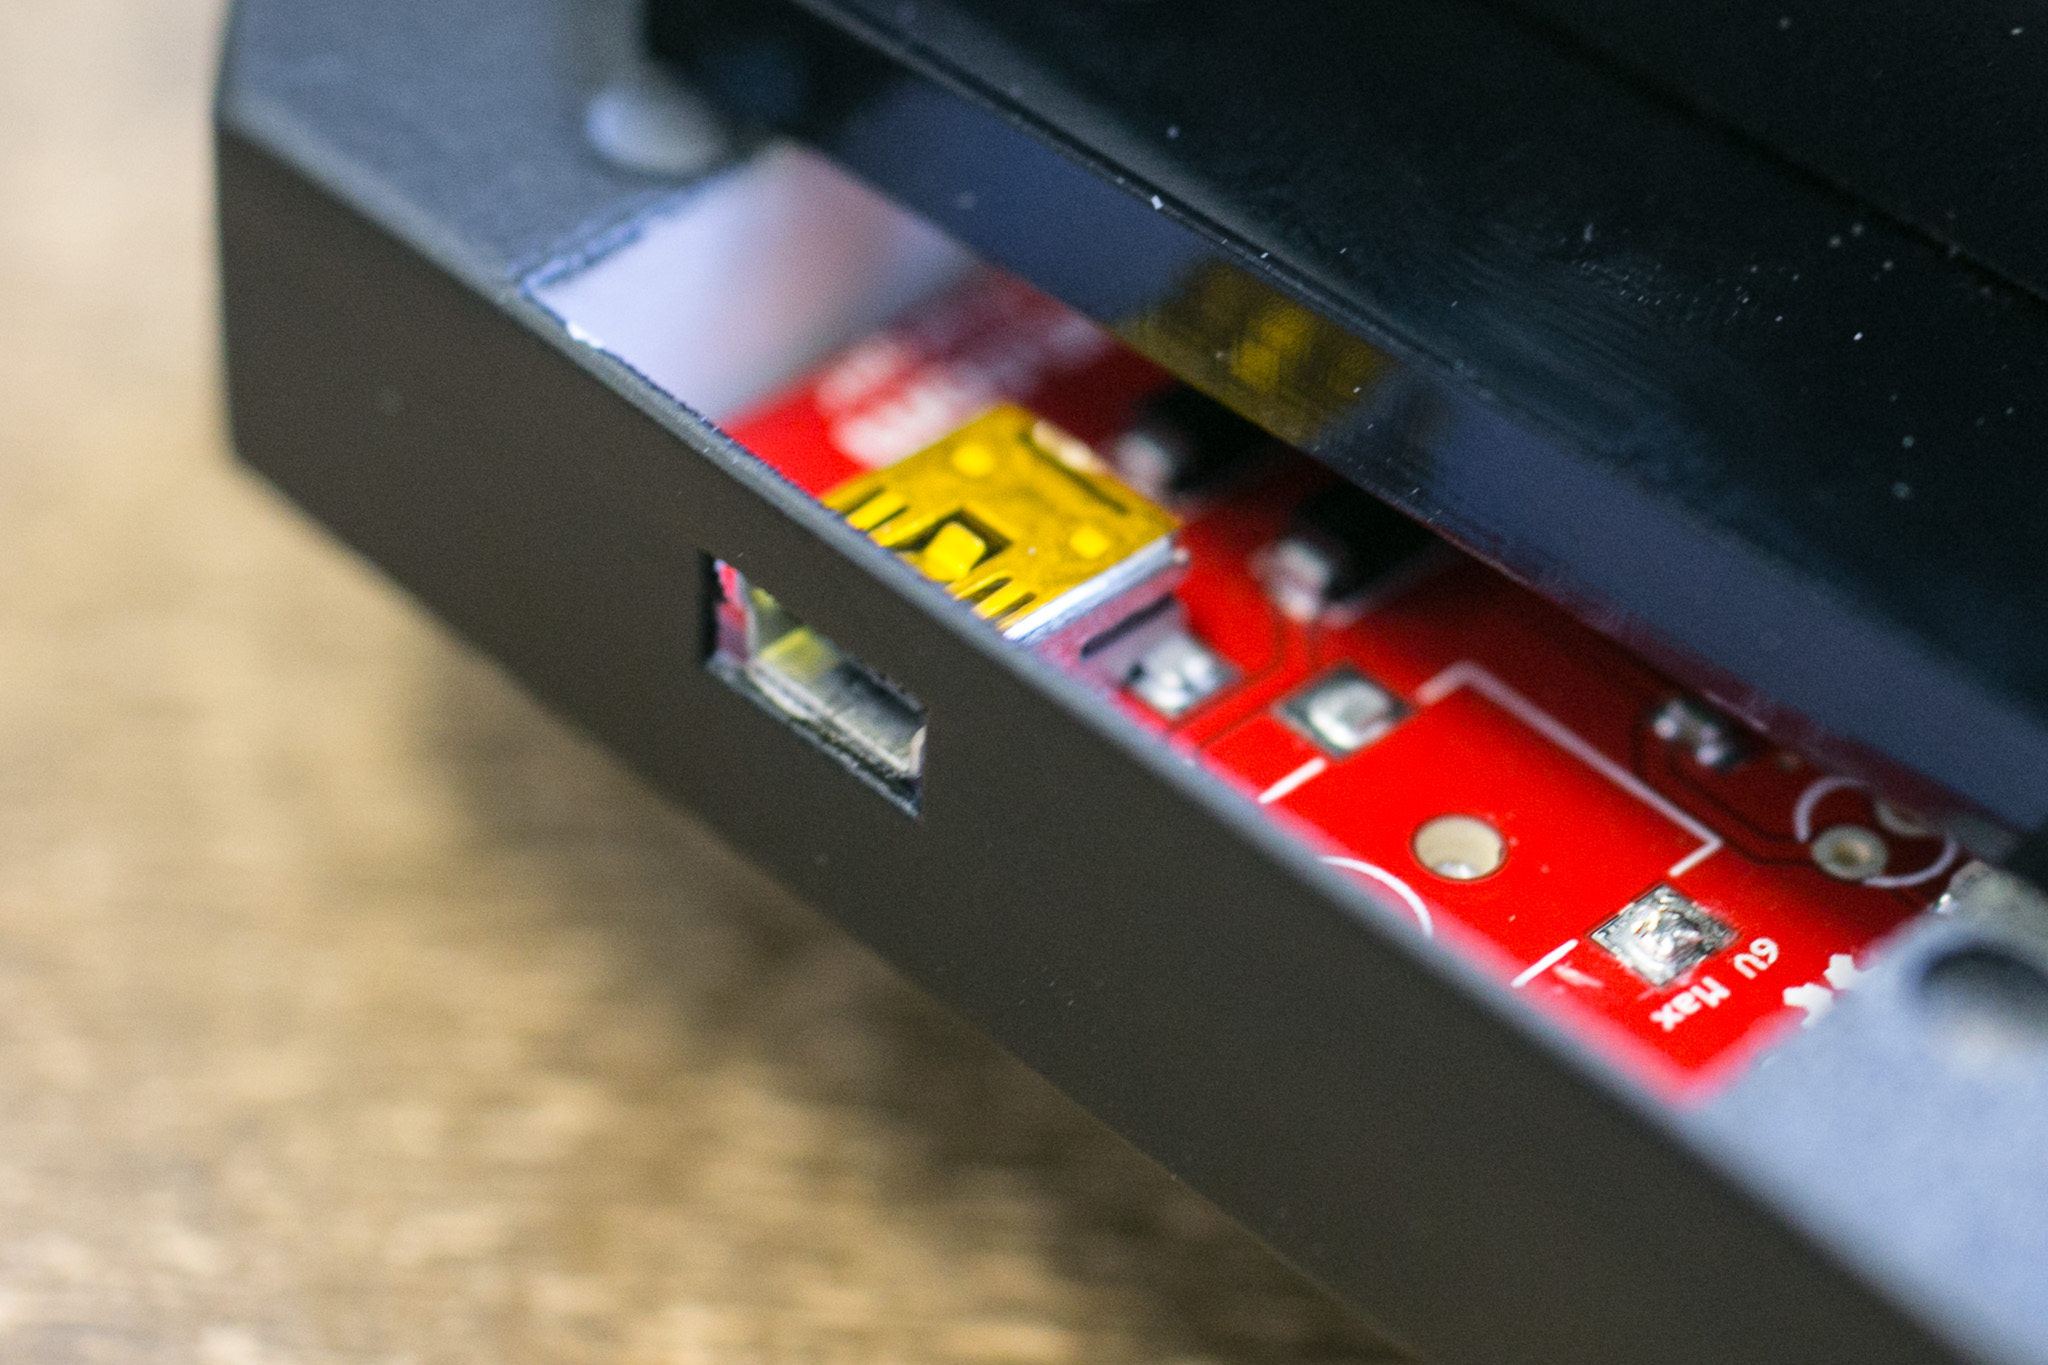
 spacers, board and frame fit snug.
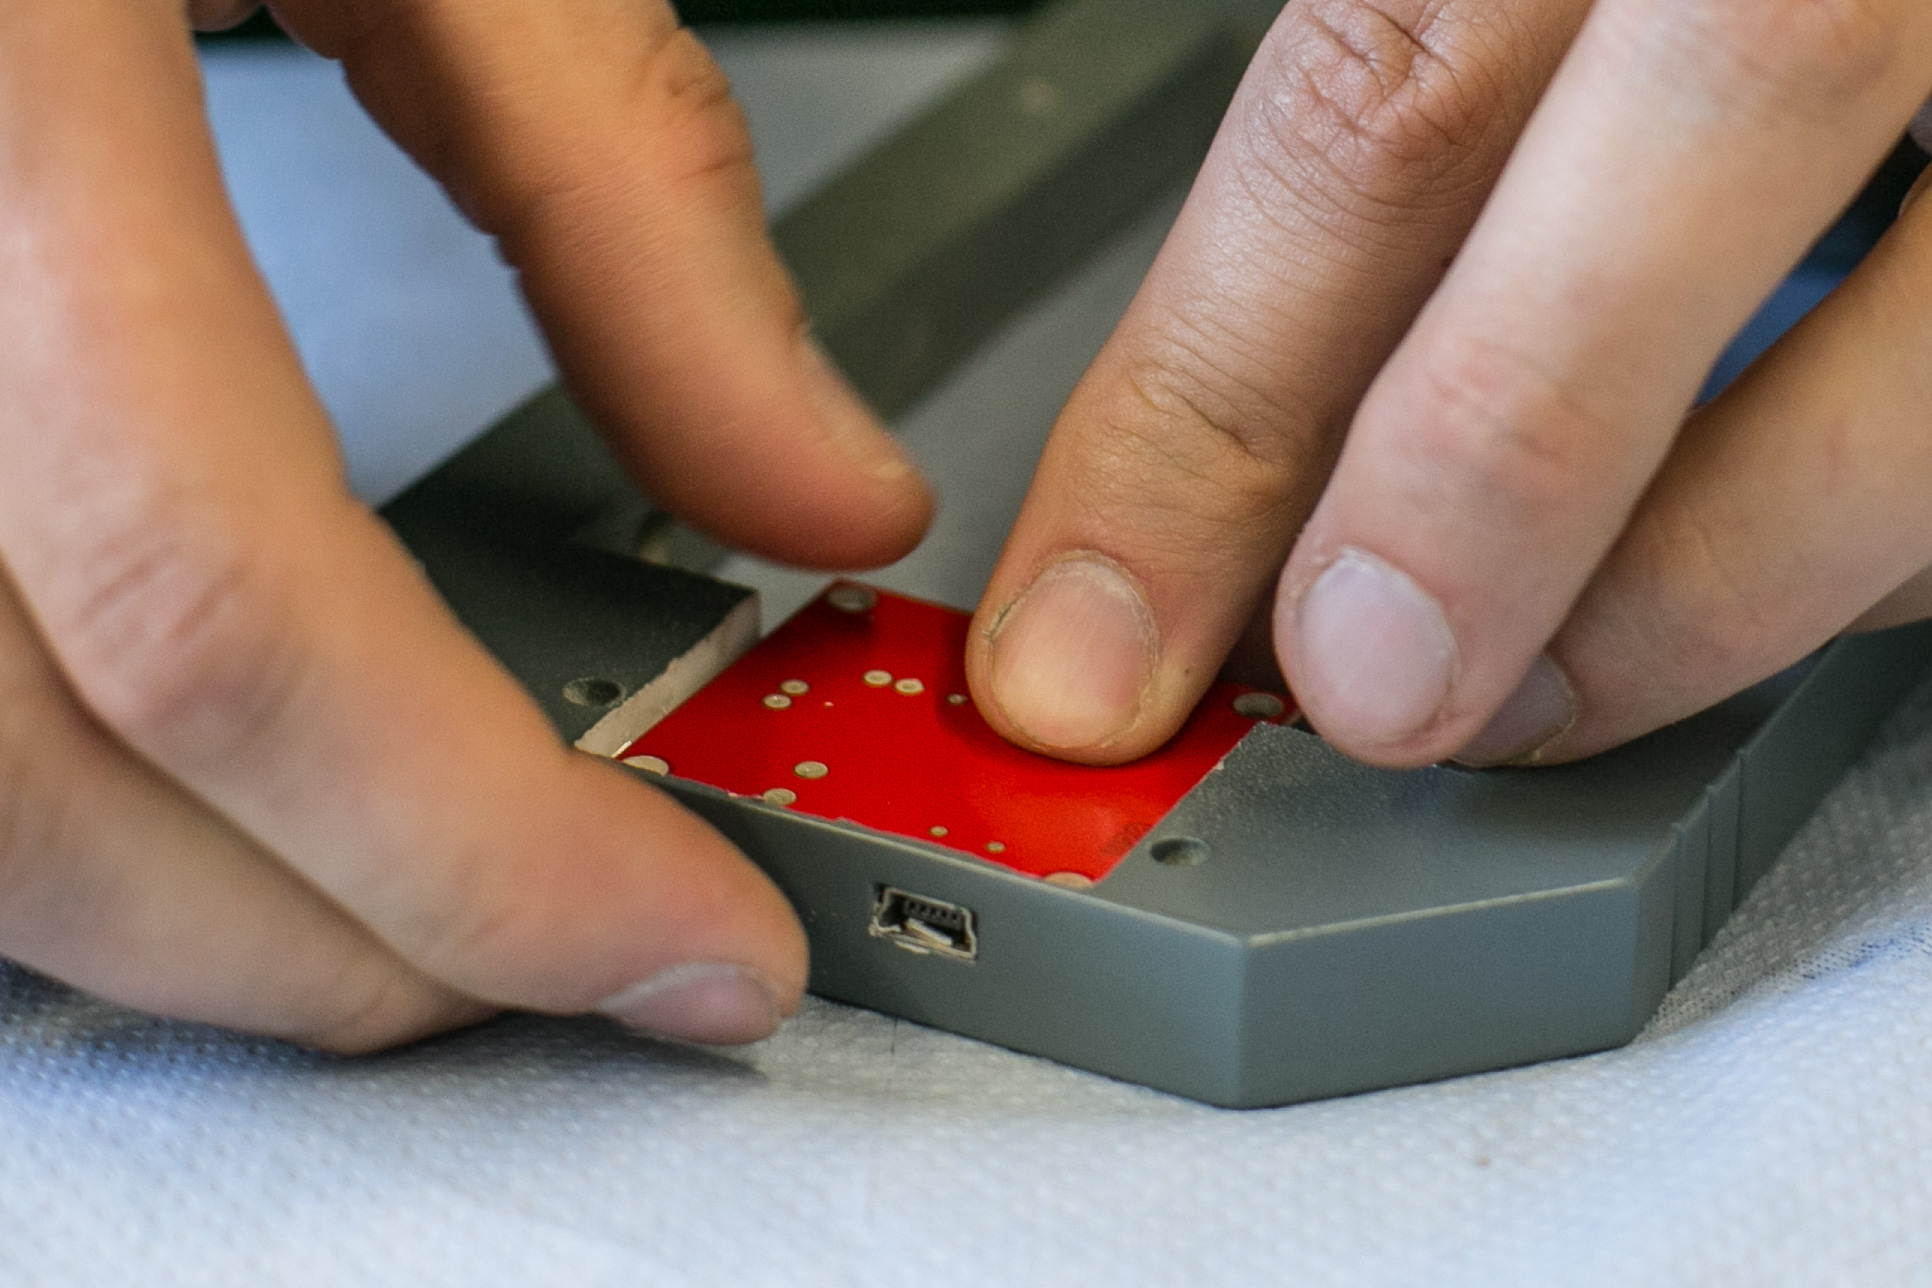 Put the charger upside down into the upper frame so that the plug will fit through the hole.
 Put base plate on top.