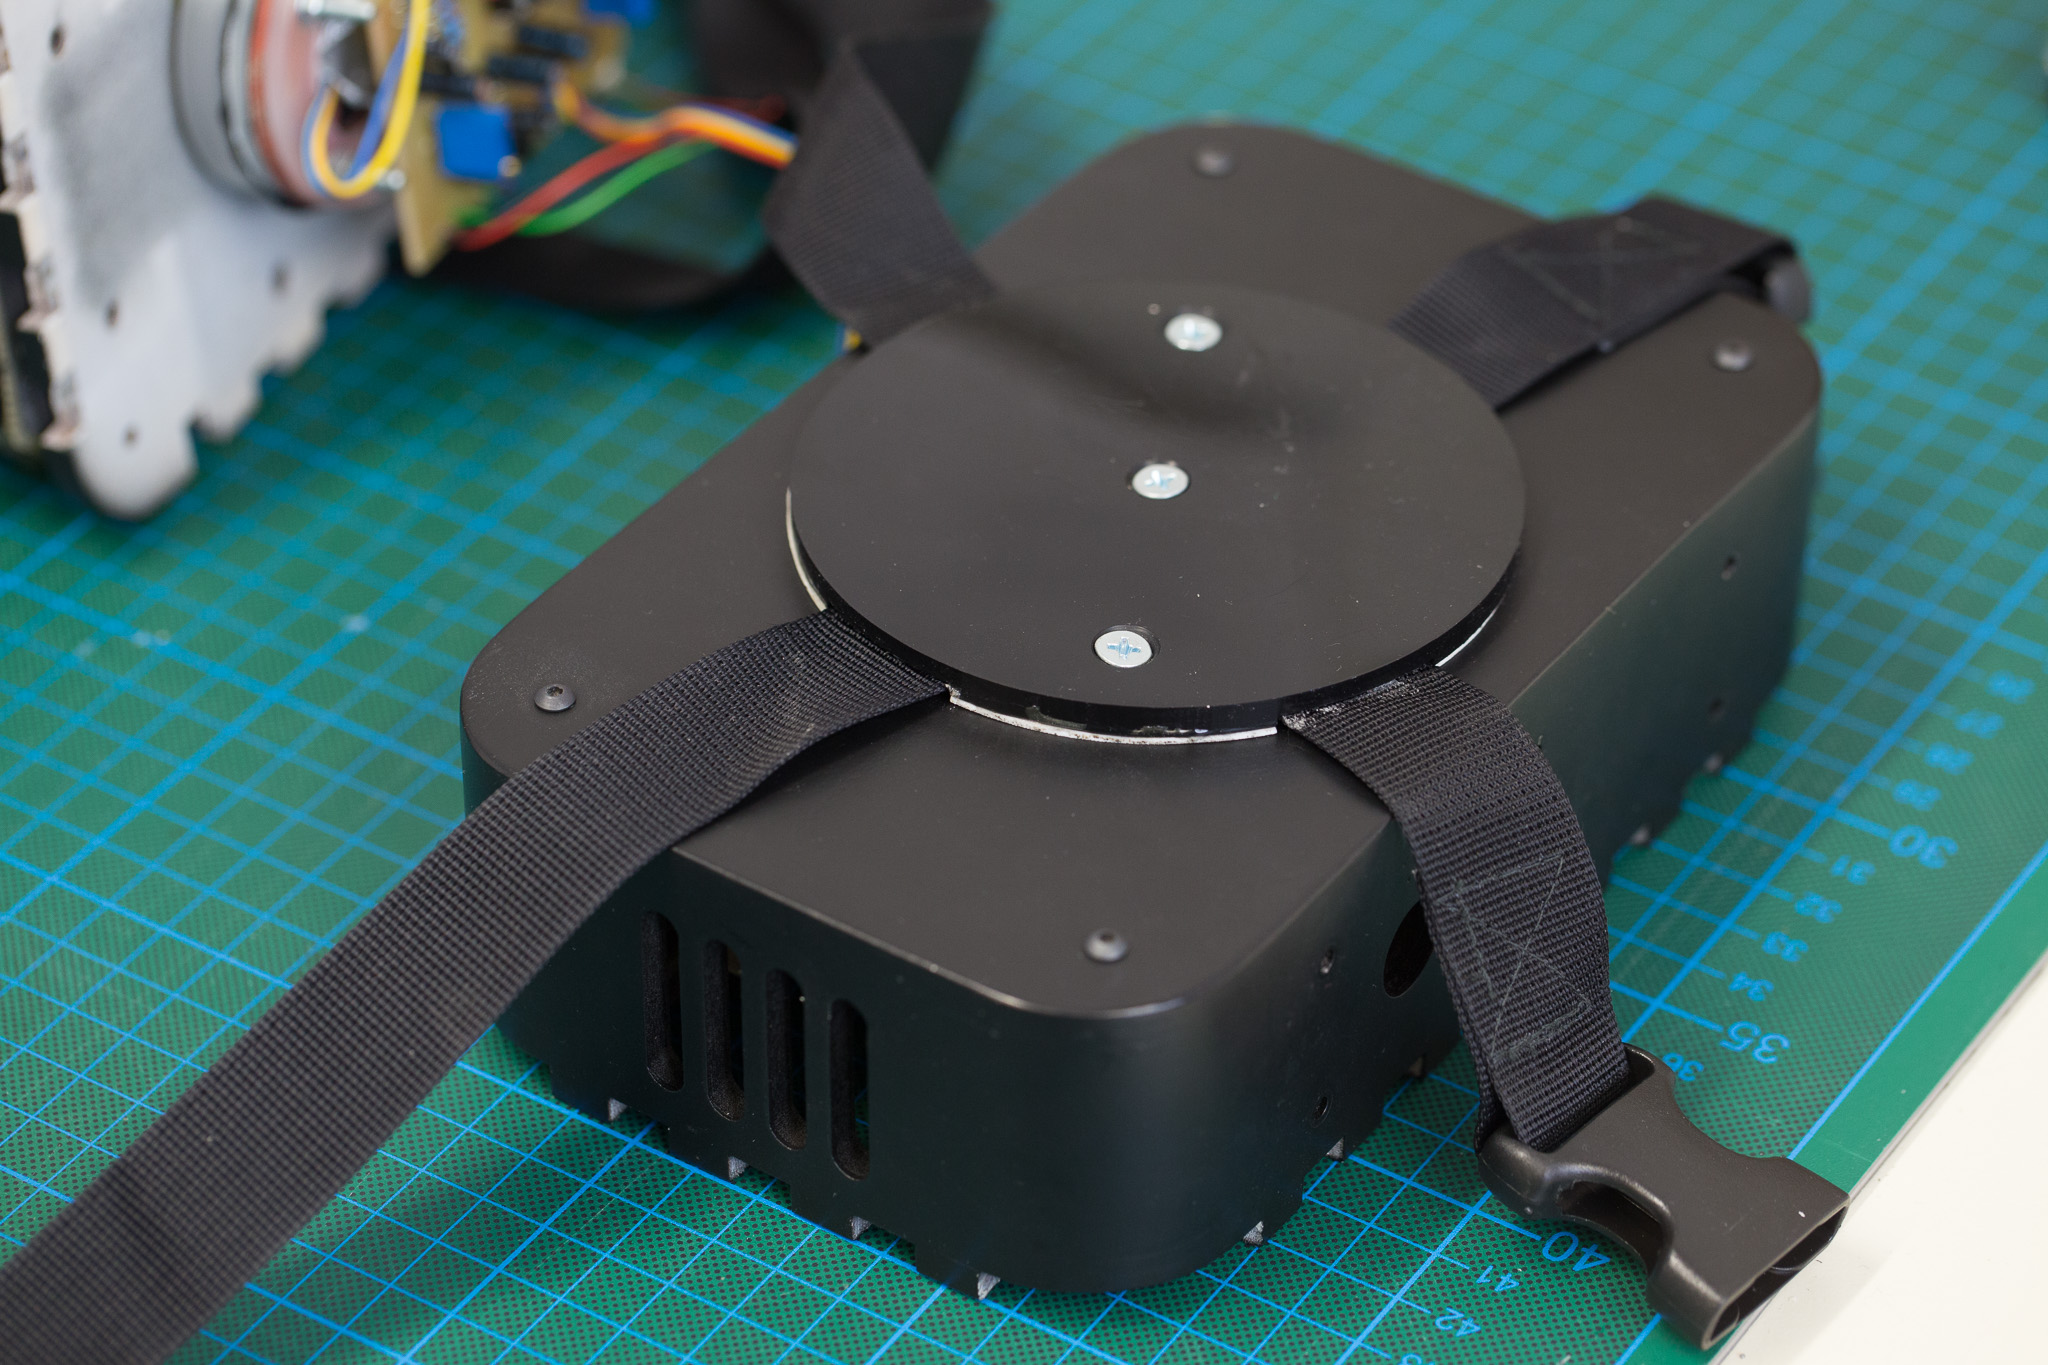
End Result
Disk
Grate the holes of the disk with the centre bit so that the screws will fit snug.
Glue the rubber bits to their positions.
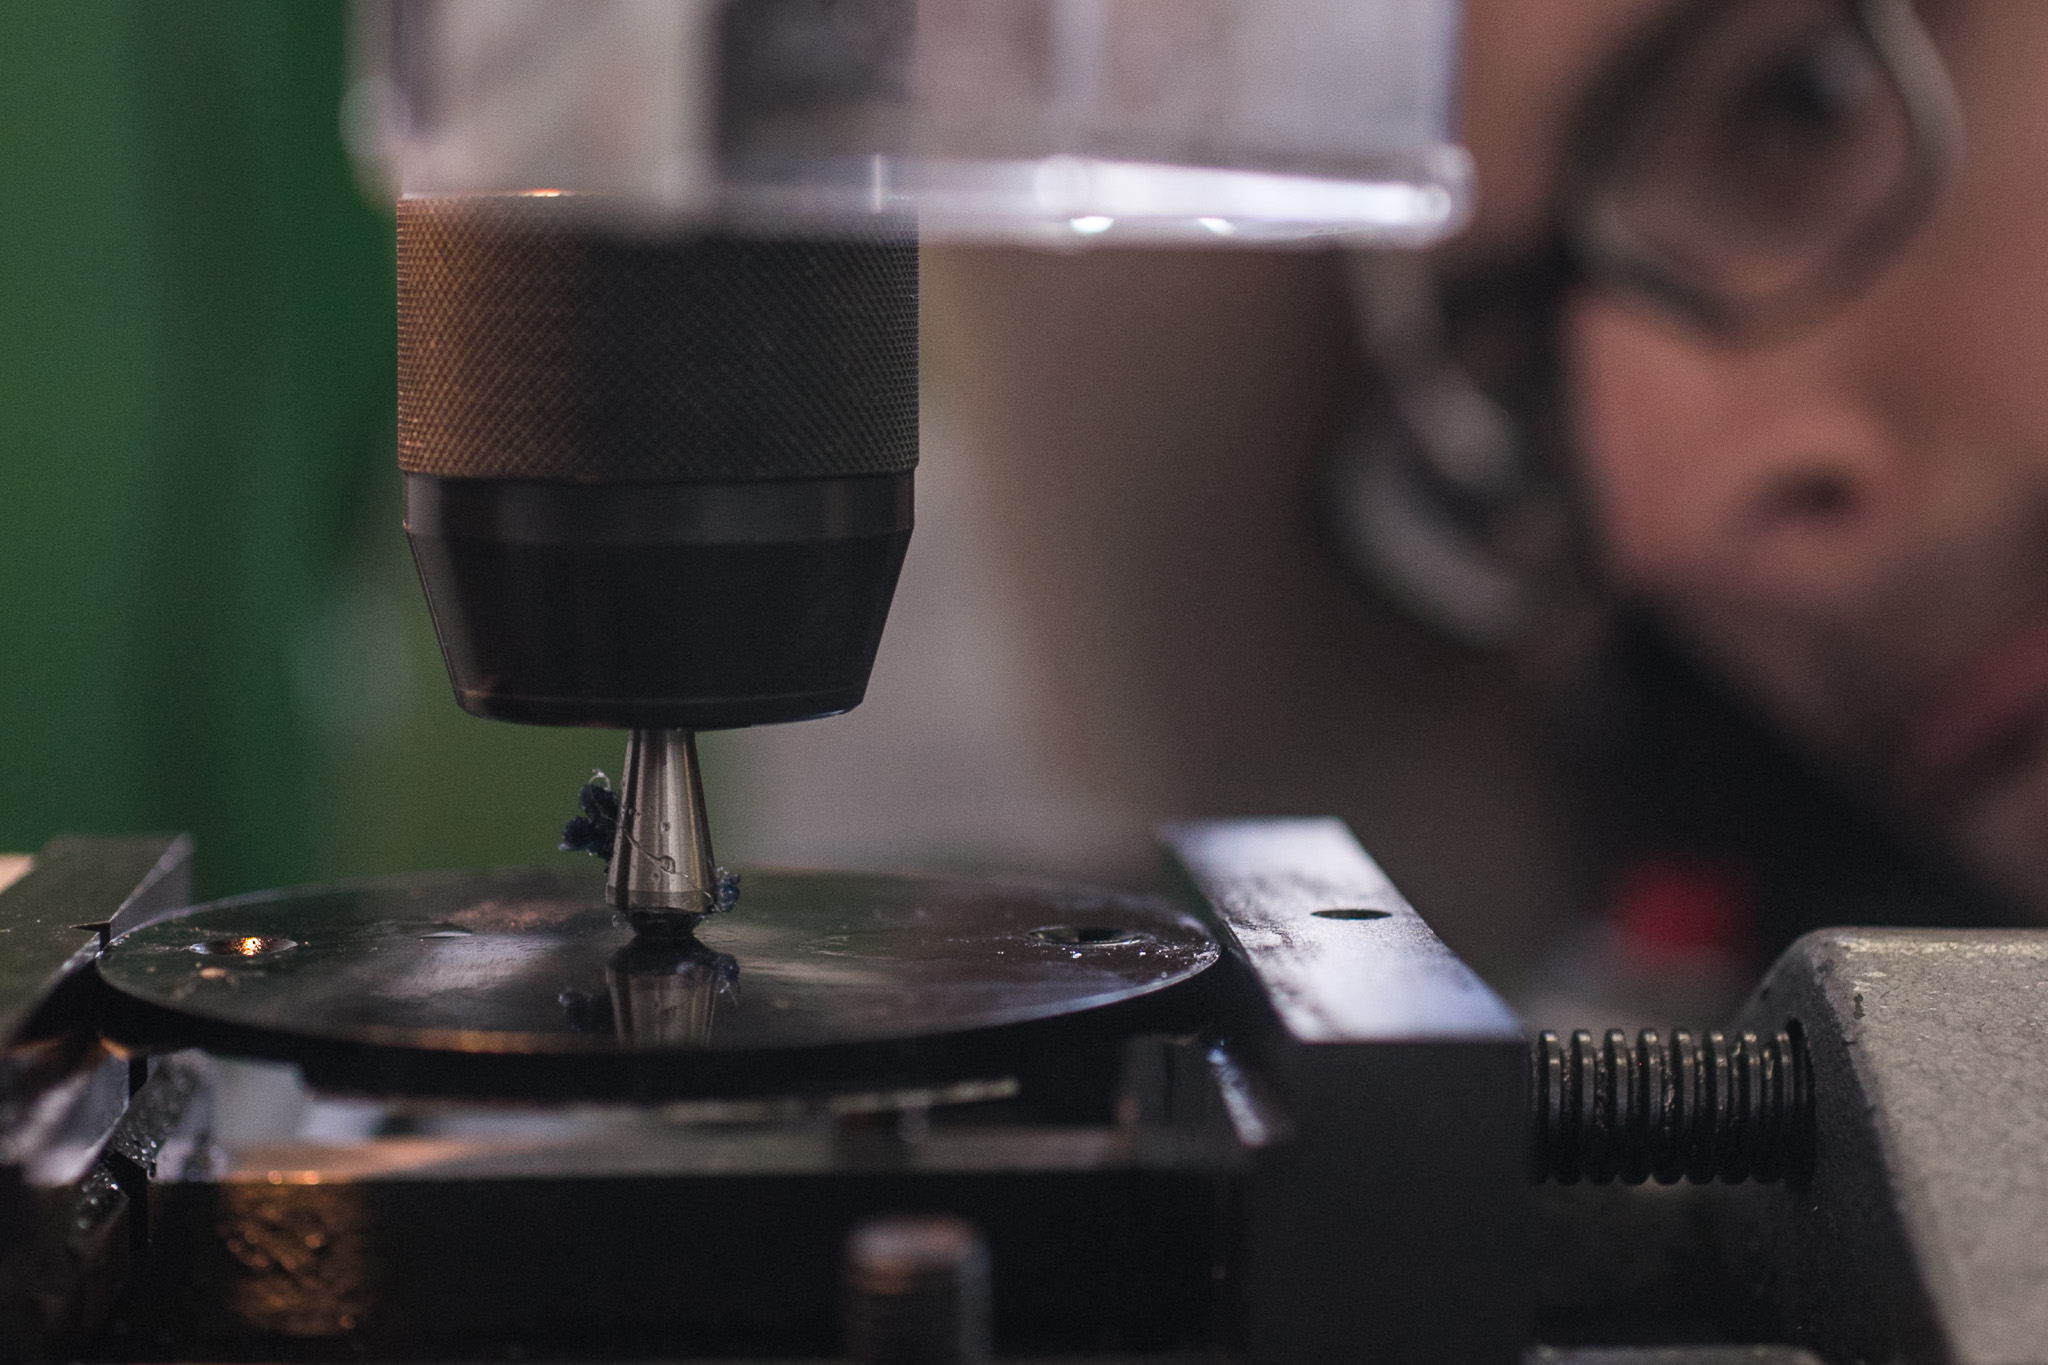 grating
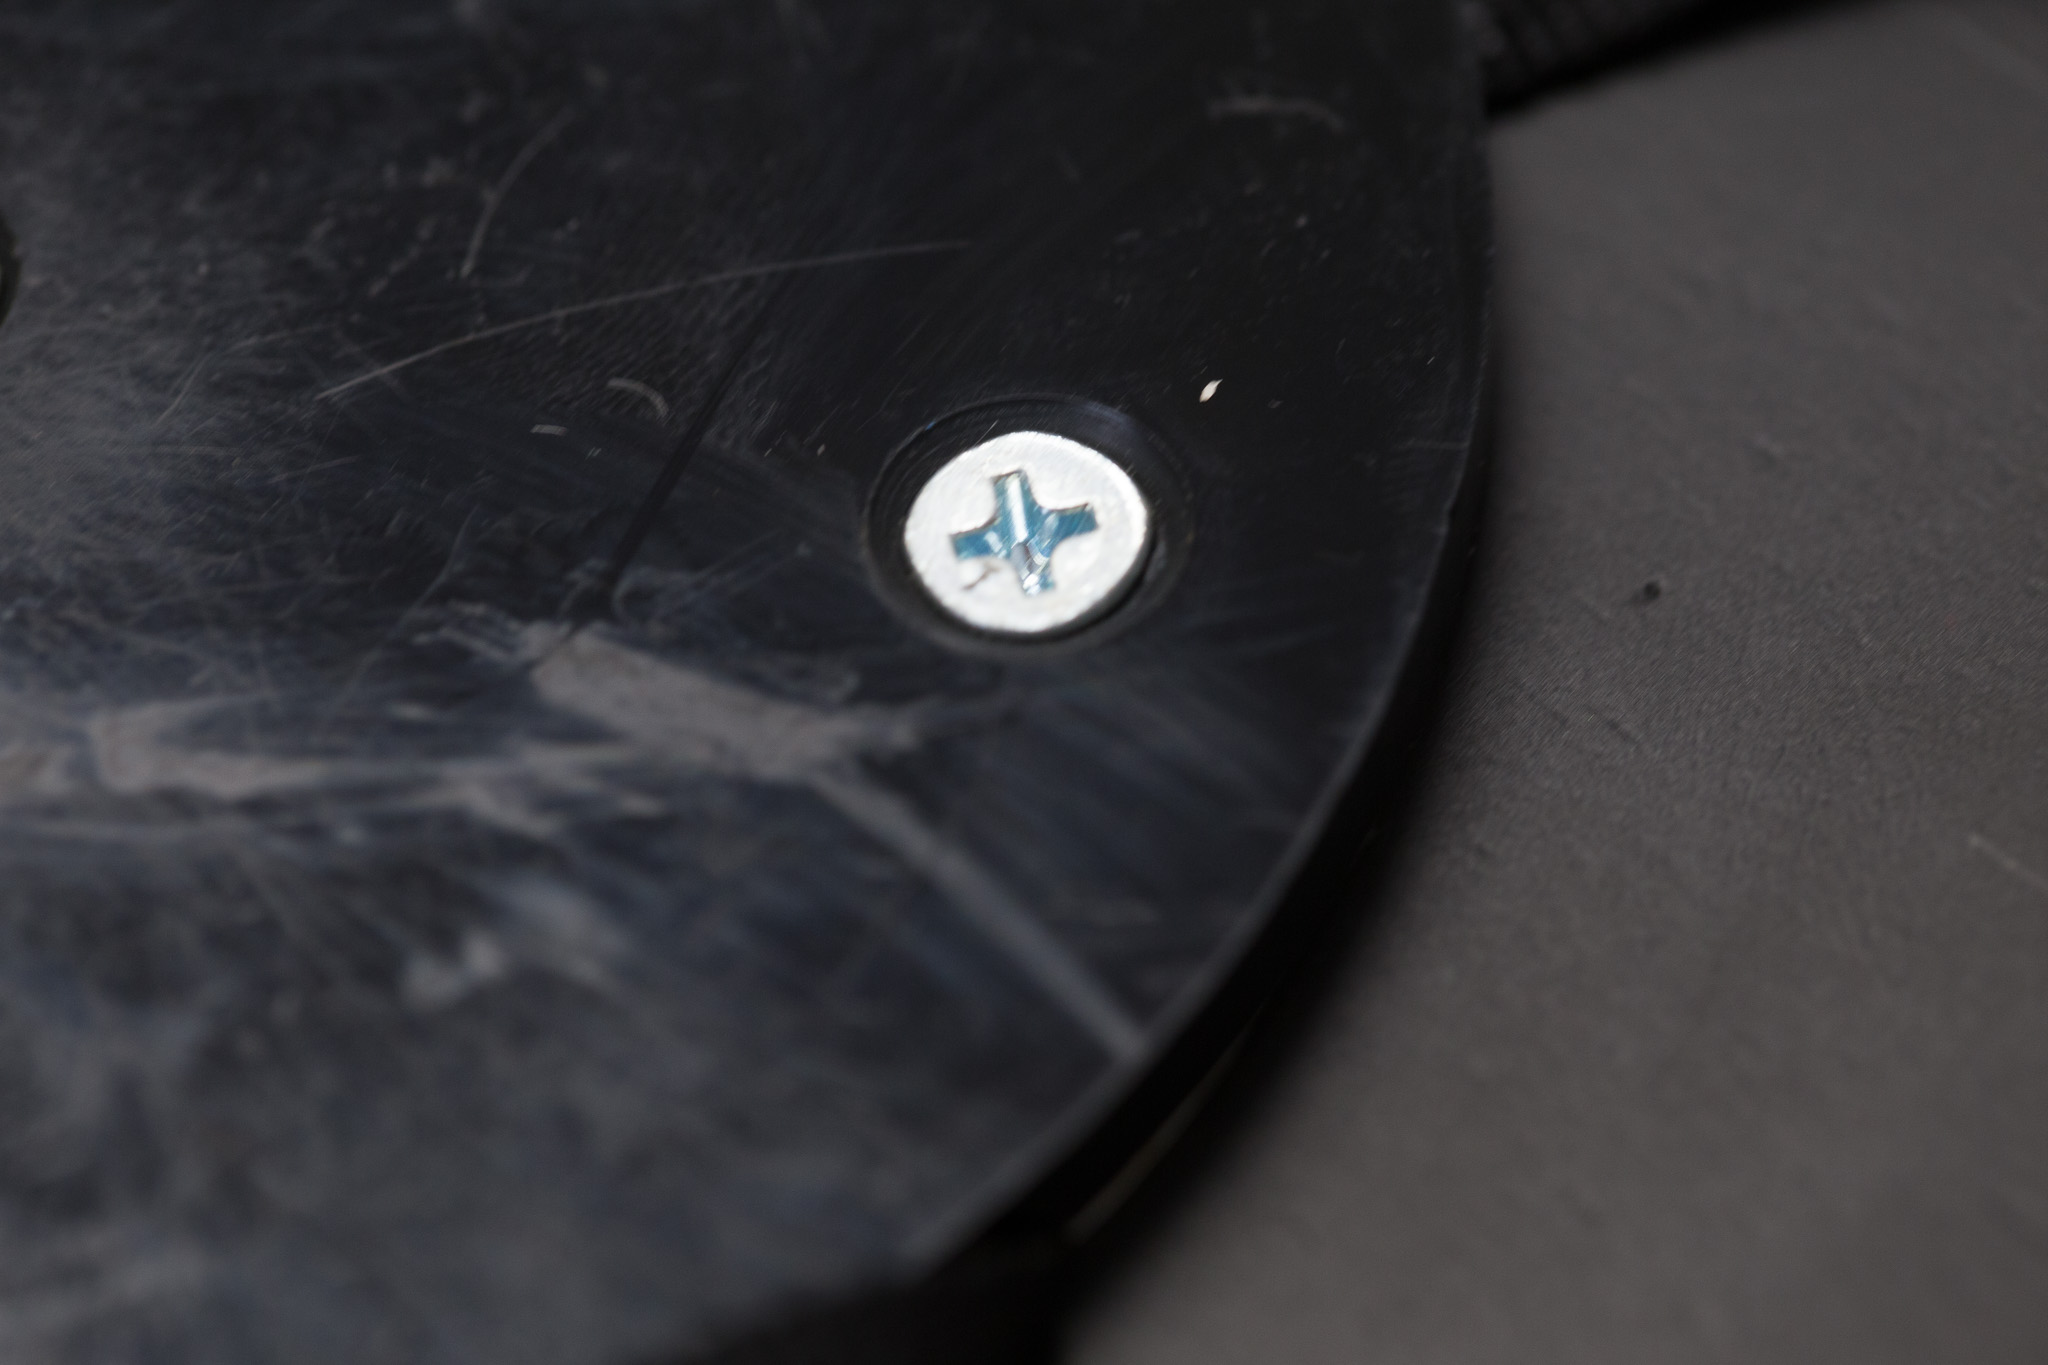 screws fitted into the disk
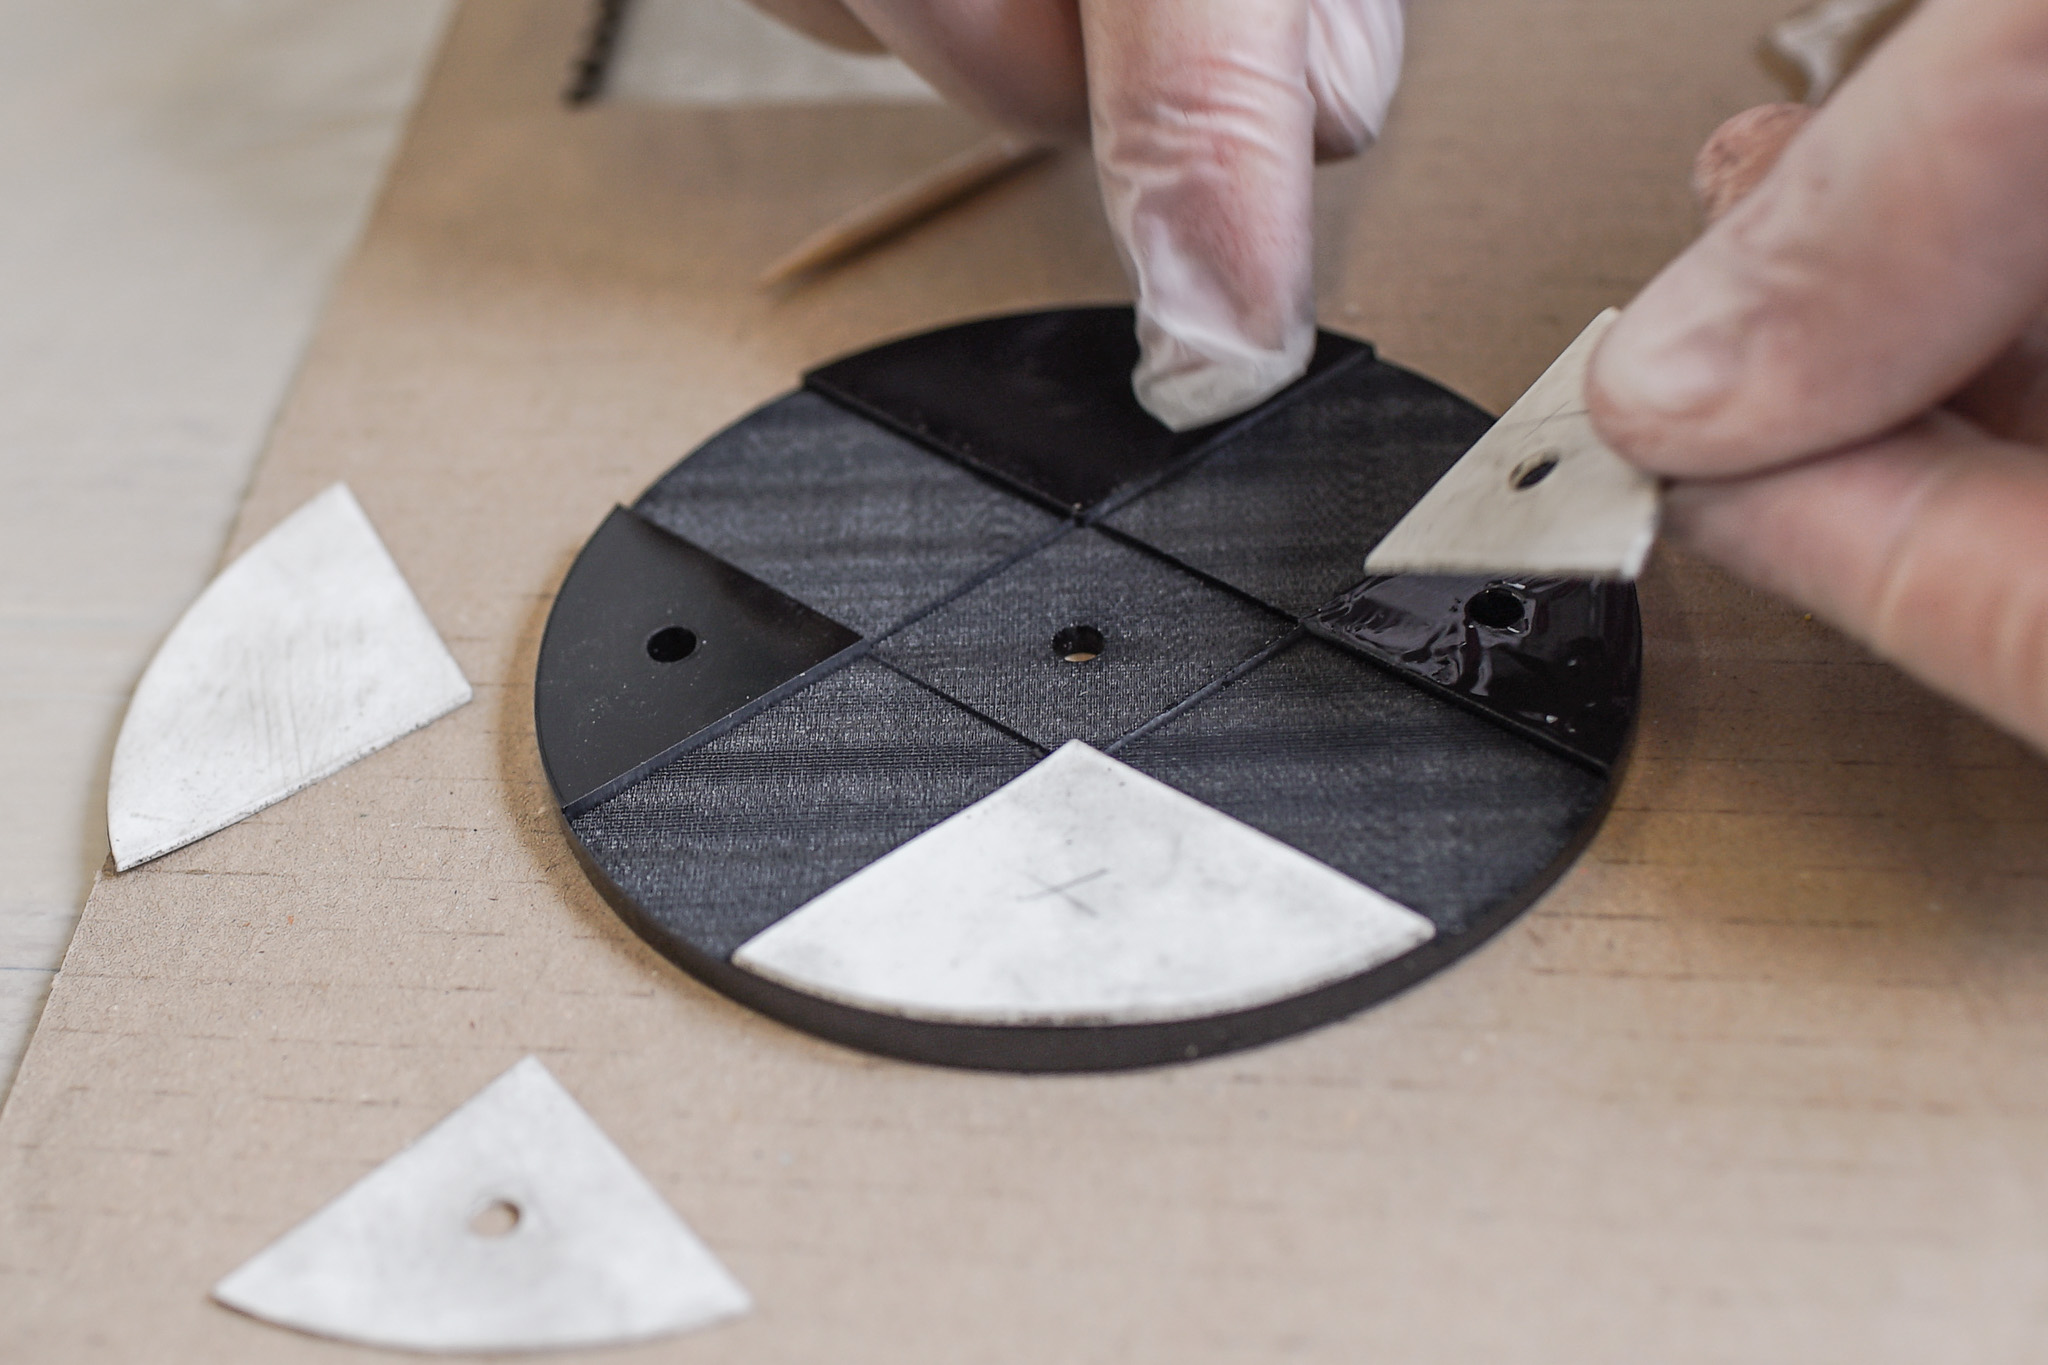 Glue the rubber bits to their positions with epoxi glue
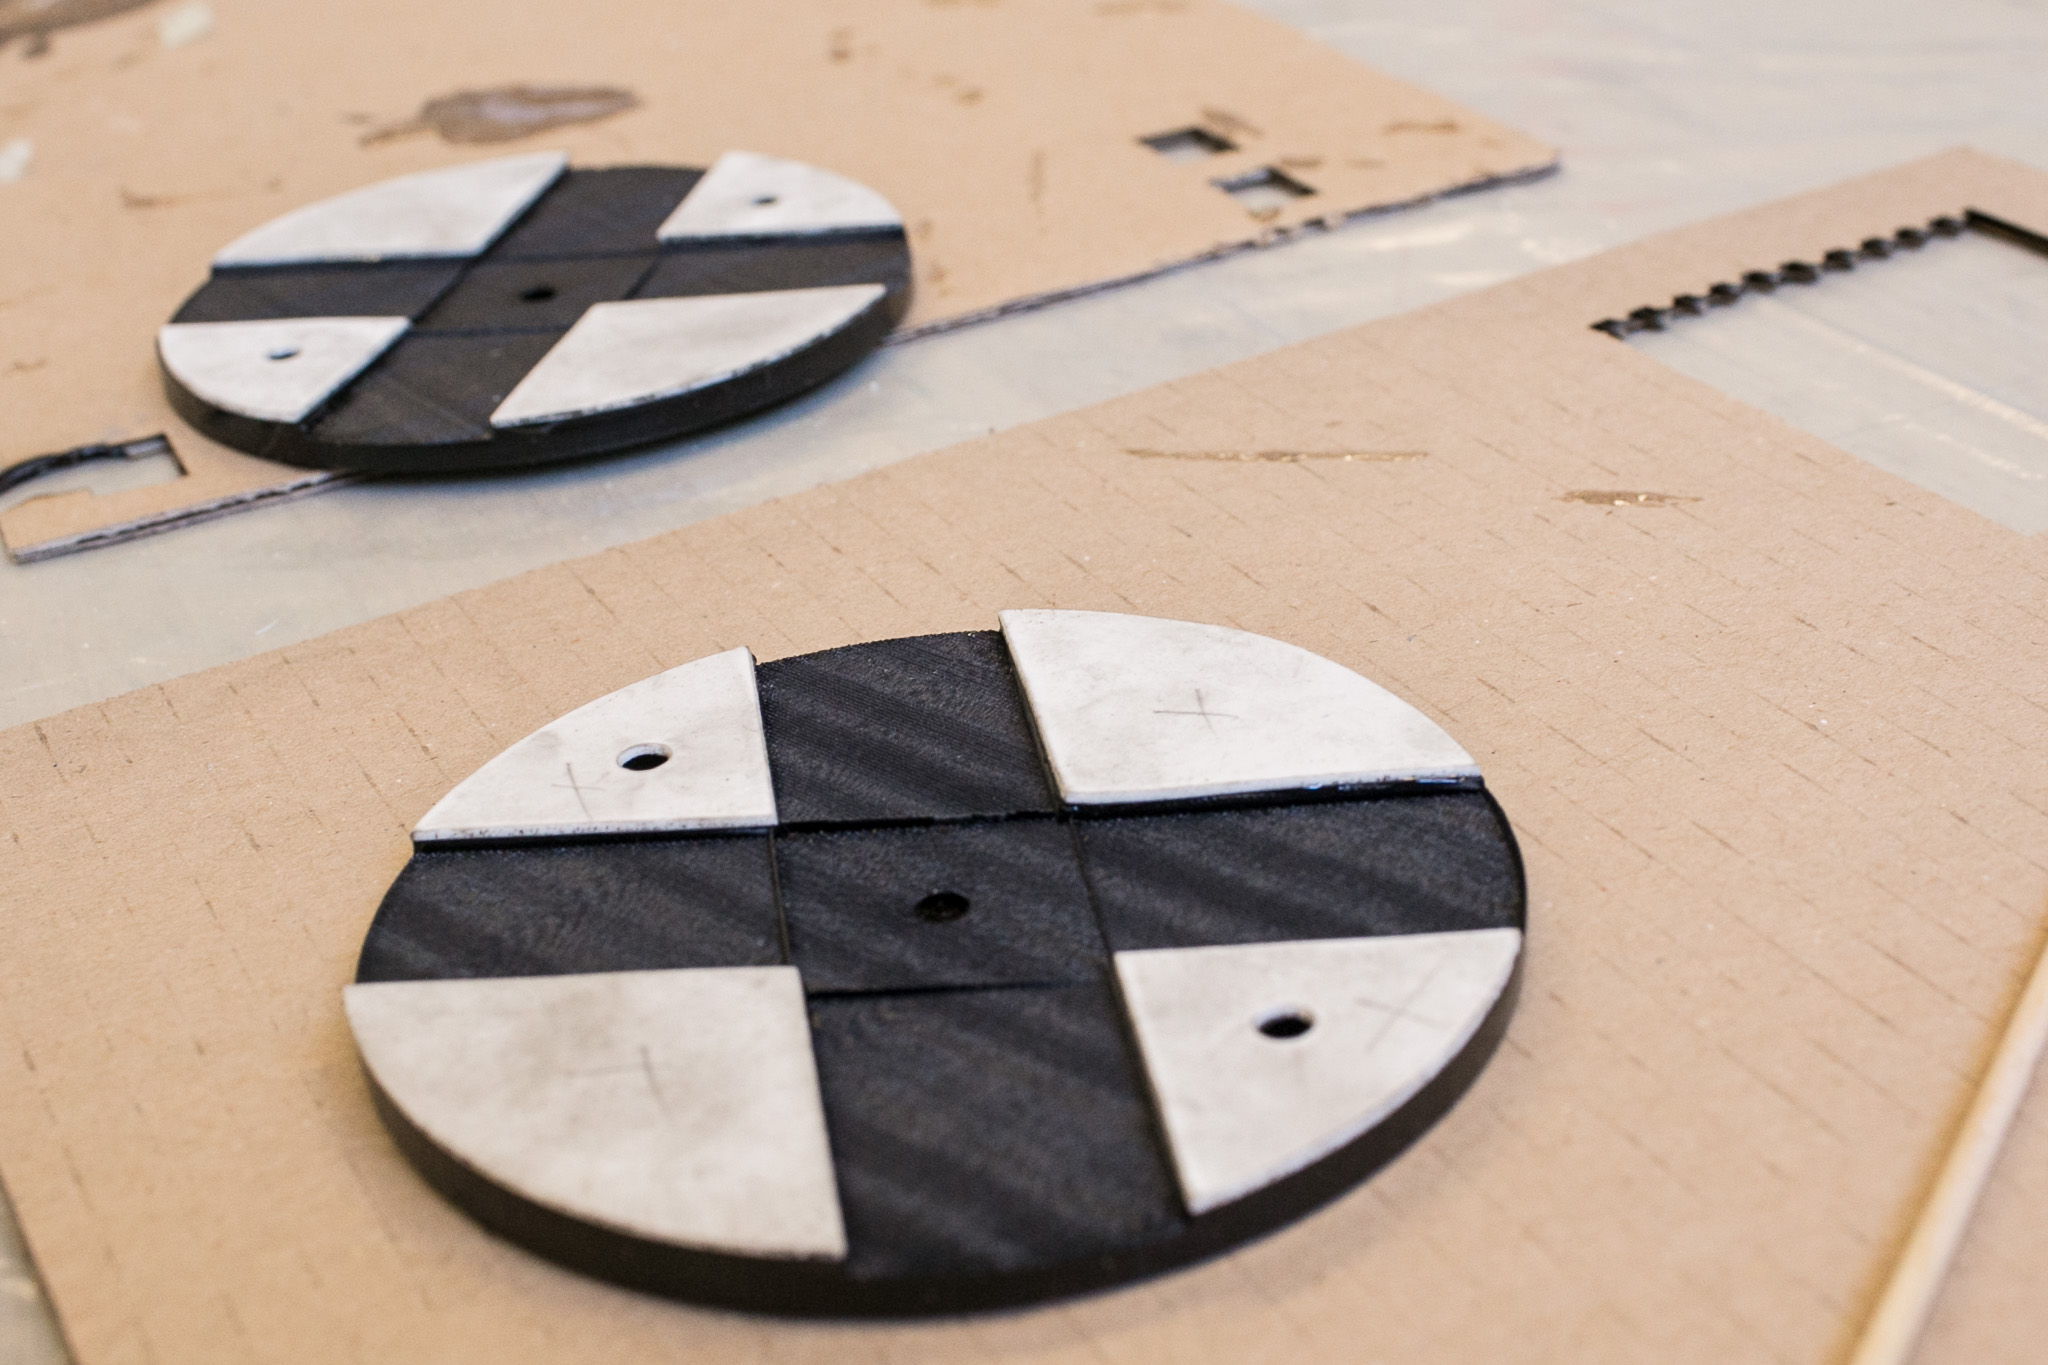 Rubber bits in position
Straps
Cut two parts from the strap band. They should easily go around your upper thigh and then have additional 10cm length.
Sew one buckle to each of the straps, keep its other end empty.
Test the straps in the disc on your leg and adjust their placement so that the buckle will be at a spot that it tightens around your leg.
Mark the places where the two straps overlap.
Punch a hole into the centre of the markings.
This will be the place where the centre screw of the disc will go through.
The strap band will stay in shape if you melt together the fibres of freshly cut ends (and holes), e.g., with a lighter.
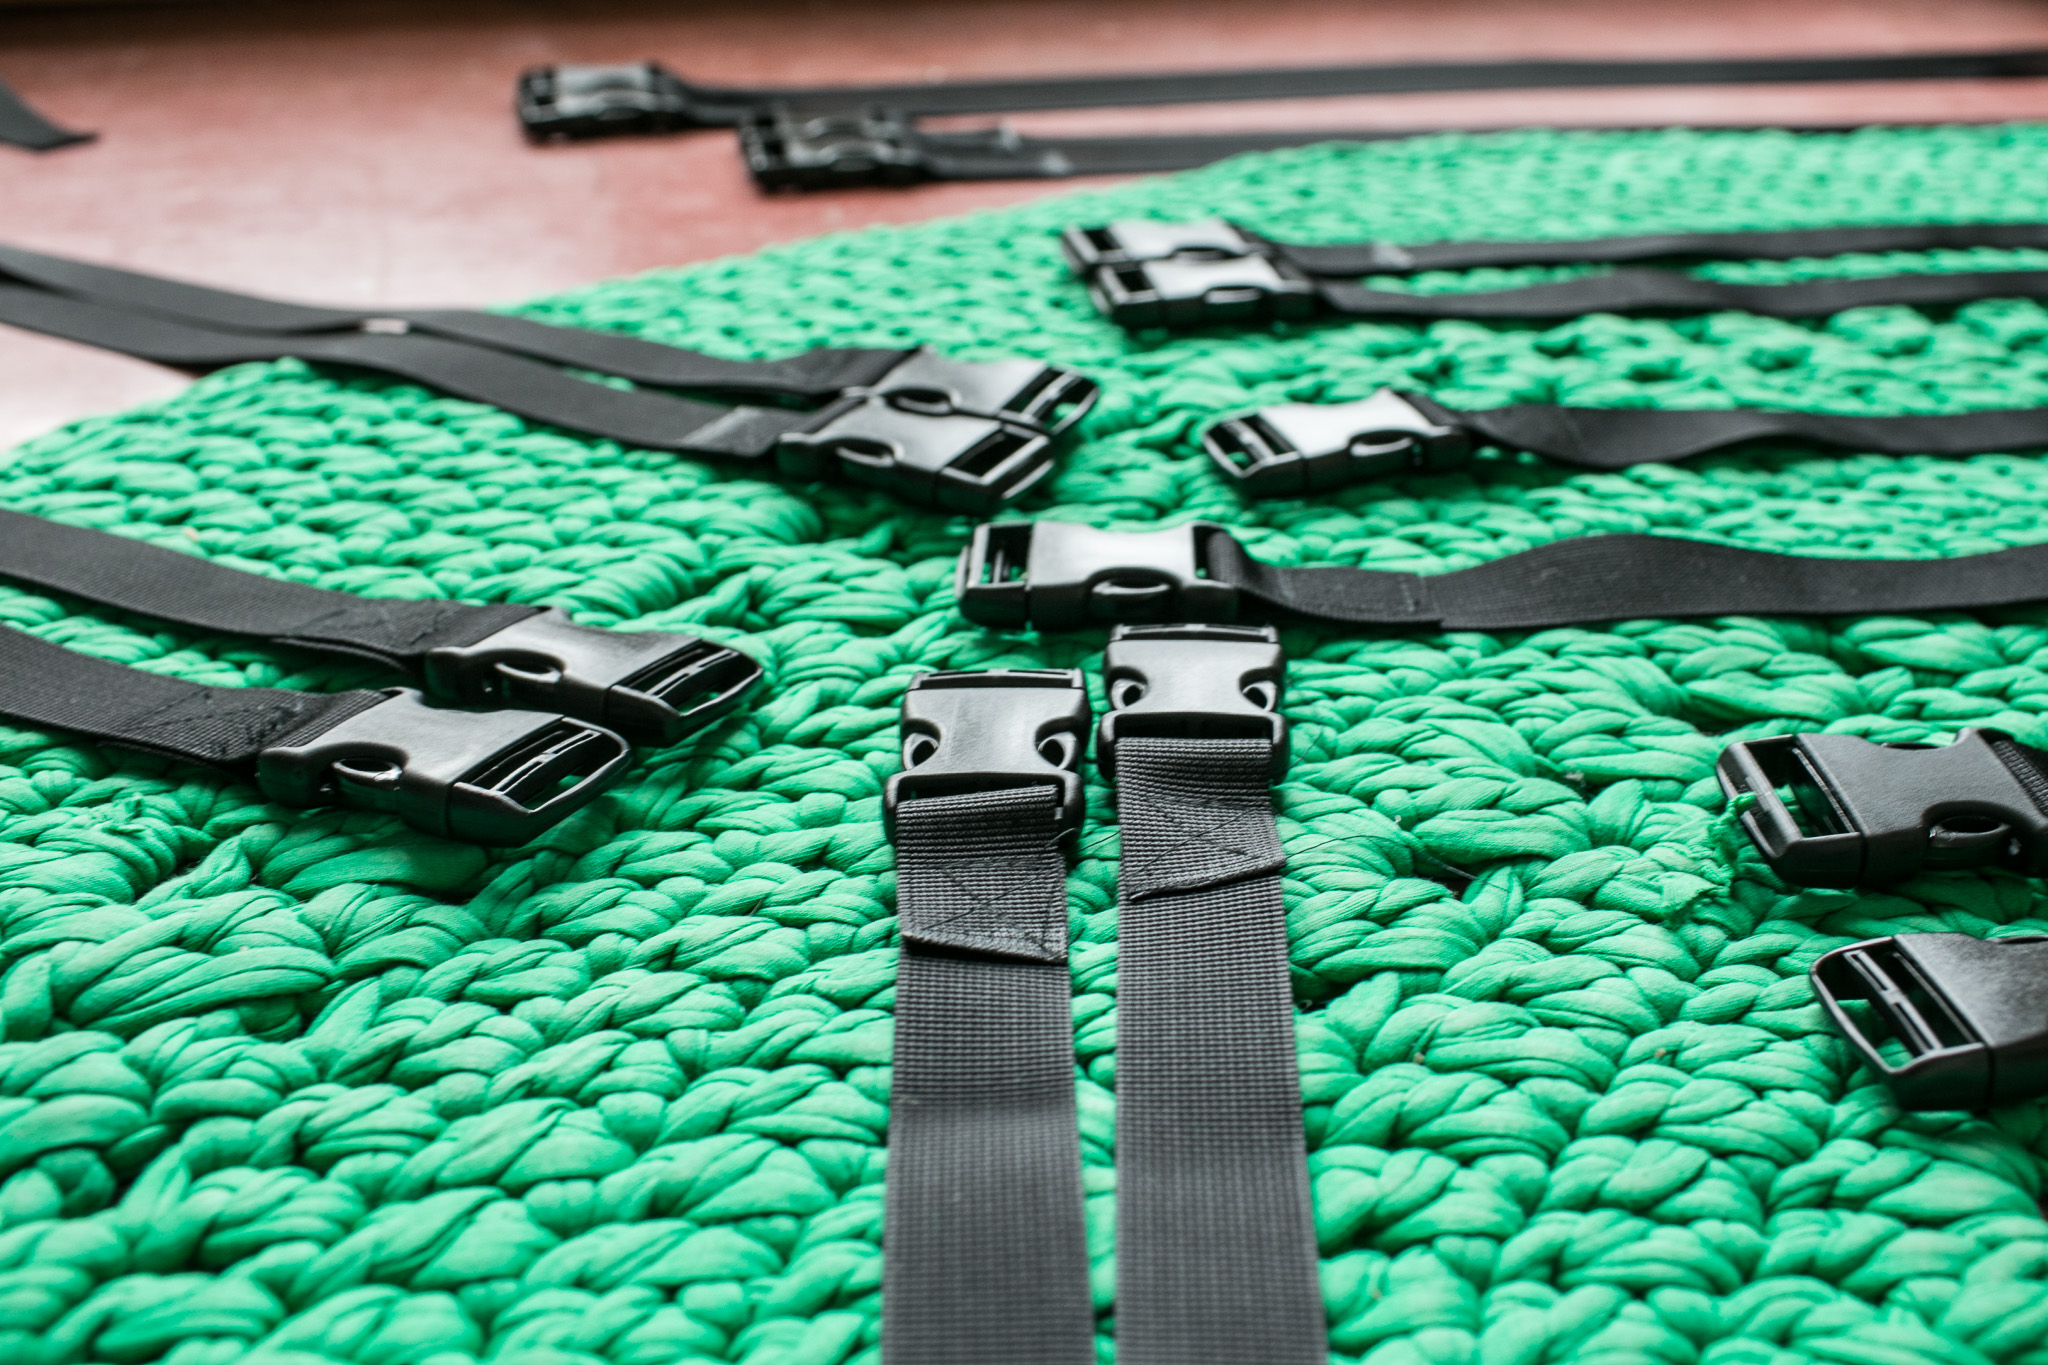 Straps with attached buckle
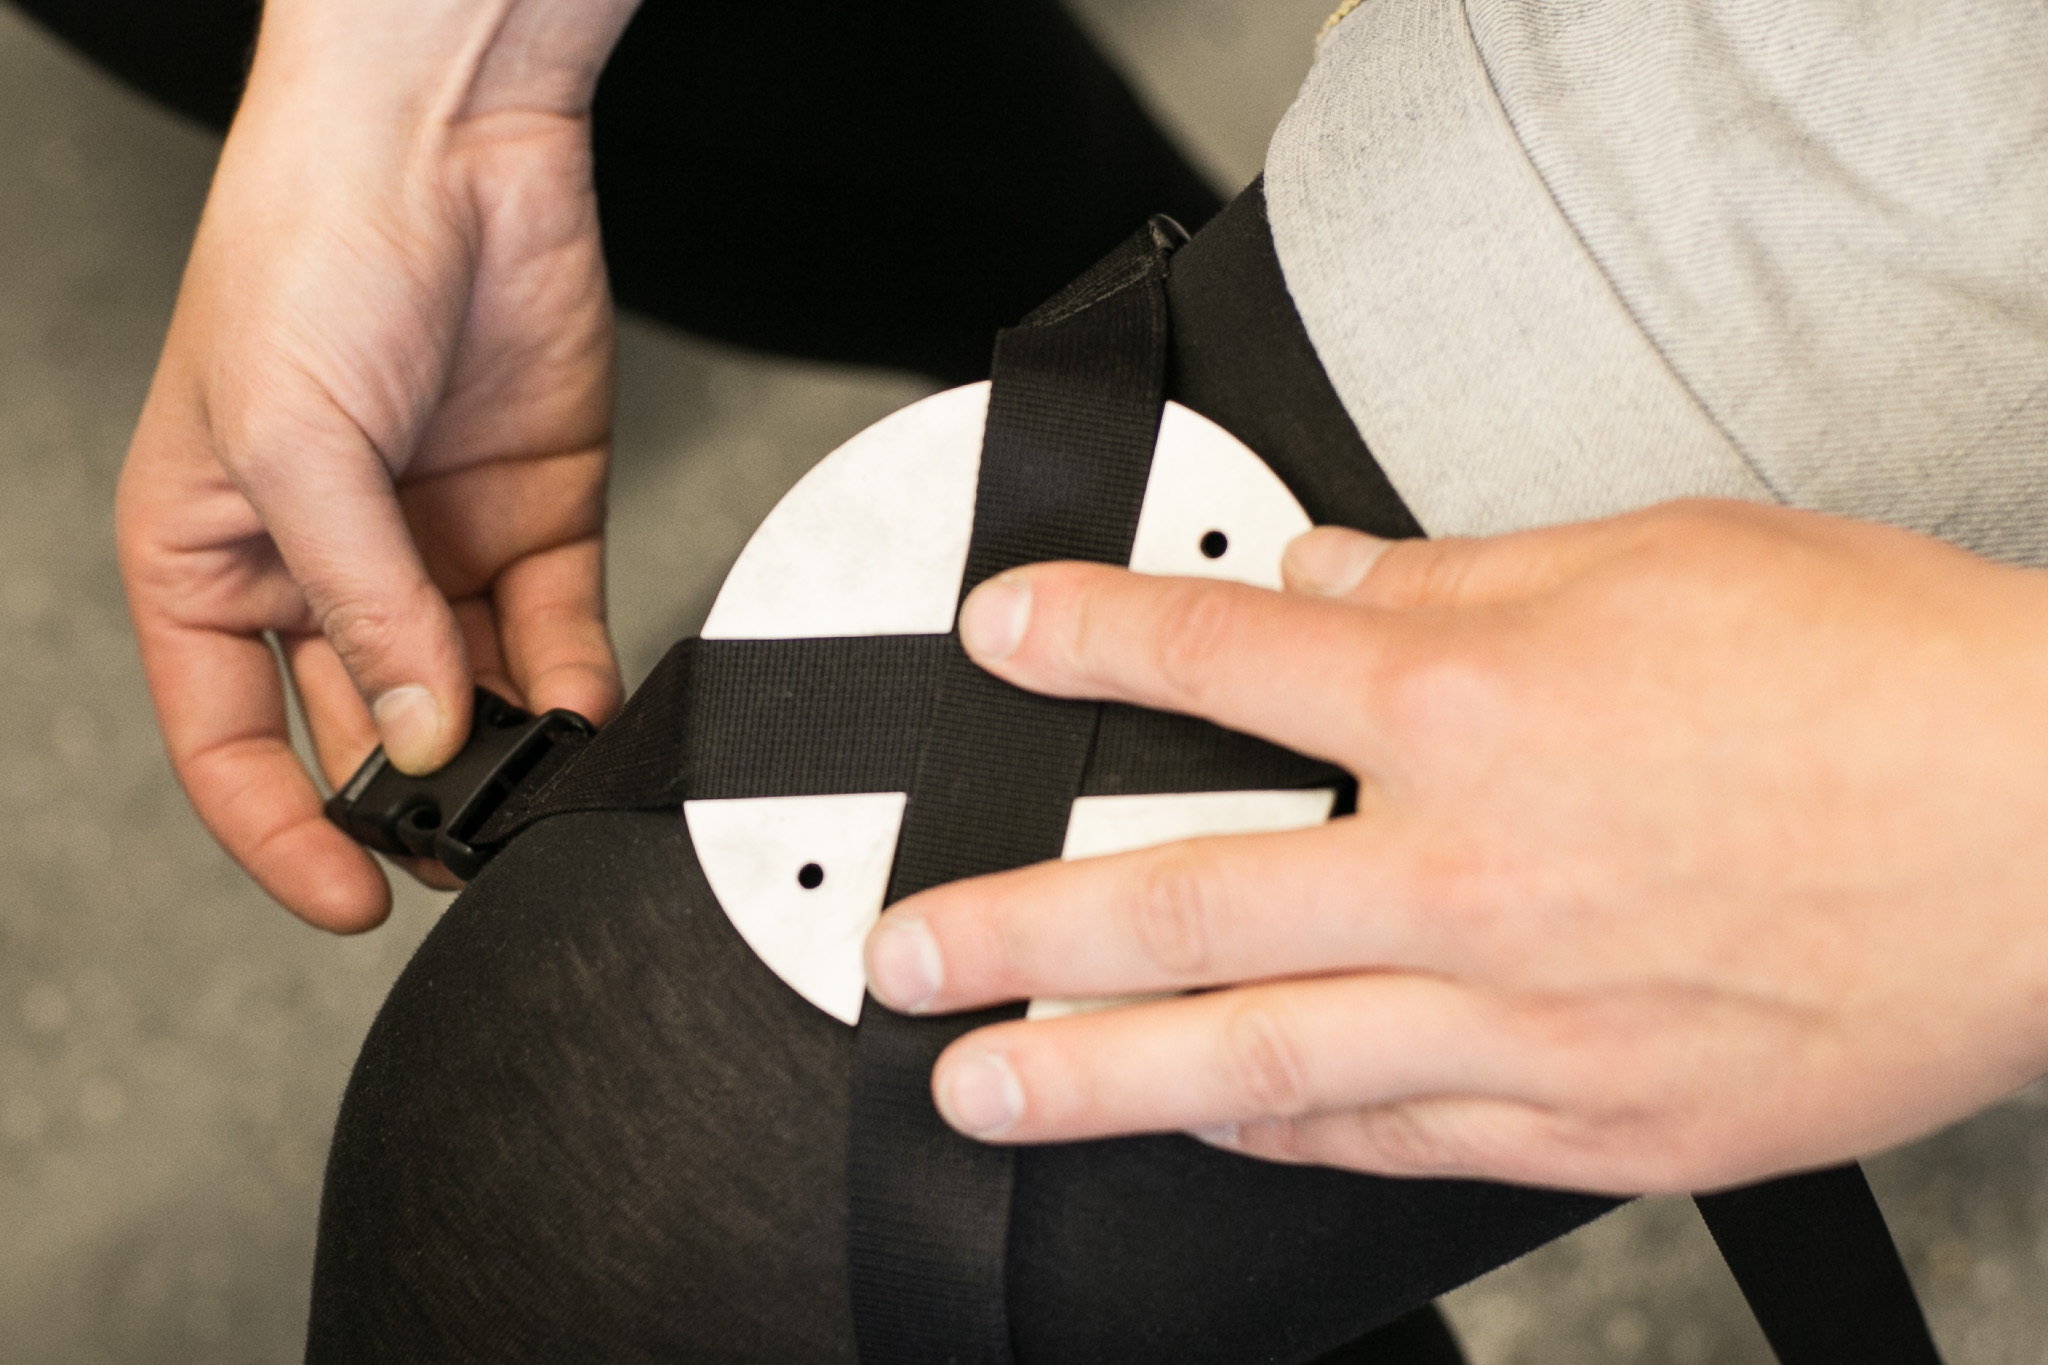 Test strap position
 Mark strap position
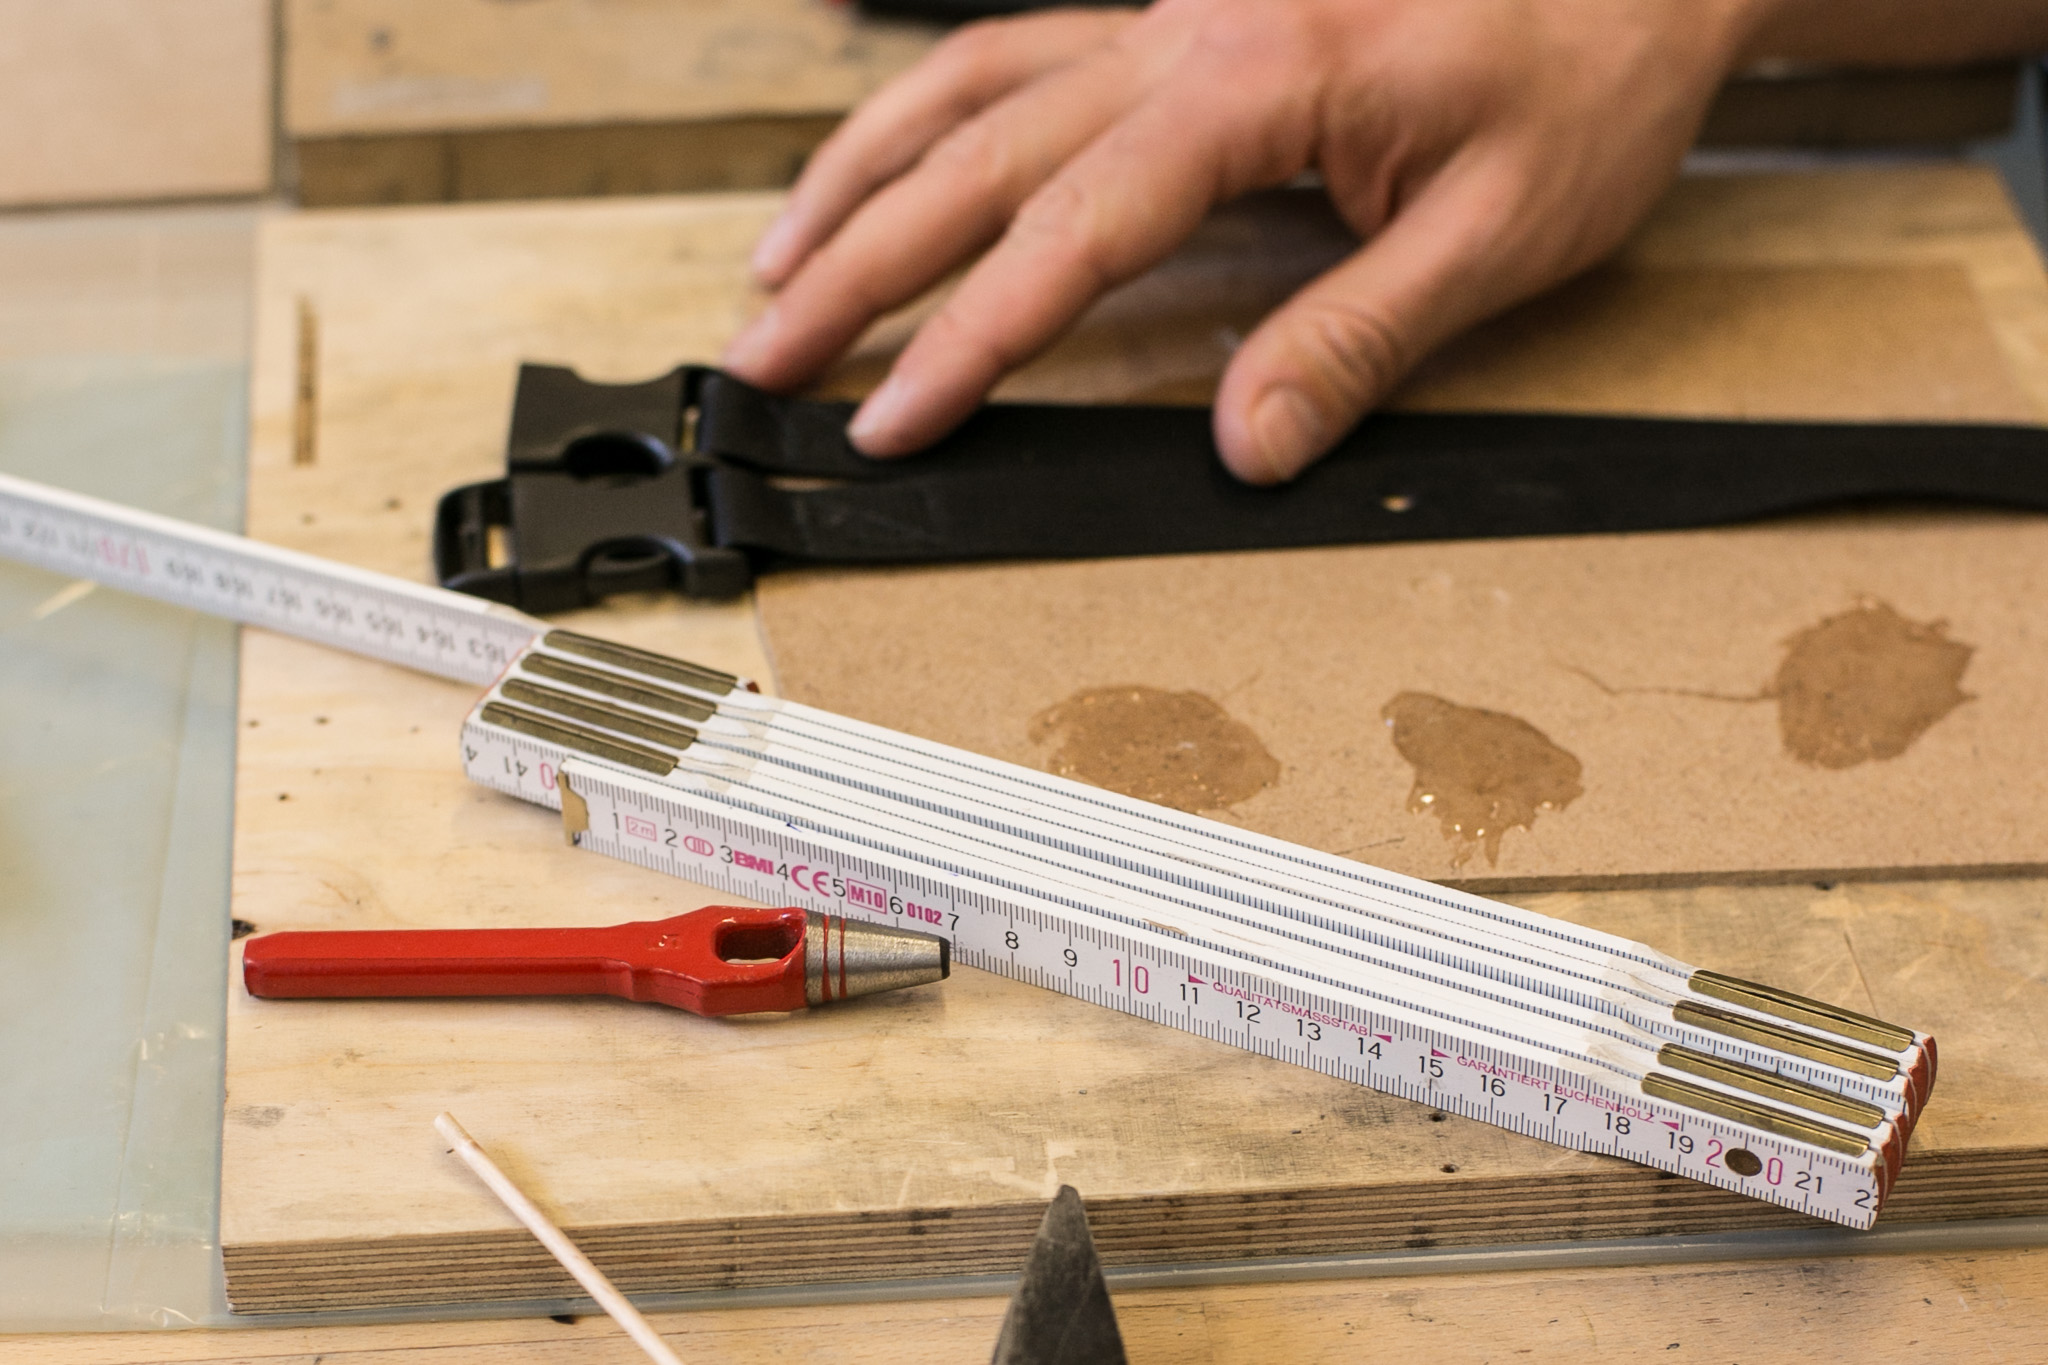
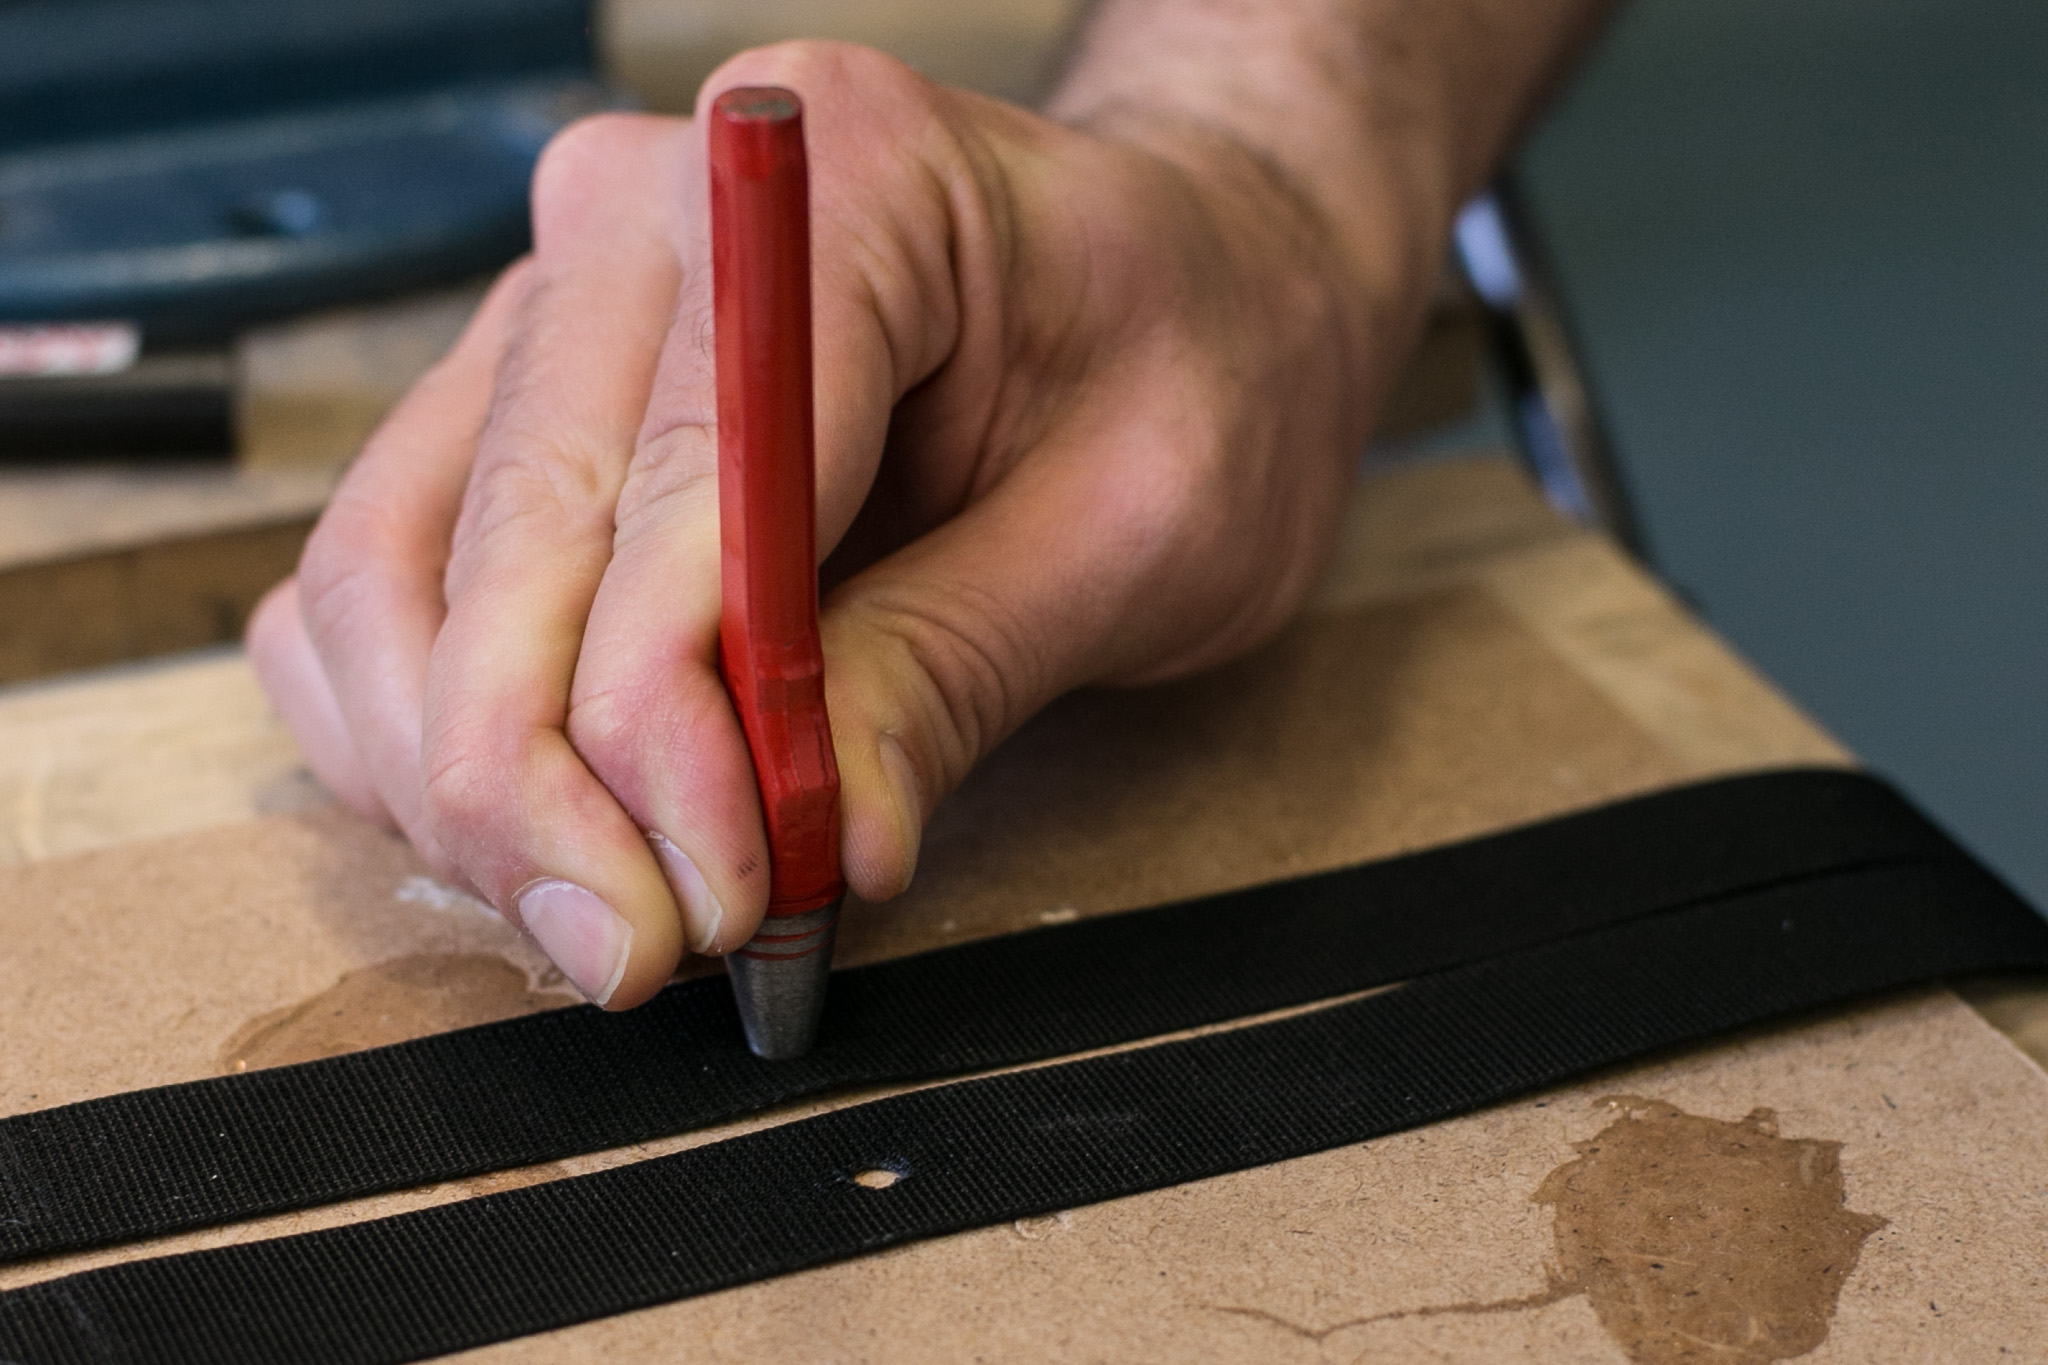 hole punching
Assembly
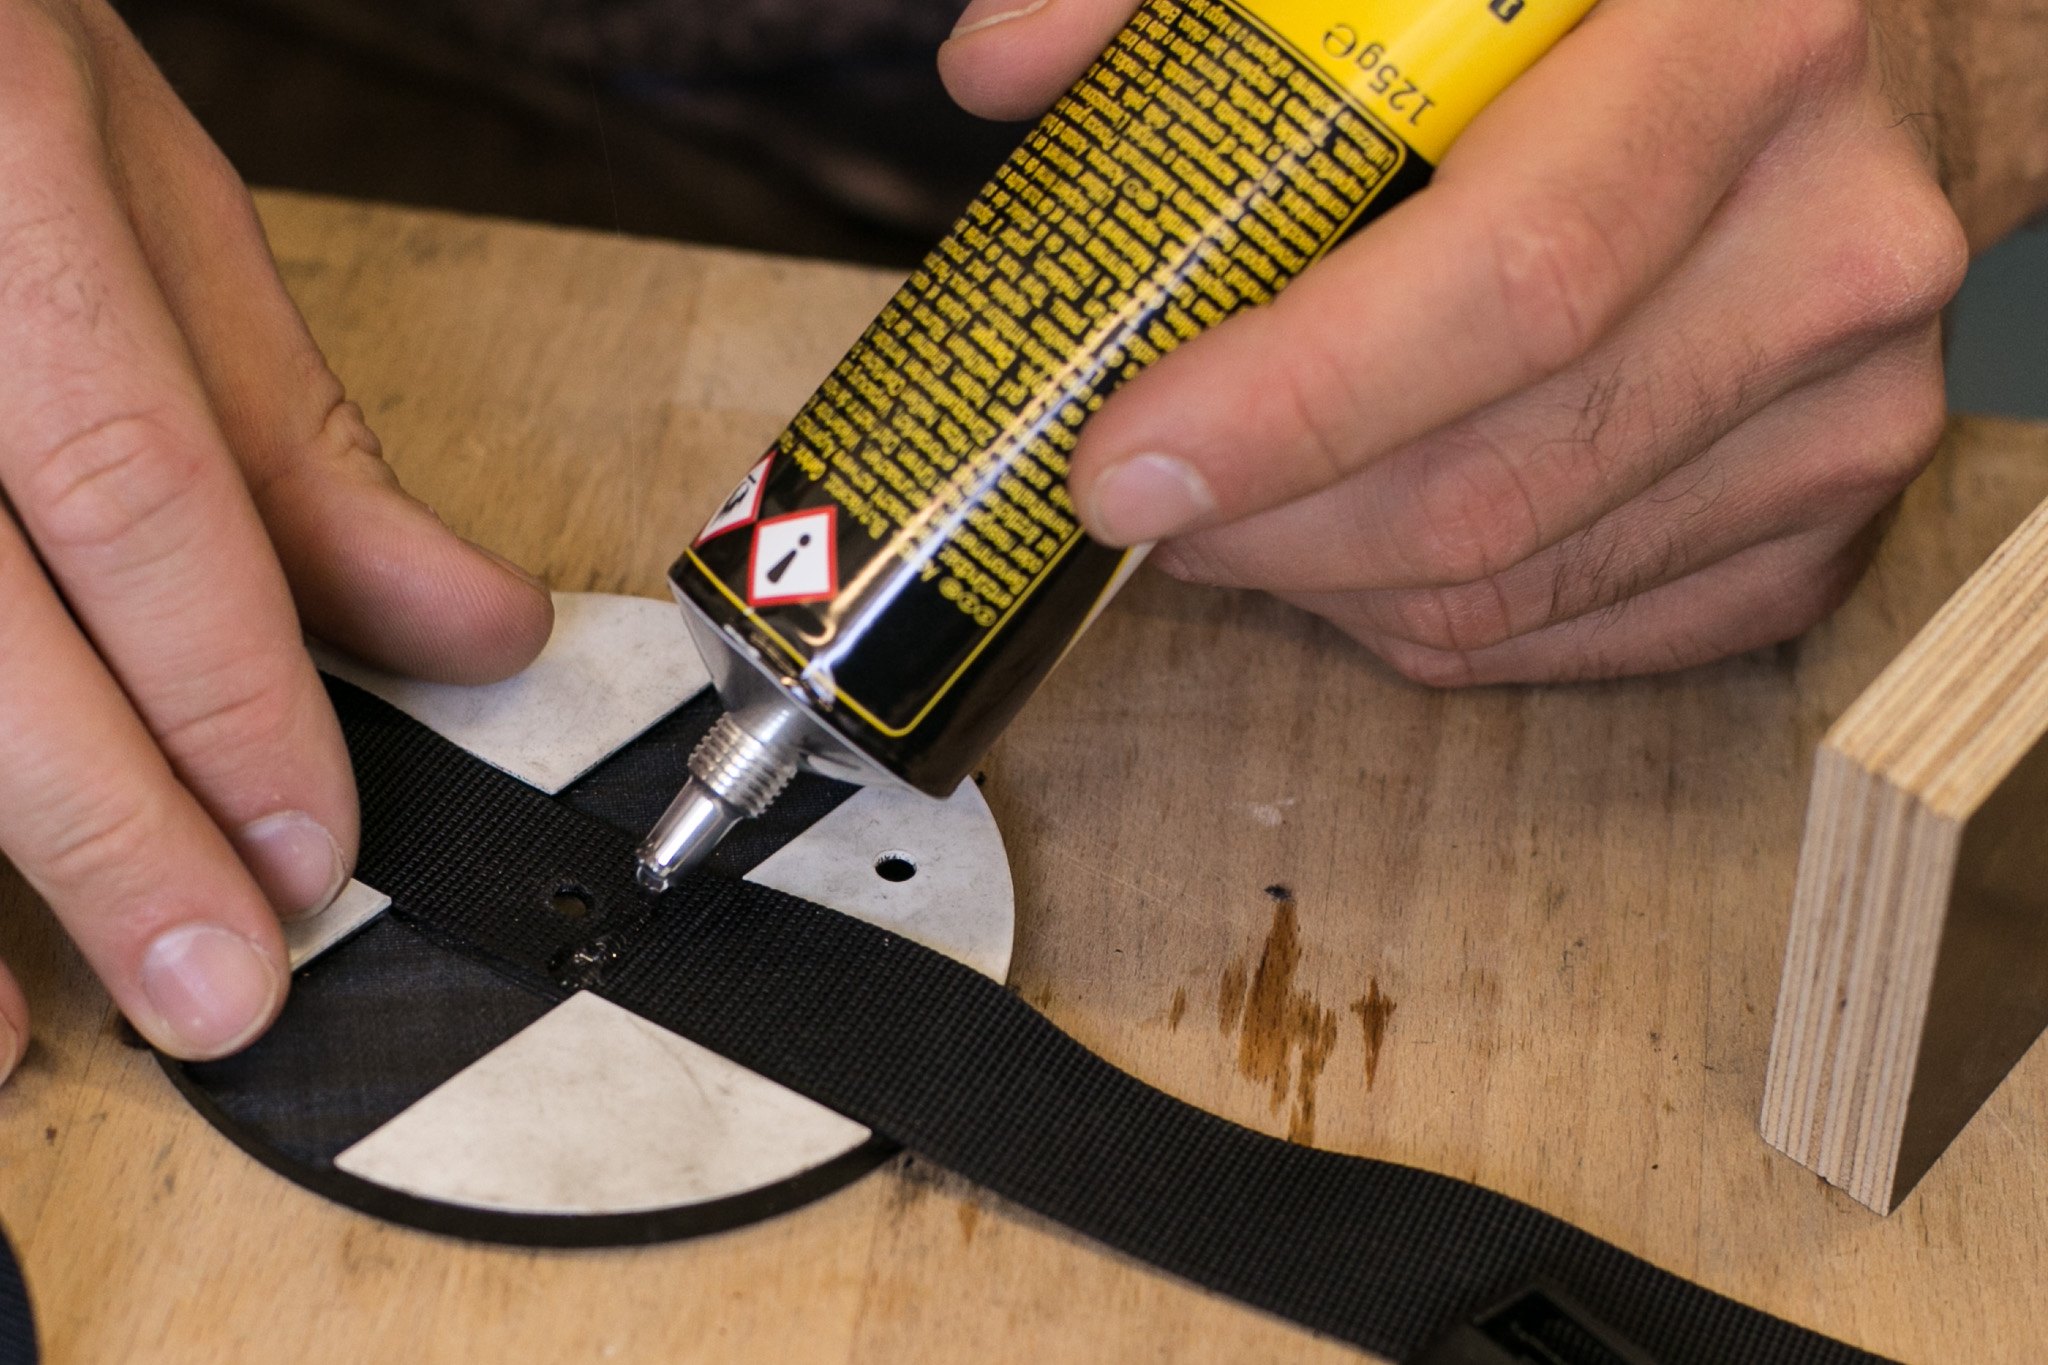 Glue the straps to the disc with Pattex Transparent. Apply glue on both parts and wait for about 10min. before putting them together.
 Mount the Strap disk to the box.